2012-03-25 Initial Post
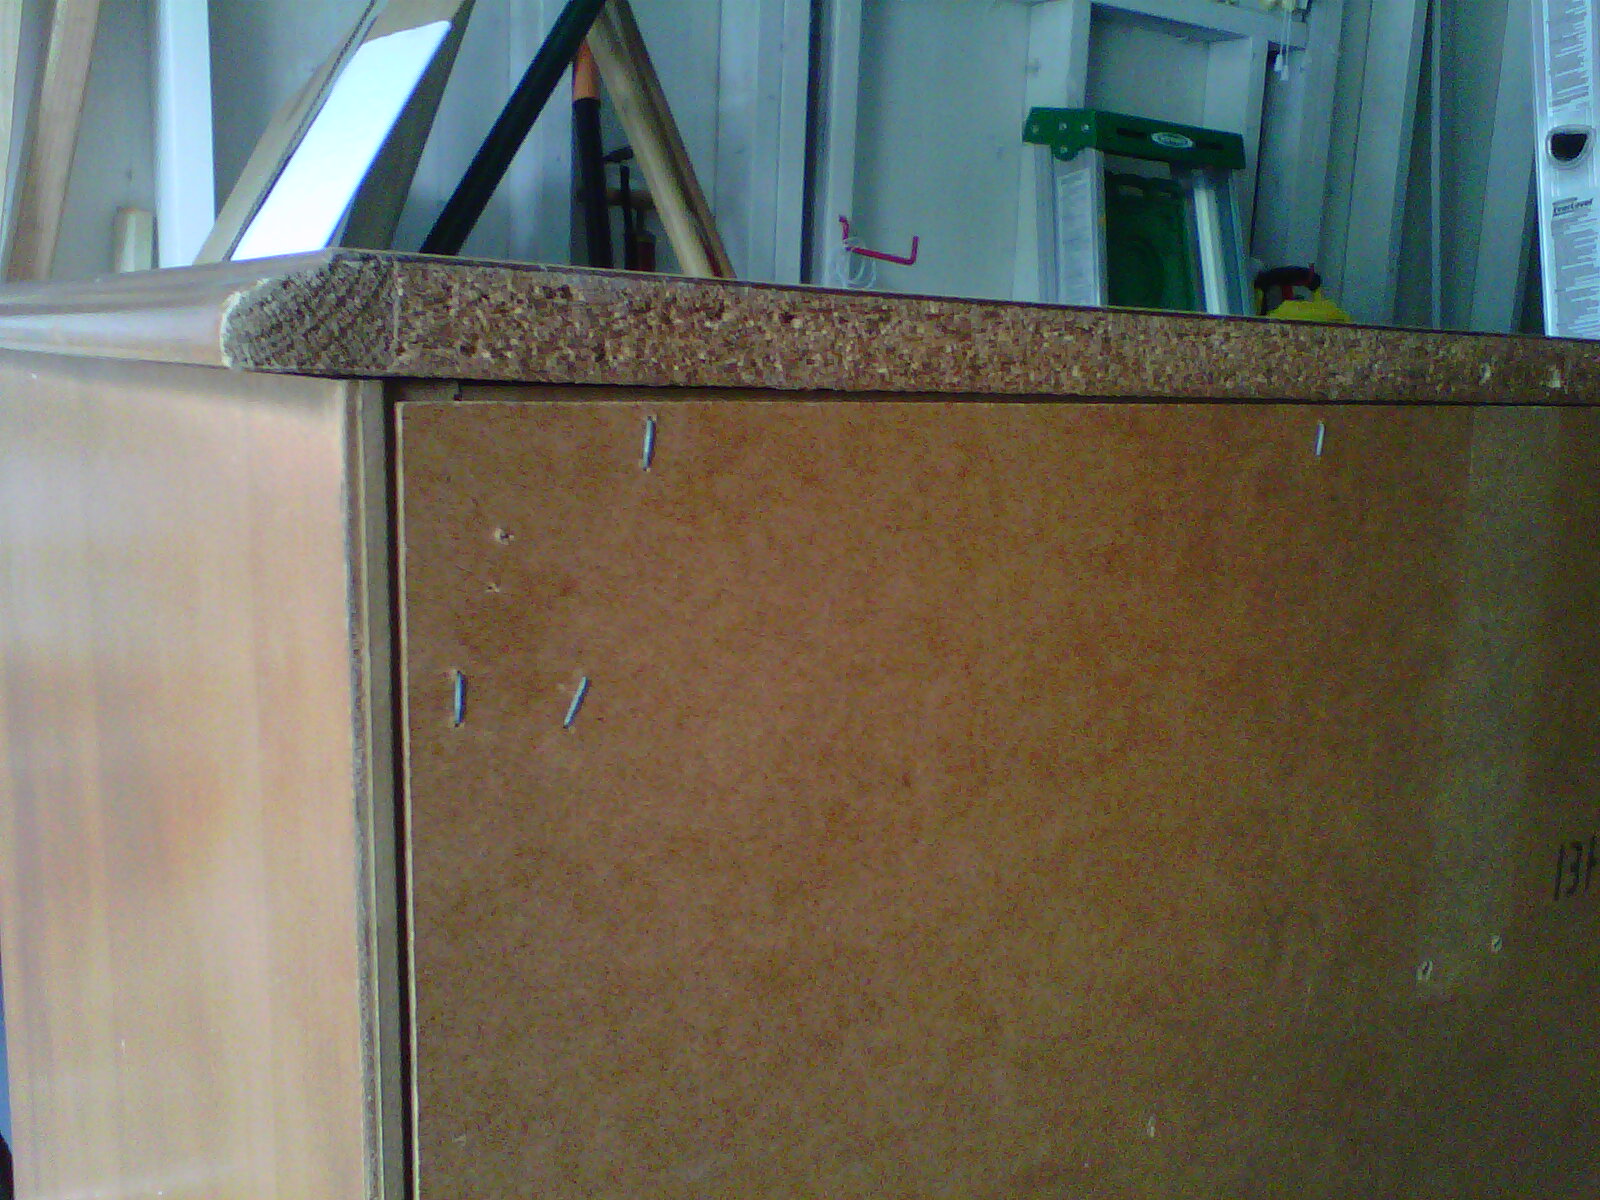
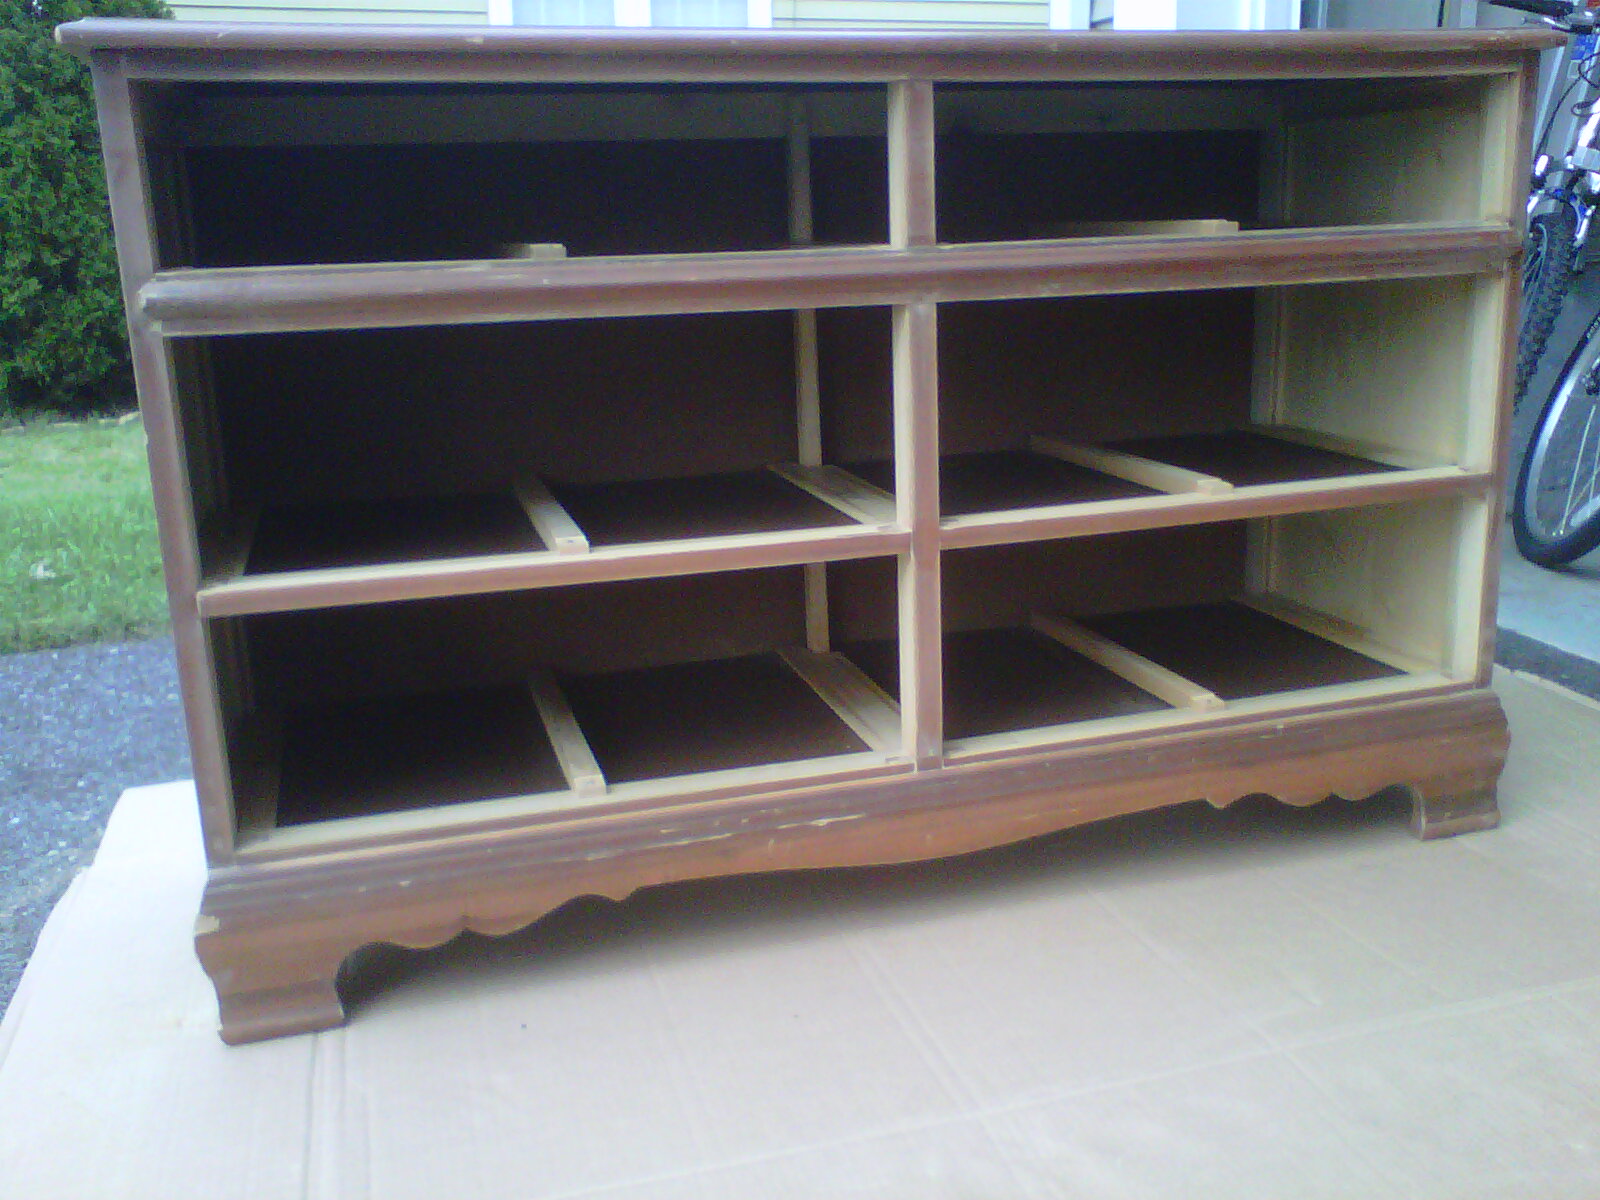
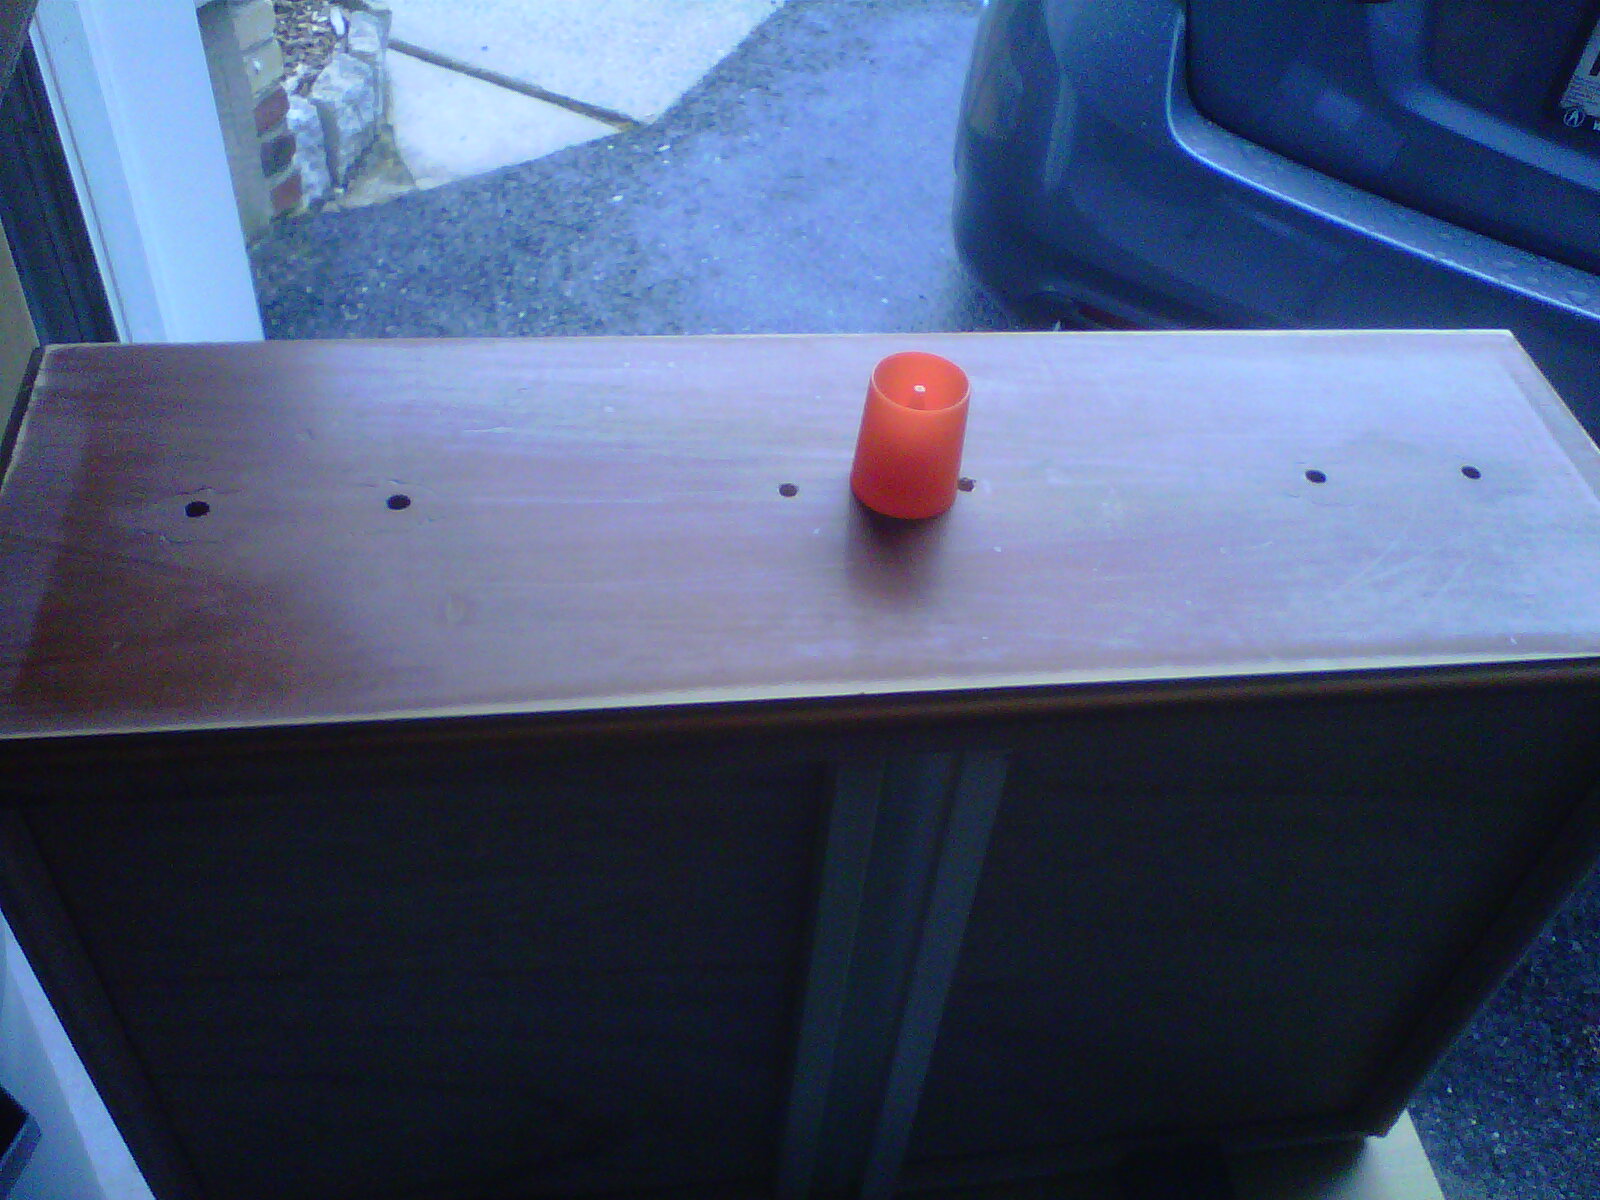
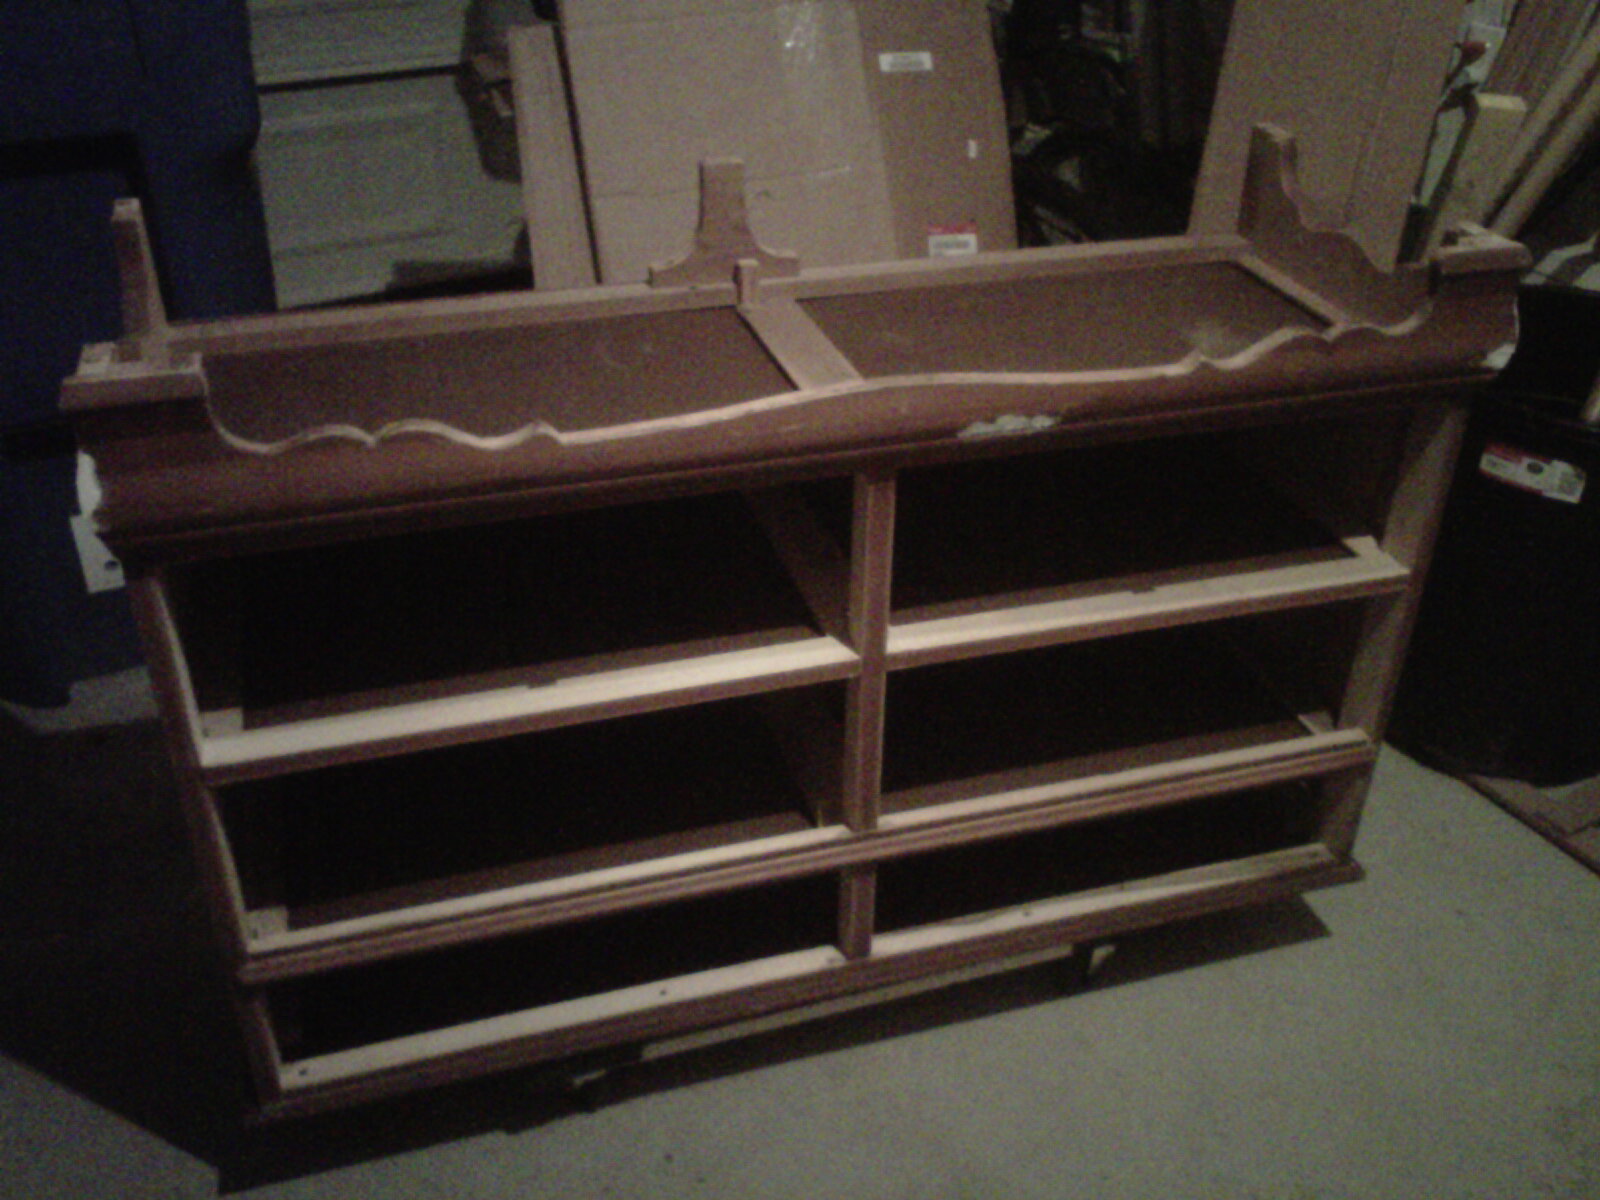
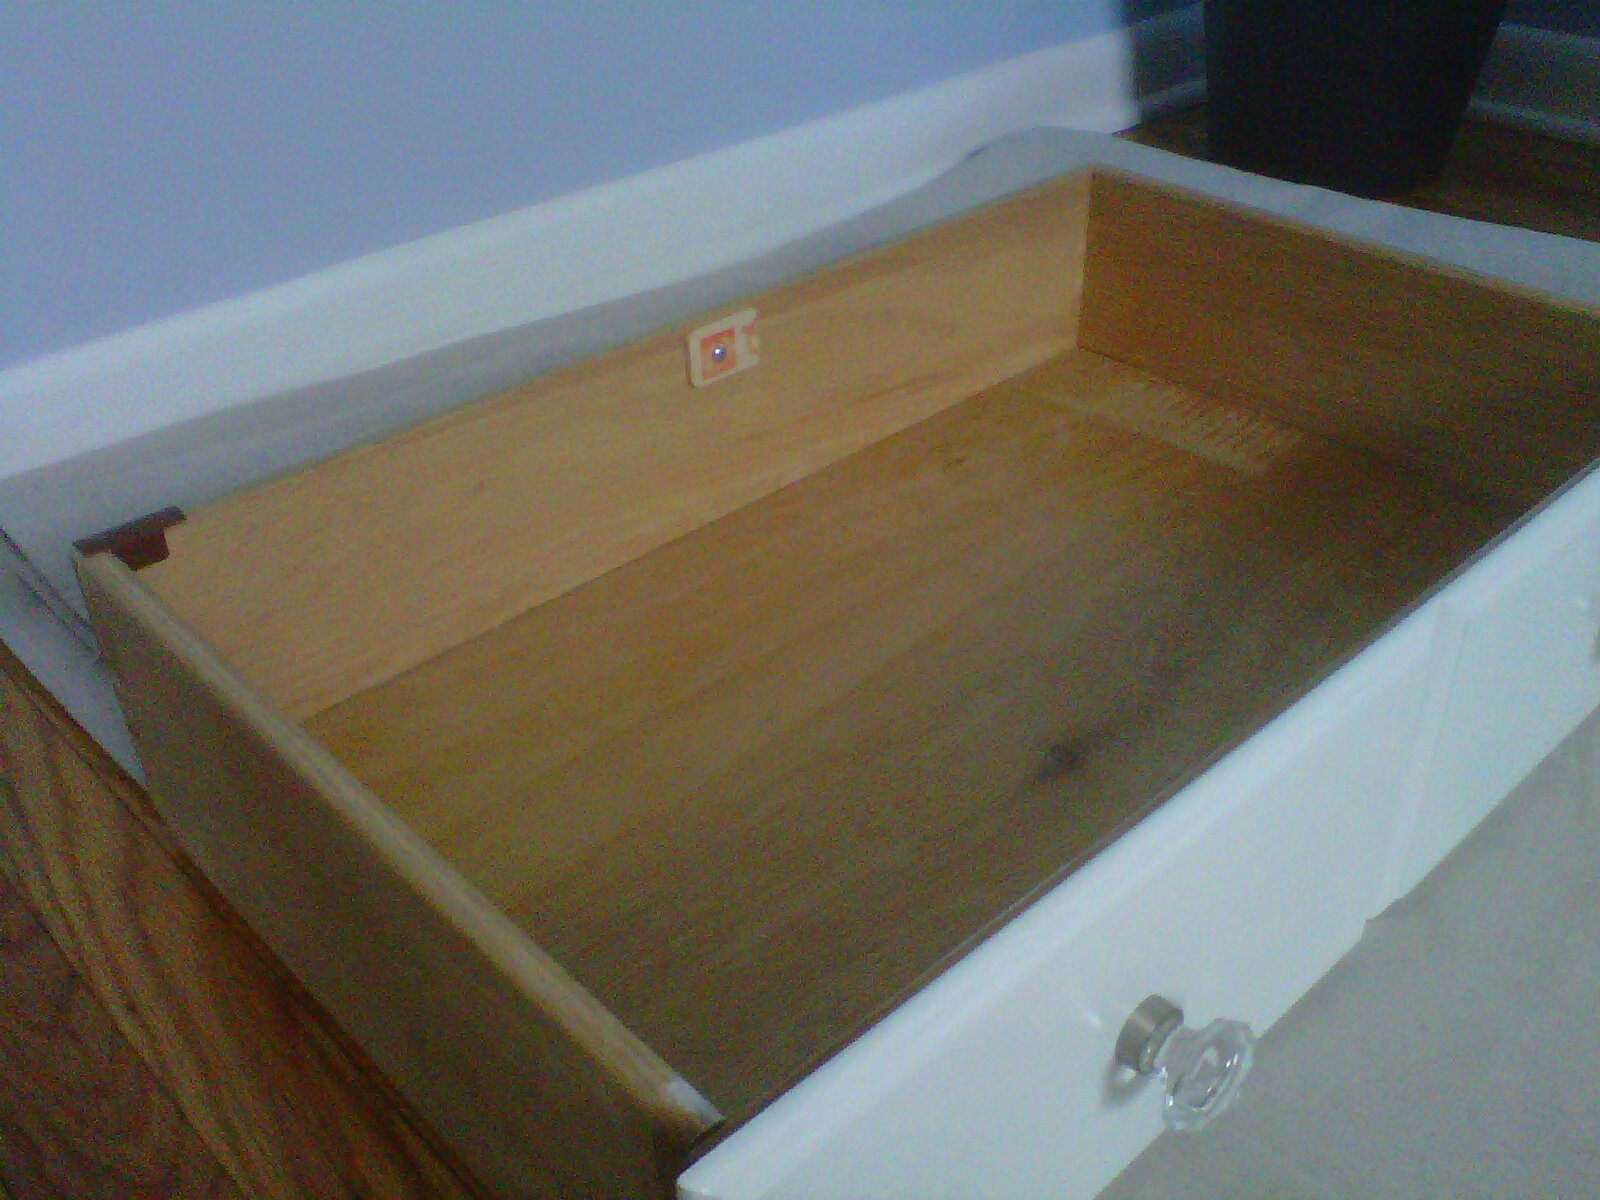
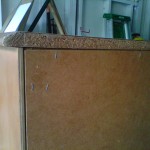
I refinished a dresser for our new baby boy recently (February 2012). My wife bought the dresser for $70 from someone on Craigslist and thought it was a good deal. The seller had told her that the dresser was solid wood. Since neither my wife nor I are experts on furniture, we took the seller’s word. It turned out that this dresser is constructed mostly out of crappy laminate/veneer on particle wood. Once I got it home and looked at the back and saw the exposed particle wood of the back end of the top, I knew this was junk. My wife insisted that this was a good deal, so I went ahead with refinishing it since we already brought it home.
I asked my wife to e-mail the seller to let her know that the dresser was not solid wood. The seller replied and stated that she really thought it was solid wood and offered a refund. Either the seller was being deceptive or she’s a complete airhead because I saw her and her husband refinishing other furniture in their garage when I picked up the dresser. You’d figure that she’d know how to tell if something is solid wood by now, especially when it’s blatantly obvious from just glancing at the back of the dresser and seeing the exposed particle wood.
Anyway, my wife found an article on how to refinish a dresser and I used that as a basis. I read that article, http://www.centsationalgirl.com/2011/04/how-to-paint-furniture/, on 2011-09-03. The article was not that great and the author was not very detailed regarding how much paint she used, etc. The dresser we got is pretty much the same size as the one in the article, so it would have been helpful to know how much primer and paint was needed.
The article has a section for supplies, below.
Supplies to Have Before You Start: Power screwdriver (+ drill bits if replacing hardware), medium (80 – 120 grit) sanding wedge, primer, latex paint color of choice, Floetrol, 2” angled quality paintbrush, water based polyurethane protectant.
As you can see, this is not a very detailed or well laid out list, so I made my own list based on that and added a lot more.
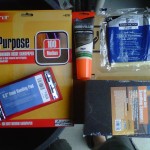
Supplies:
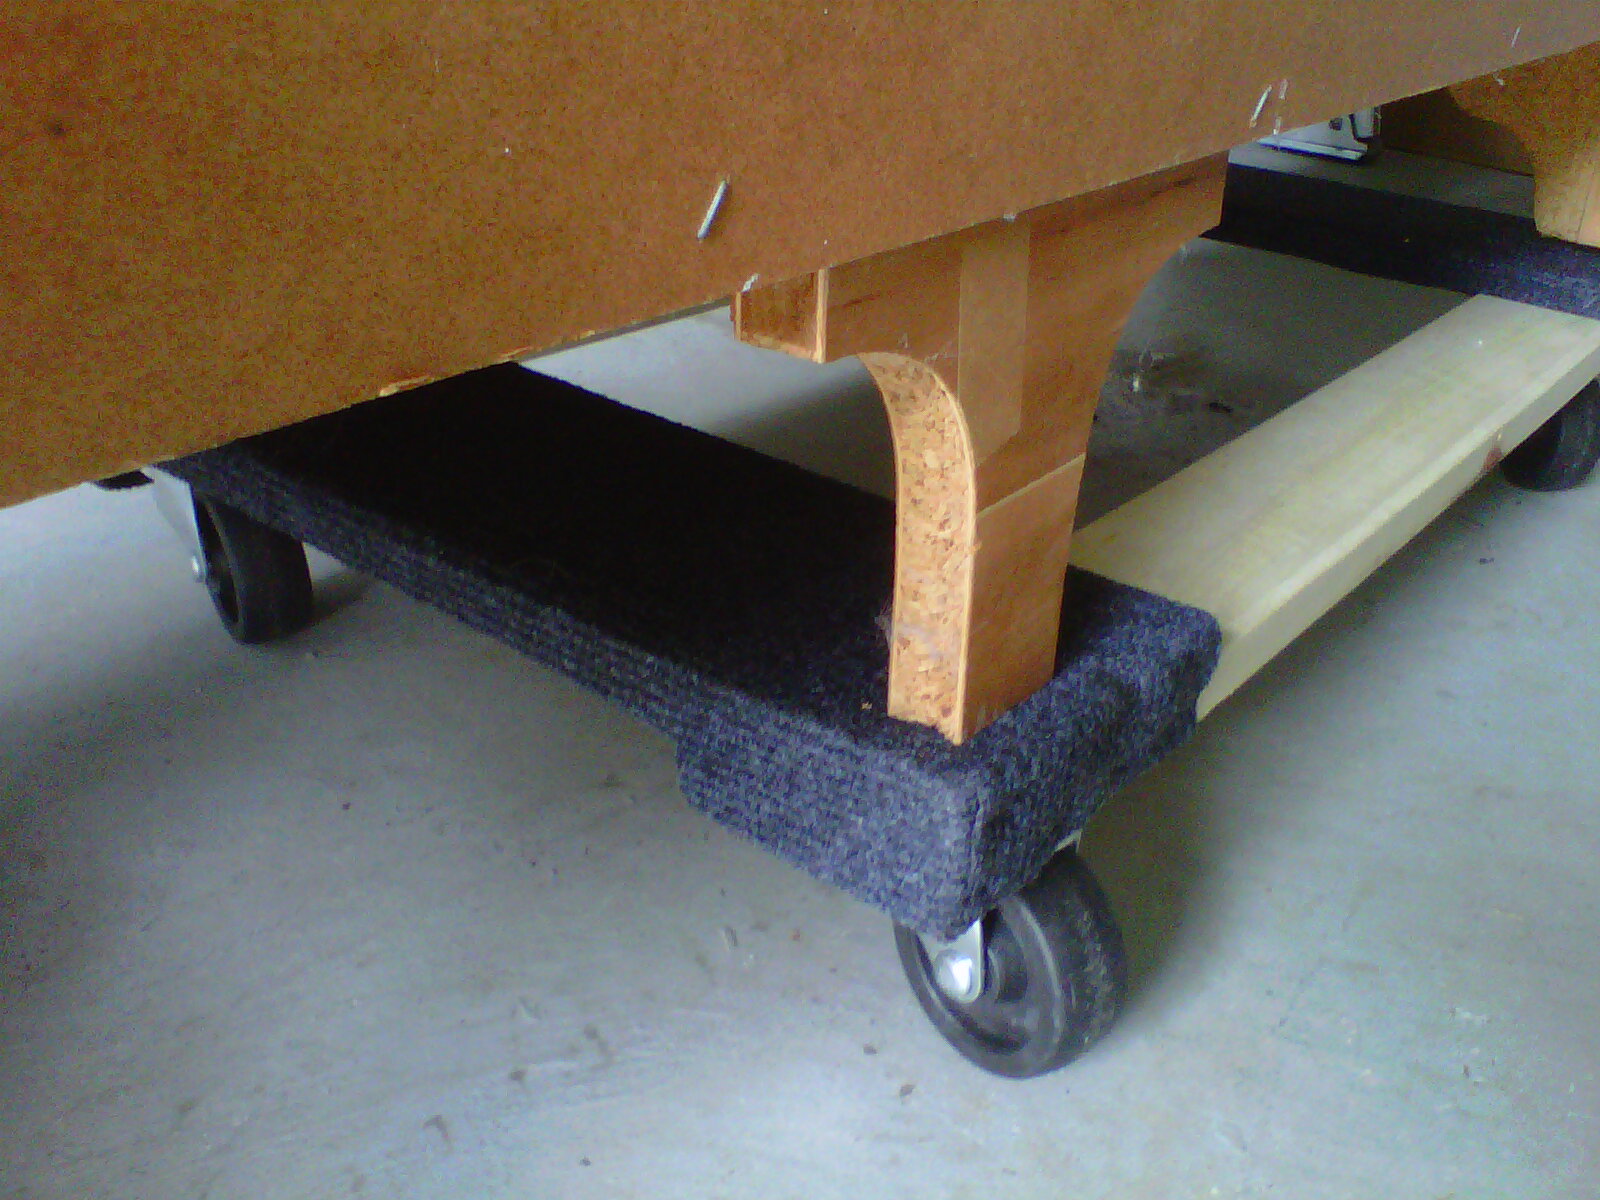
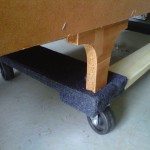
- Moving dollies (to move dresser around easily).
- Power drill + drill bits if drilling holes for new knobs/pulls.
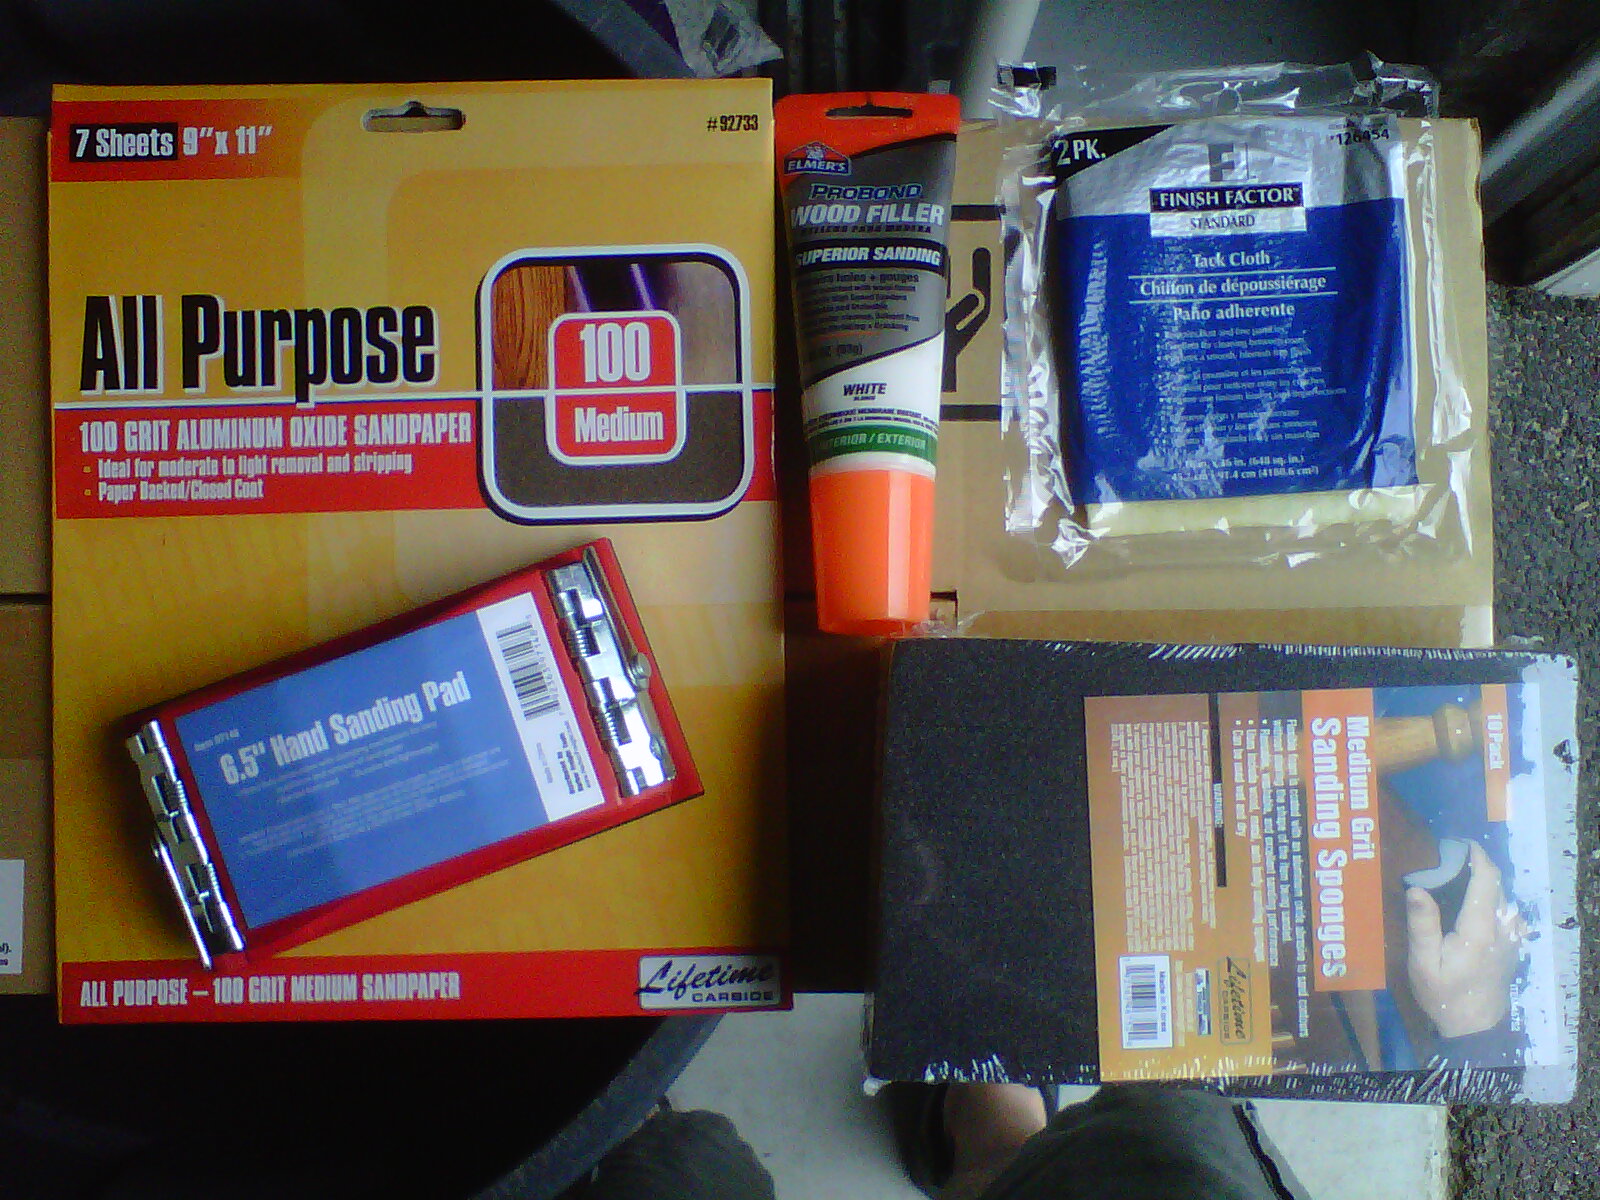
- Medium (80 – 120 grit) sand paper (smaller grit numbers are coarser, fine grit is around 180 or 200). I used 100 grit.
- Sanding wedge (aka sanding block).
- Elmer’s wood filler.
- Tack cloth (sticky gauze cloth used to clean debris from newly sanded surface).
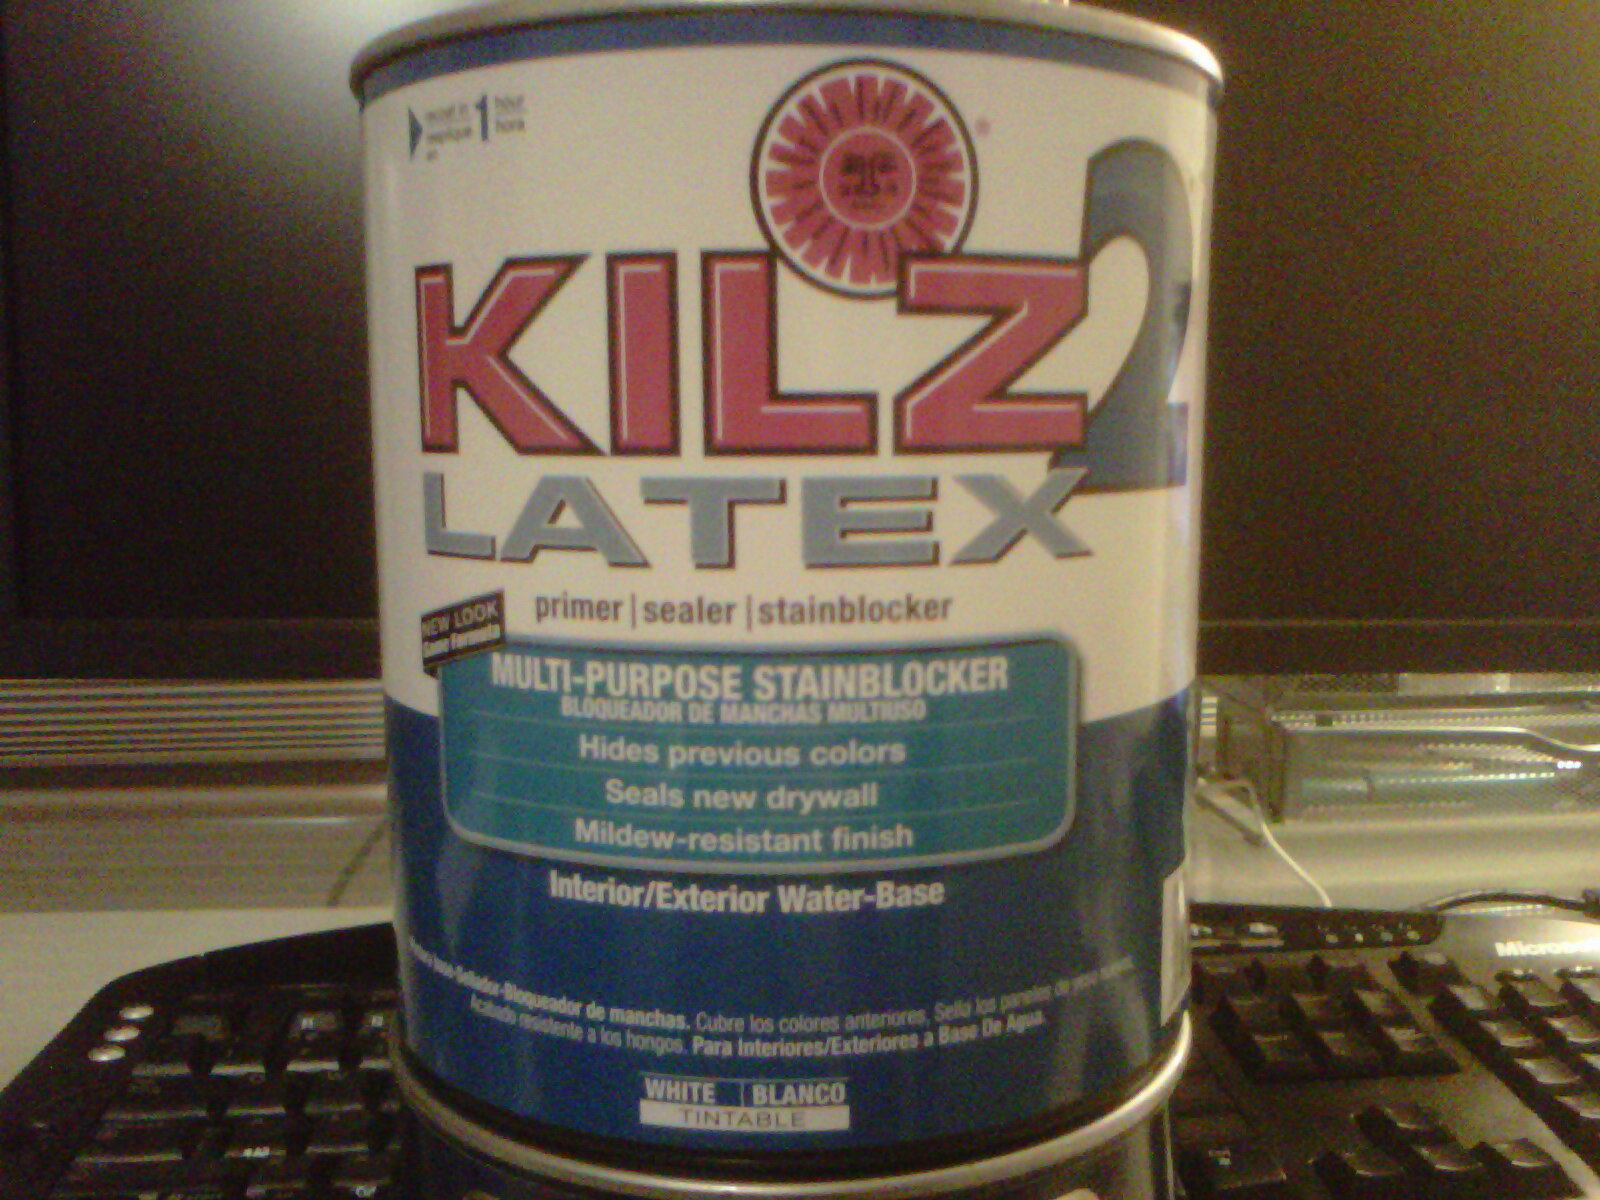
- Bonding primer, oil-based. I did not use this but used Kilz2 Latex (1 quart) instead, because it’s water-based. I don’t want to deal with the chemicals necessary to clean oil-based paints/primers. I did some research on primers and found nothing negative regarding the use of a latex/water-based primer on wood. I even e-mailed Rust-Oleum (the makers of Zinsser primer) and here is my question and their reply: Question: What are the pros and cons of water-based vs oil-based primer? Answer: Oil based primers will typically block stains that water based primers will not. Oil bases are also more sandable than water based products. Water bases have much less odor and are more friendly to use with simple water clean up. Adhesion between the two would be equal and both will accept an oil or water based topcoat.
- Latex paint color of choice. I used Olympic high gloss white 18777 (1 quart). The instructions advise to wait four hours between recoats. One quart is plenty for several coats. I still have enough left over for one more coat.
- Floetrol (latex paint conditioner makes it easier to work with the paint). I used this and it didn’t seem to help so I only used it on the first coat of paint. You really don’t want to be painting for a long time with the same paint and brush because the brush will just get a lot of paint build-up on it and you’ll need to clean it. What I ended up doing was painting the dresser itself first, and then cleaning the brush and using a new load of paint on the drawers. It took me around 1 ½ hours for each painting/priming session. Note that the instructions on the Floetrol bottle were not helpful because they used different units of measurement on the front and back of the label. I didn’t feel like running back into the house to get a conversion chart and trying to figure out the correct proportions.
- 2” angled quality paintbrush. Get synthetic bristles made of nylon/polyester since they can be used for both water-based and oil-based paints. I got a Purdy. Read the article on how to clean paint brushes at http://www.askthebuilder.com/686_Cleaning_Paint_Brushes.shtml. Basically, to get a good paint job, clean the brush often. And for water-based paints, you can soak the brush in water (just to cover the bristles) before painting so the paint won’t stick to the base of the bristles as much. To really clean the brush, I soaked it in Motsenbocker's Lift Off 1-Gal. #5 Latex Paint Remover and aggressively scrubbed it with a stiff nylon bristle brush (I did this twice and it got all the paint off).
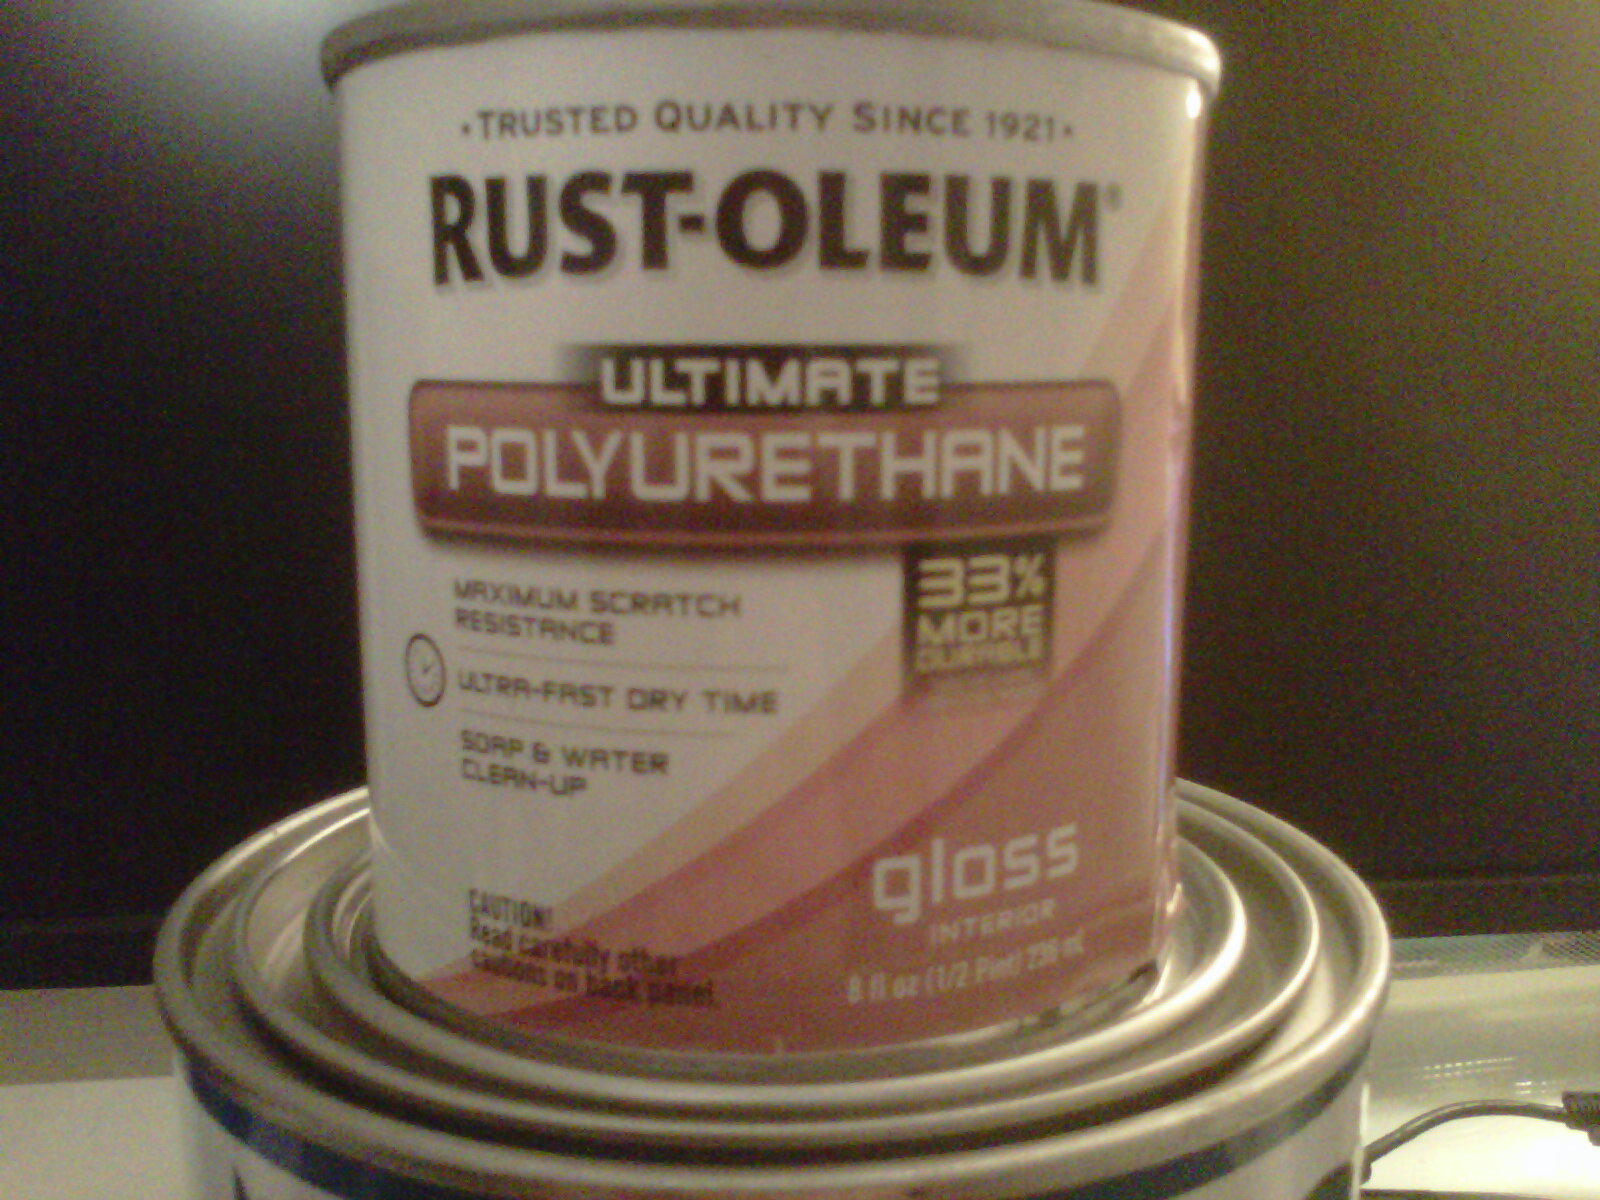
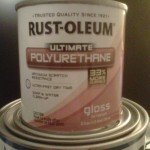
- Water based polyurethane protectant. After reading the instructions for the different brands, I chose Rust-Oleum Ultimate Poly. It’s also a name brand but is cheaper than Minwax and doesn’t require sanding between coats.
Here are my other notes:
- Dresser size: 50” wide x 31” high x 18” deep = ~25 sq ft. This seems like a "standard" size for most dressers of this style. Most paints and stains cover 400 sq ft per gallon on a smooth service (less for rough/porous surfaces). So assuming two coats, I could get by with 1/8 gallon. Since 1 Quart = 1/4 Gallon, a quart should be plenty for the dresser.
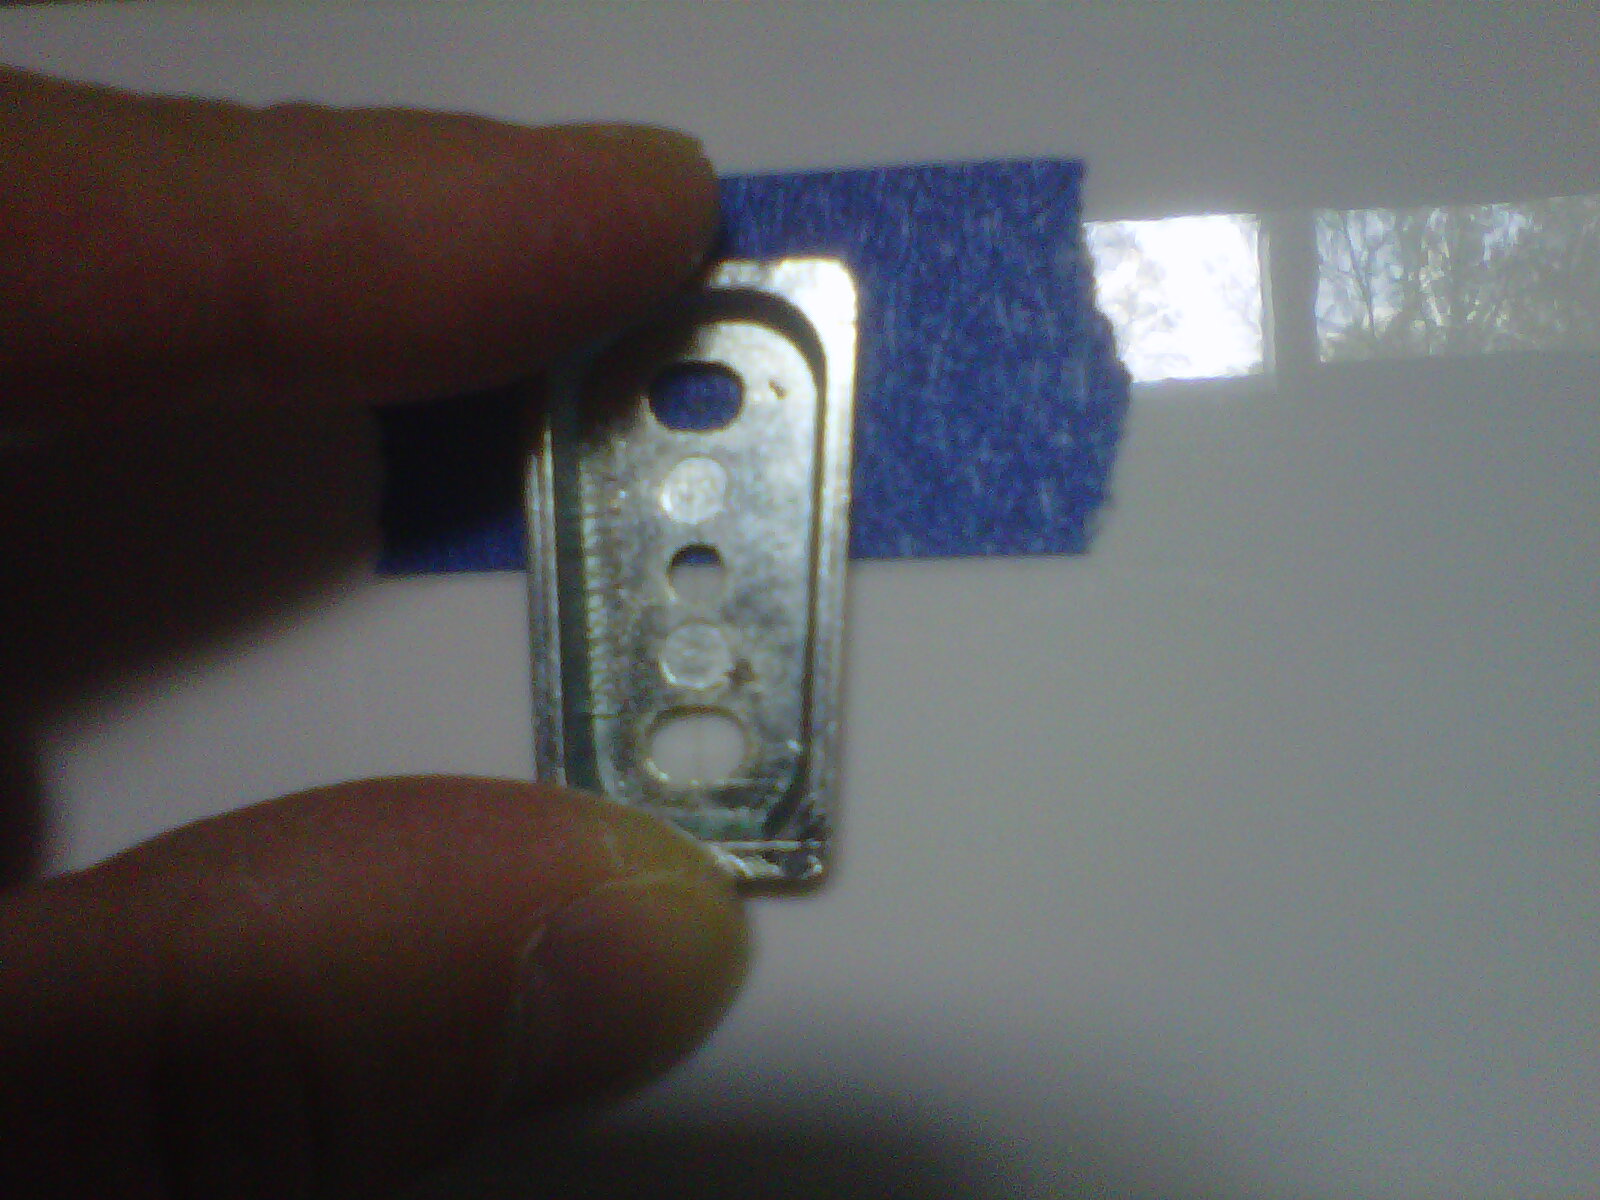
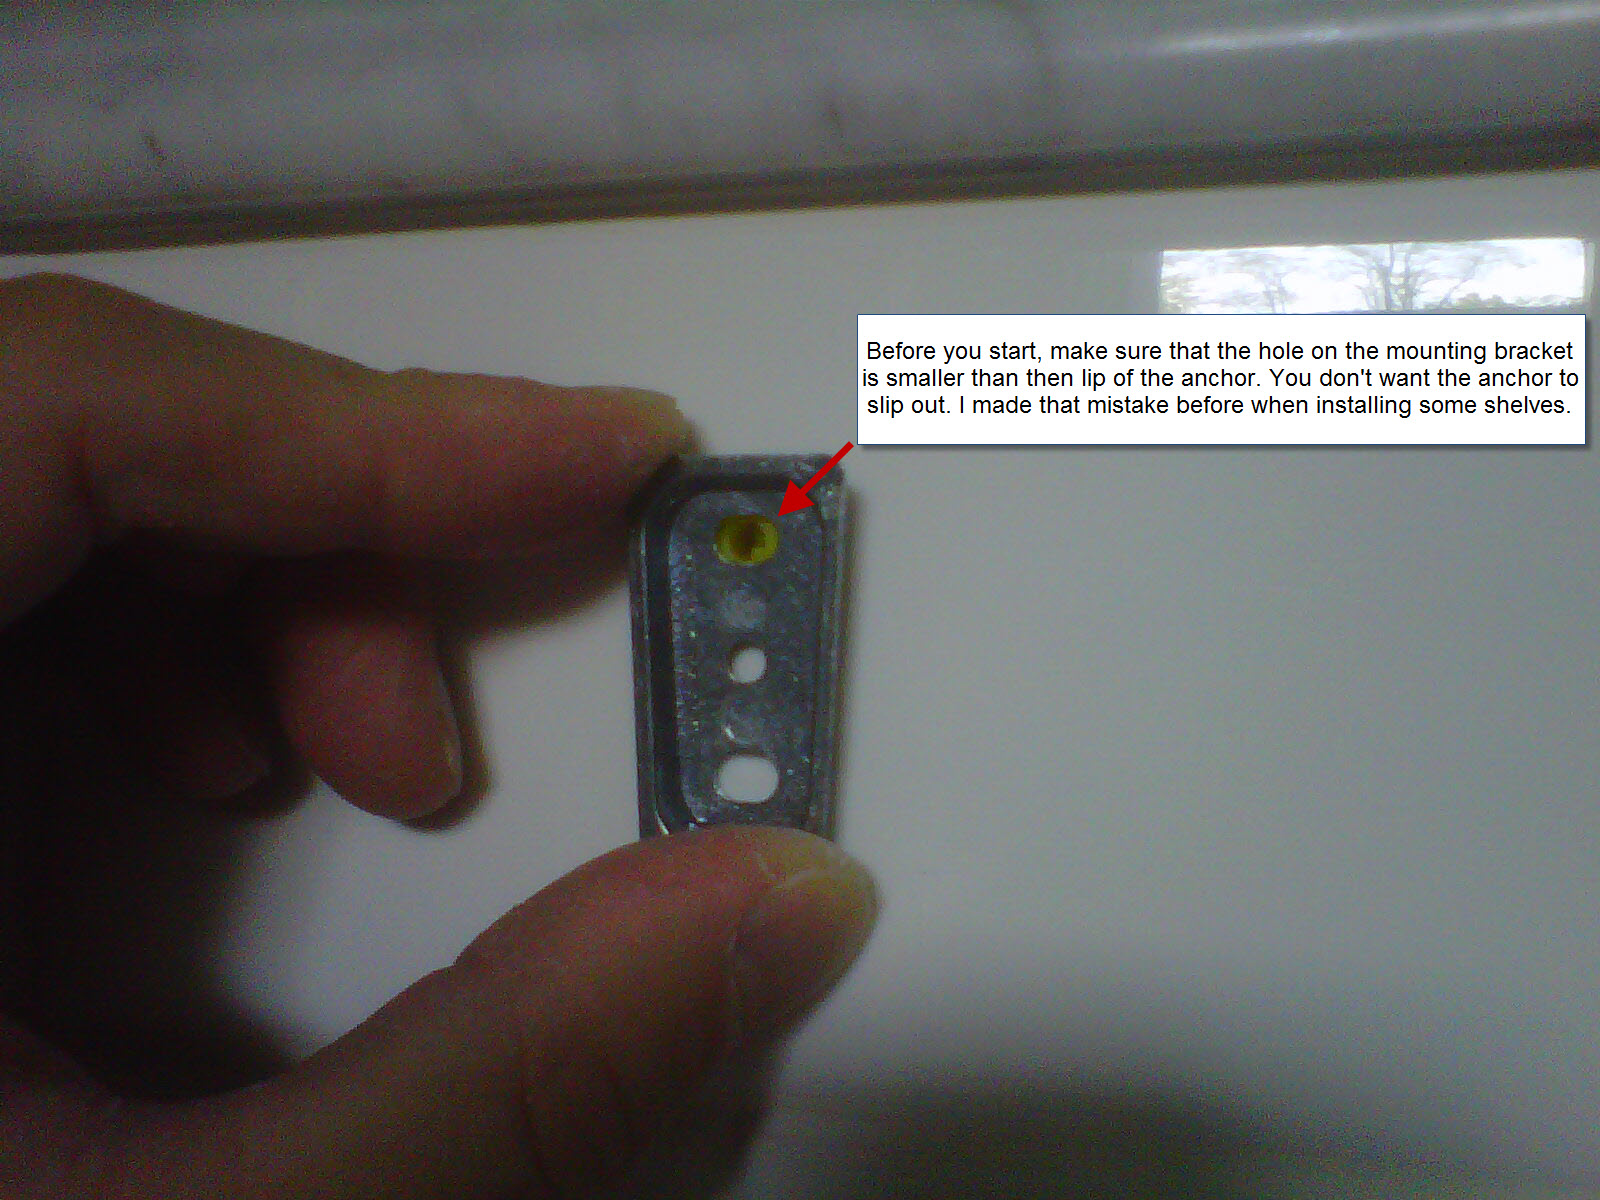
- If you can, keep the same size pulls. If you have to drill holes for new pulls and patch them, doing so will add at least a day or two to the project because the drying times for deep patches take longer.
- Take all the drawers out and carefully inspect the inside and outside. Hammer down loose nails and tighten up loose screws. Also inspect the dresser itself for any issues.
- Use a sanding sponge for rounded sections.
- Use a sanding block and sand paper for large flat surfaces.
- Drill holes for new hardware before priming. I’m not sure why the centsationalgirl author does that after painting.
- Don’t get discouraged when you prime or put on the first two coats of paint and see all the brush marks. Most of them will smooth out when dry.
- The polyurethane is very difficult to see when applied onto gloss white paint. But since the one I used recommends 3 coats, I figured that with that many coats I’ll cover every spot on the top whether I see it or not.
I found another article at http://www.younghouselove.com/2009/02/how-to-paint-furniture/ that clarified some things. Also, these articles from Home Depot were helpful:
http://www.homedepot.com/webapp/wcs/stores/servlet/ContentView?pn=Sandpaper_and_Abrasives&langId=-1&storeId=10051&catalogId=10053
http://www.homedepot.com/webapp/wcs/stores/servlet/ContentView?pn=Brushes&langId=-1&storeId=10051&catalogId=10053
http://www.homedepot.com/webapp/wcs/stores/servlet/ContentView?pn=Interior_Paints&langId=-1&storeId=10051&catalogId=10053
In summary, this was a pain to do and the results weren’t as good as I expected (I'm pretty sure the cheap laminate wood had something to do with this since it didn't absorb the primer/paint as well as real wood). I started on this in the fall so the temperatures weren’t ideal since most paint/primer instructions suggest 50 degrees F minimum. I did use a heater in the garage when it was really cold, but it didn’t warm the garage very well.
Each coat of paint or primer took around 3 hours.
Sanding and misc prep = a few hours.
Primer – 2 coats everywhere = 6 hours.
Paint – 2 coats everywhere = 6 hours.
Paint – 2 more coats on selected areas = 3 hours.
Poly – 3 coats on the top only = 1 hour.
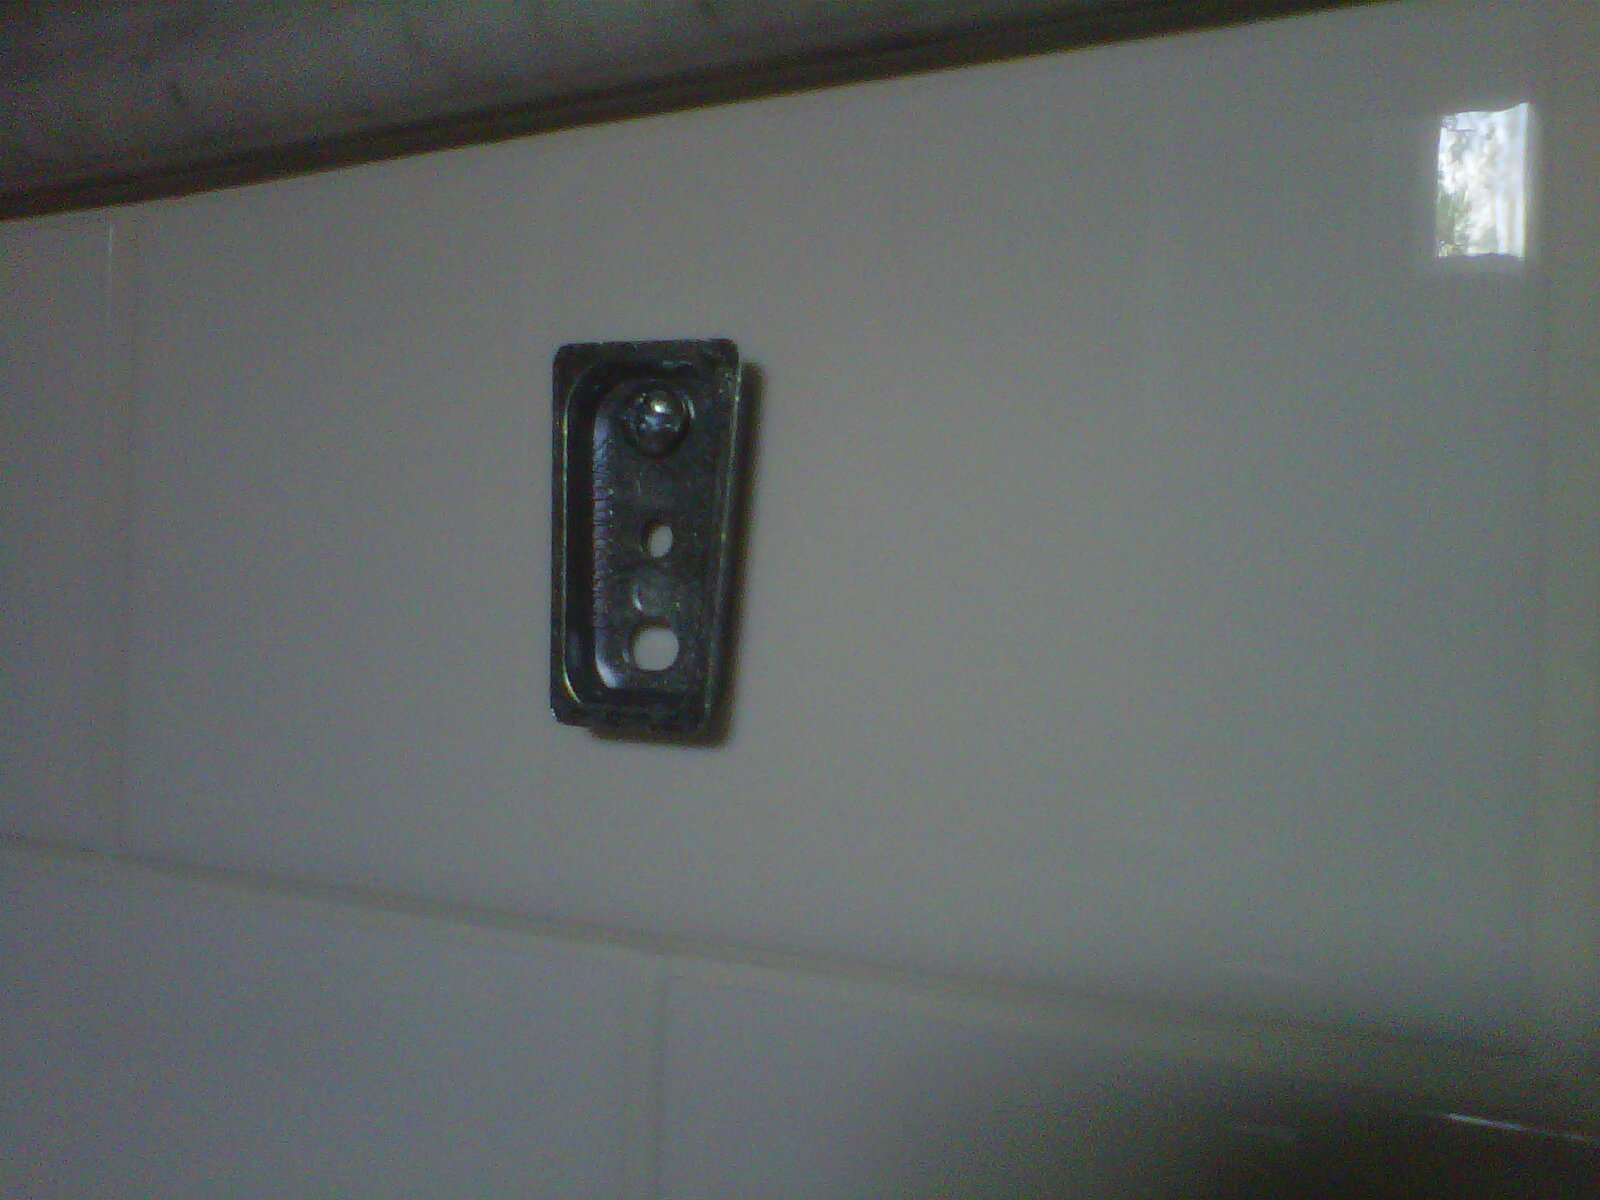
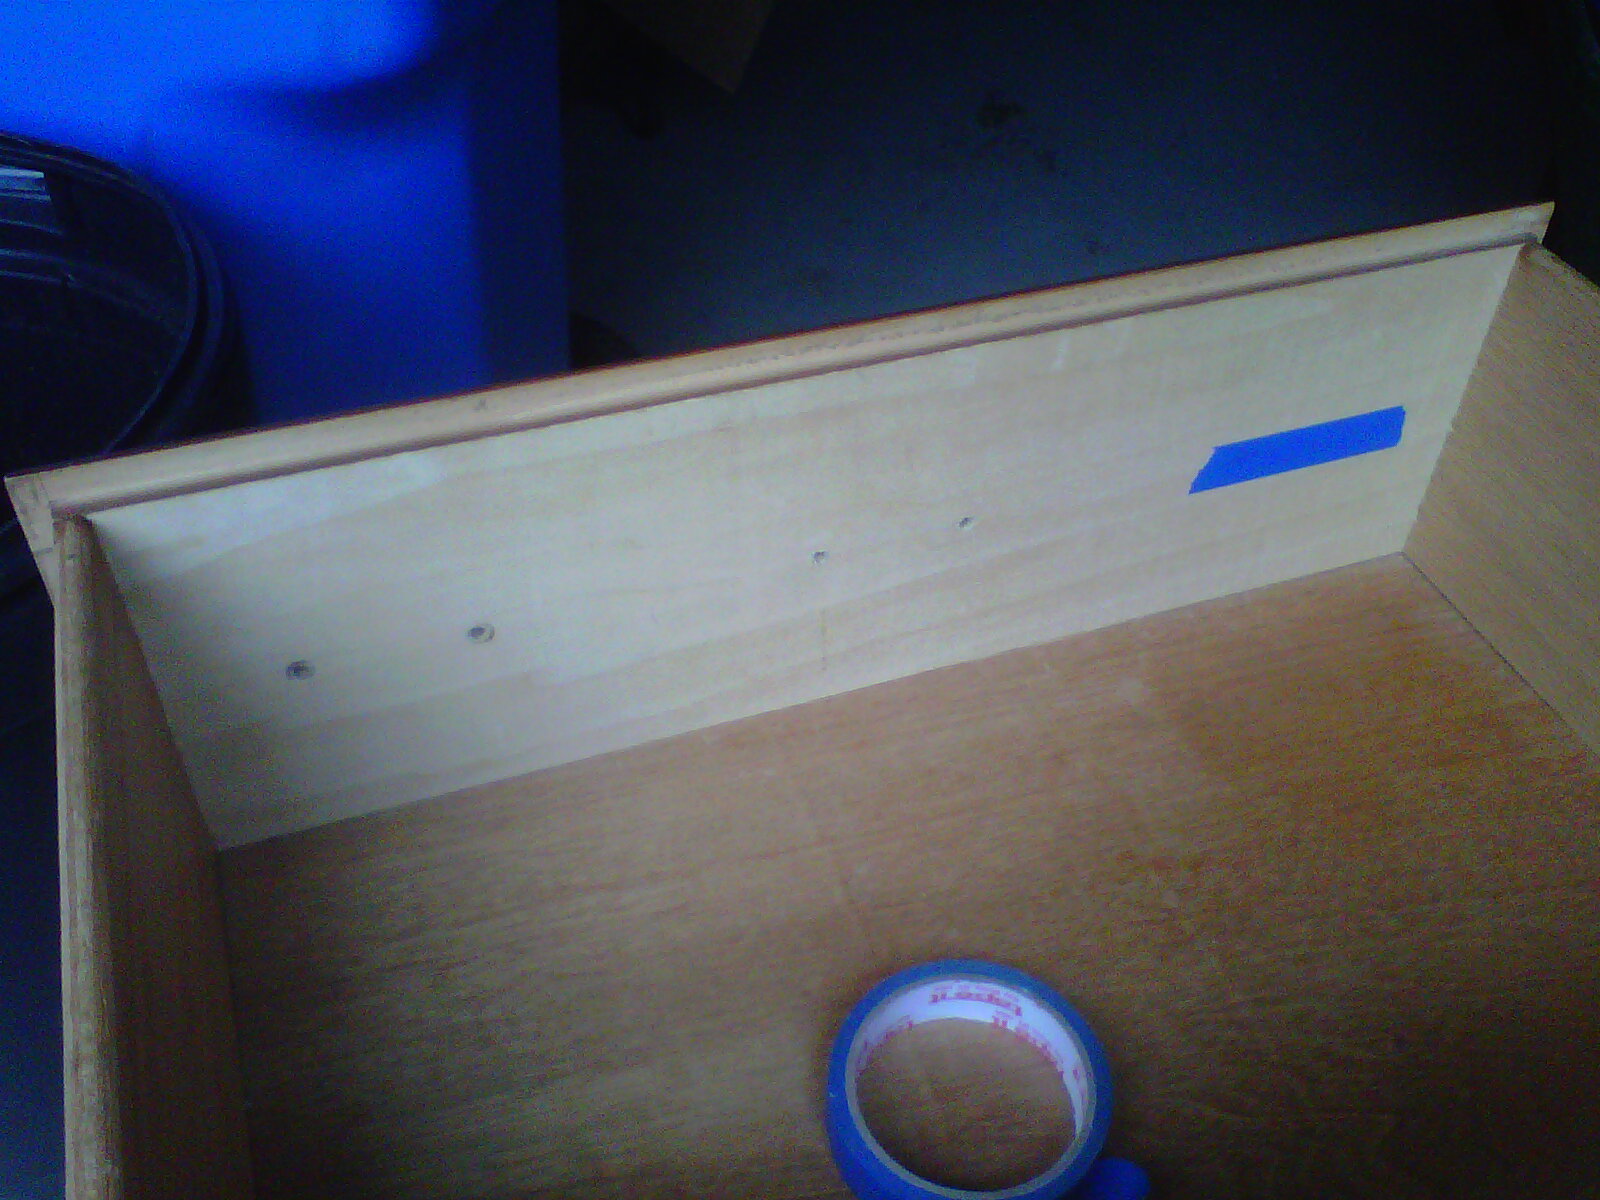
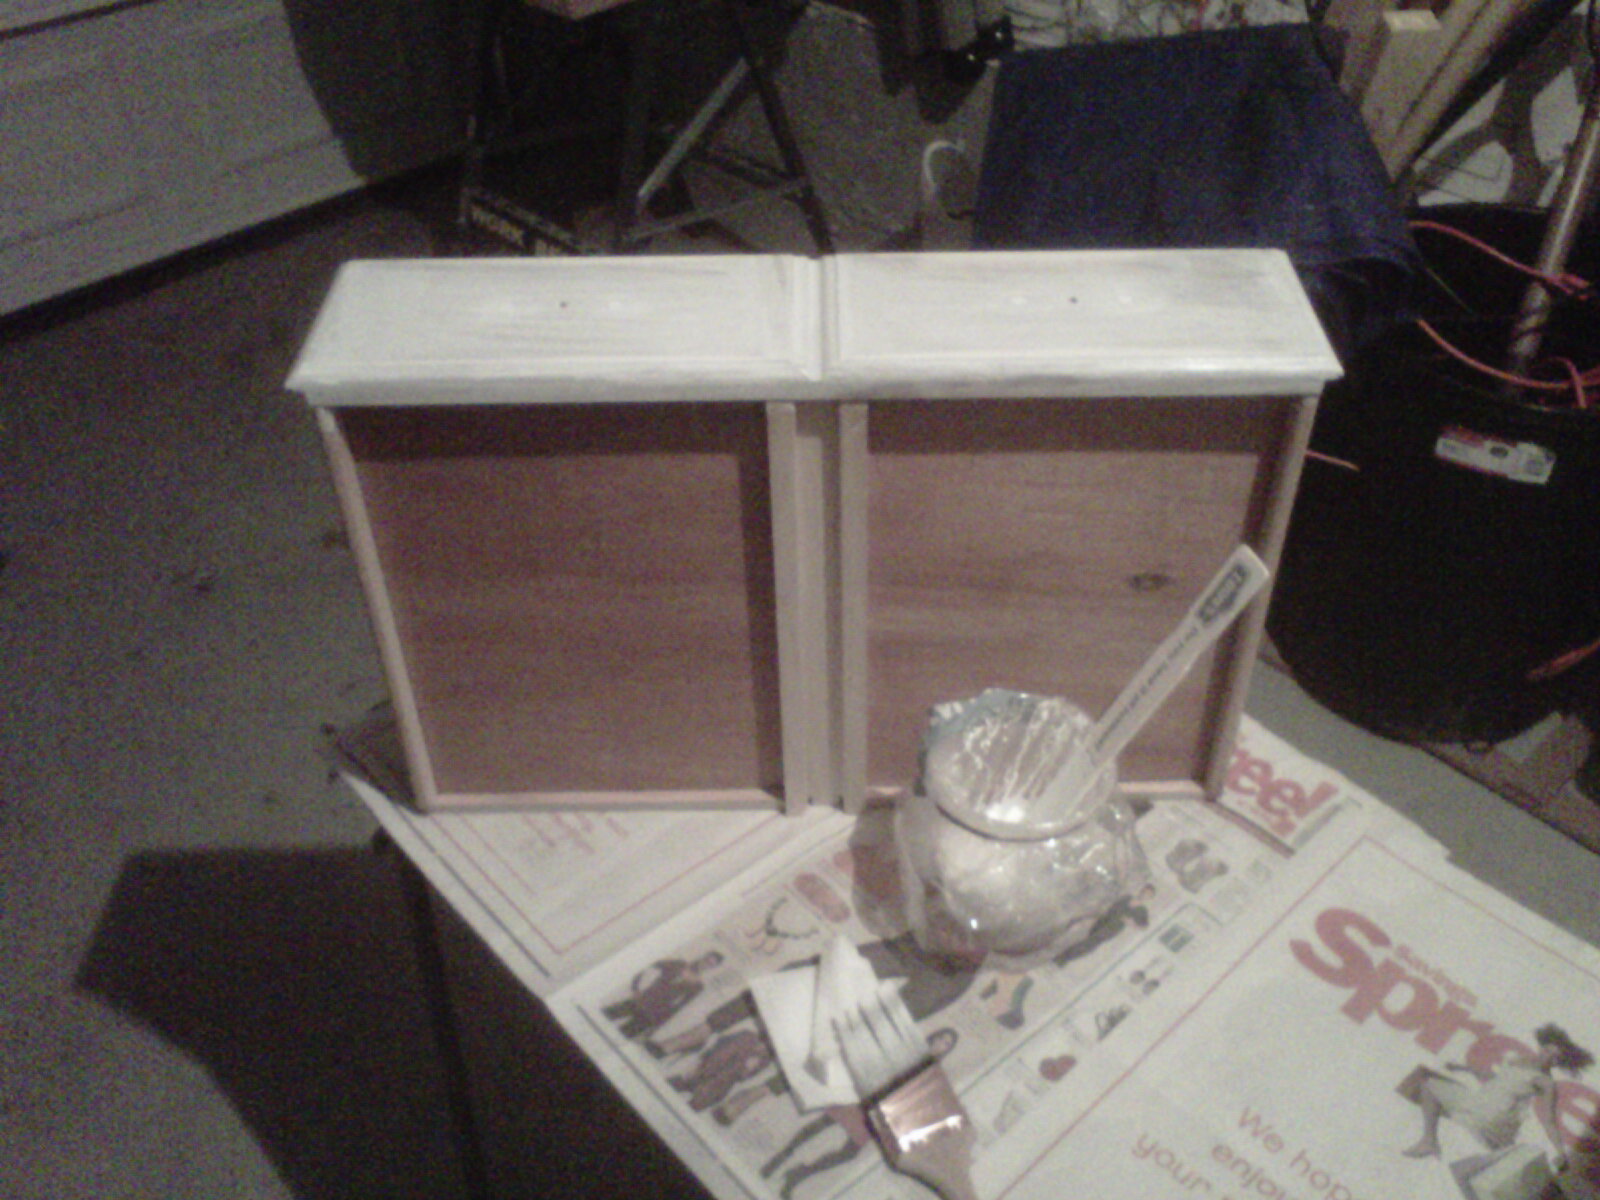
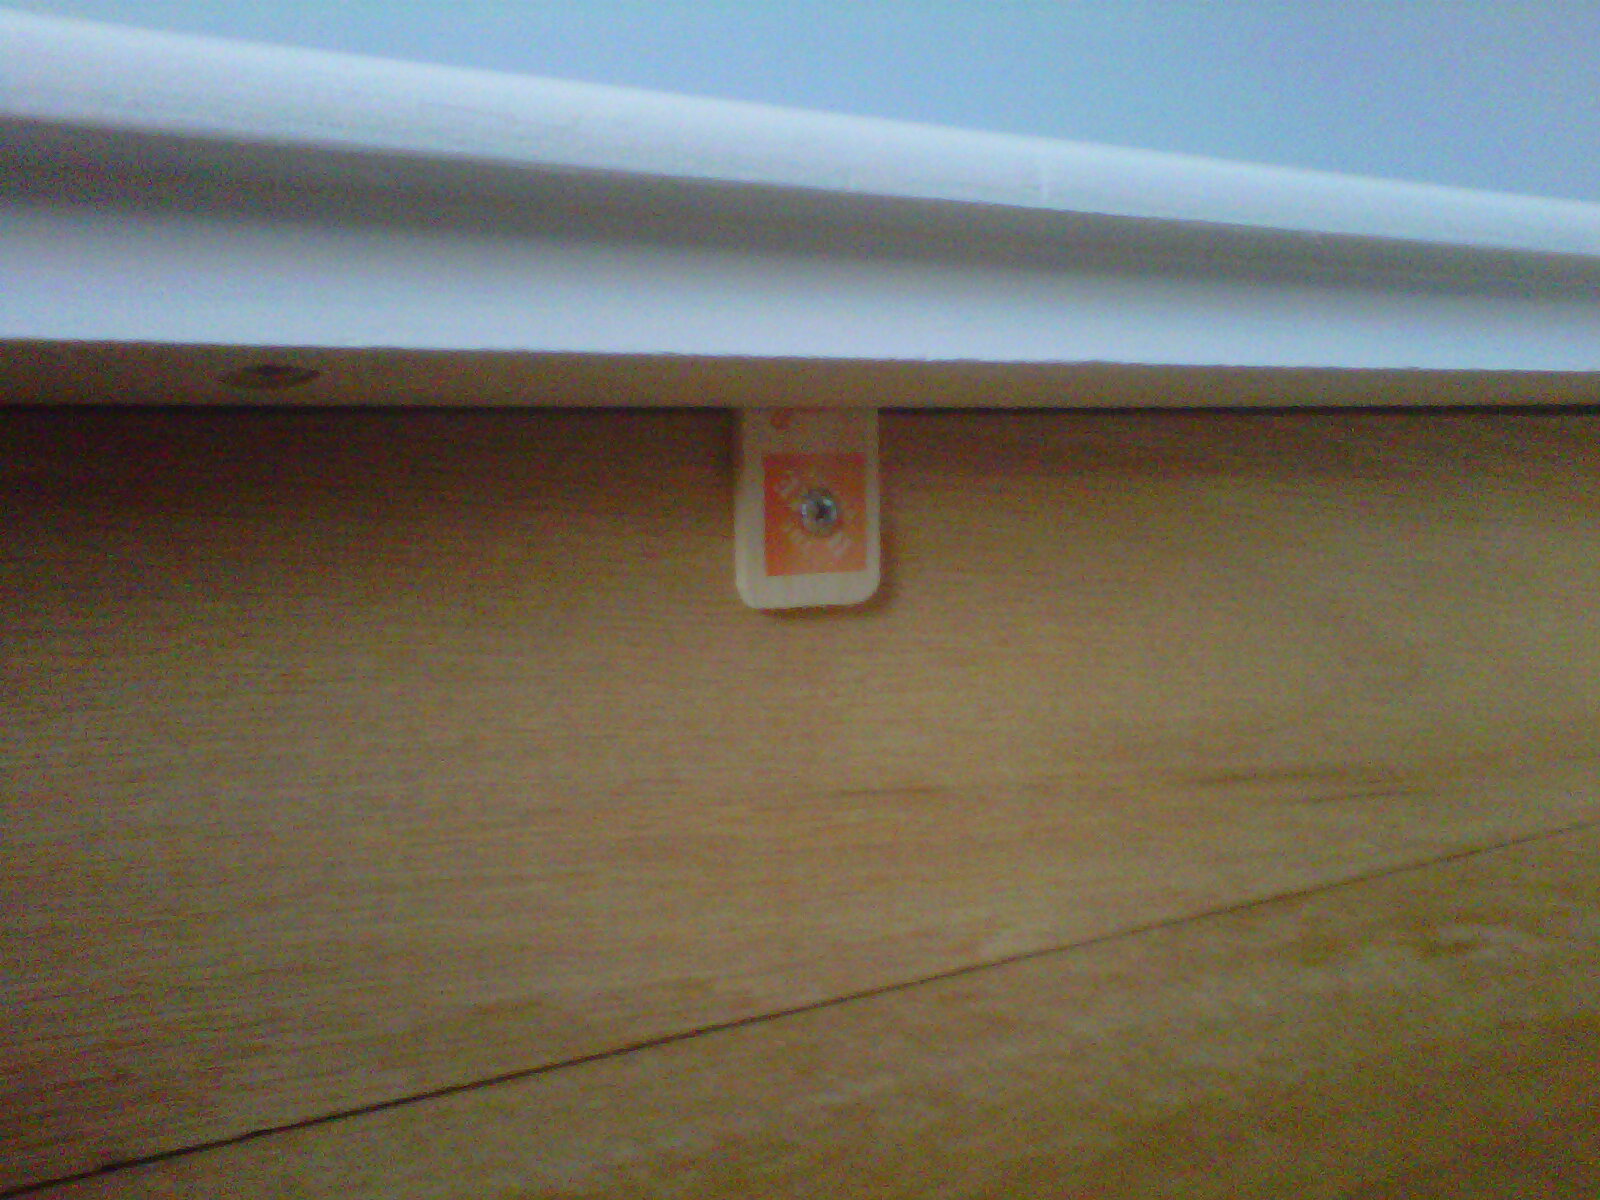
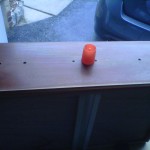
I also made my own drawer safety stops so that the drawers won't accidentally come out all the way (if you pull them hard enough or wiggle them, the drawers will eventually come all the way out, but this is better than nothing). I was going to buy real stops but the cost wasn't worth it so I made them using pieces of Home Depot paint stirrers, pre-drilling the holes, and then screwing them in.
In all, this probably took 20 hours of actual work. And the work can’t be done continuously since there needs to be time for drying. So with a job and other activities, expect to spend several weeks on this project. It looks more appealing to just buy a new dresser for $500 considering the time and materials needed to refinish. But since this was for our first baby, it meant a lot more to me to do the work myself.
-
-
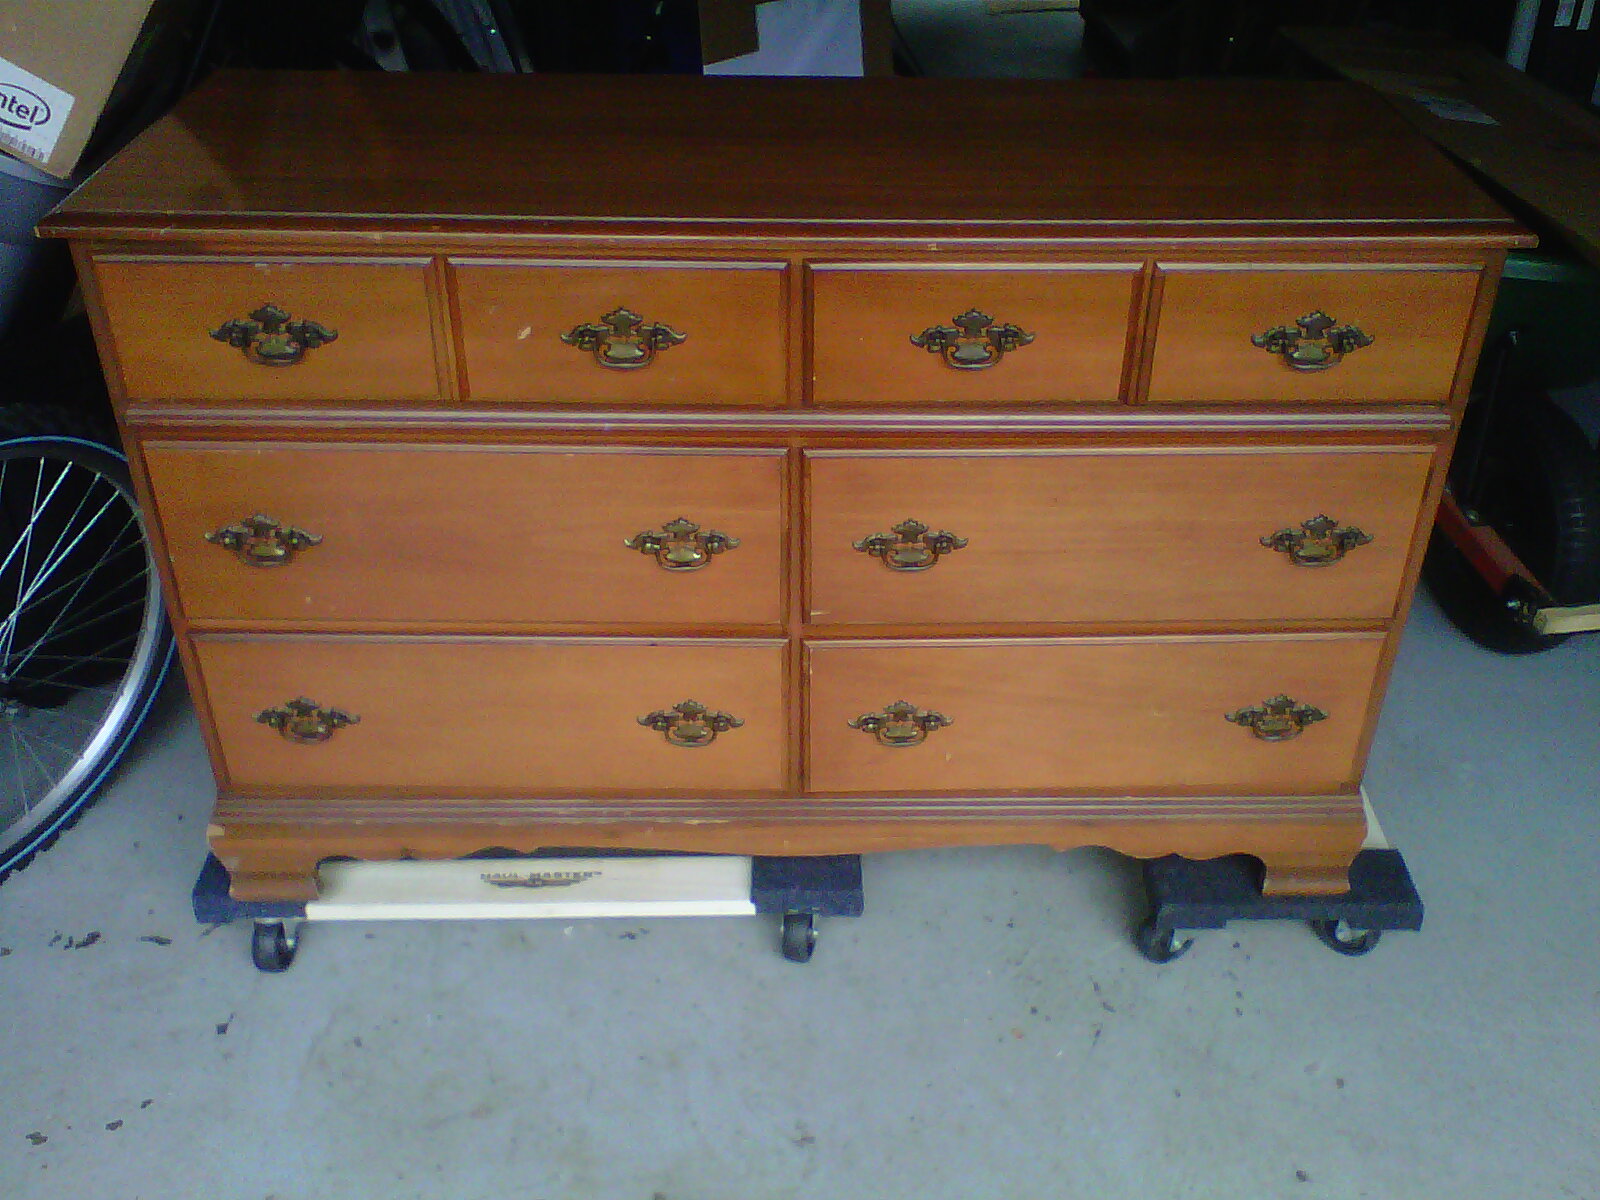
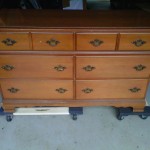
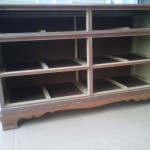
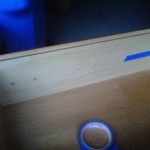
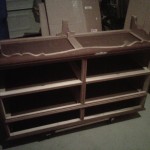
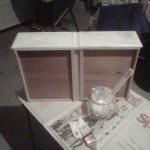
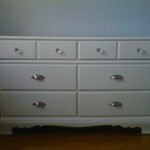
Dresser, before.
-
-
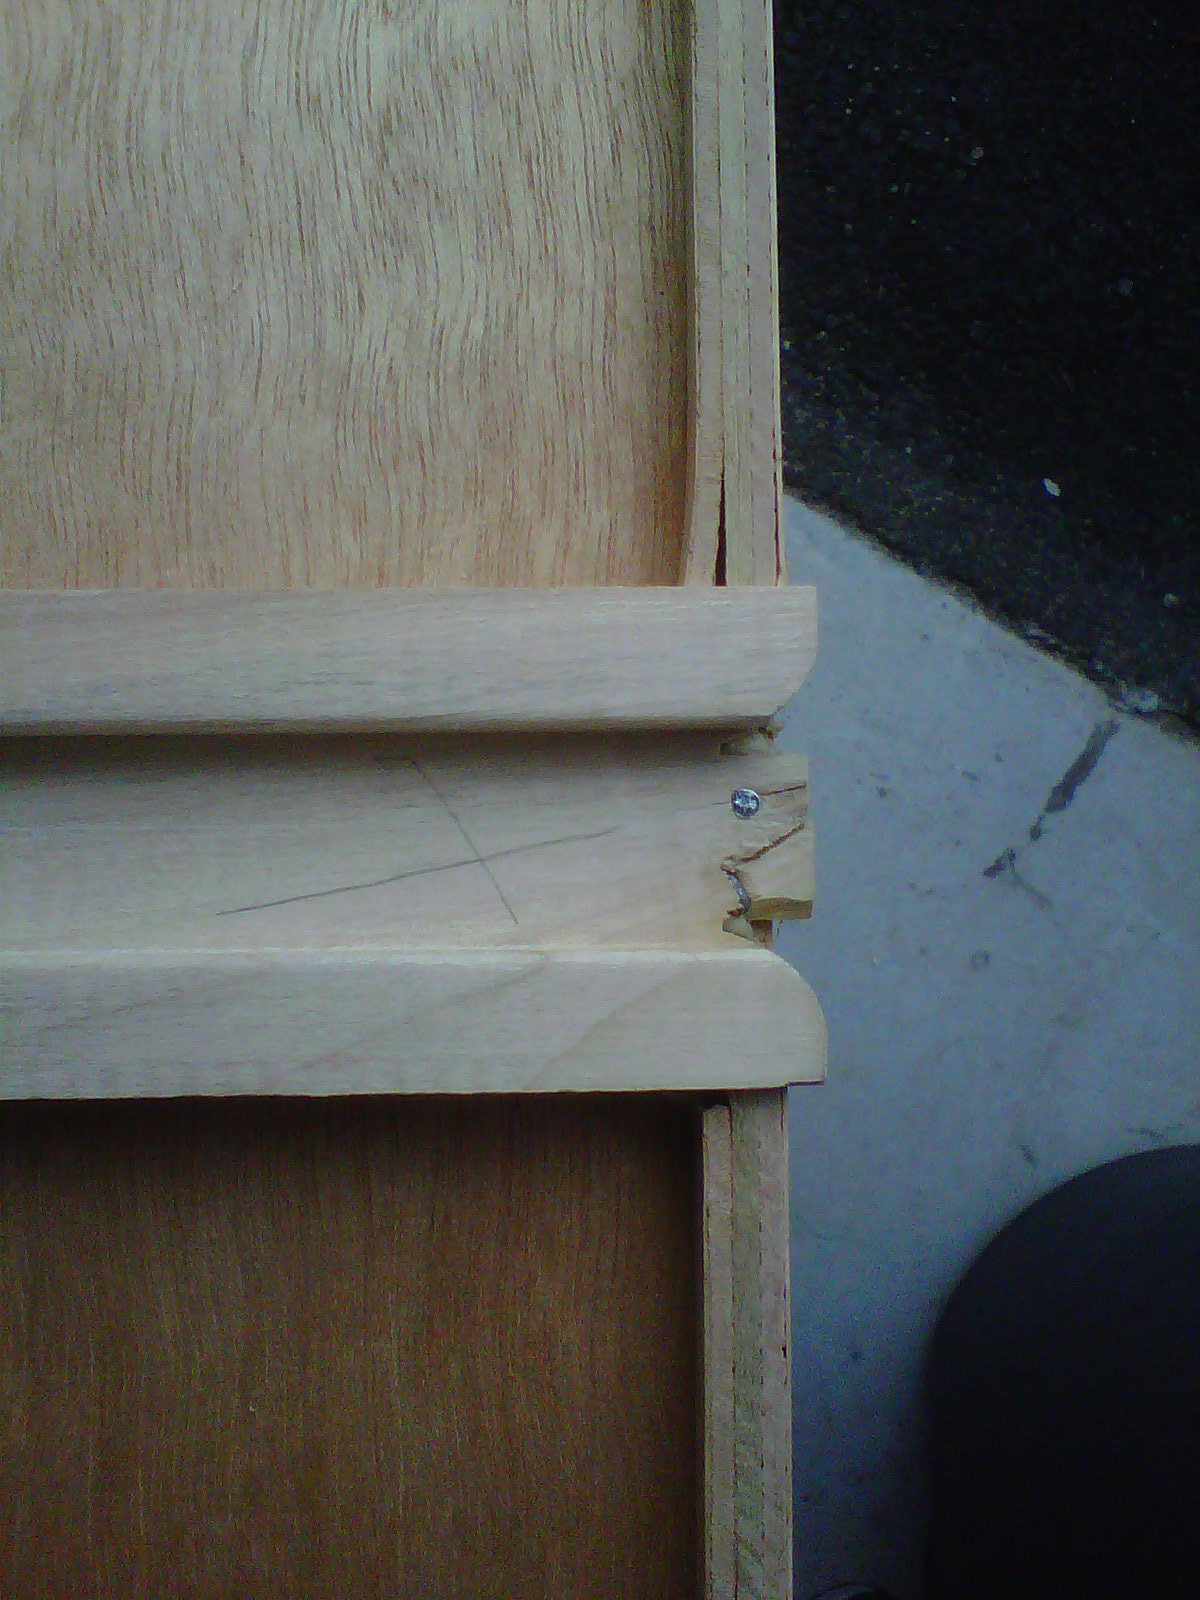
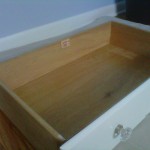
See the cheap particle wood??? It’s not difficult to spot.
-
-
-
-
-
-
-
-
-

-

-
-
-
-
-
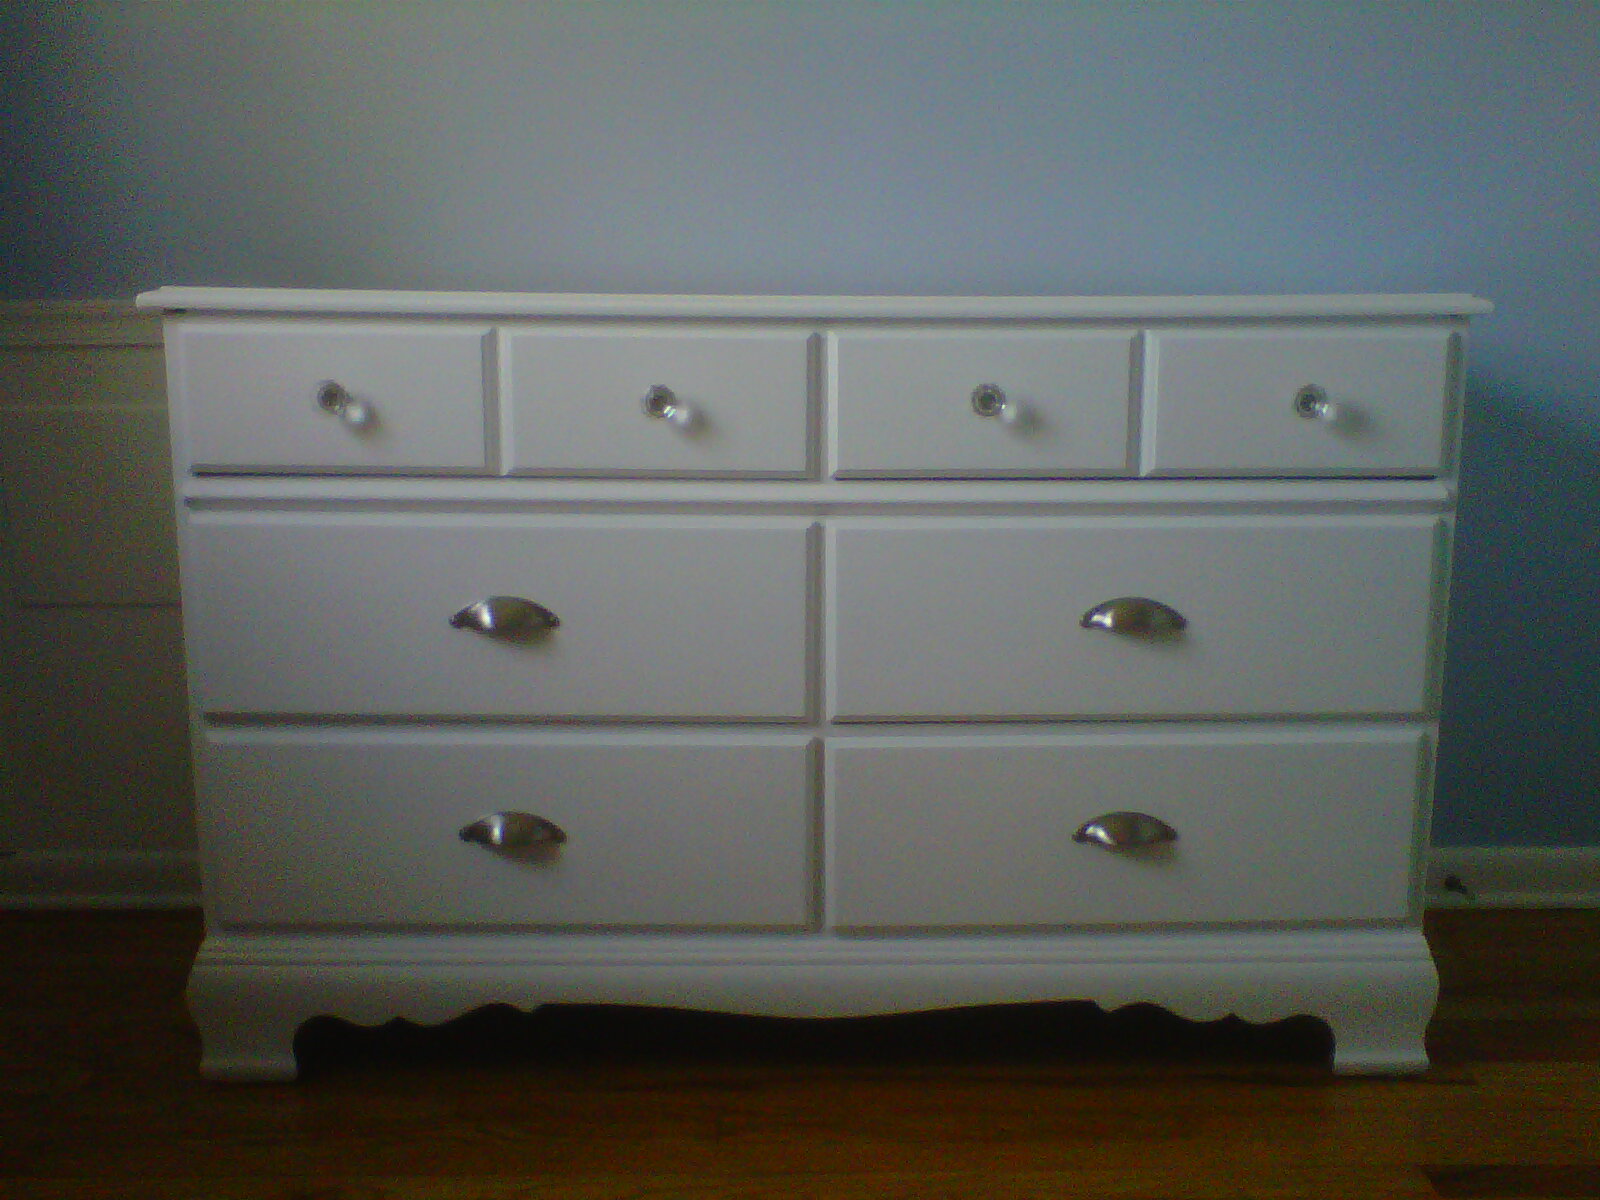
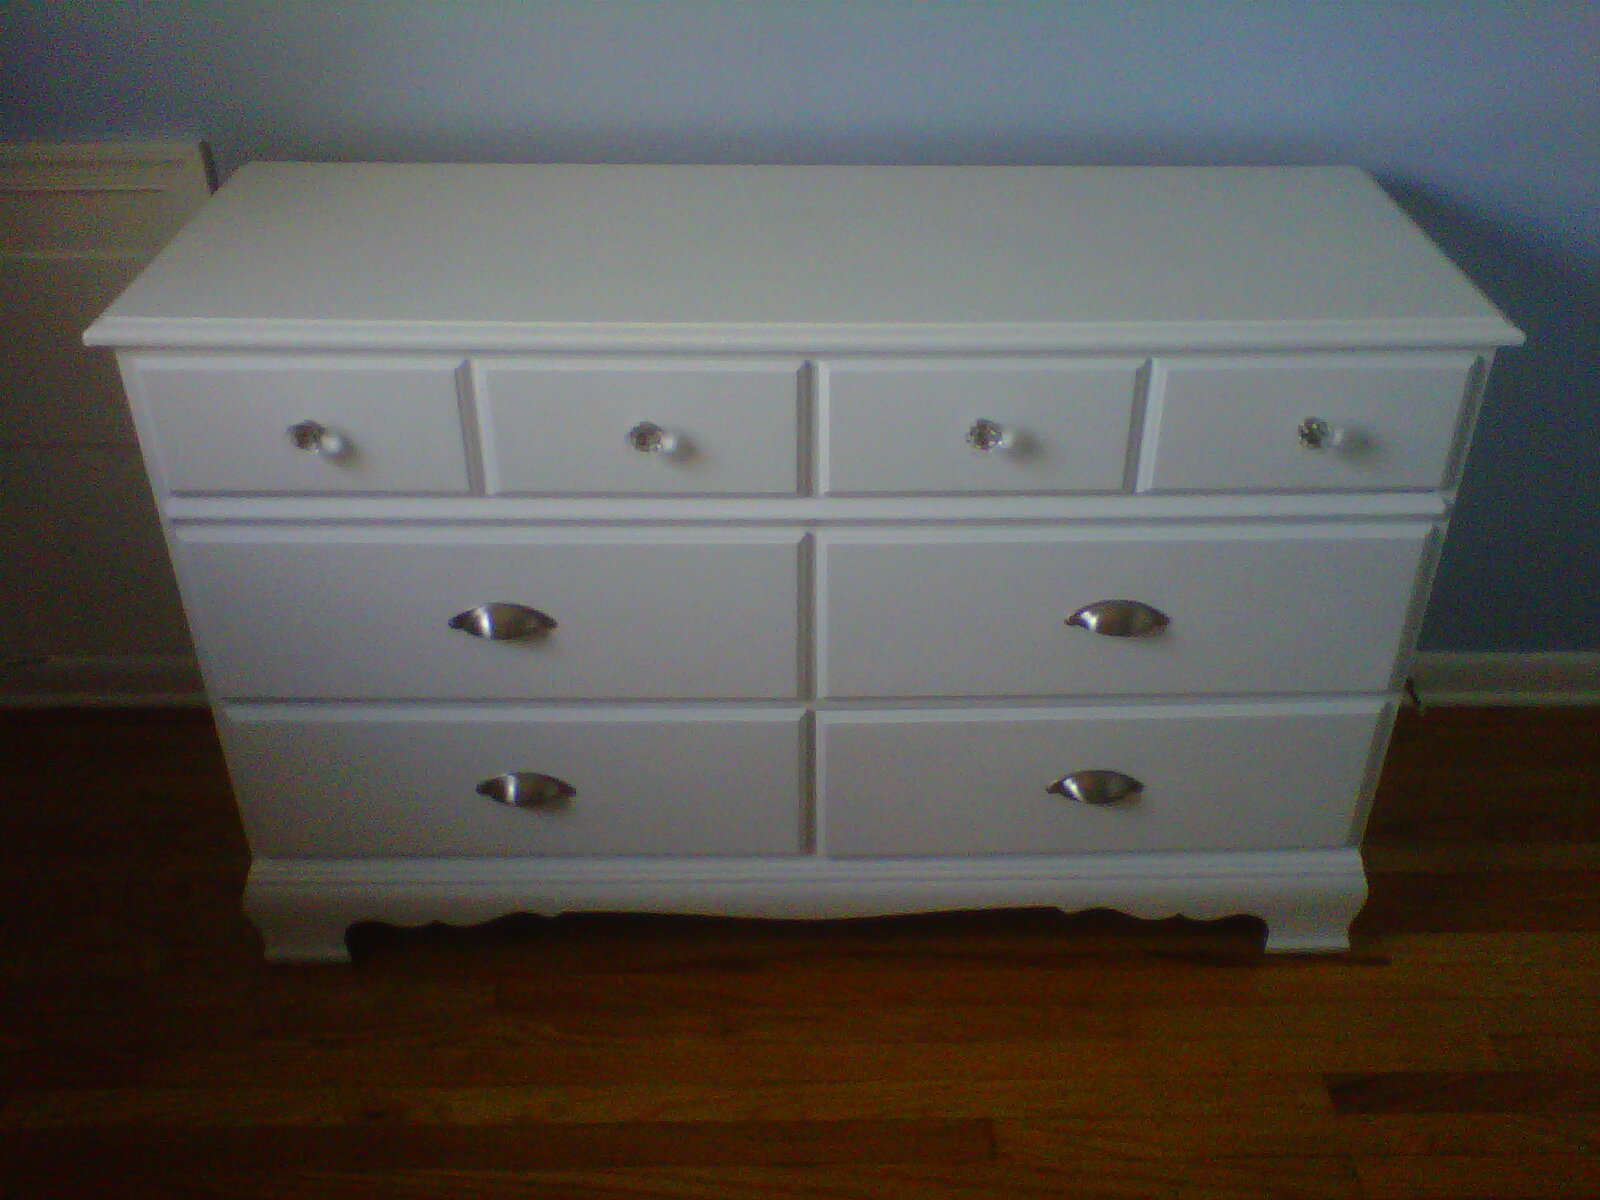
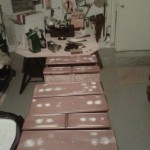
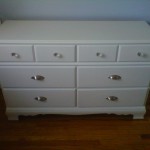
It took me 4 months on and off, but it’s finally done!
-
-
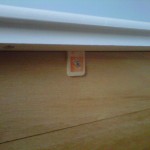
-
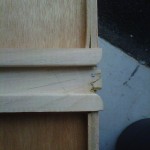
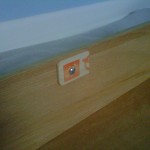
My homemade drawer safety stop.
-
-