Building a Retaining Wall With Pavestone Anchor Windsor Stone
2010-08-27 Initial Post
On May 09, 2010 I started work on a retaining wall on the front right corner of my house. I finished on August 21, 2010. Since I only did most of the work on the weekends, it took me a few months. I broke down the project into smaller parts because there was no way I was going to get everything done in one weekend. Here are the major parts:
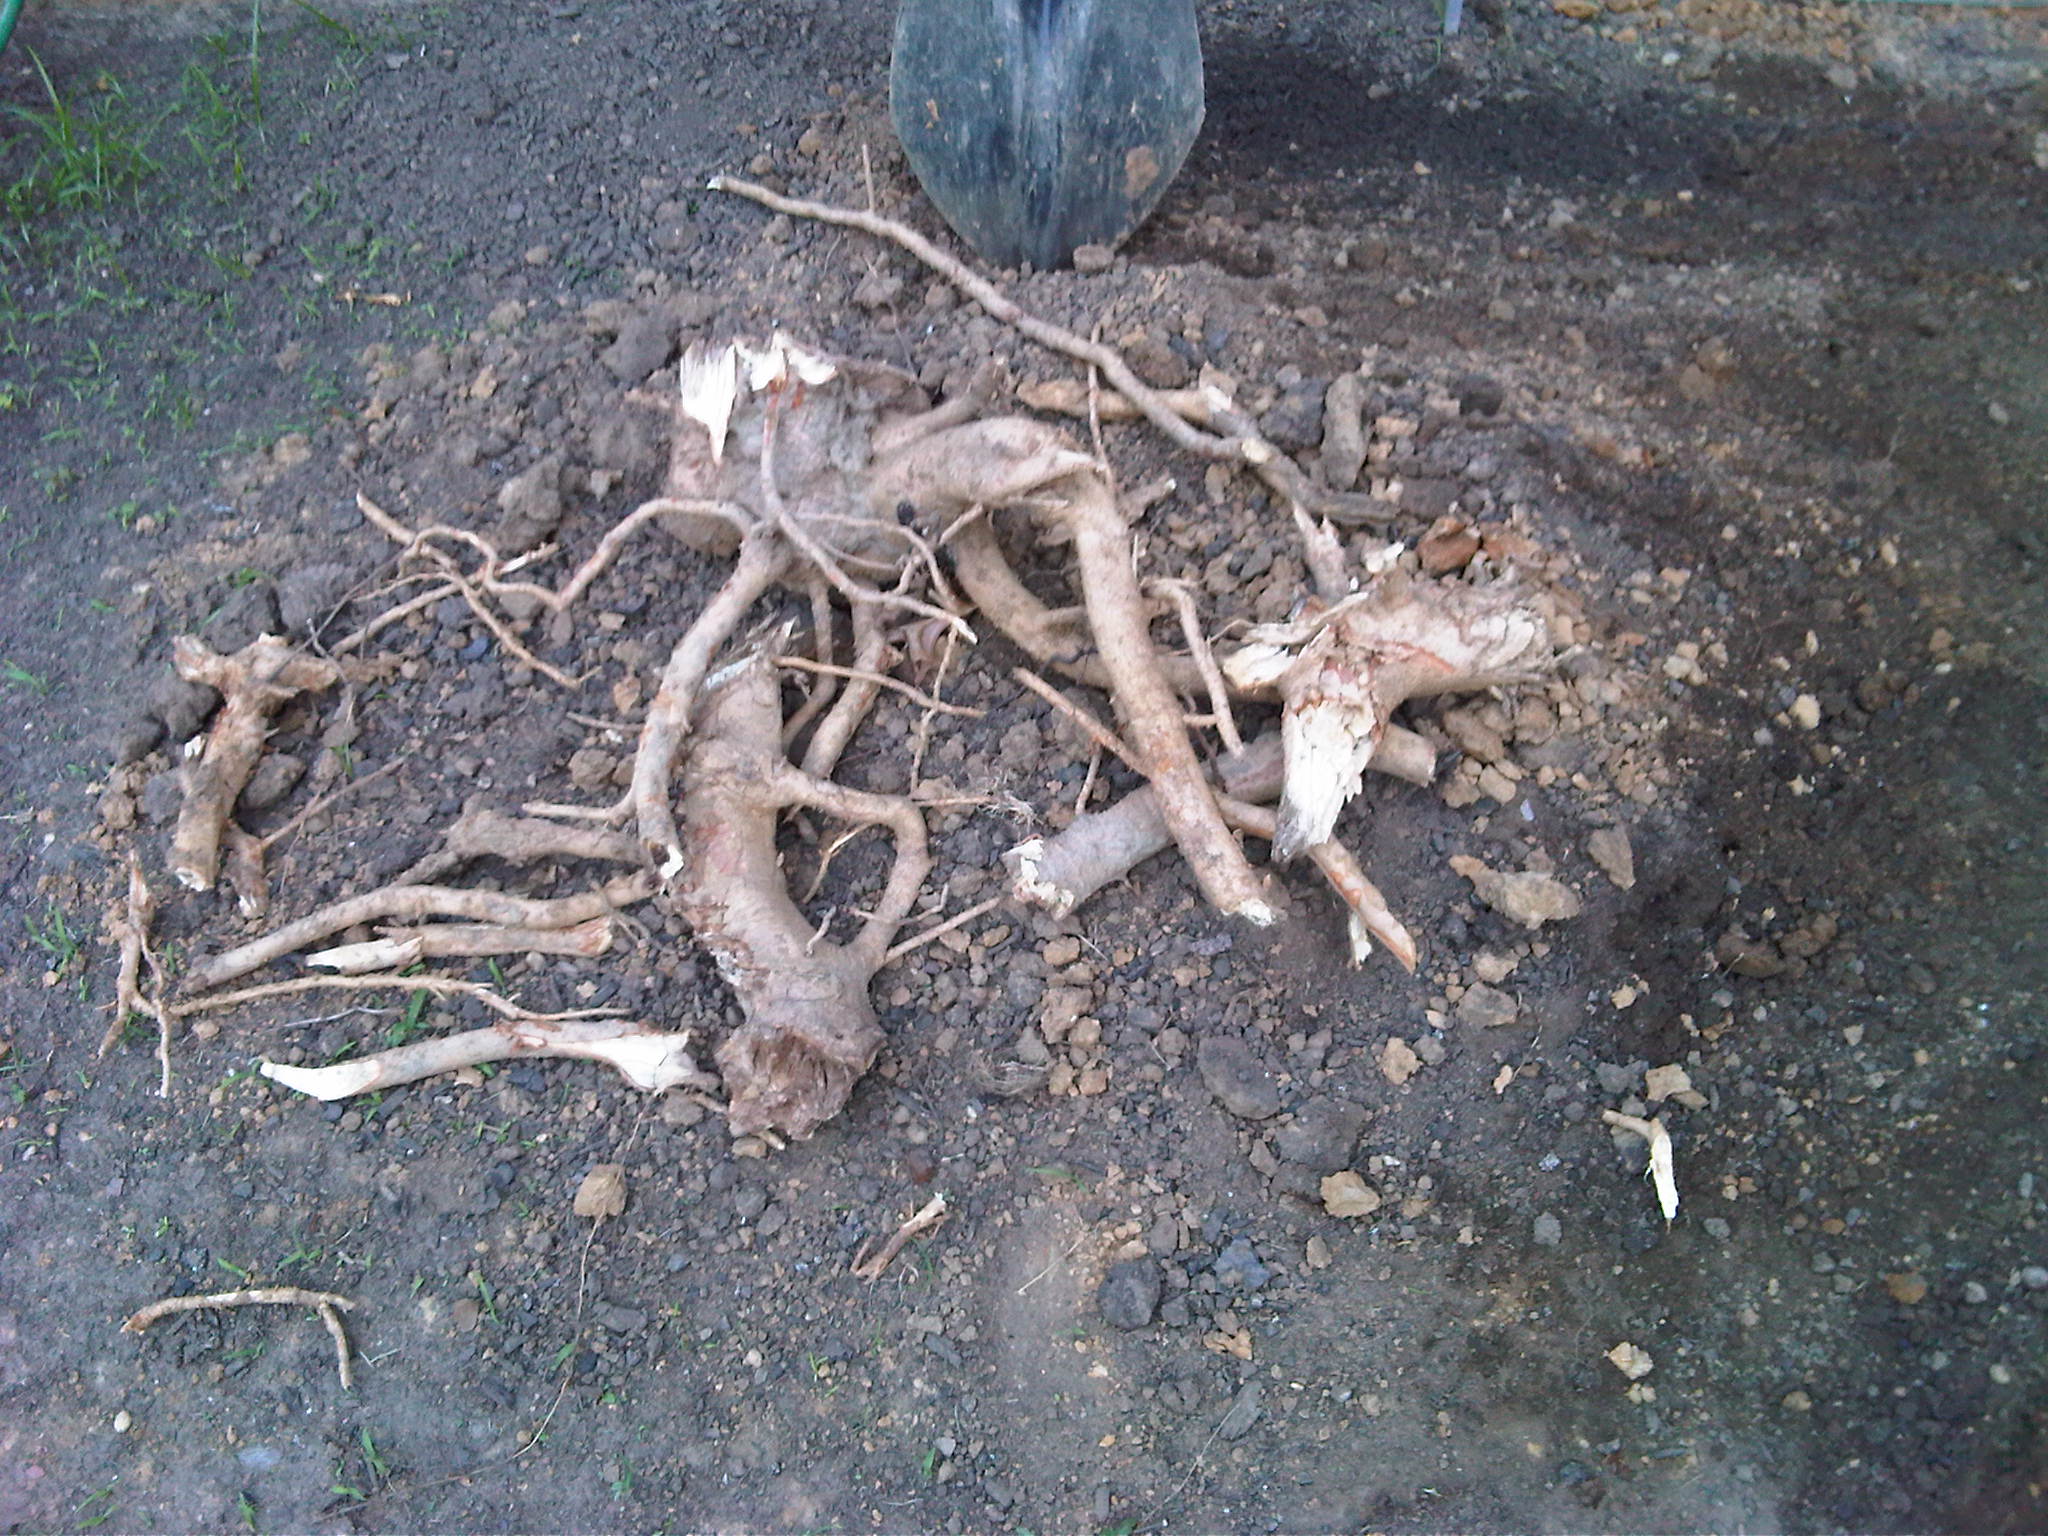
1 - Clearing out the area from the front porch column all the way around to the back right corner by the AC compressor. This was actually the most time consuming part because there was a lot of debris (mostly shingles--I have no idea why the idiots before me had put shingles in the ground), small and large pebbles, and buried stumps and roots to remove. I dug down to a foot in some areas. The area I worked was actually beyond the area for the retaining wall.
I started out with the area directly in front of the porch. After that section was completed, I put down Scotts PatchMaster (grass seed) since I wasn't going to extend the retaining wall to that area. I didn't want to have the retaining wall in that area because I wasn't sure what to do with the downspout. I didn't want to bury the downspout, so it wouldn't look right to have the retaining wall in that highly visible area with the downspout sticking out on the side or front. Plus, I didn't want to overdo it with the retaining wall--the longer it gets, the more room for error and unlevelness.
2 - Preparing the area and laying down the blocks.
3 - Planting (this will have to wait until spring 2011).
Tips/Notes
- I got the blocks at Home Depot. Lowe's has a similar block but it doesn't look as nice. Both stores have a limited selection of blocks, but the ones that they do have are much cheaper than similar types available at landscape supply places. If you want a better selection of styles and colors, then go elsewhere. Also, the specialized places will have more shapes for use in specific applications such as in square corners.
- I used paver base instead of course sand because I felt that it would be more stable given the depth of the trench and looseness of the soil (I had dug up the surrounding soil to clear the area of debris so it wasn't compacted well). The Pavestone video and FAQs where conflicting because the video suggested using a base with a mixture of Portland cement, or paver base; while the FAQs only suggested sand. Since paver base and sand cost about the same, financially it didn't matter. I'd rather have a more stable base, so I used paver base.
The only issue I had with Pavestone brand paver base was that it included a lot of big chunks of scrap concrete (some were 2 - 3 in long). Looking at the bag, it was hard to tell that it had such big pieces inside. I would suggest using a different brand of paver base and ask to view the contents of a bag before purchasing. I had to spend at least an hour total picking through the paver base to remove the bigger chunks.
- When cutting the blocks, add an extra 1/4 in to the cut. This is because cutting with a chisel will not result in a clean cut. So if you need to cut 3 in off, mark the cut line at 3 1/4 in and start there. If you want a very clean cut, there are tools you can rent.
- I did not follow the leveling technique in the Pavestone video (and other sources). They have you use stakes and a string level as the primary method. My work area was not evenly sloped and I had cleaned up the area and the soil was not compacted well, so I had to dig very deep. Because of this, using a string level would be more difficult. What I did was start out at the lowest section and dug down 8 in. I used that section as my level reference and used a torpedo level and 4 ft piece of 2 x 4 to check the level as I dug out from there. I did eventually use a string level, but it was to double-check my work because I was worried that the method I used wasn't going to result in an overall levelness.
My neighbor kept on nagging me that the way I was leveling was not accurate because I was only checking one small section at a time. It was annoying because he never did anything like this in his yard, so I don't know why he had the nerve to say anything to me. At least I had some related experience by working on the tree ring. I was using a 4 ft section of 2 x 4 to check the level as I worked, so I wasn't just checking the level 1 ft at a time. Anyway, the string level and the end result show that the leveling method that I used was fine.
Major Materials Used
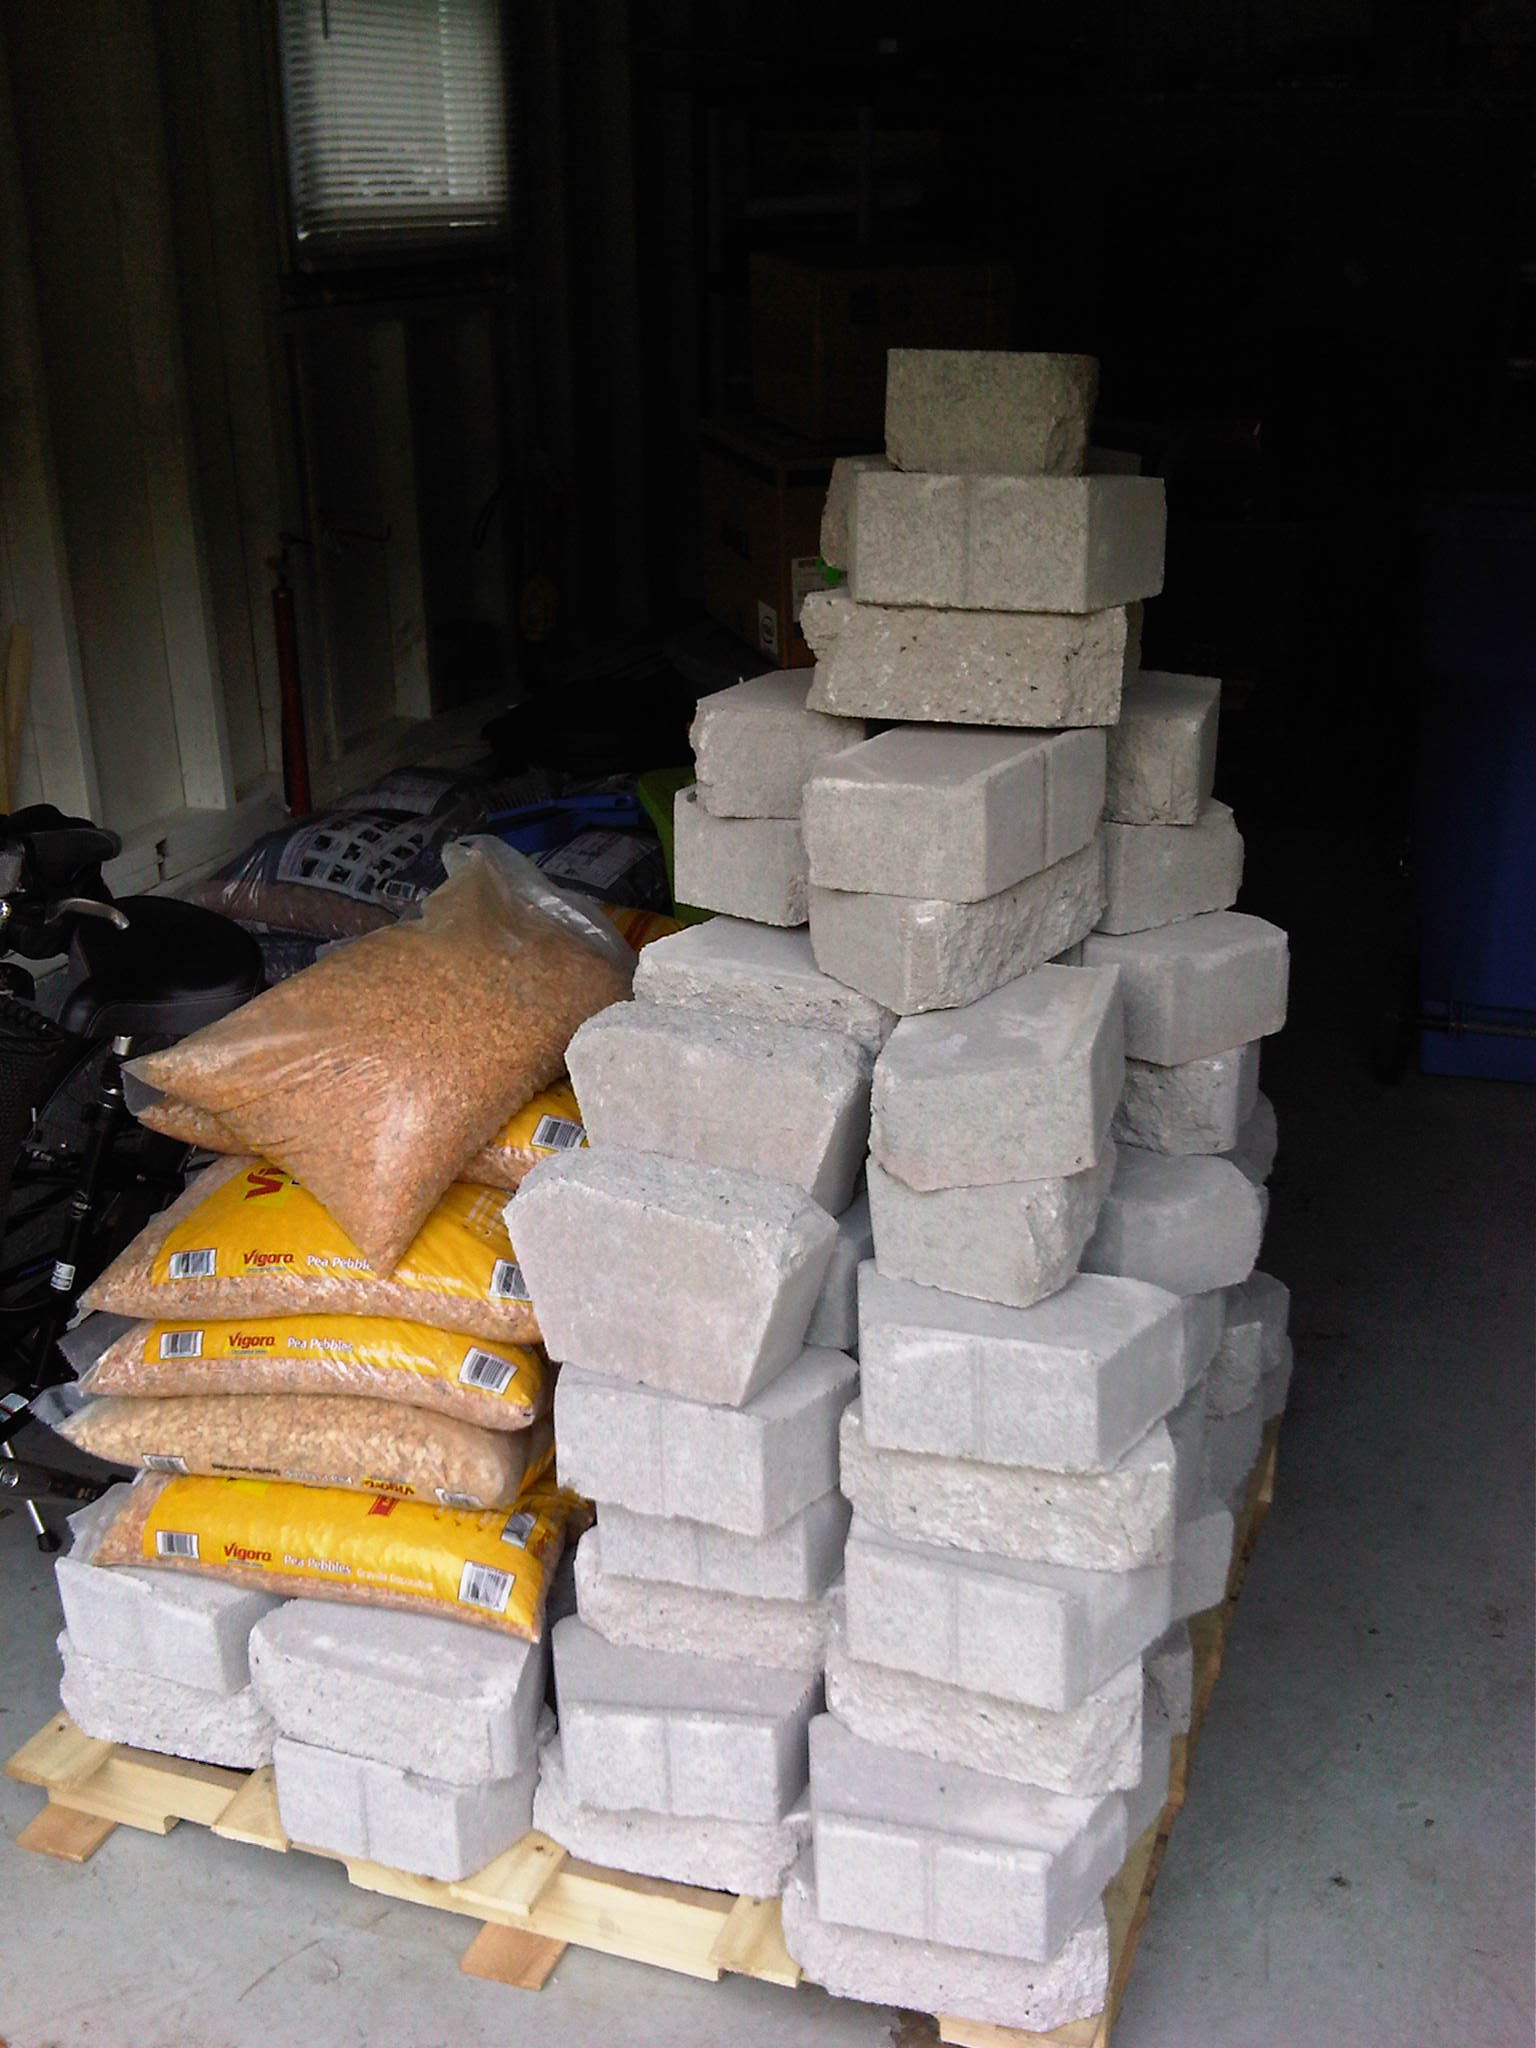
- Gray Pavestone Anchor Windsor Stone (140 total: 35 for first course x 4 for four courses with some extra left over).
- Weed block fabric (4 ft x 120 ft roll of Easy Gardner Weed Block Pro, brown).
- Pavestone paver base .5 cu ft, 20 bags.
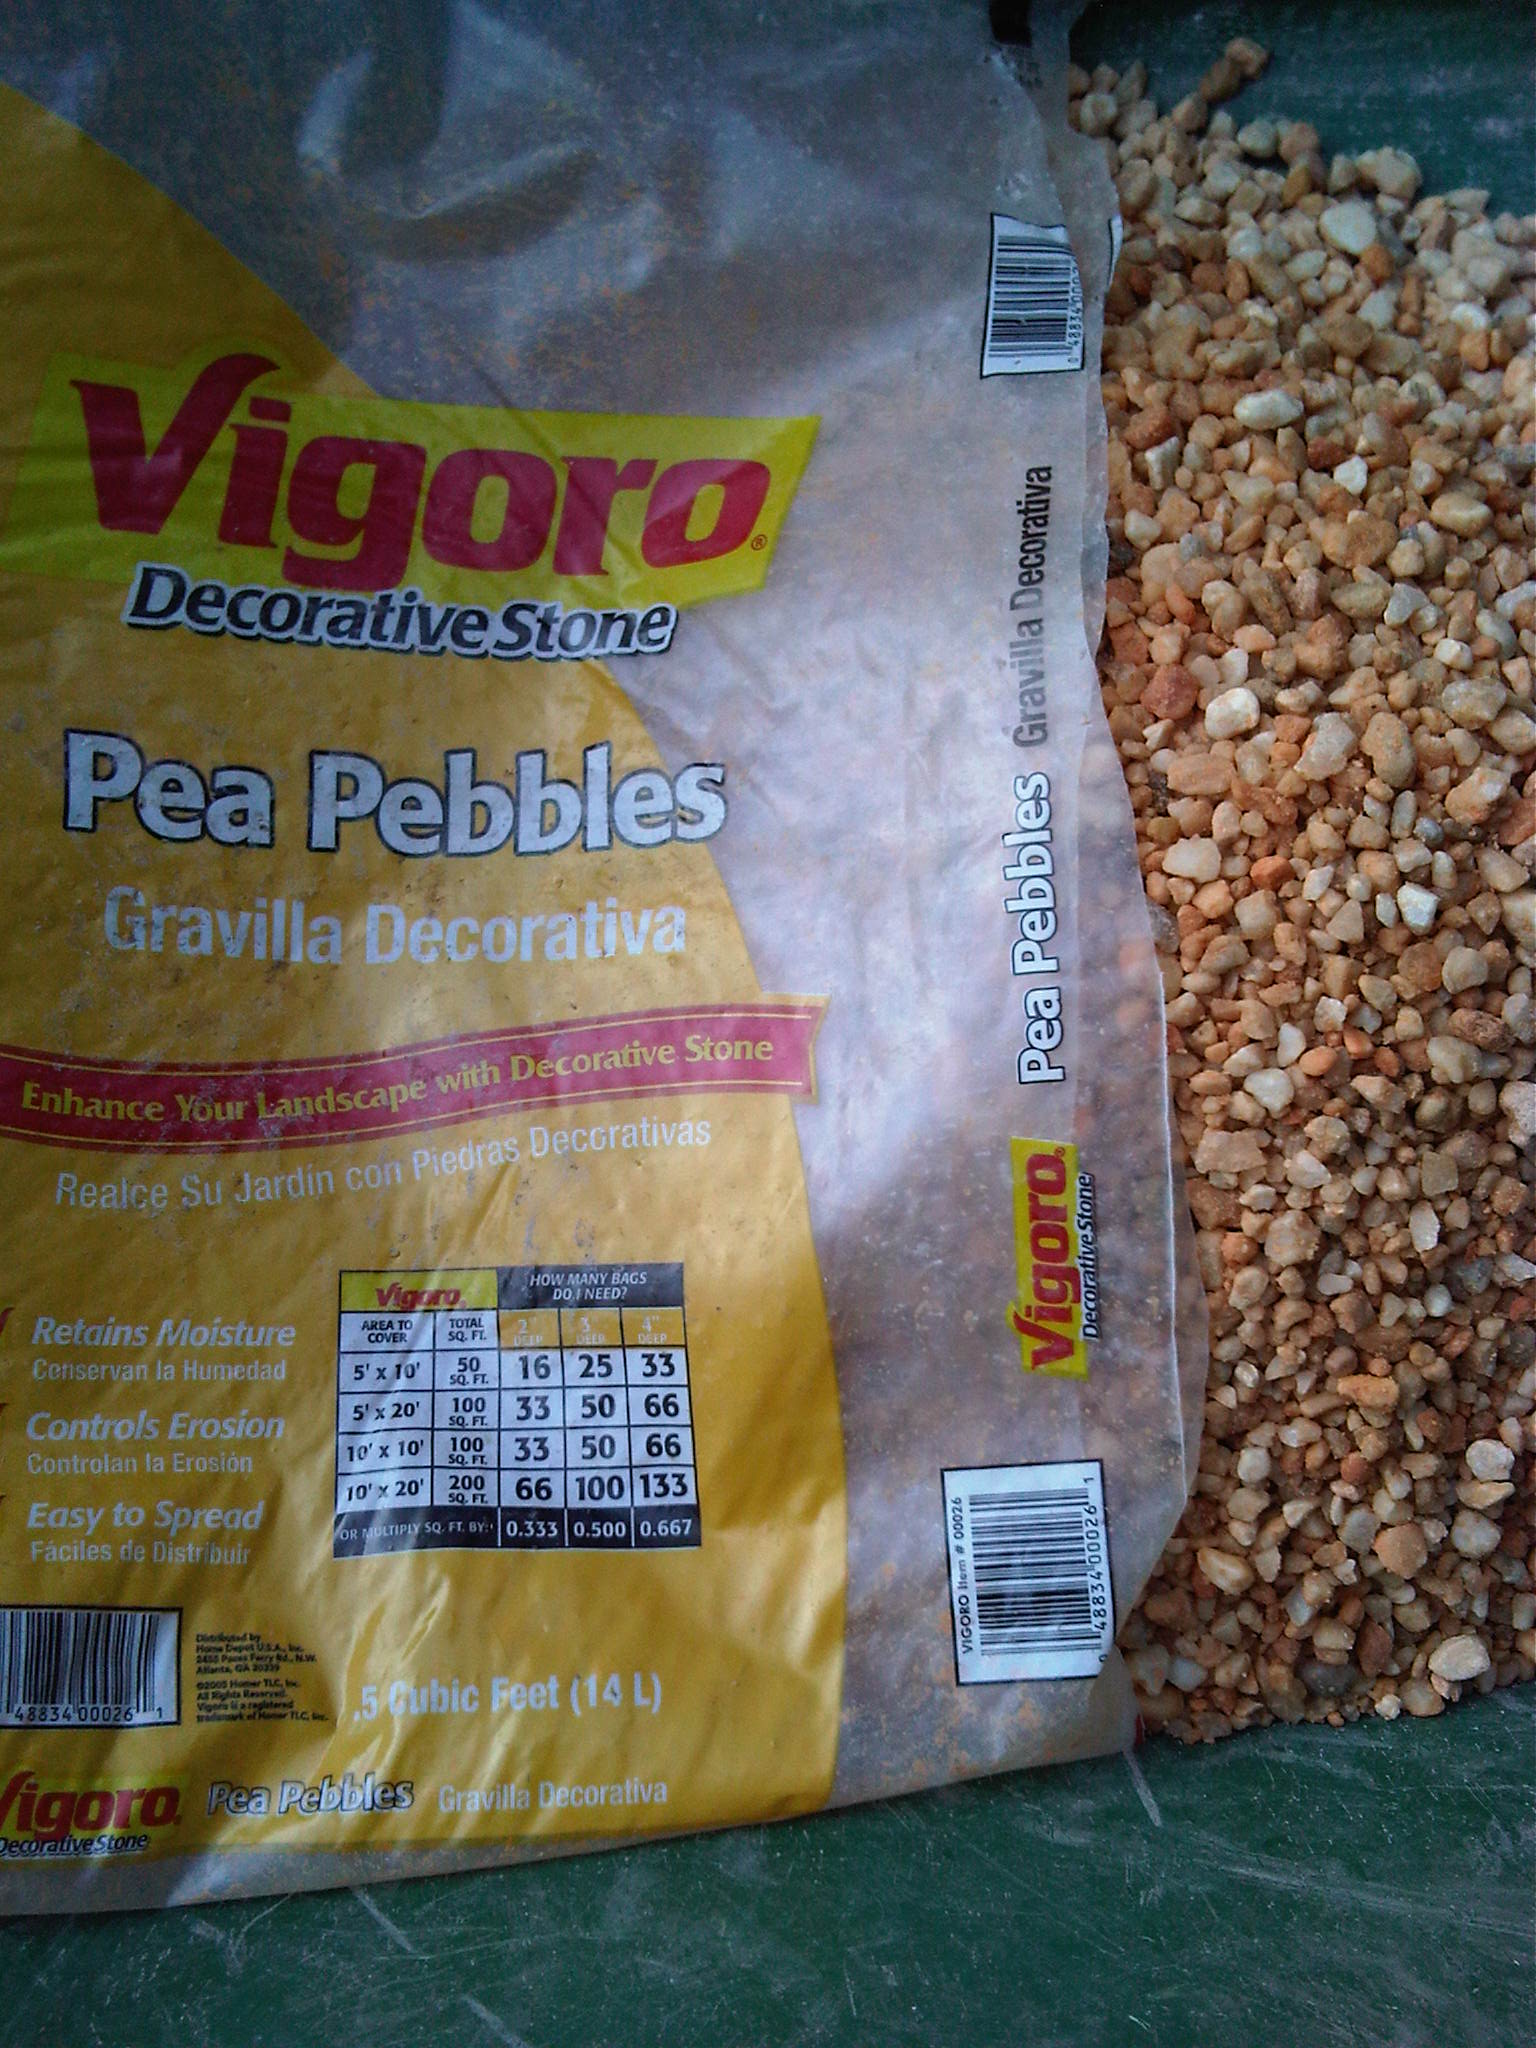
- Vigoro pebble stone, .5 cu ft, 15 bags.
- For a complete list of materials and tools, and related tips, see my post on building a retaining wall tree ring. Also see my post on manual gardening tools.
Project Time
Total: 89 hours
Retaining wall-related work only: 50 hours
Retaining Wall Overall Dimensions
20 1/2 ft long x 7 1/4 ft wide
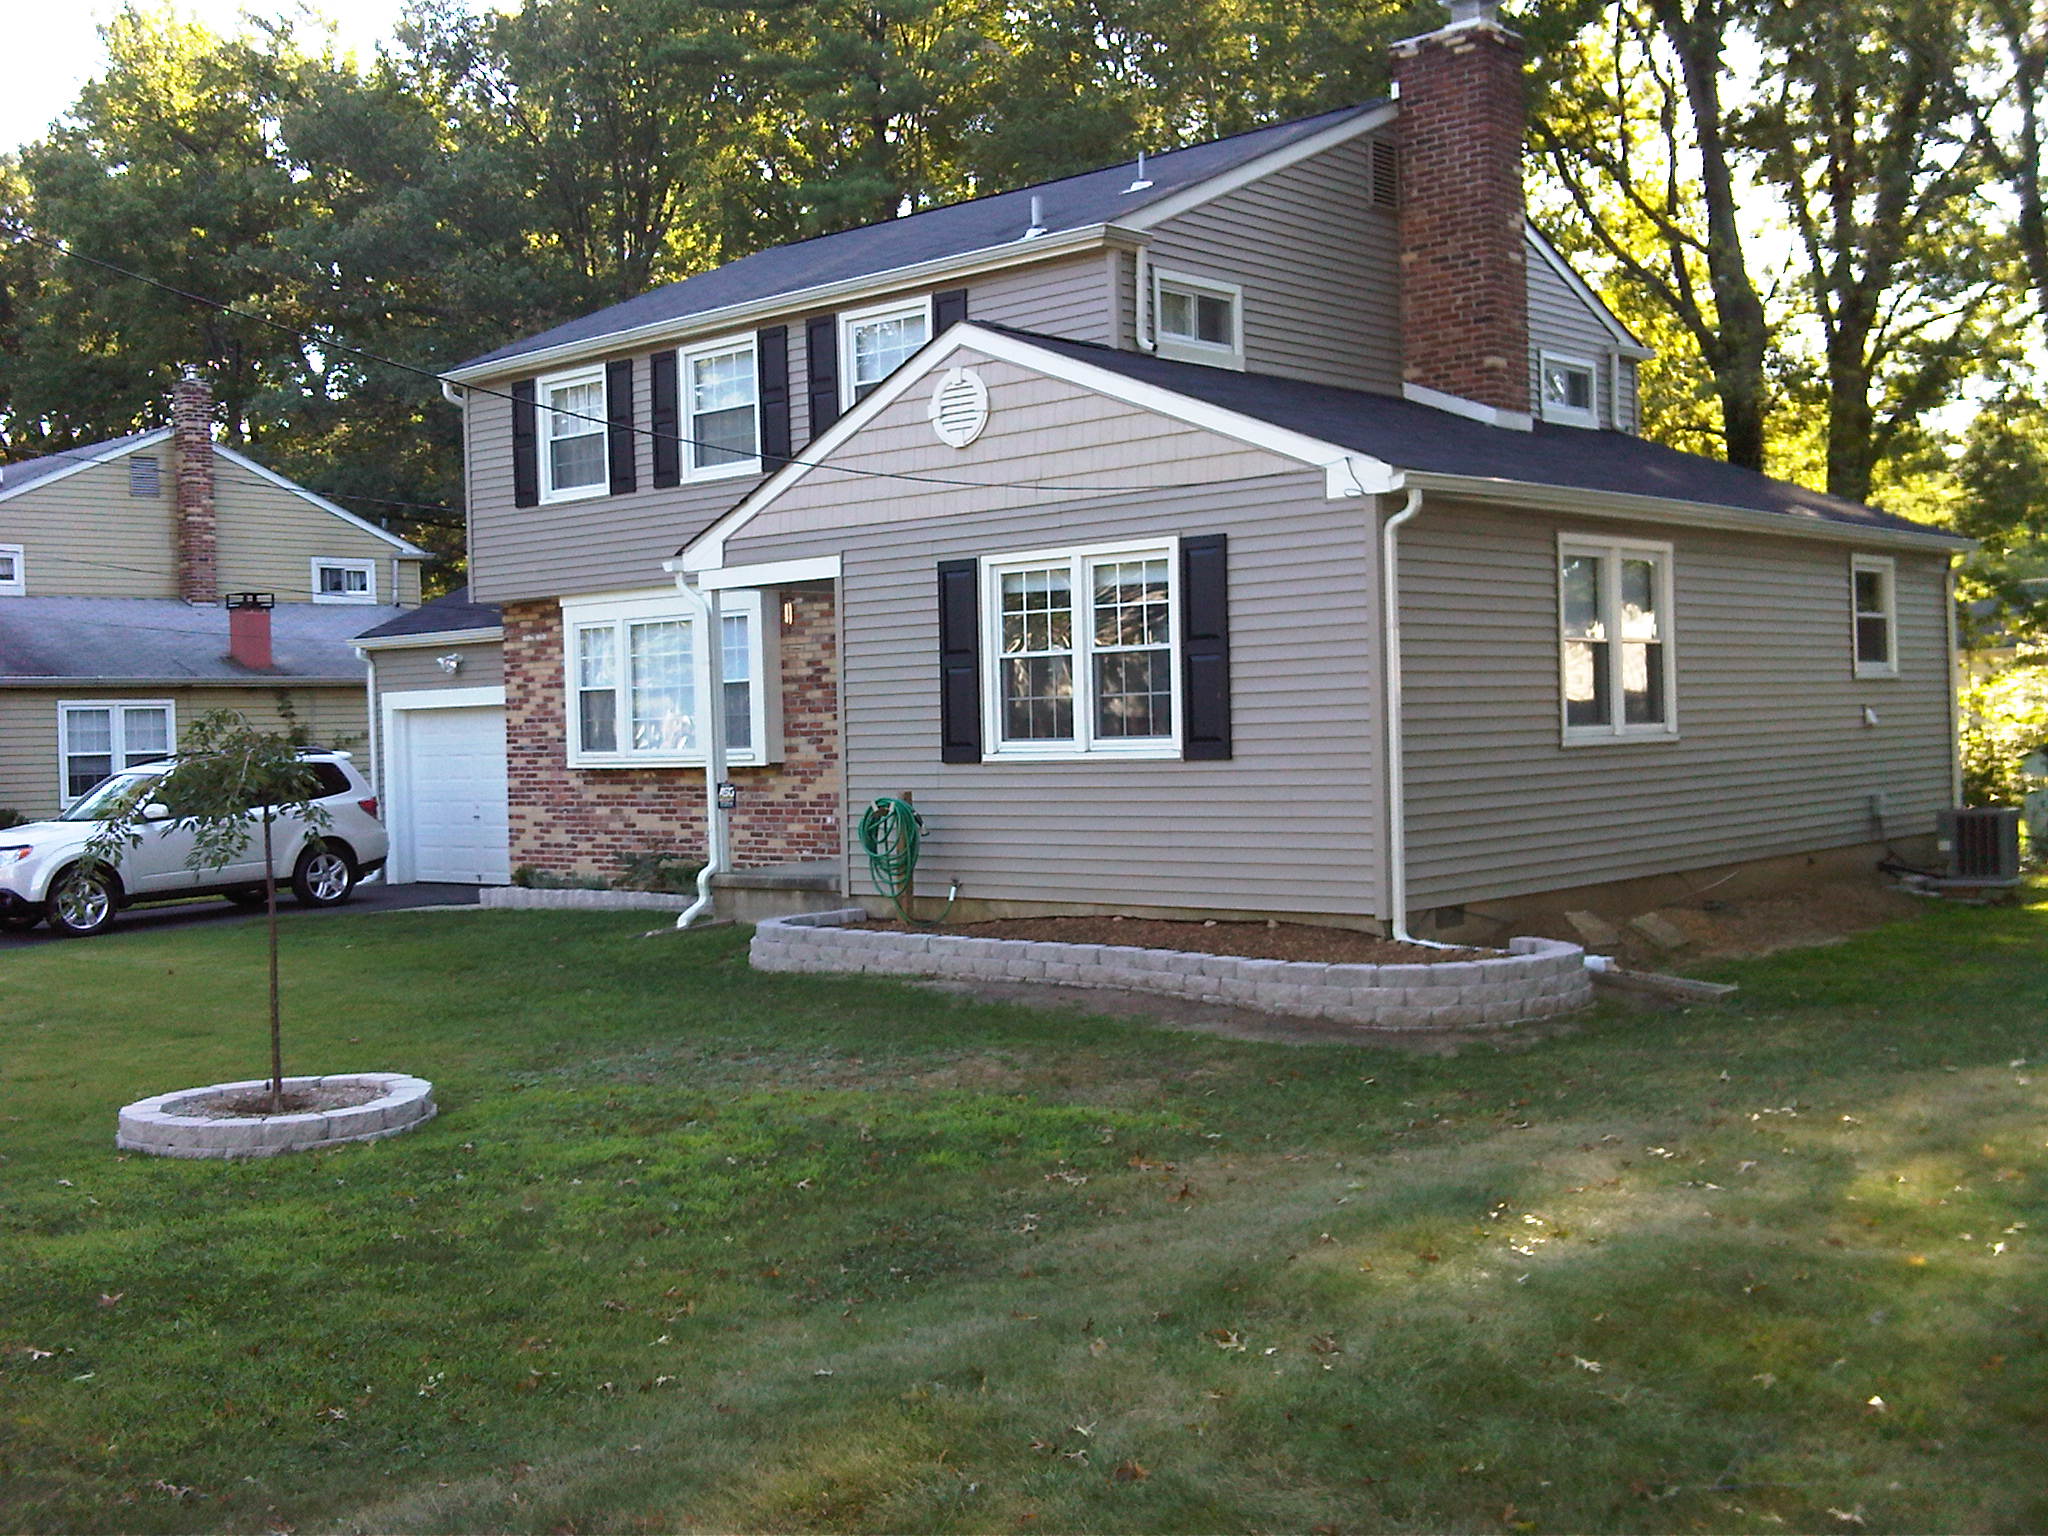
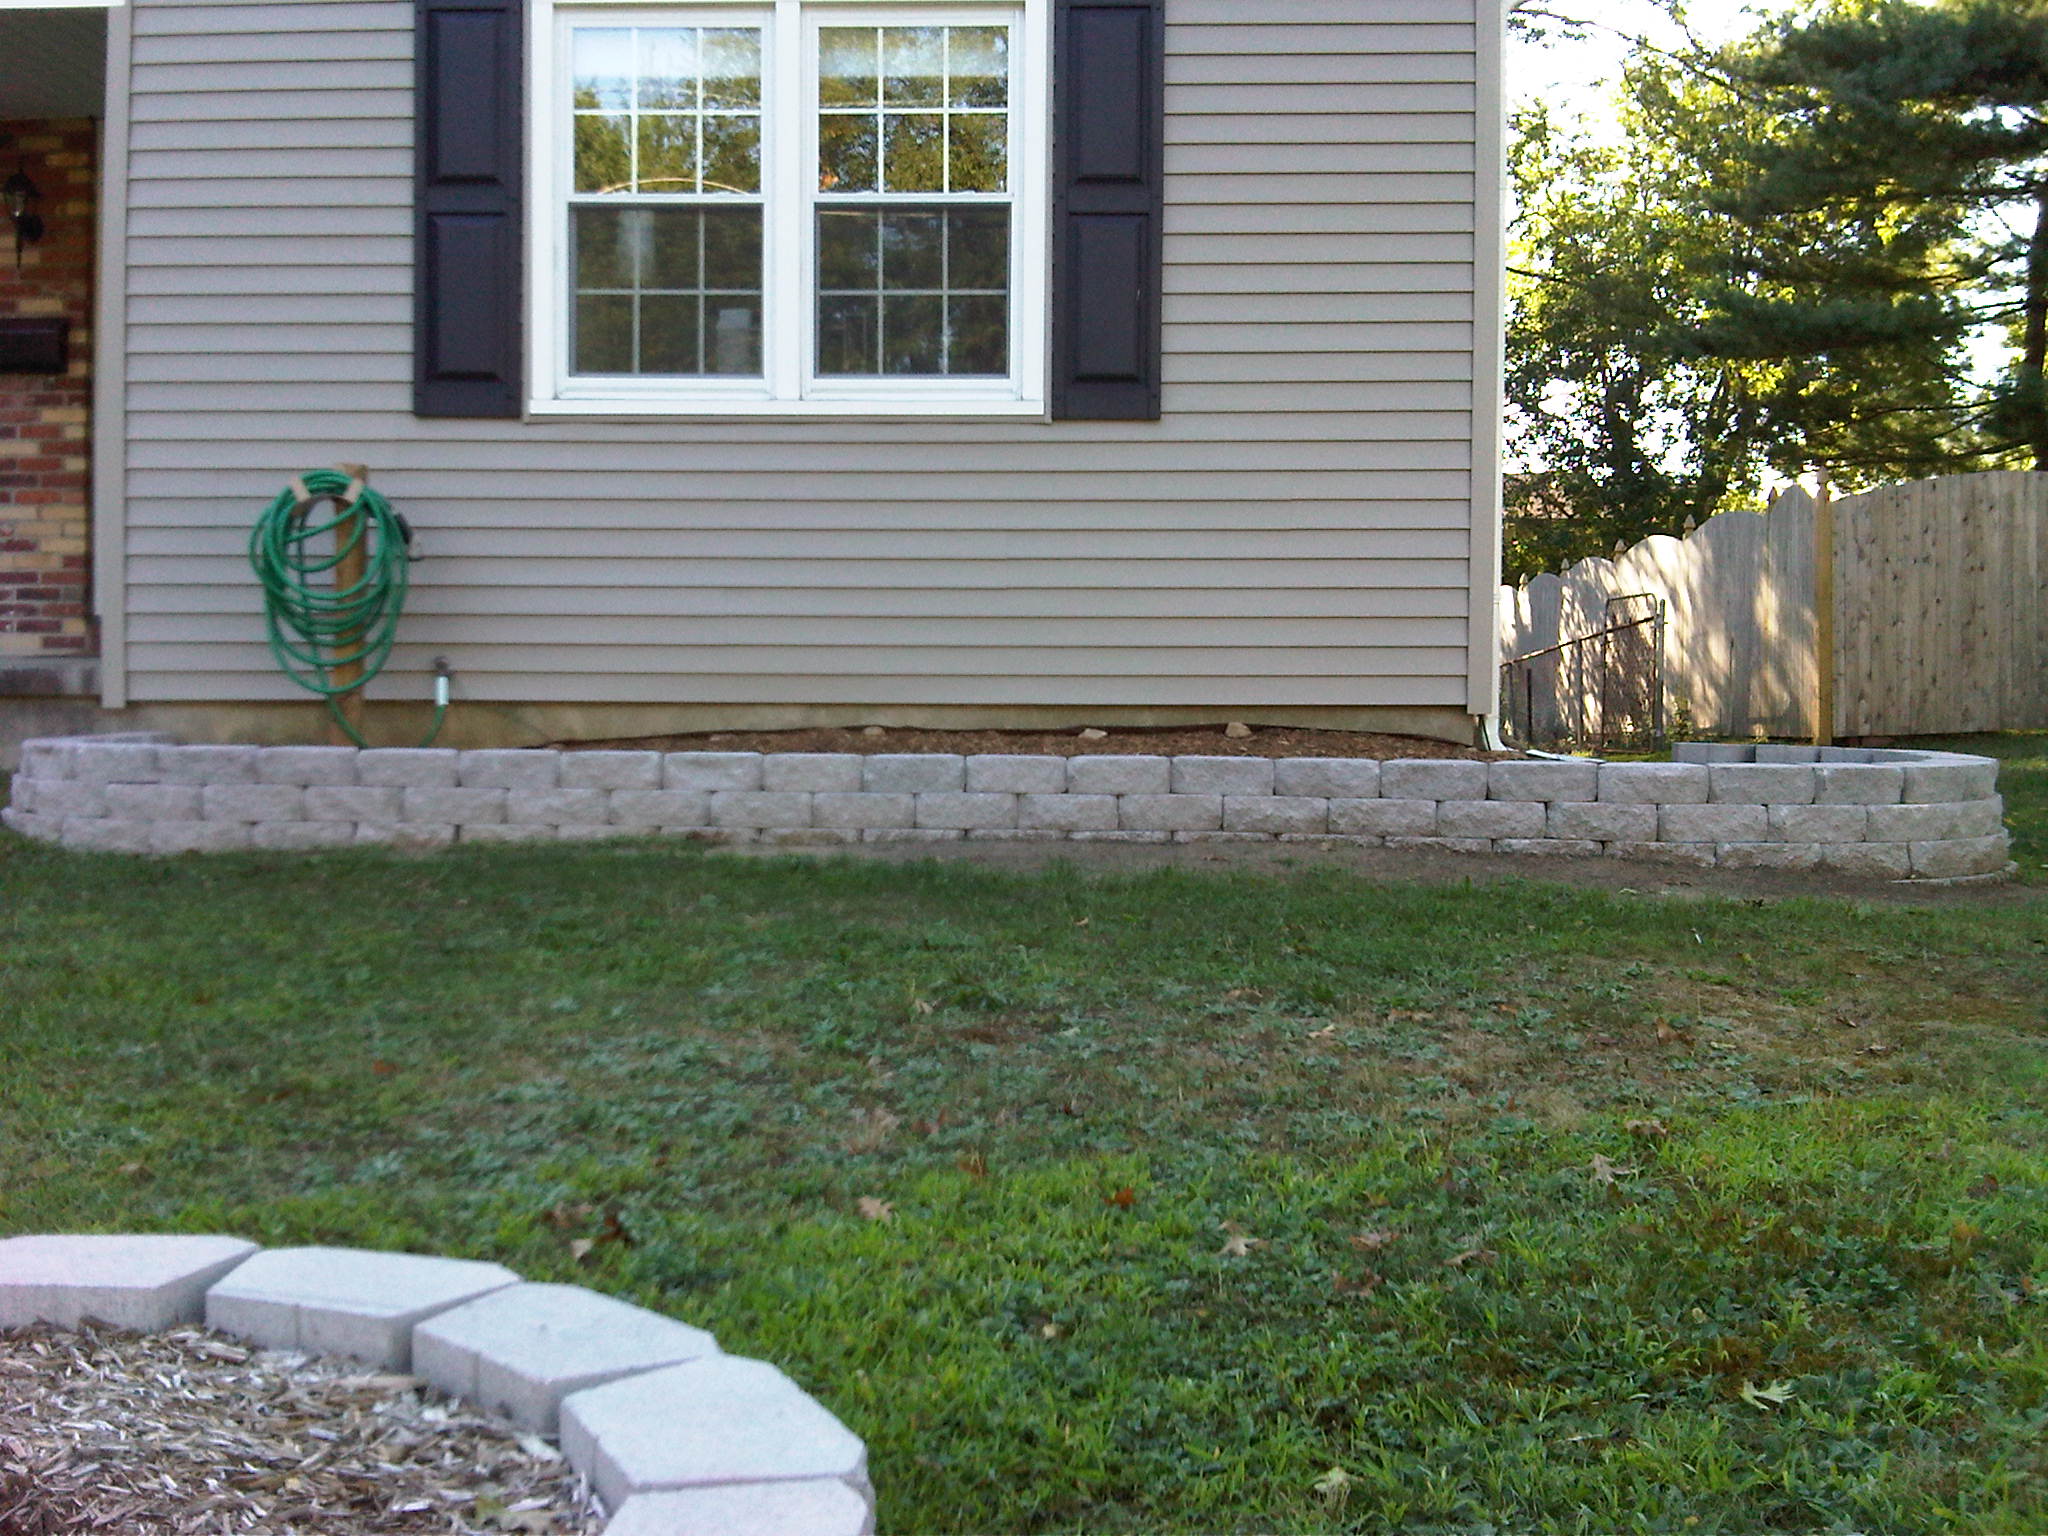
-
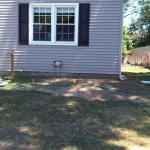
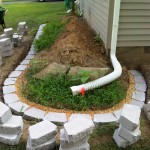
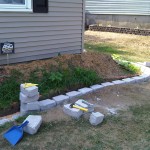
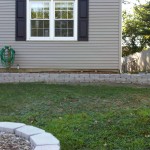
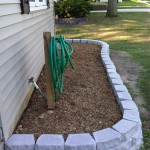
- After. Plants will go in next spring (2011).
-
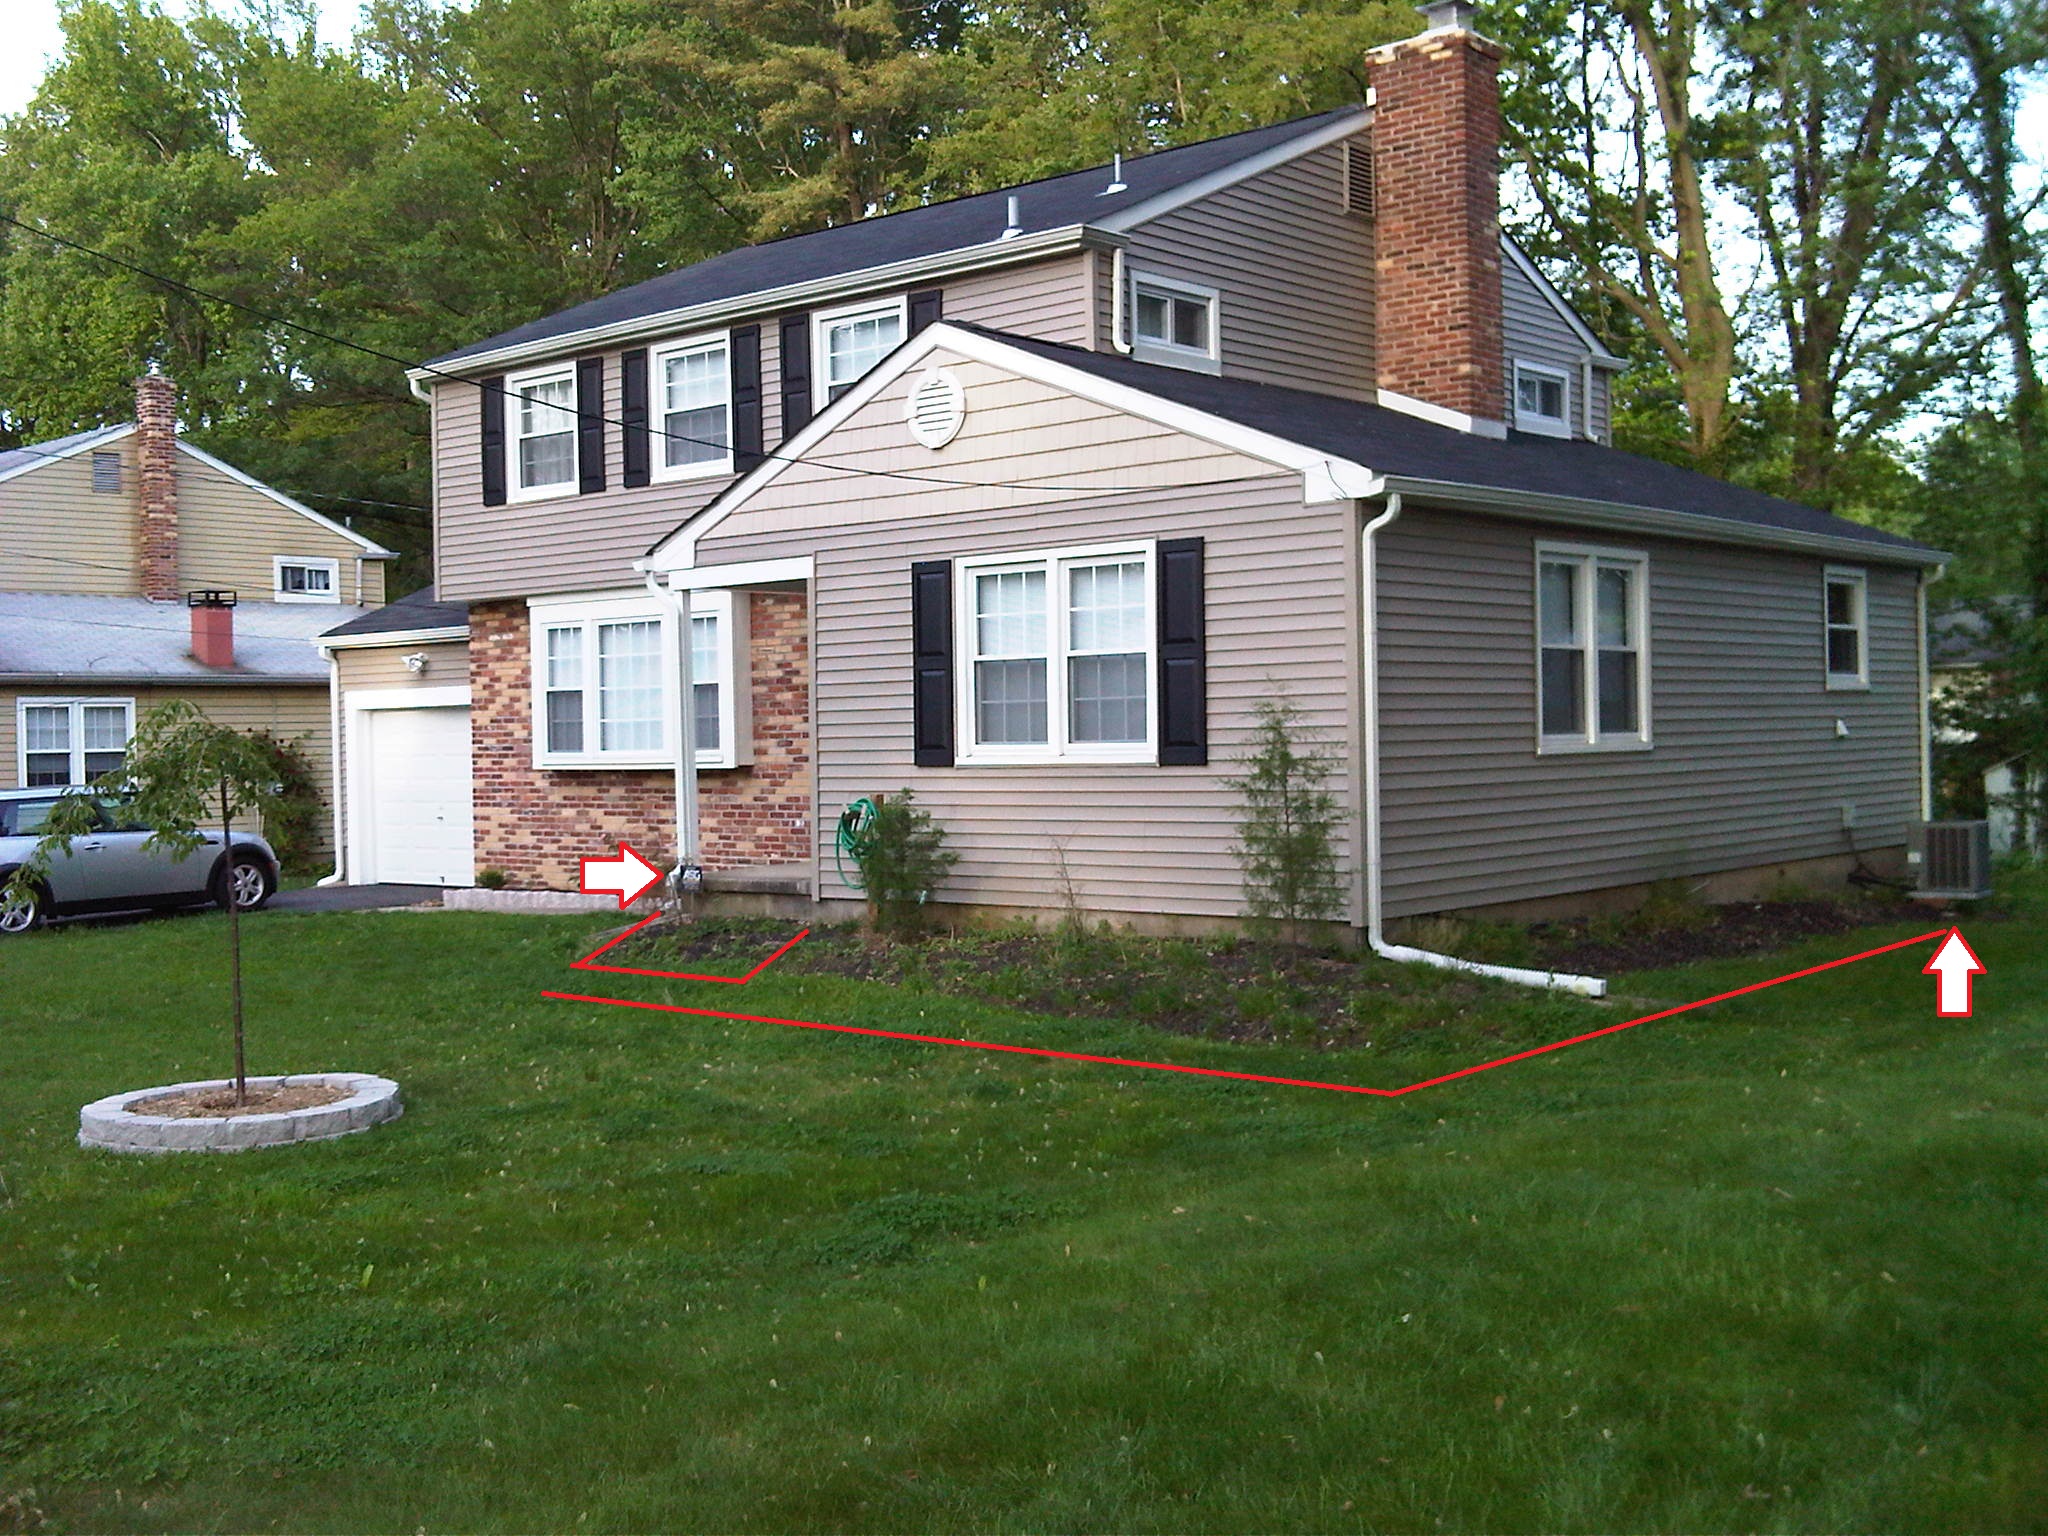
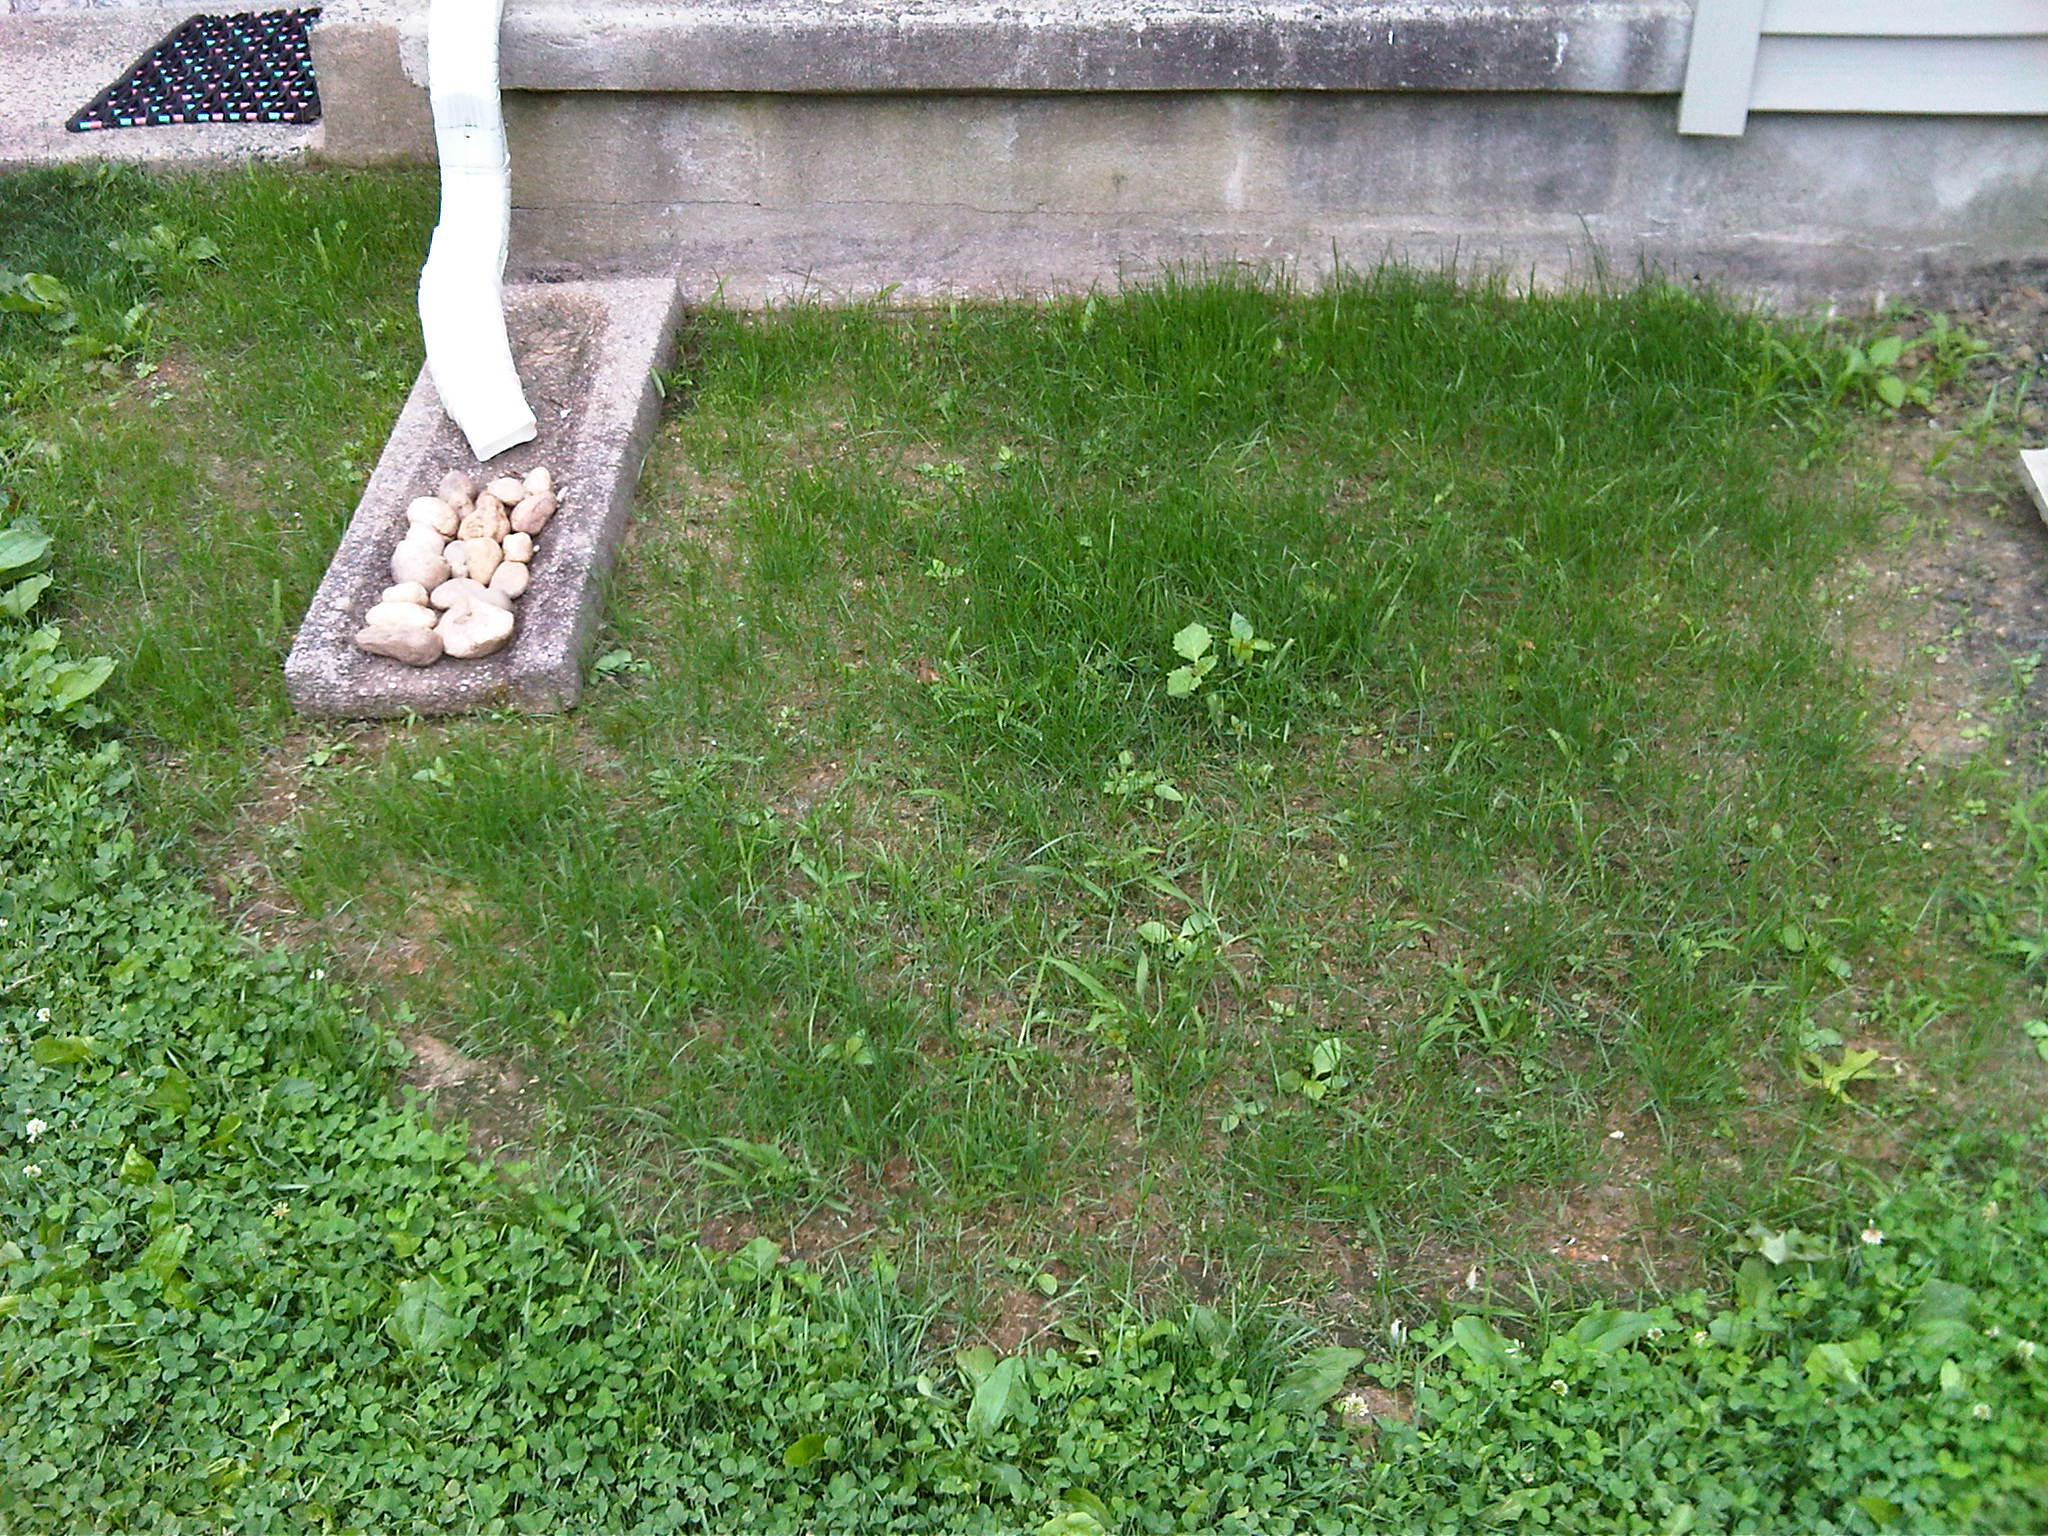
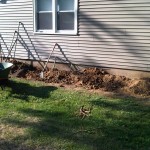
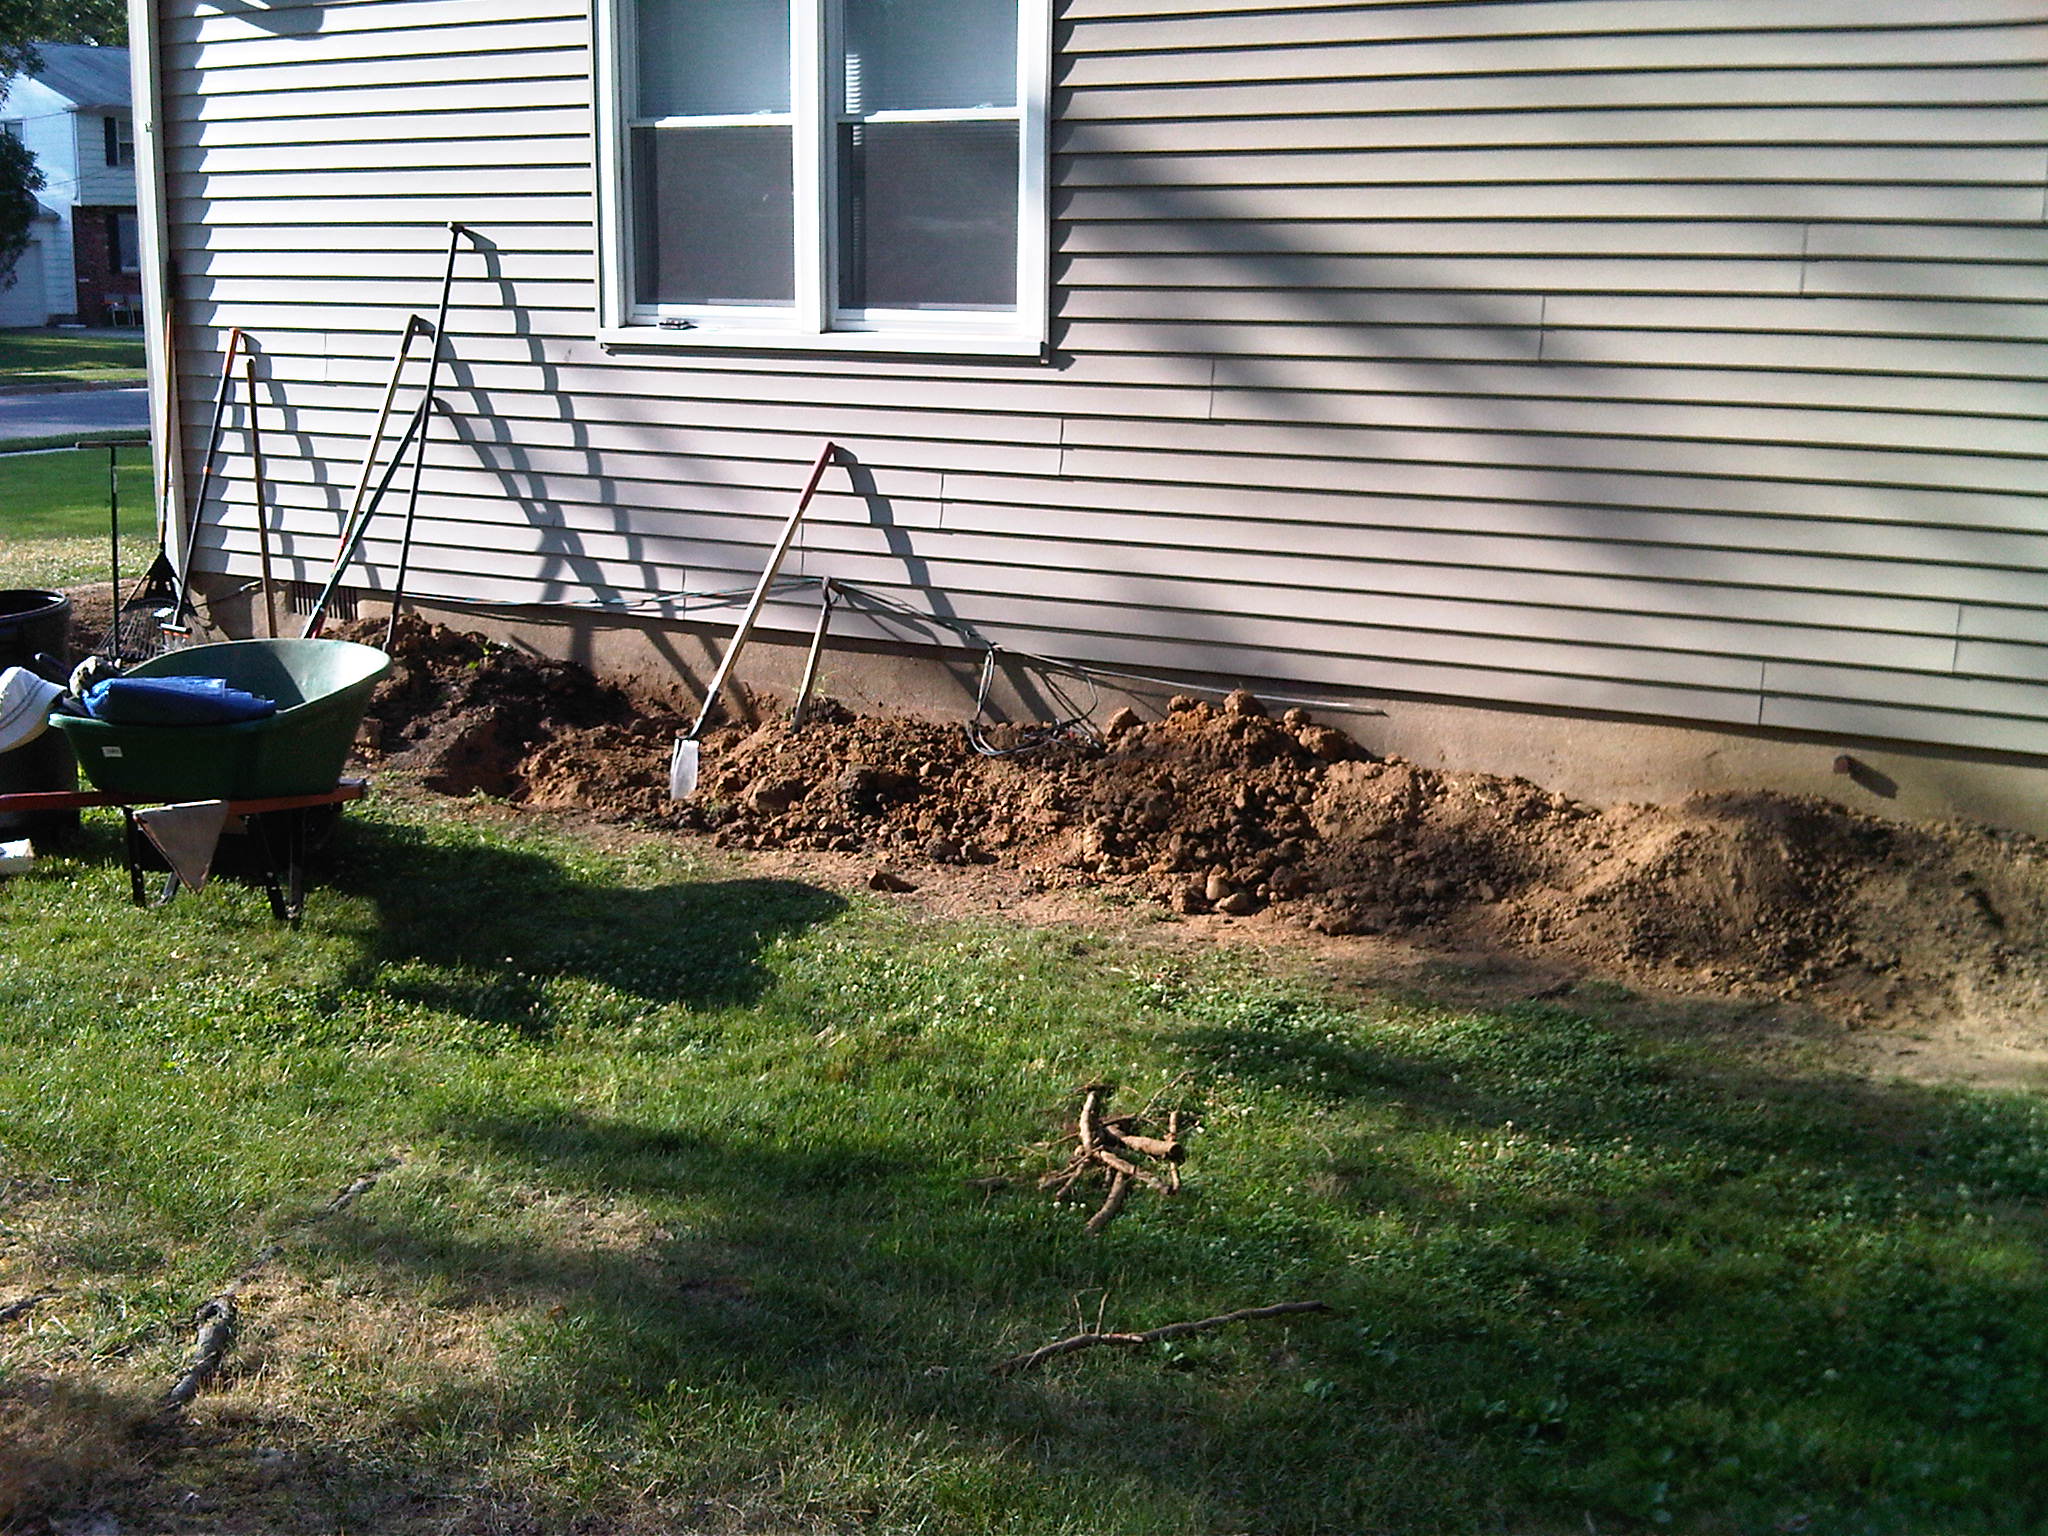
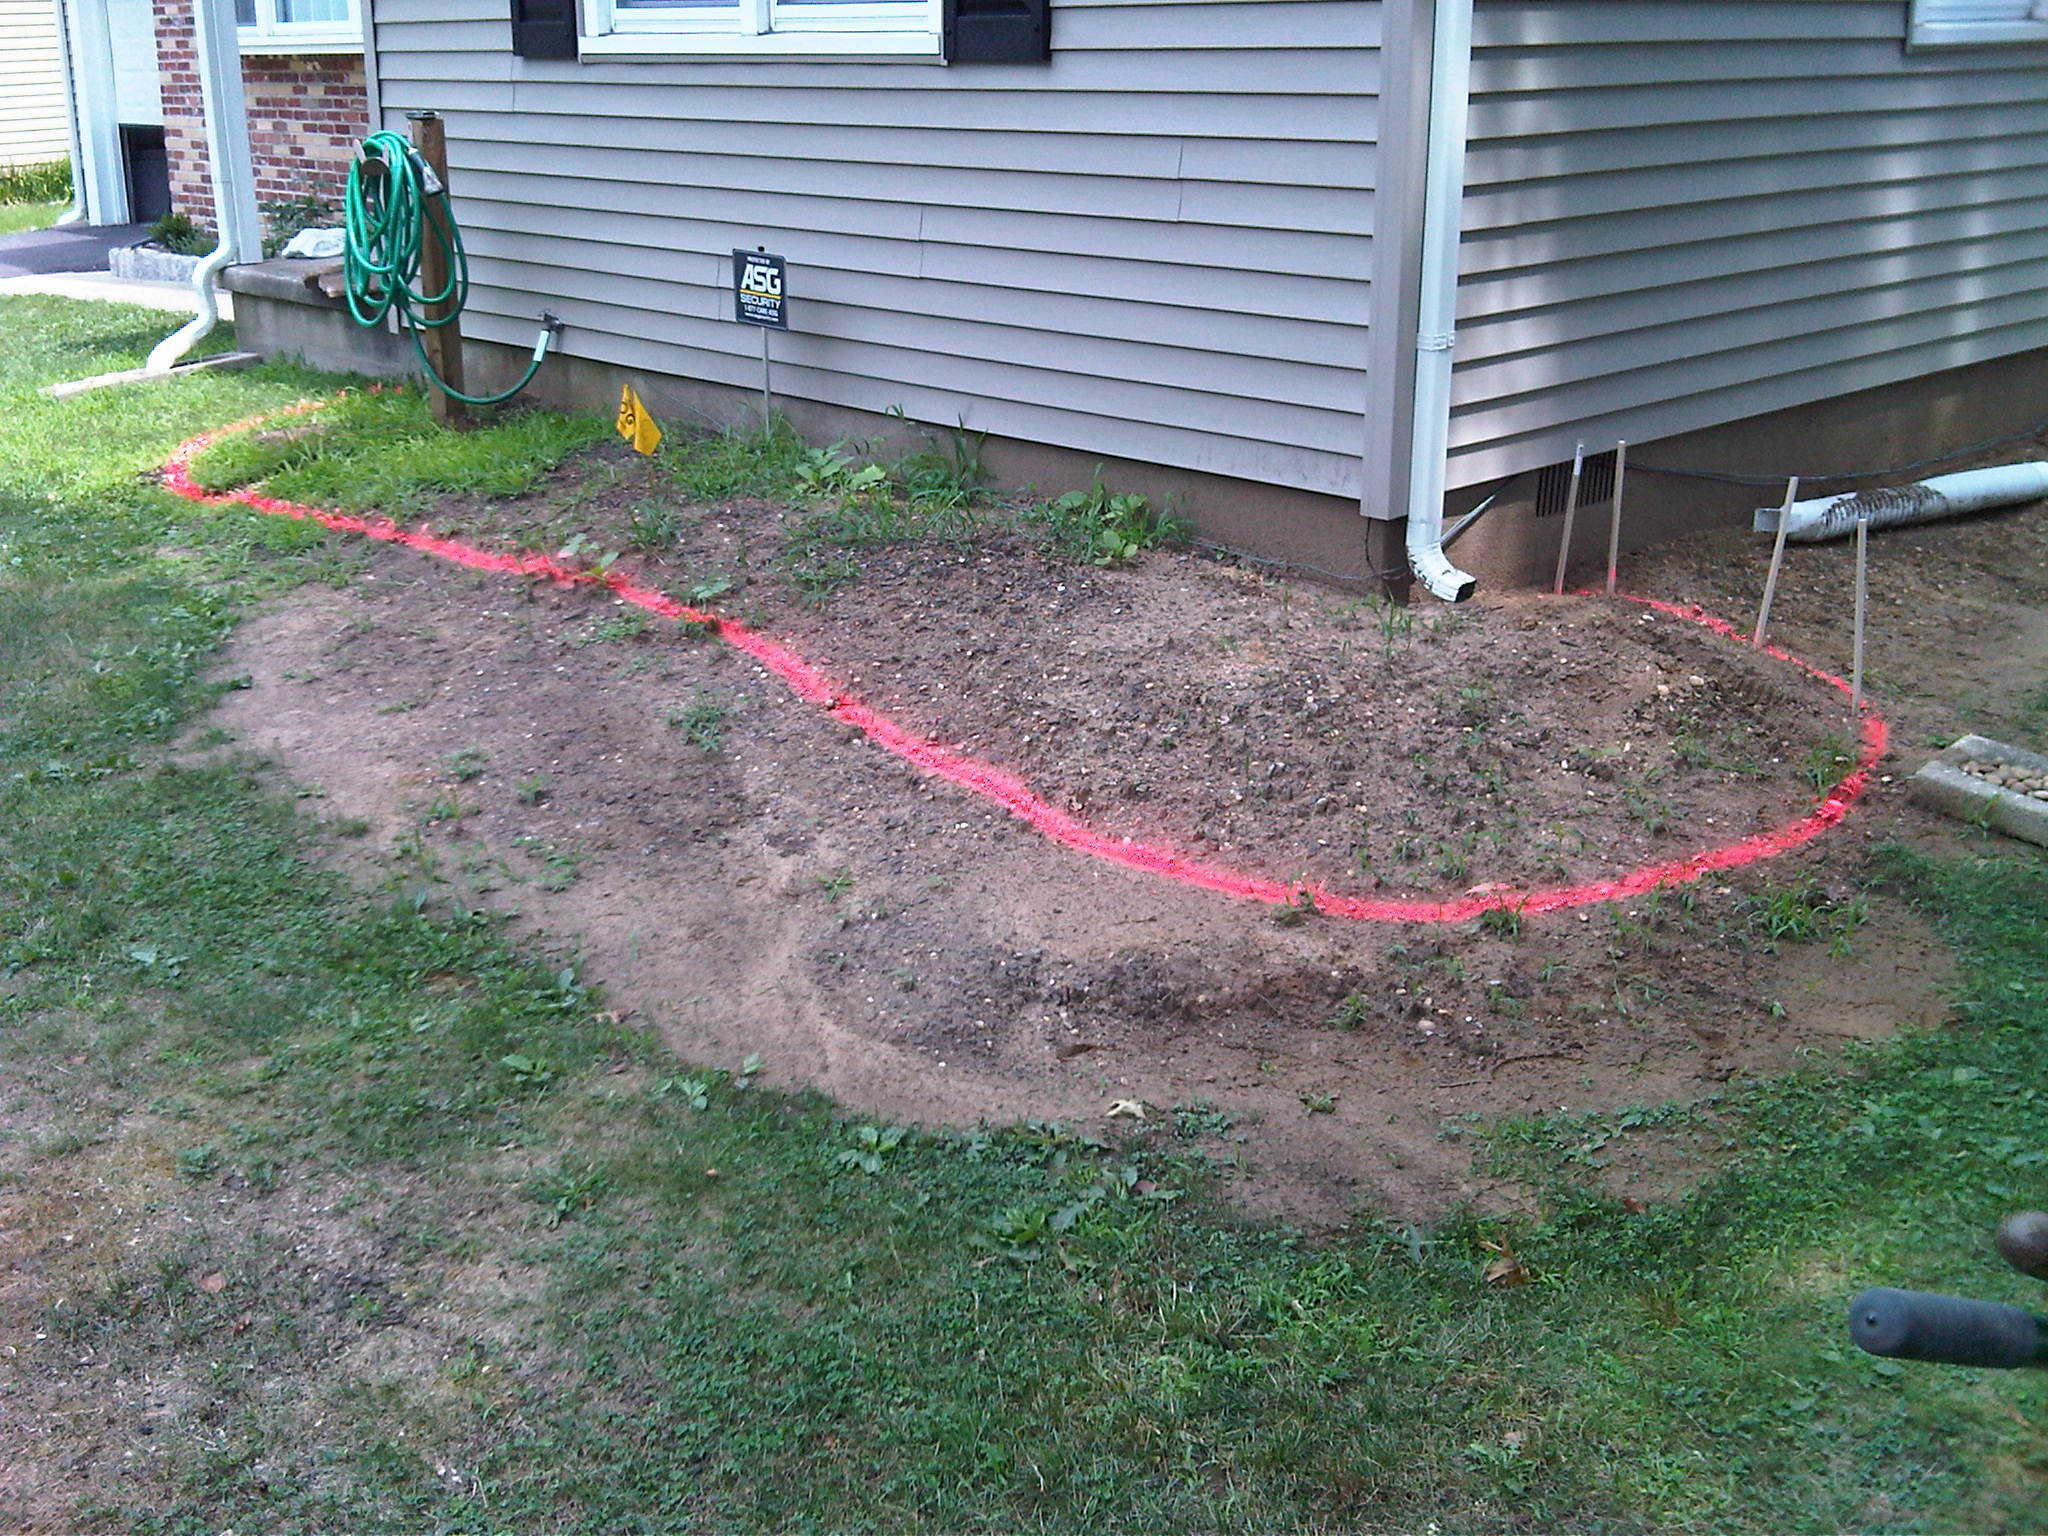
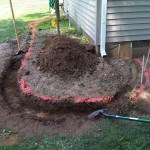
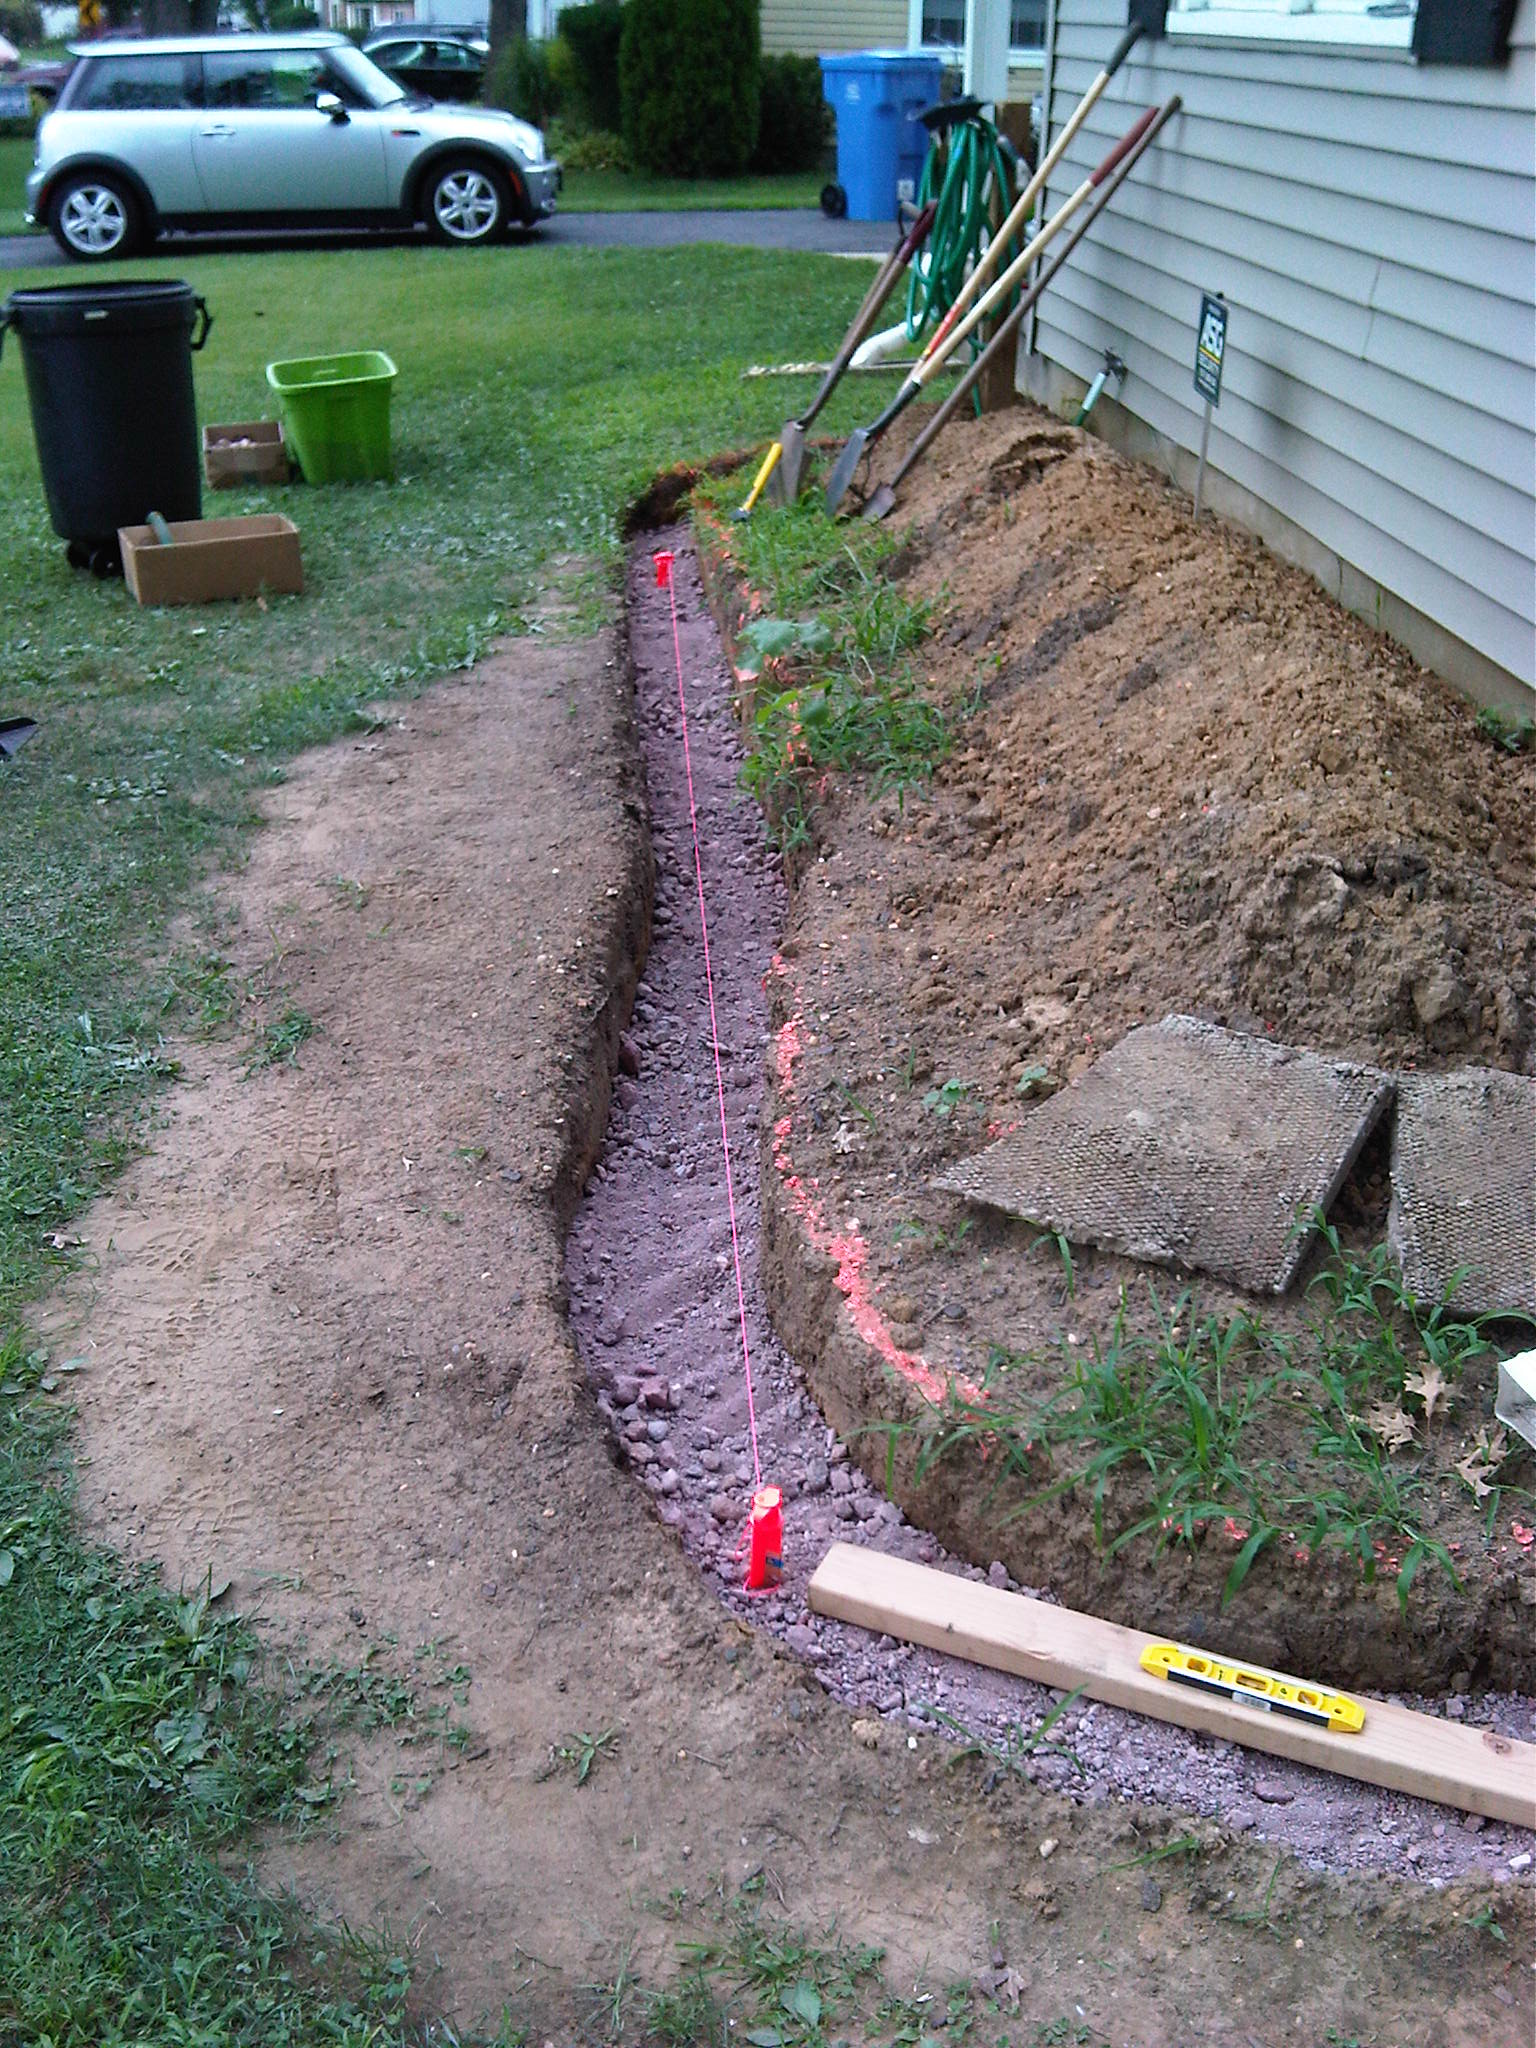
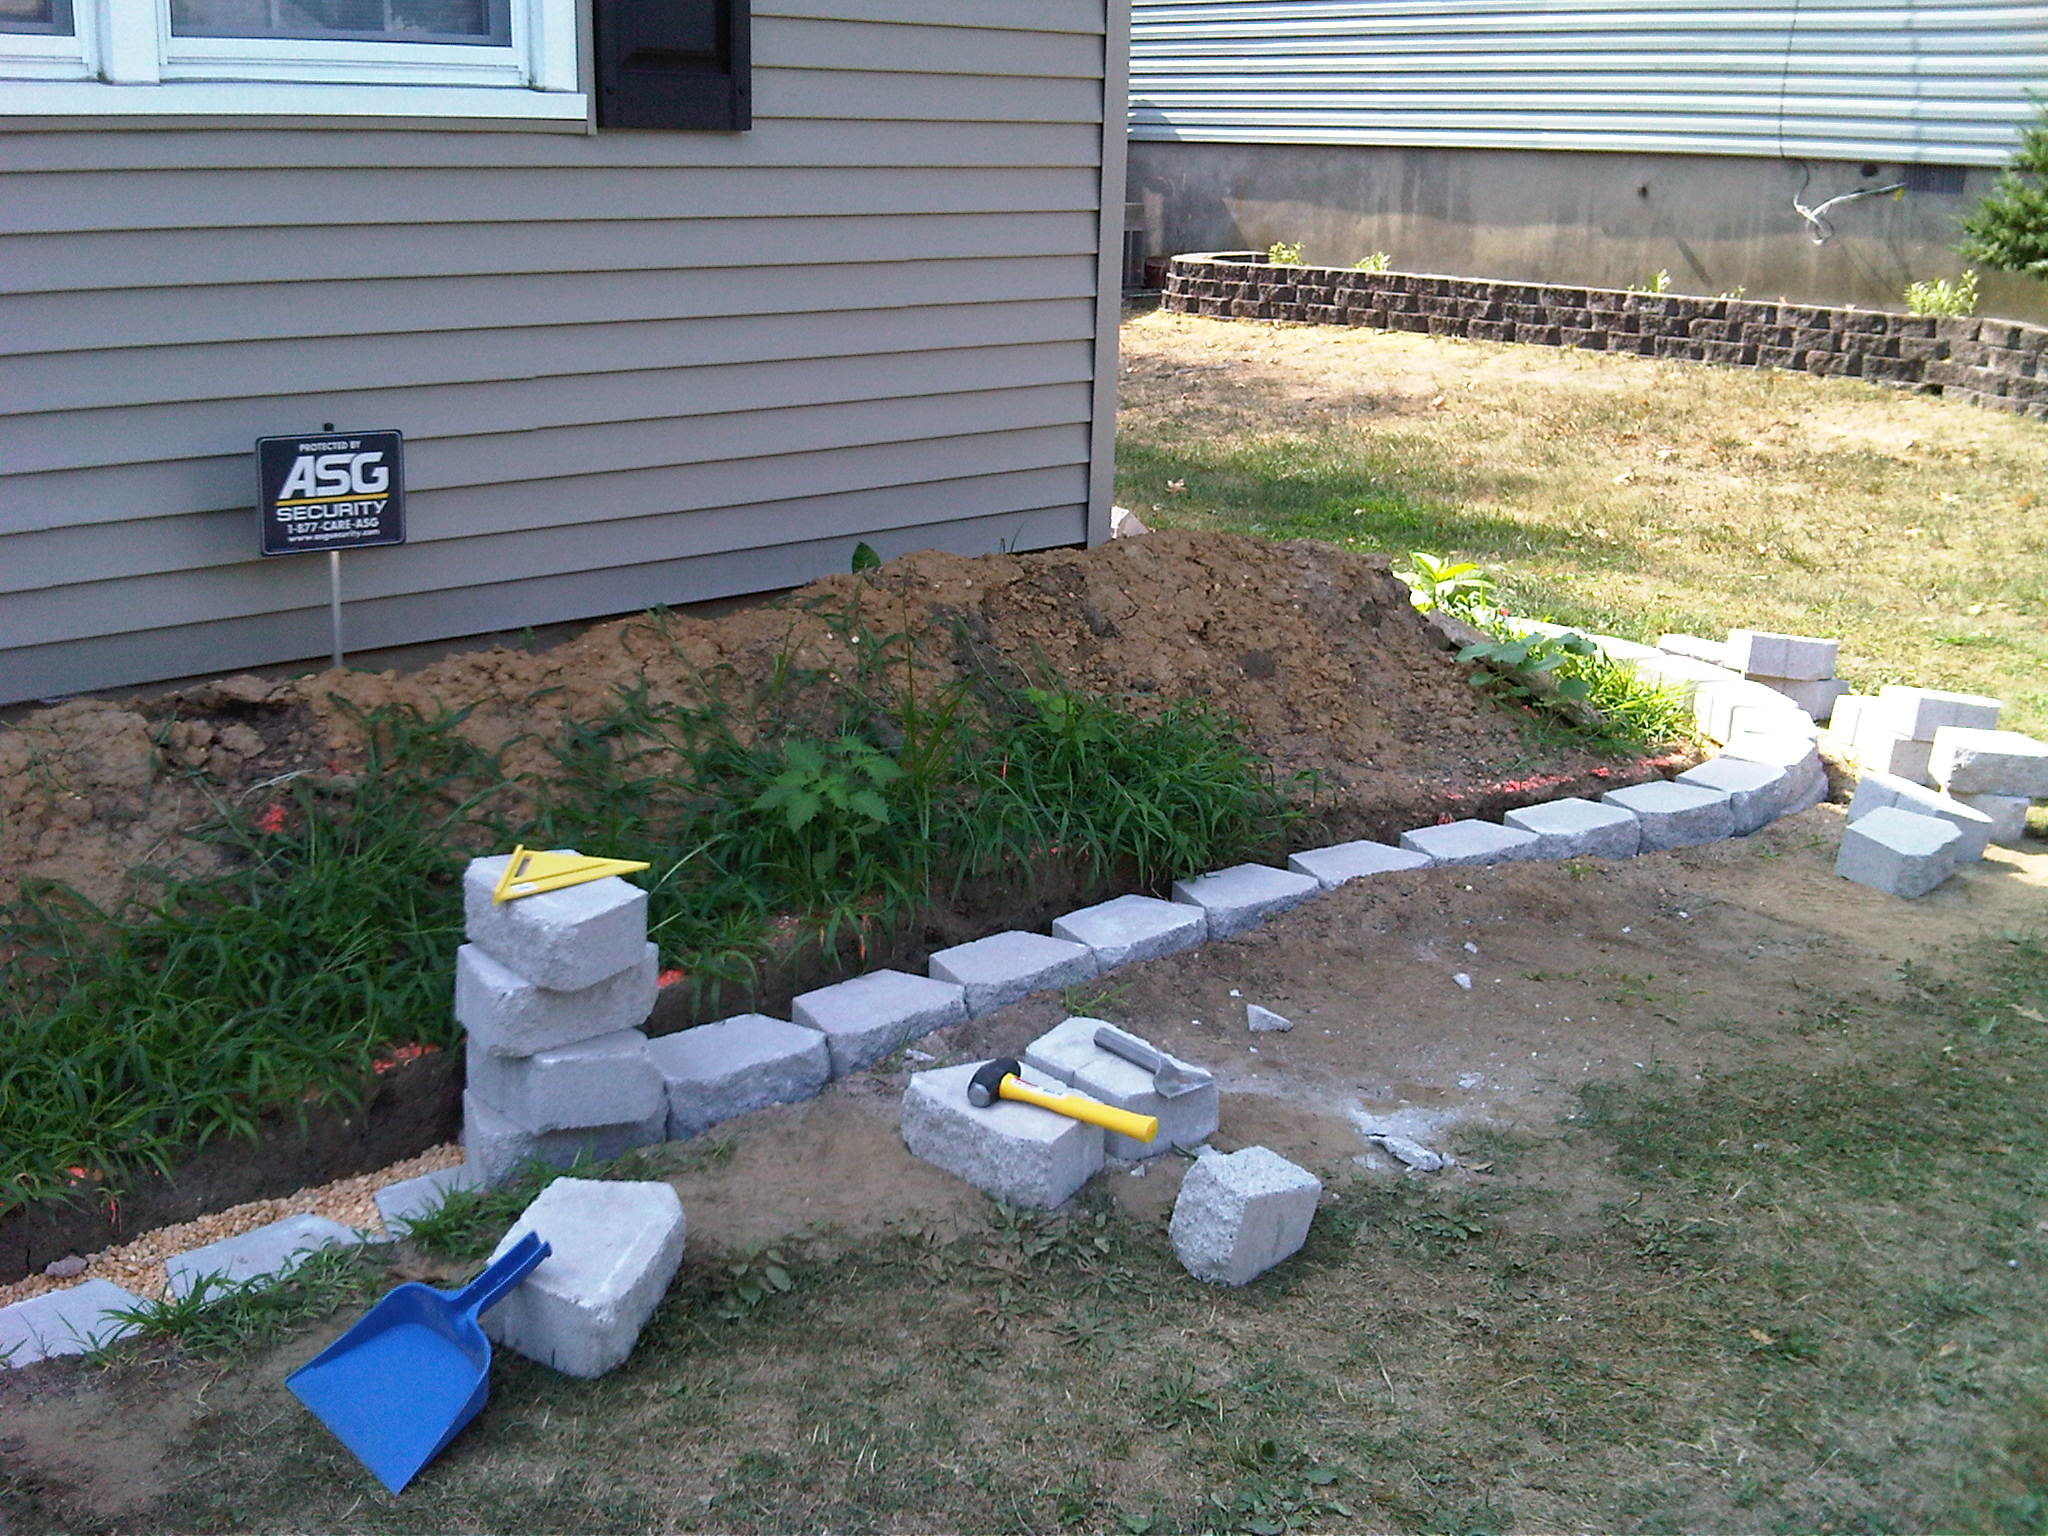
- Before, with outline of work area.
-
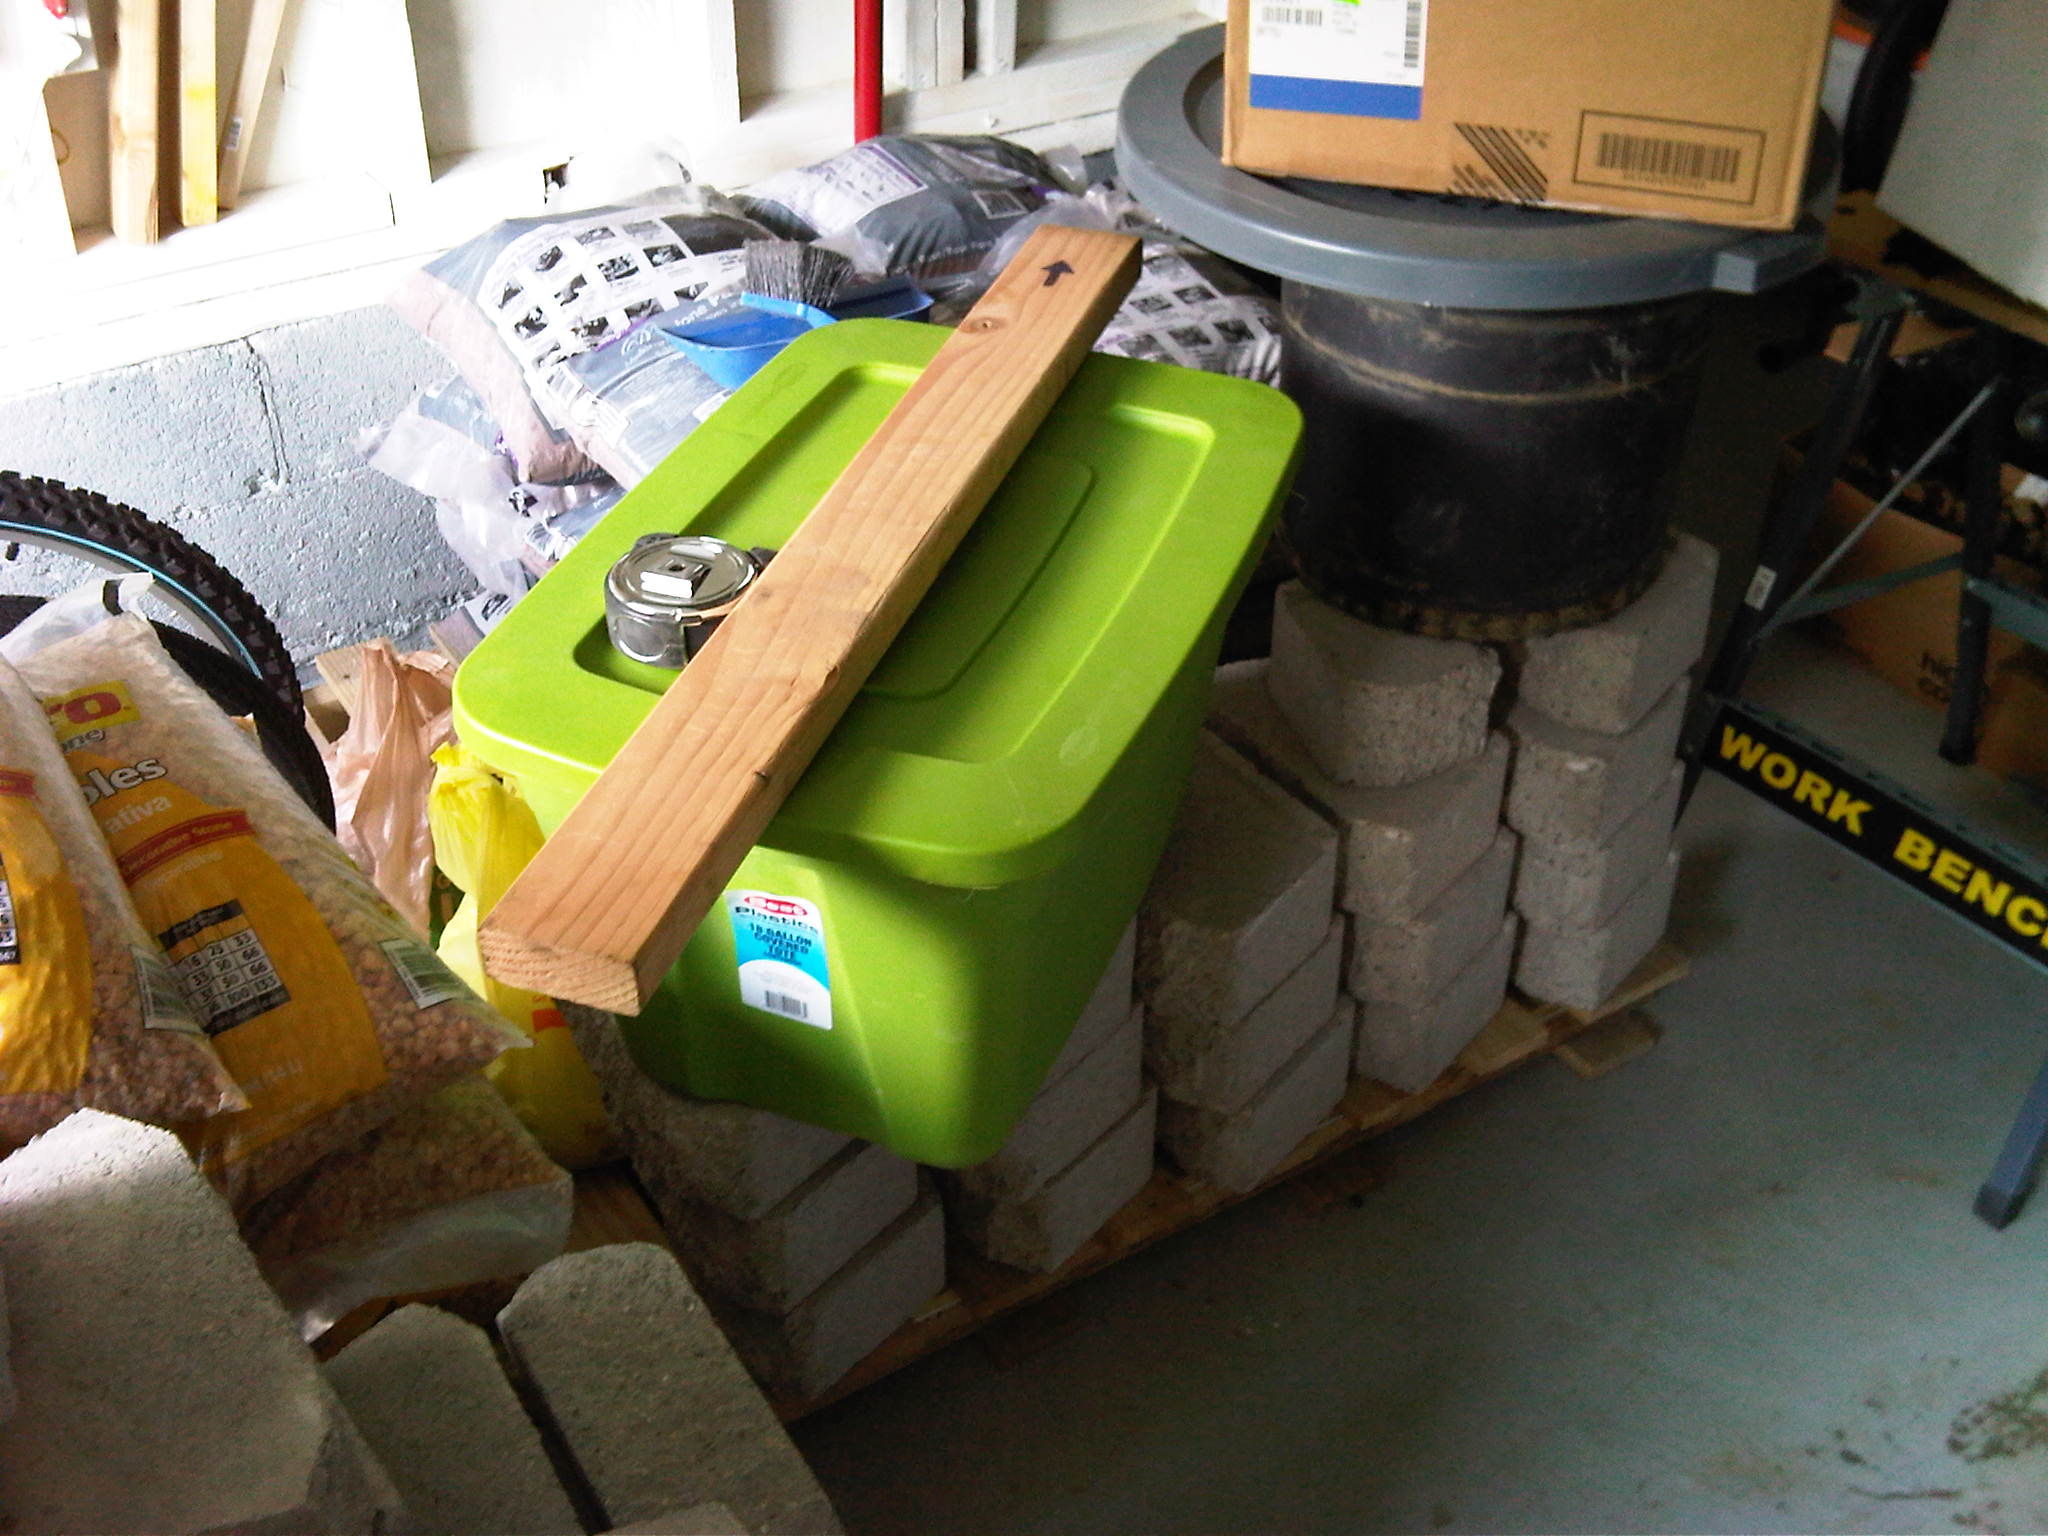
- Pallet 1 of over 100 blocks
-
- Pallet 2. And I still had to go buy 30 more blocks after this!
-
- Scotts PatchMaster – (May 16, 2010).
-
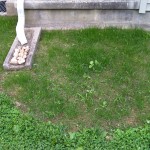
- Scotts PatchMaster – 4 weeks later.
-
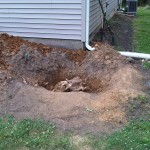
- Unexpected stump.
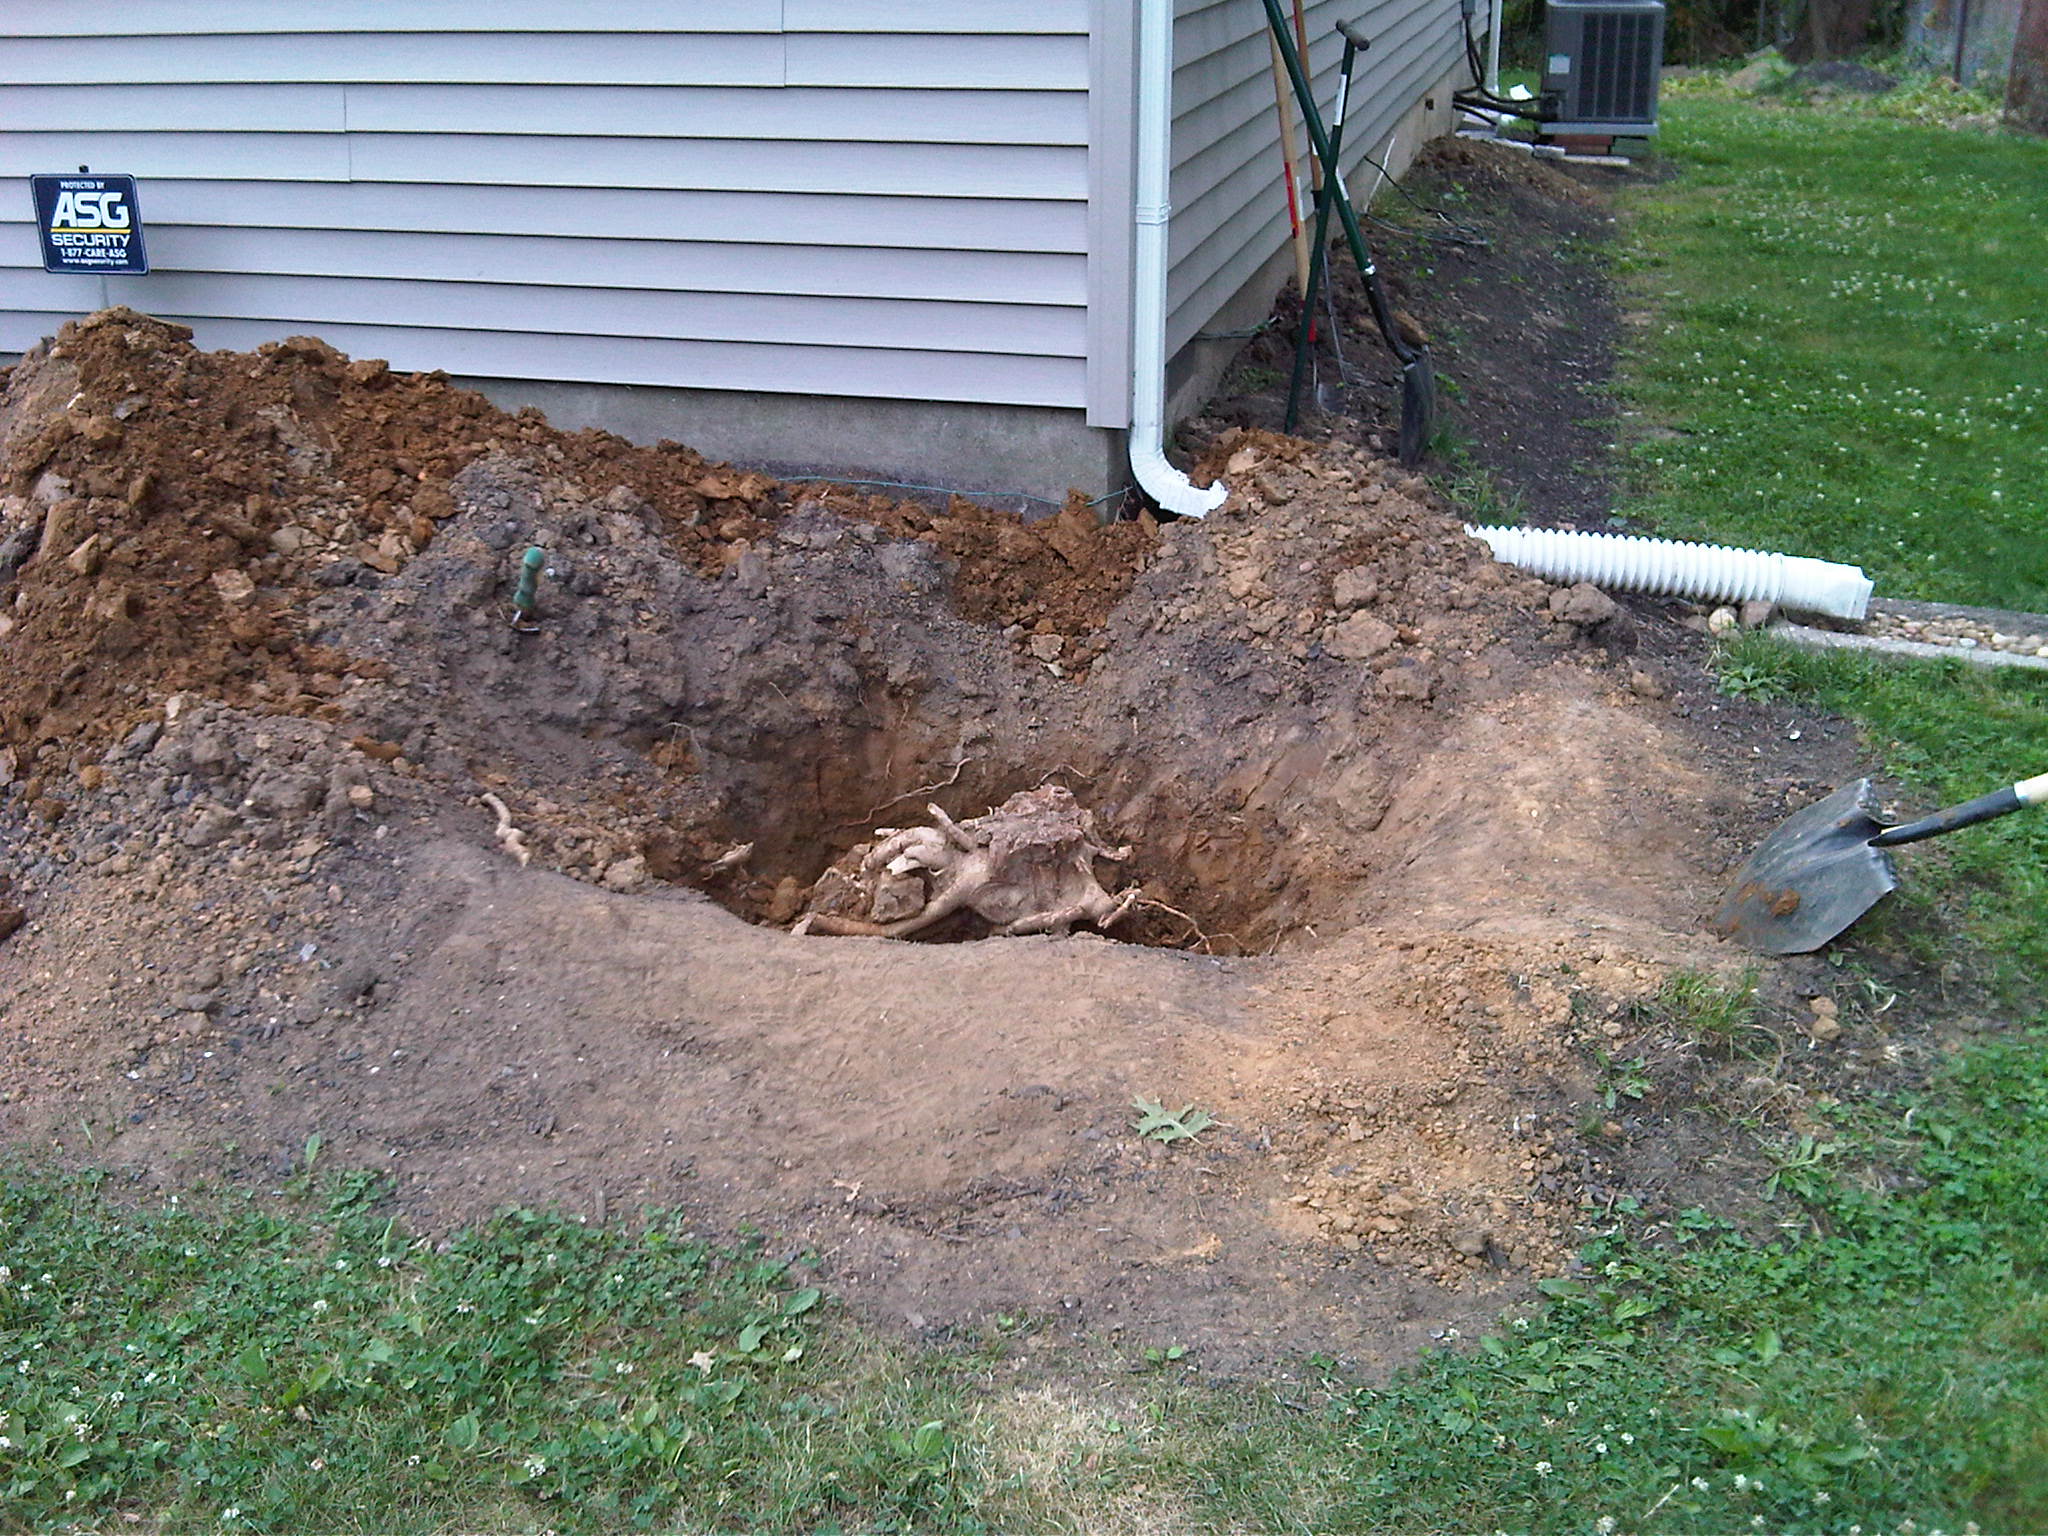
-
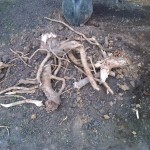
- Gone! Very easy work with post hole digging tamper bar.
-
- I cleared out the side also, even though it wasn’t part of the retaining wall.
-
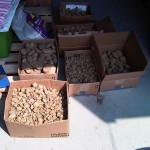
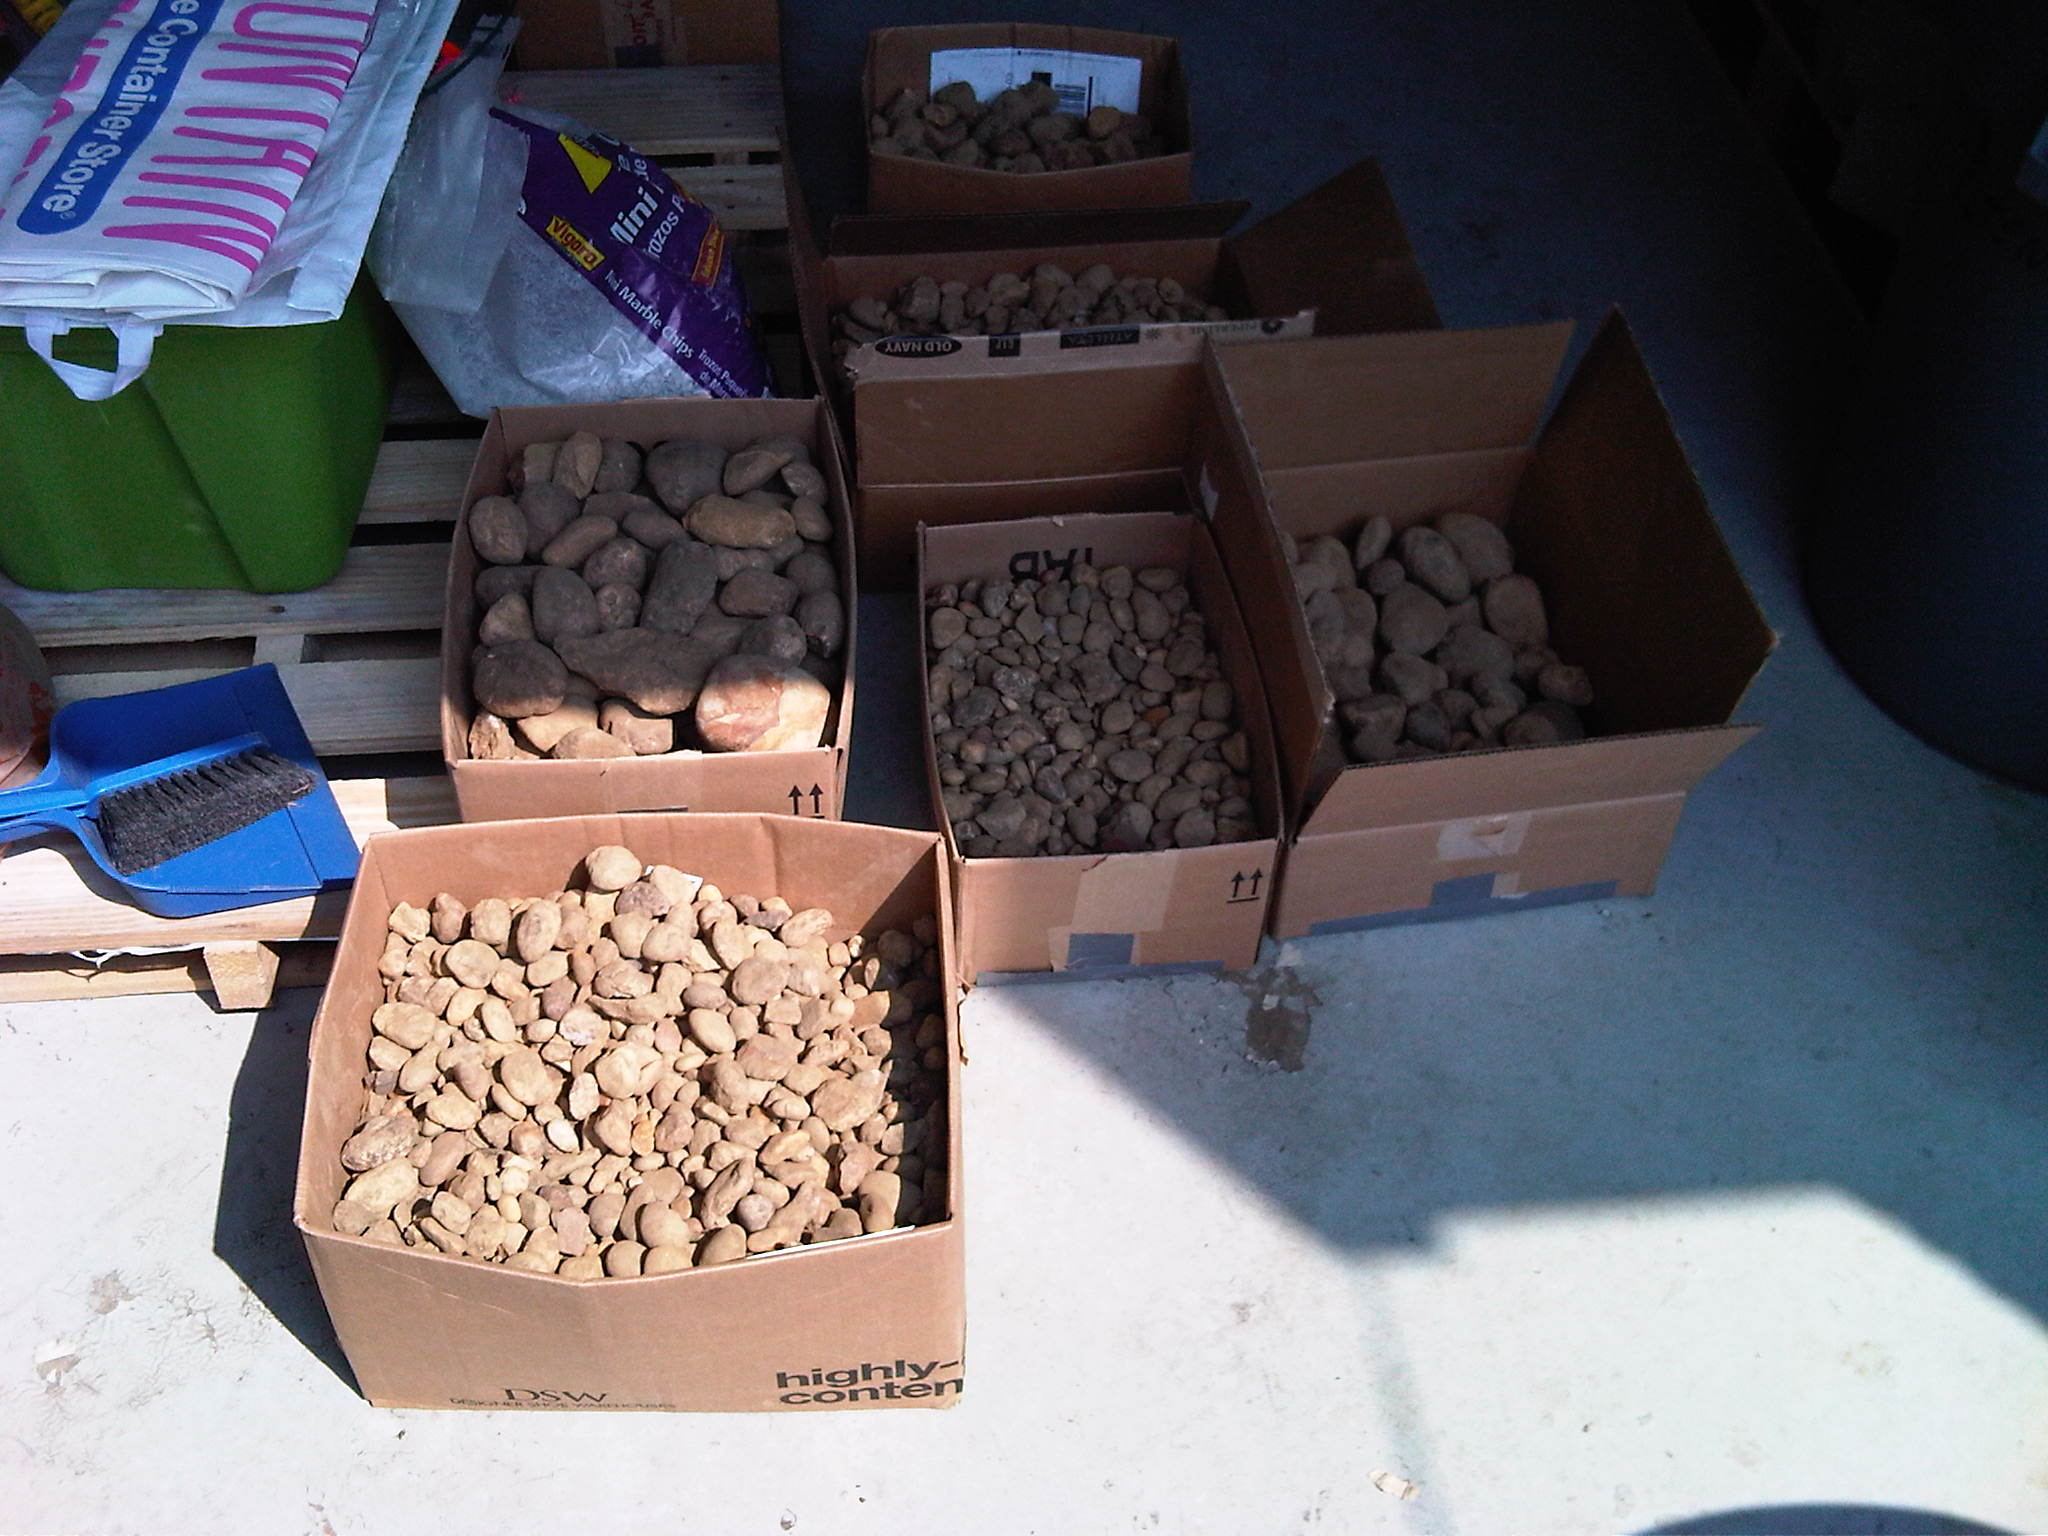
- Boxes and boxes of pebbles and stones from the areas I cleared.
-
- First, outline with garden hose.

-
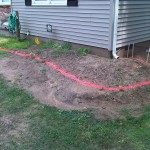
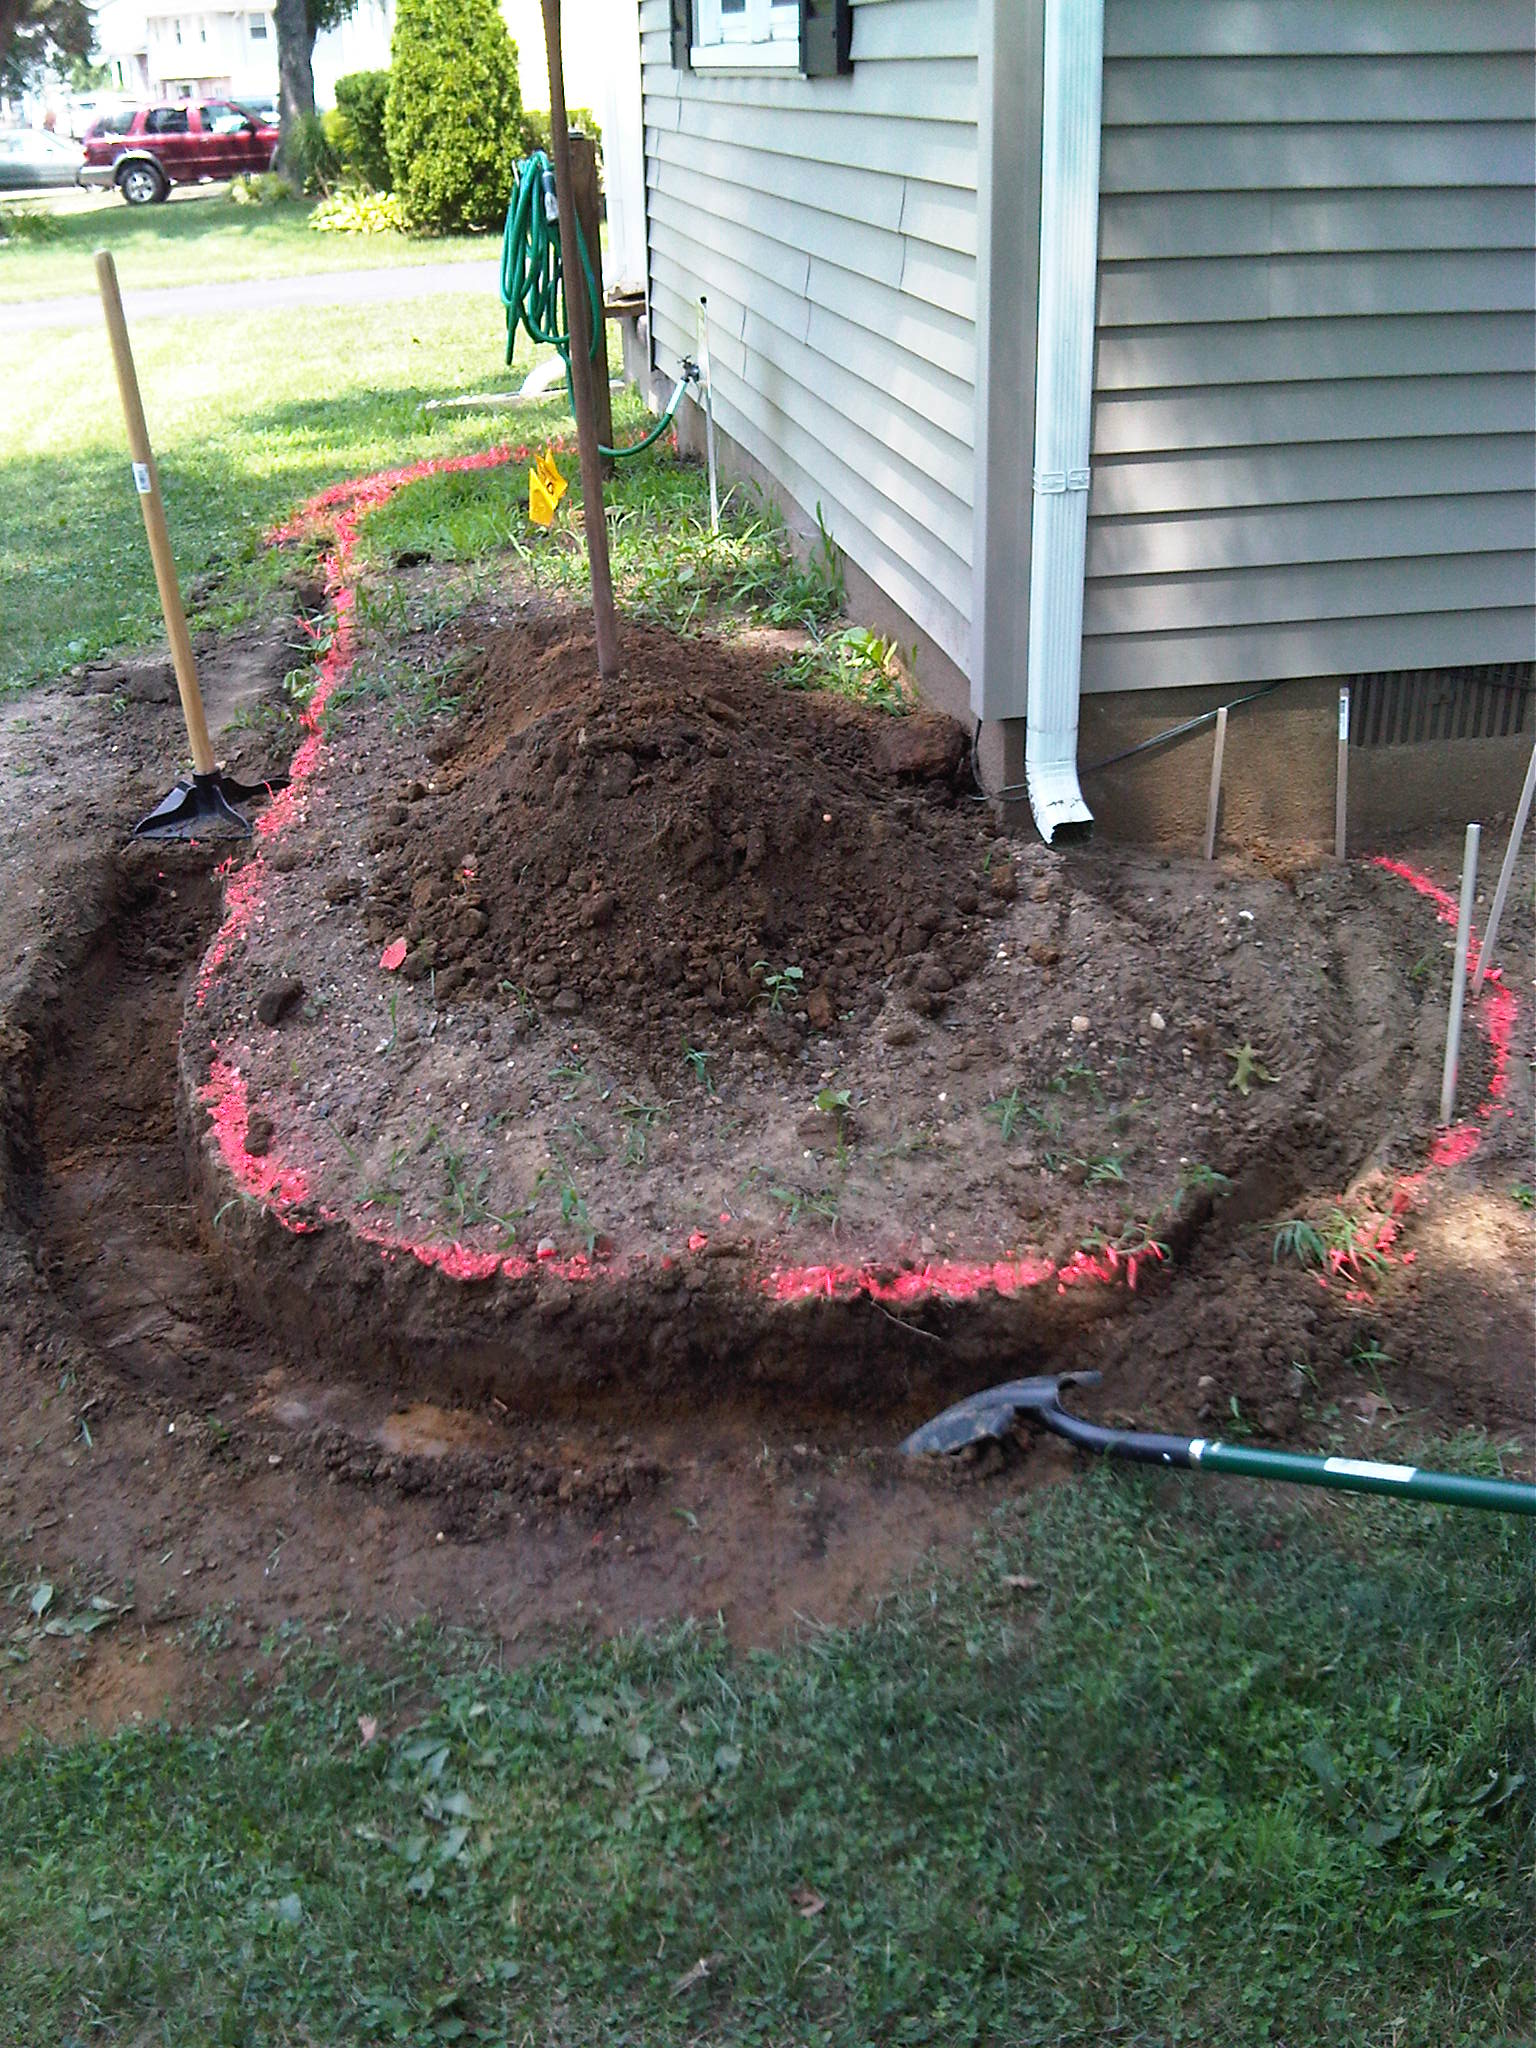
- Next, outline with marking paint.
-
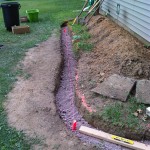
- Got the trench started. Make it as wide as the tamper (10 in).
-
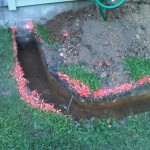
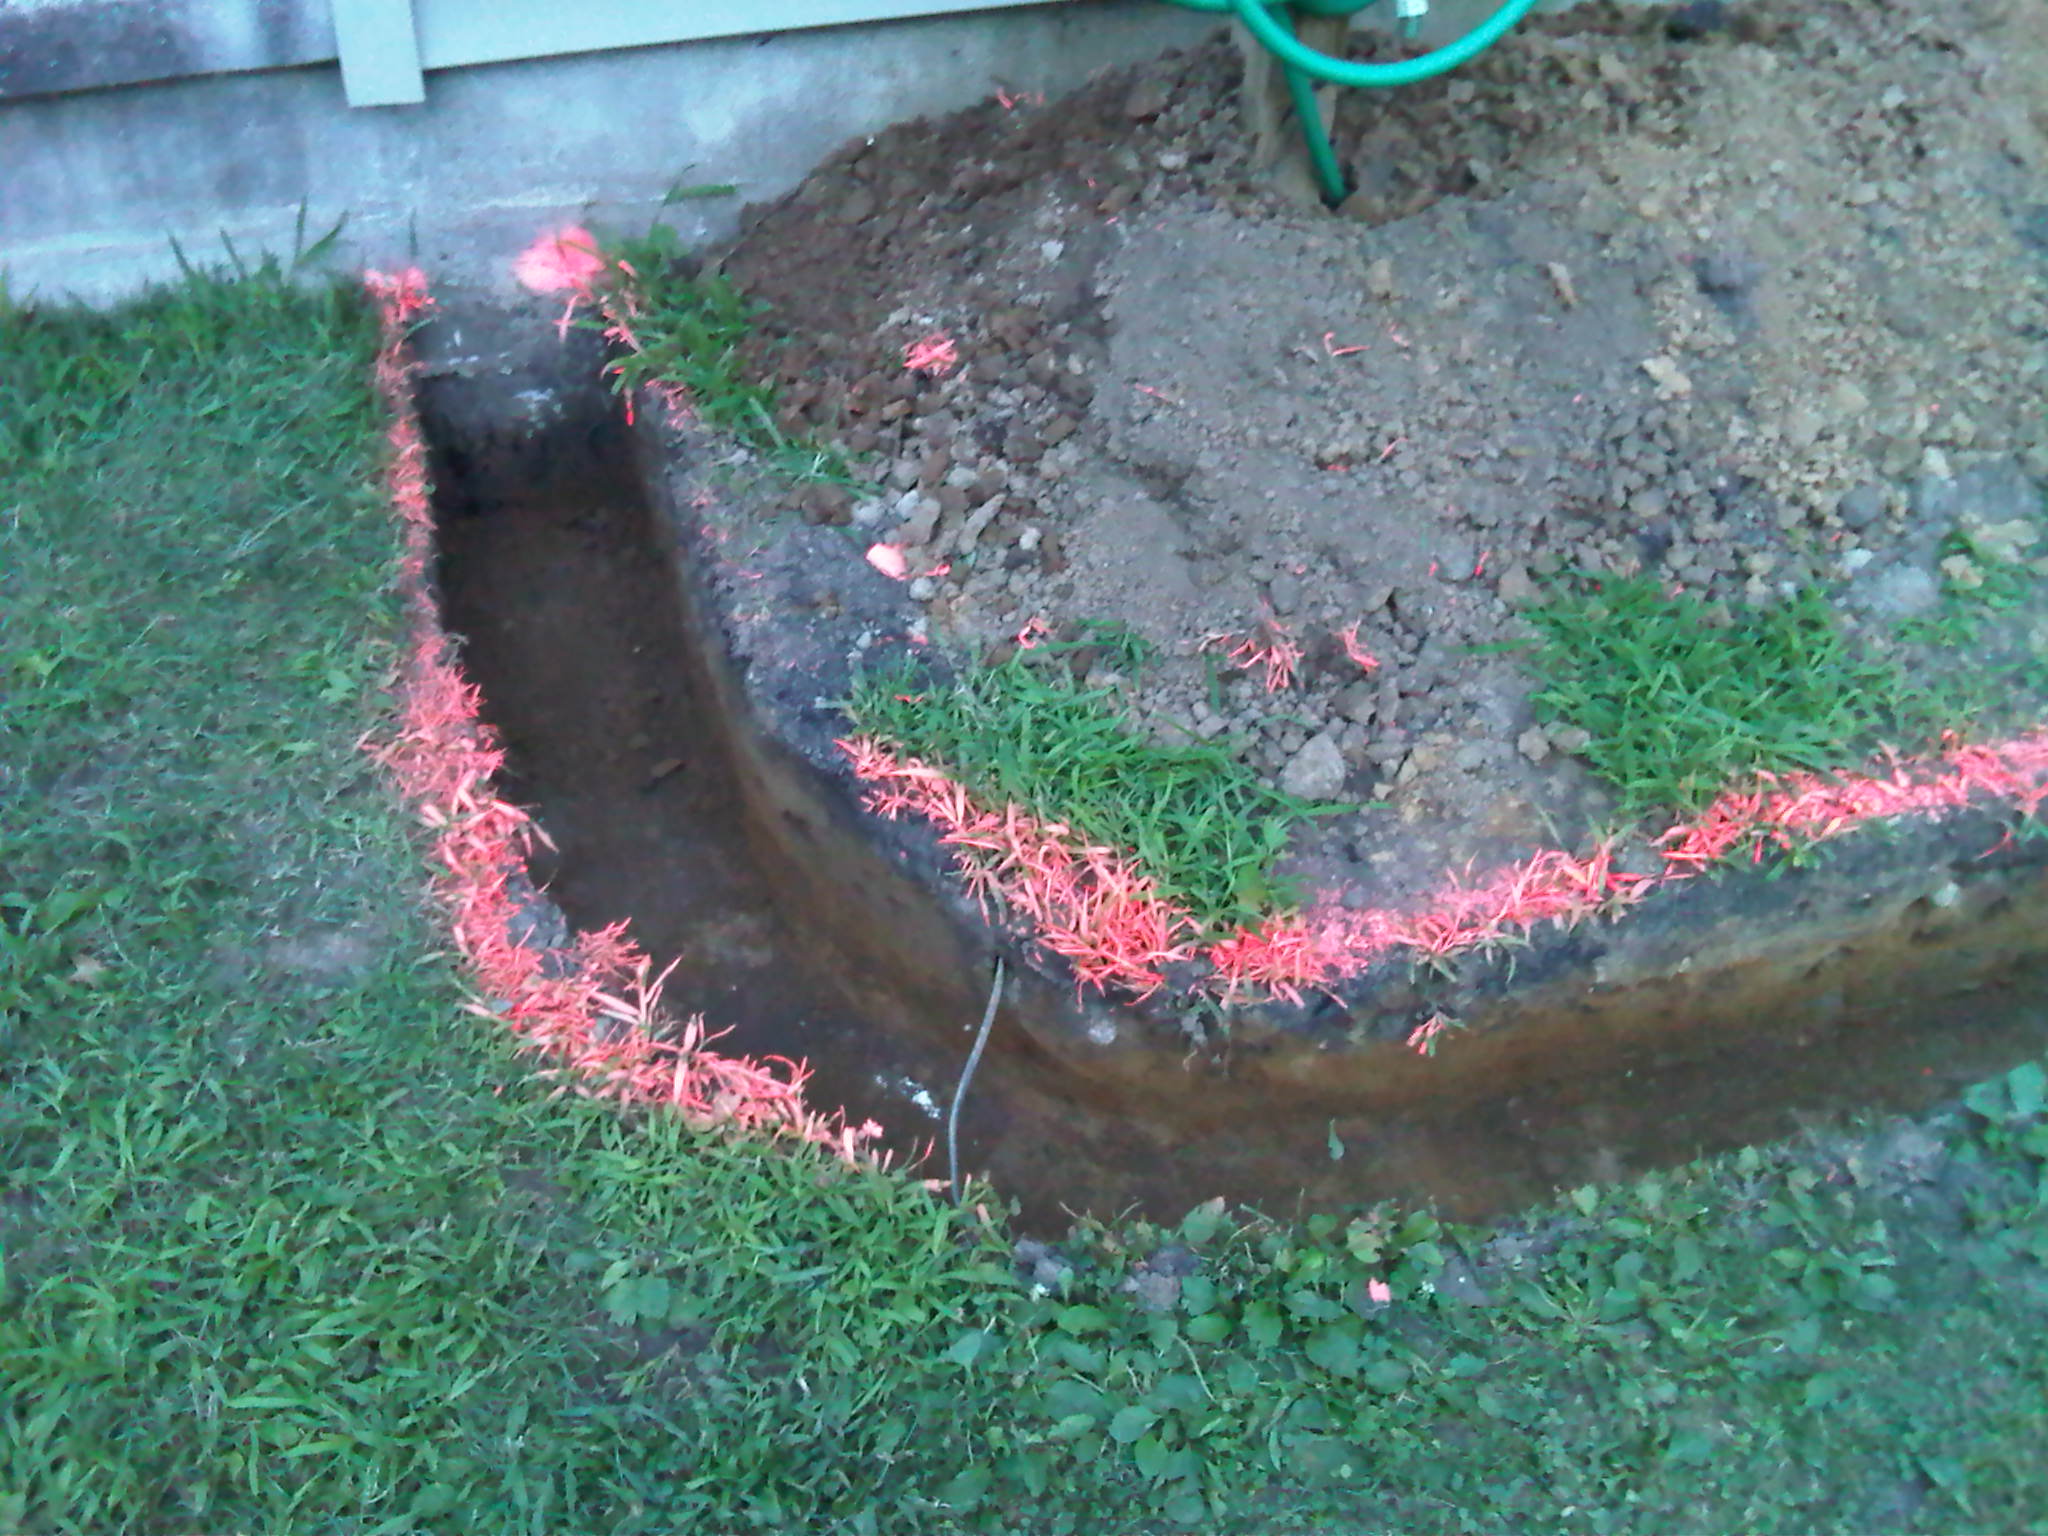
- Over 1 ft deep in some areas. All dug out by hand with a shovel.
-
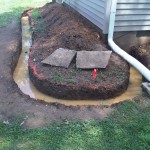
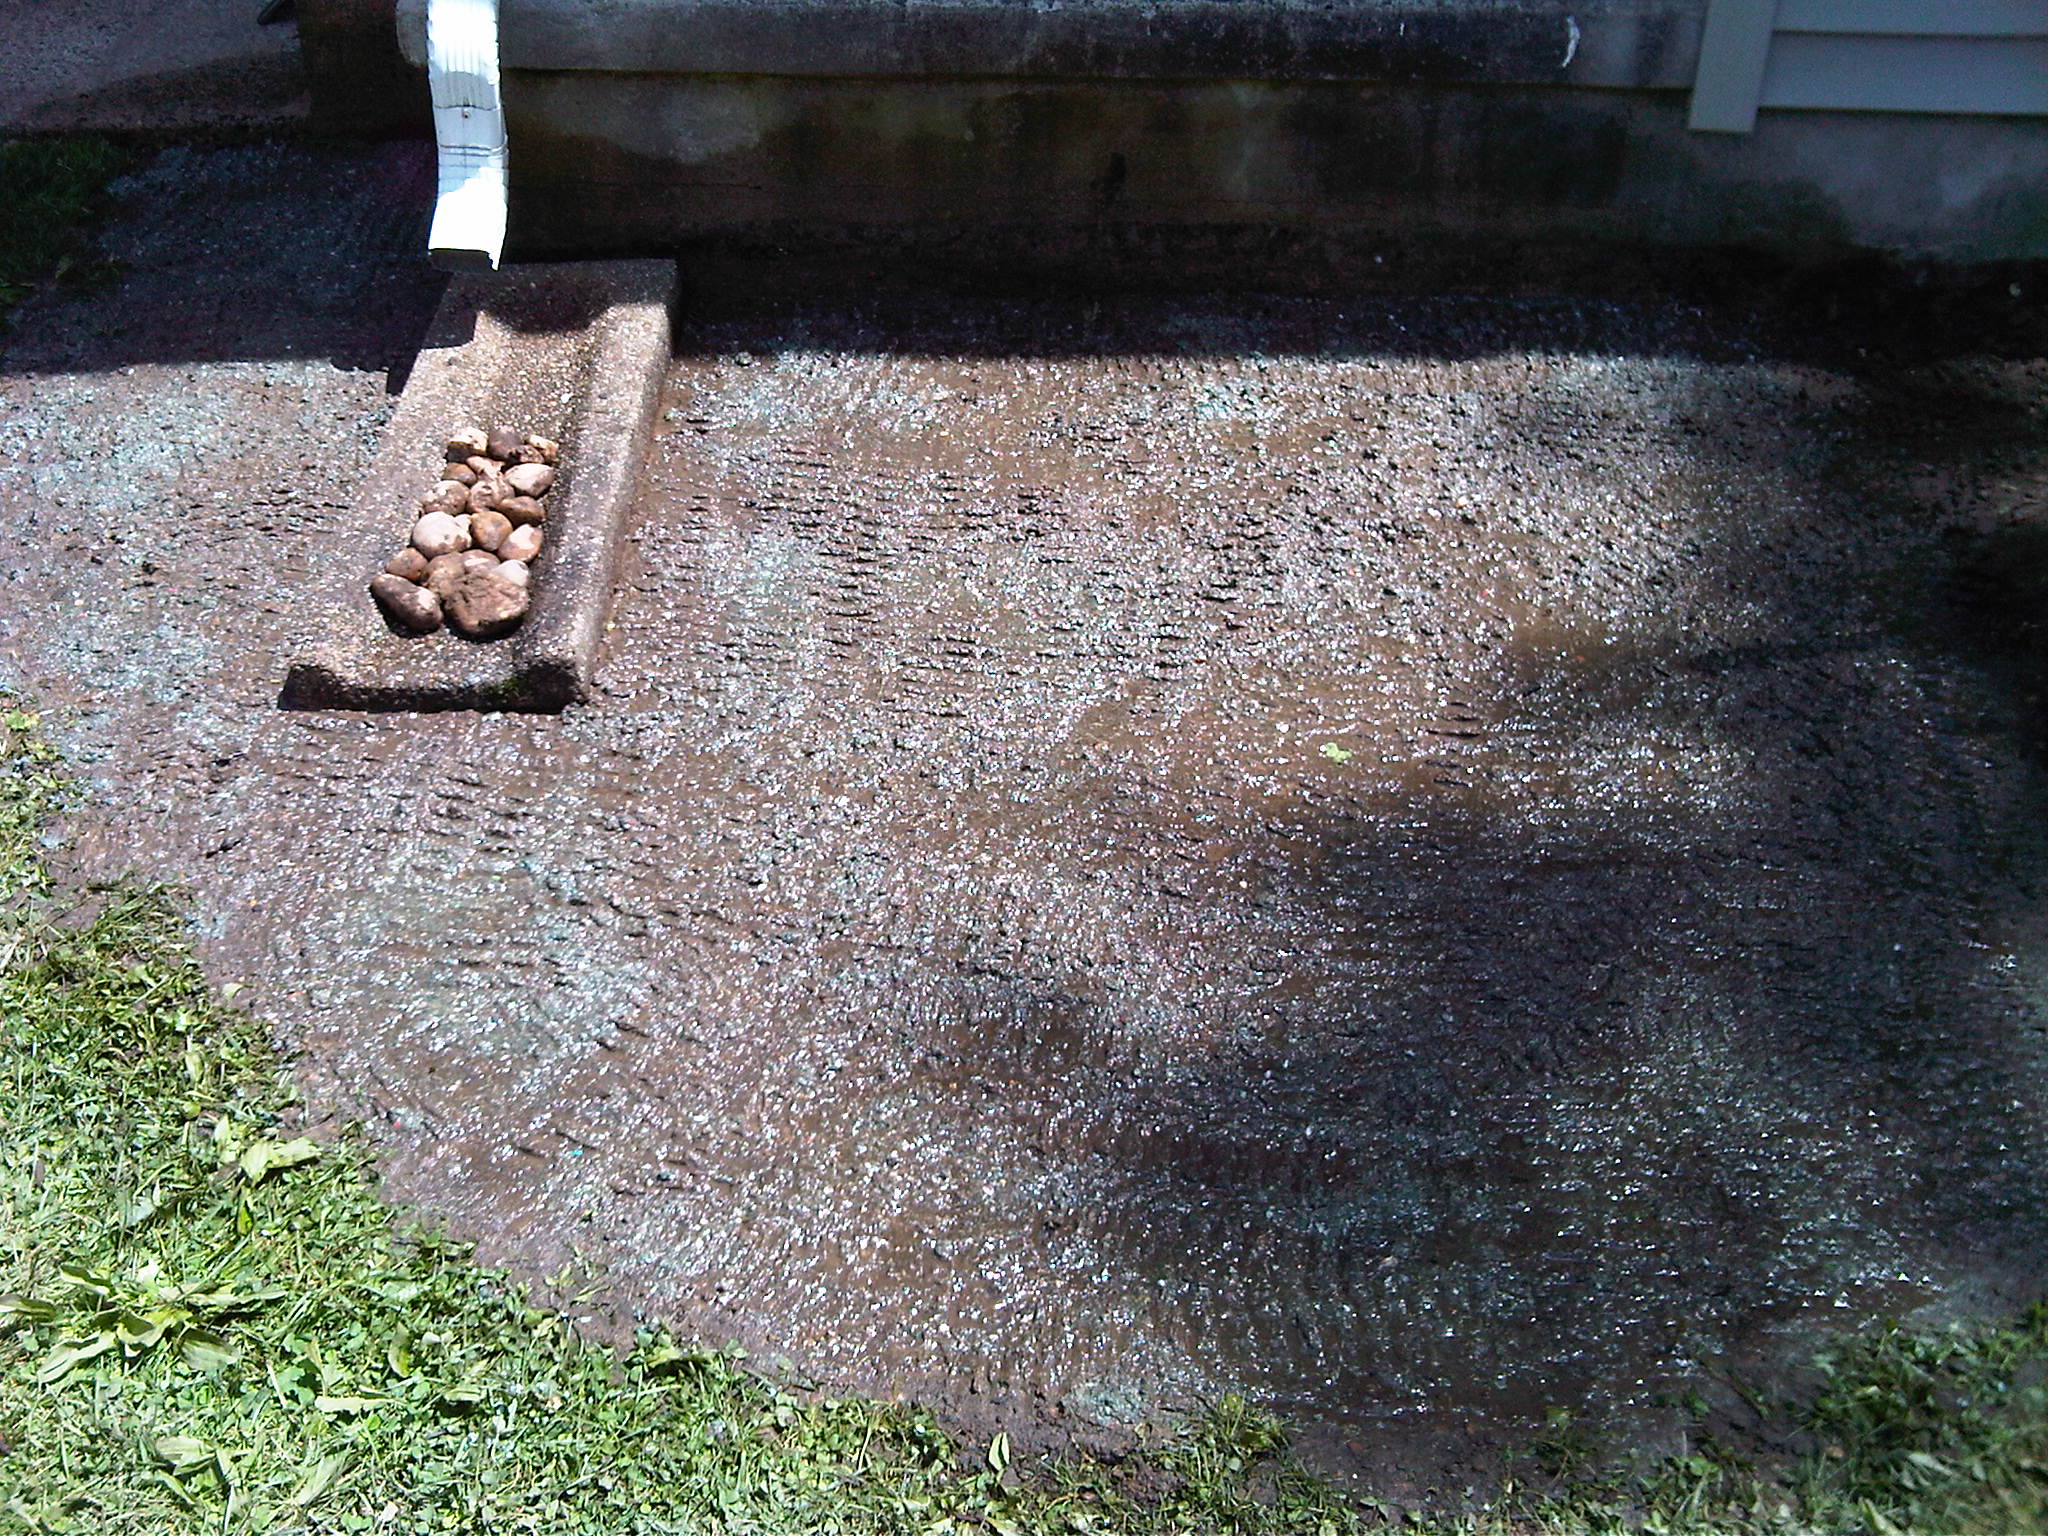
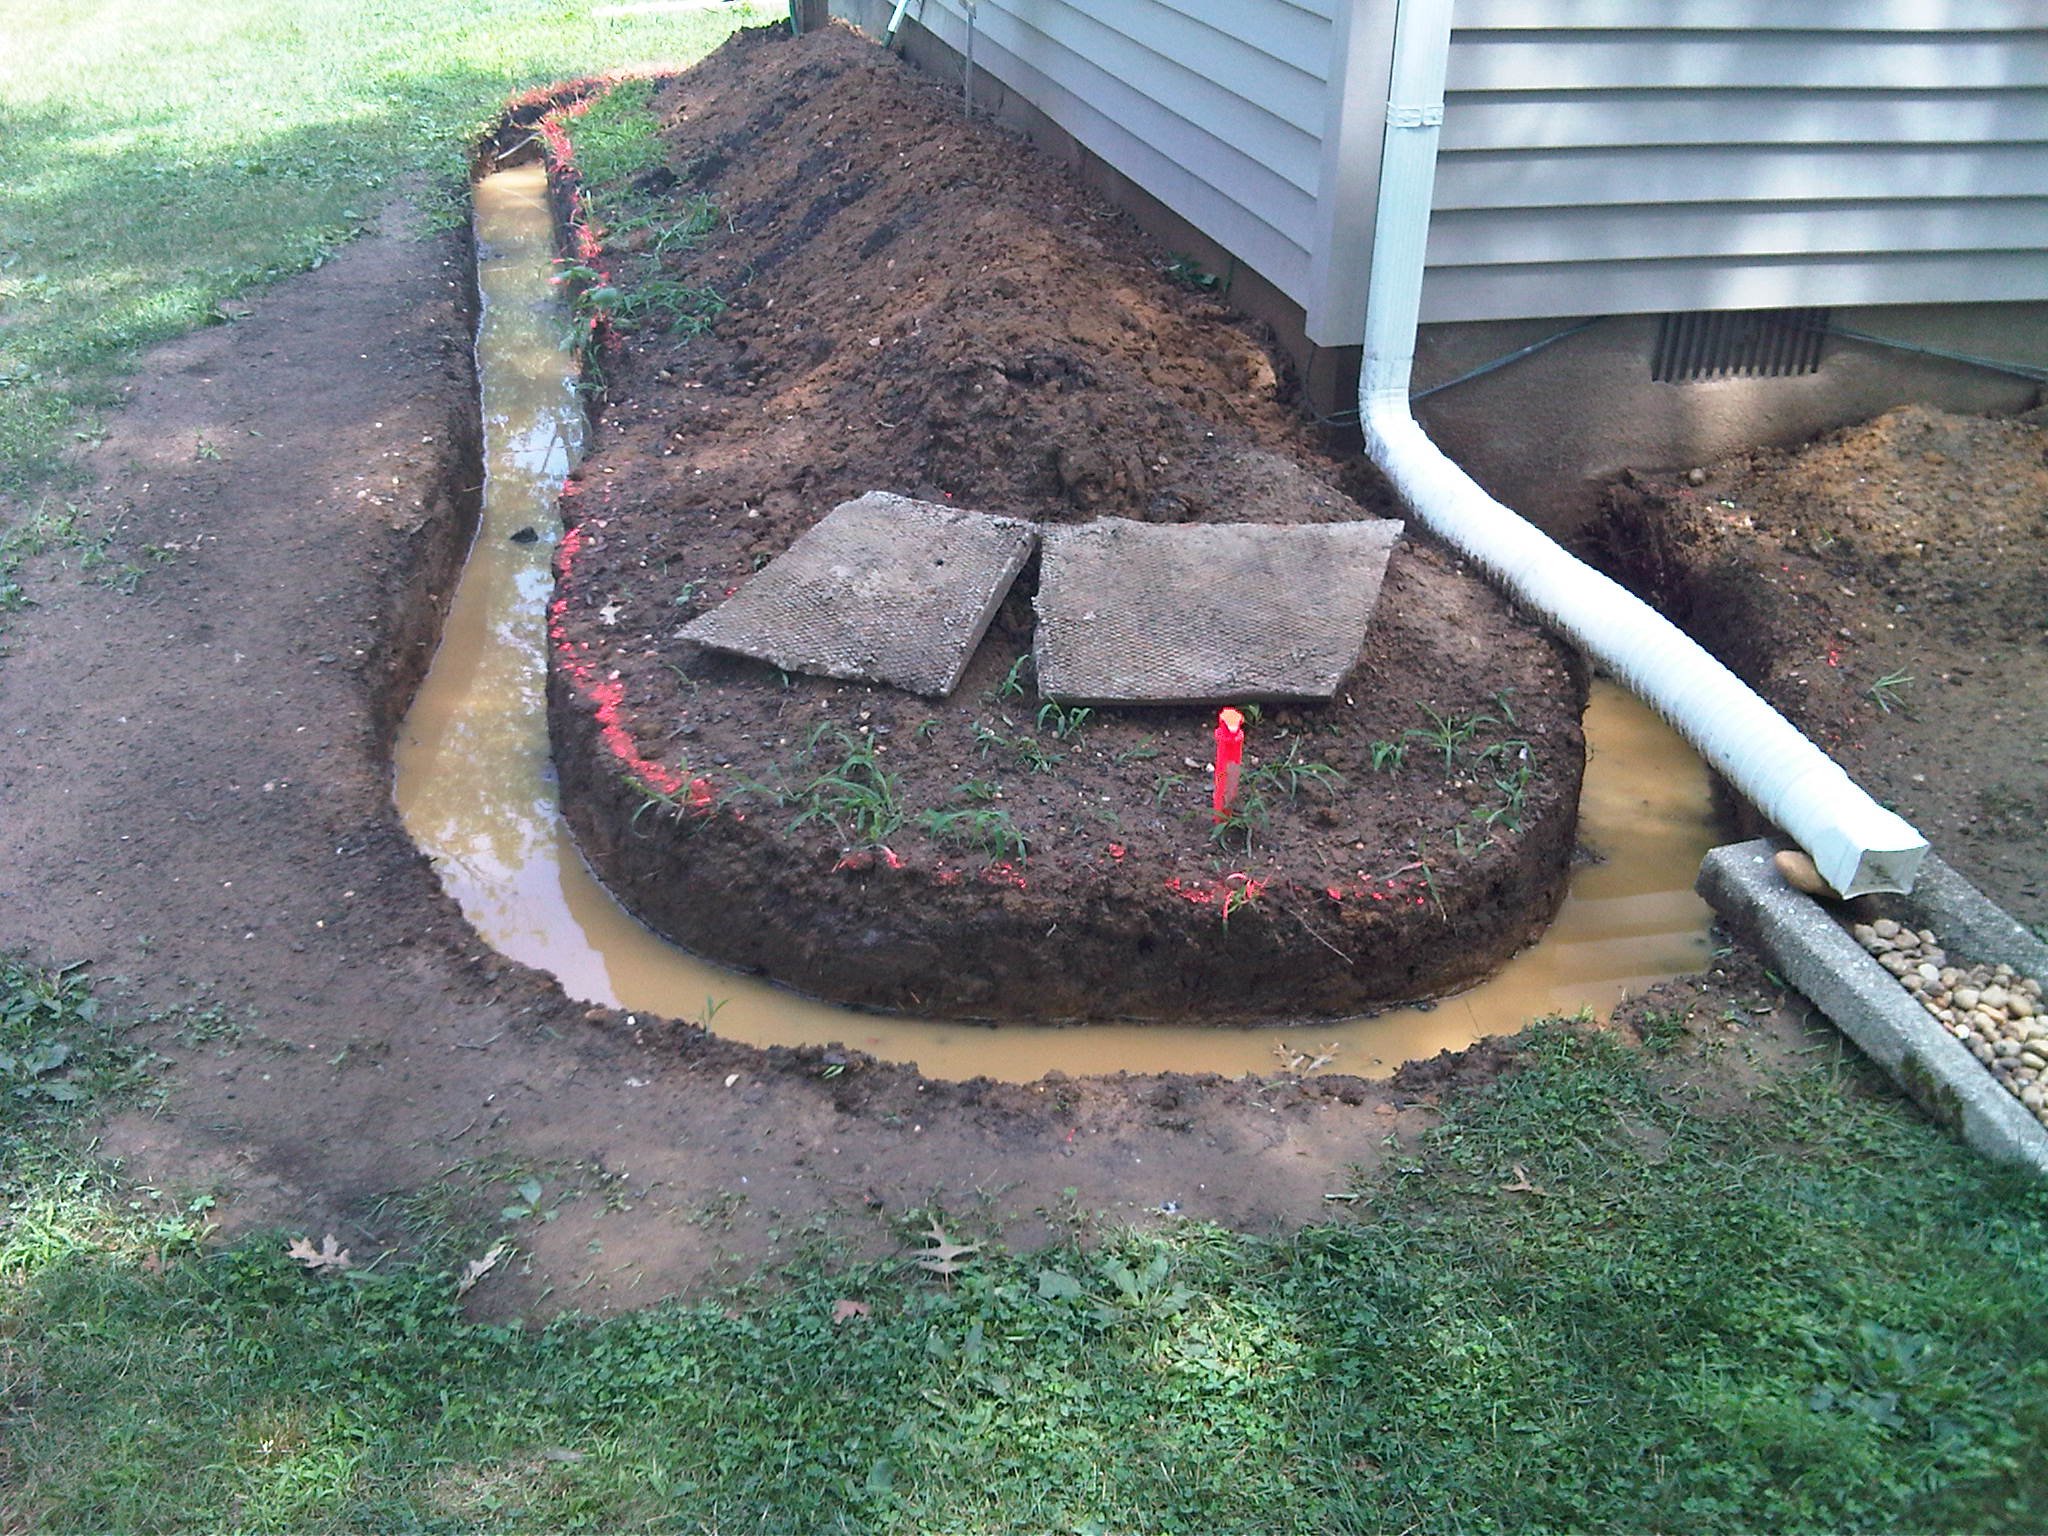
- After a heavy rain. It didn’t collapse, so we’re good.
-
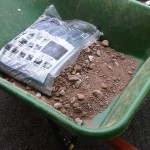
- Pavestone brand paver base (20 bags @ .5 cu ft).

-
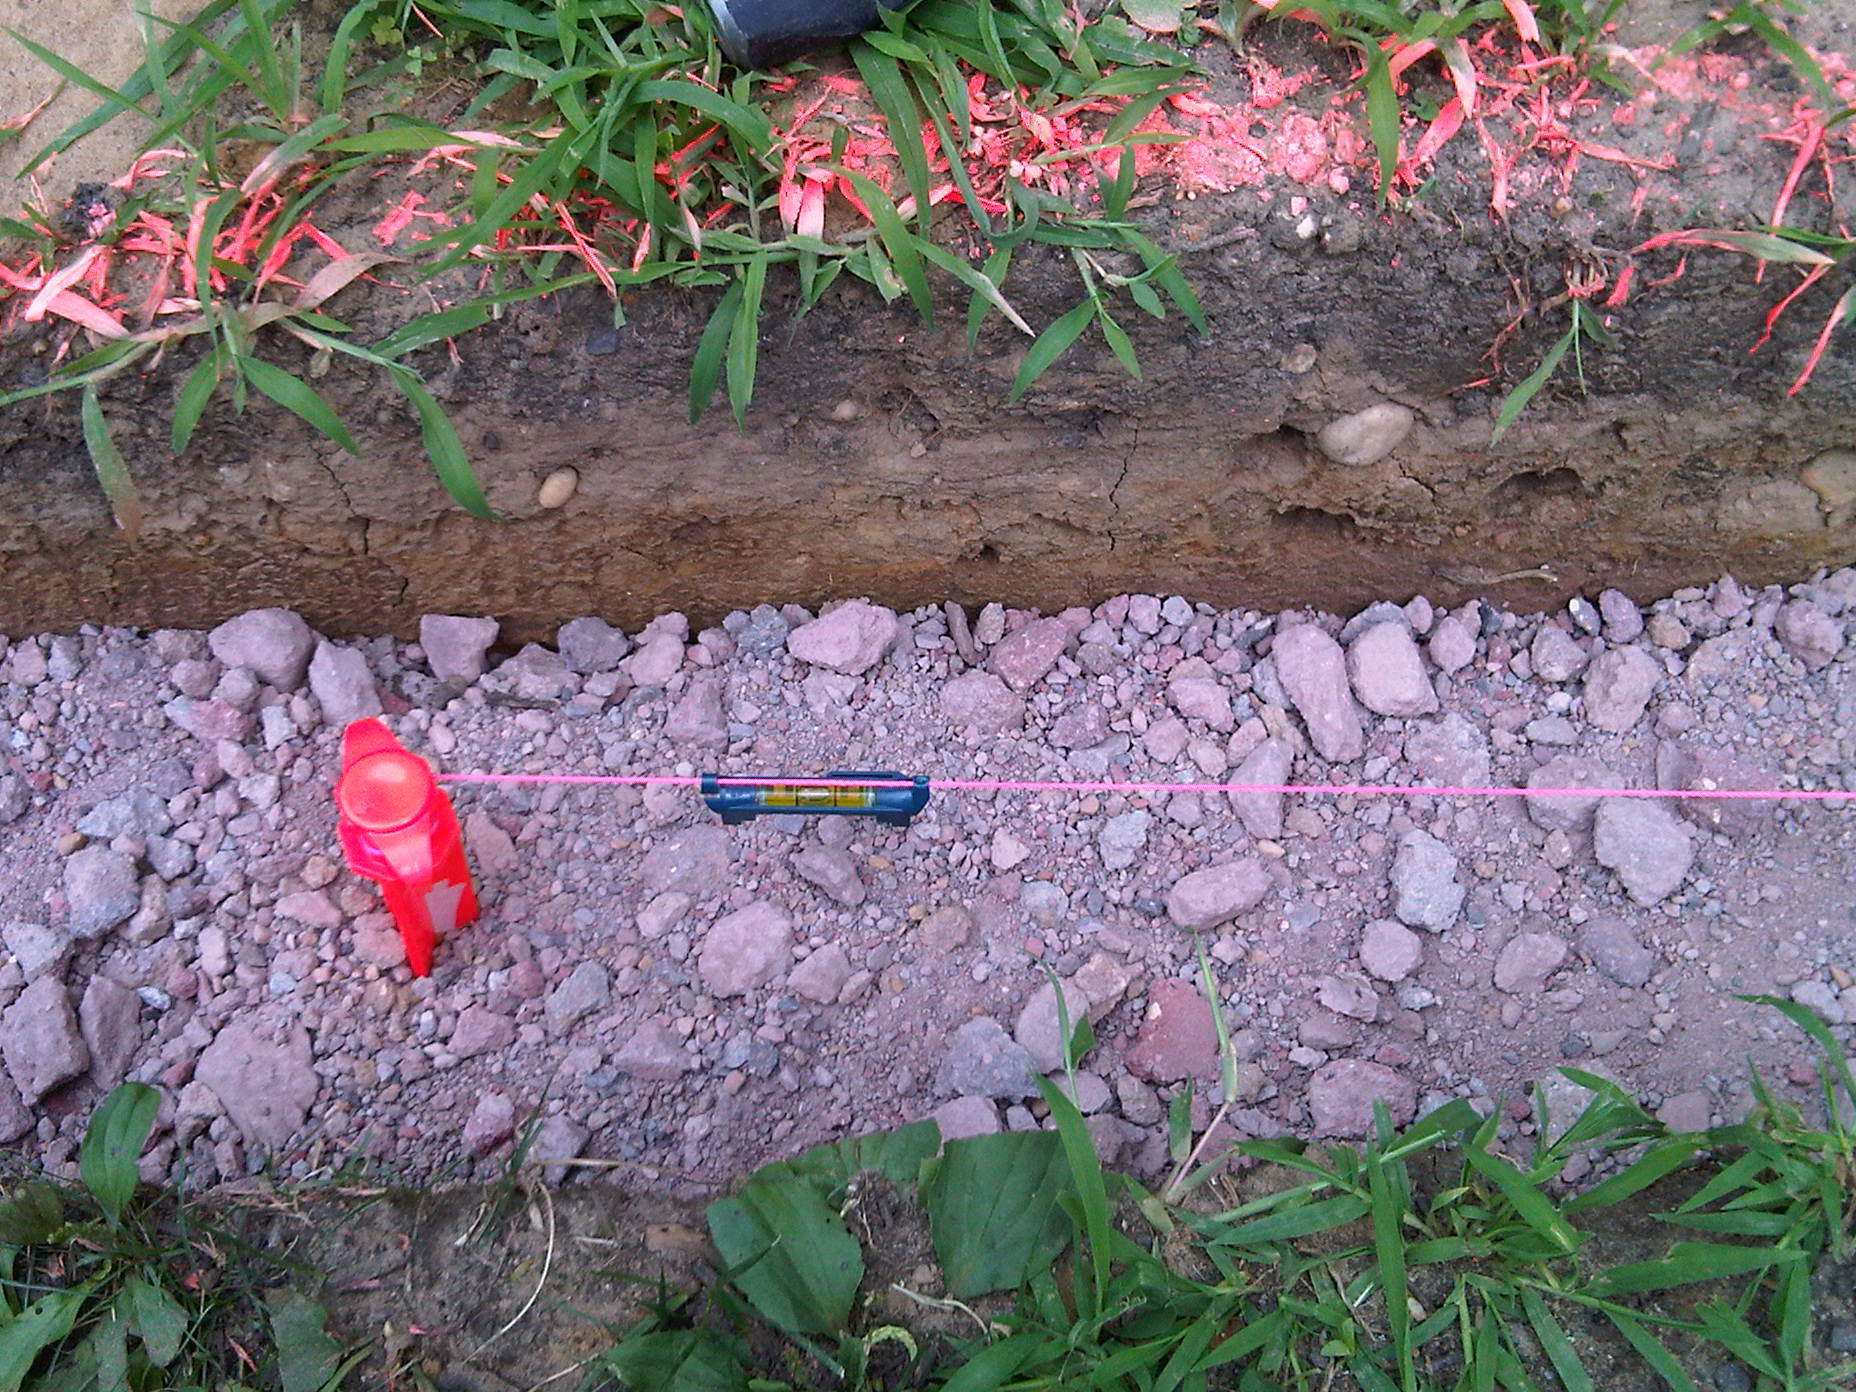
- Checking level with 4 ft section of 2 x 4 and torpedo level.
-
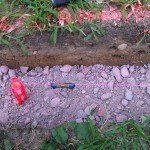
- Double-checking level with string level.
-
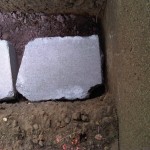
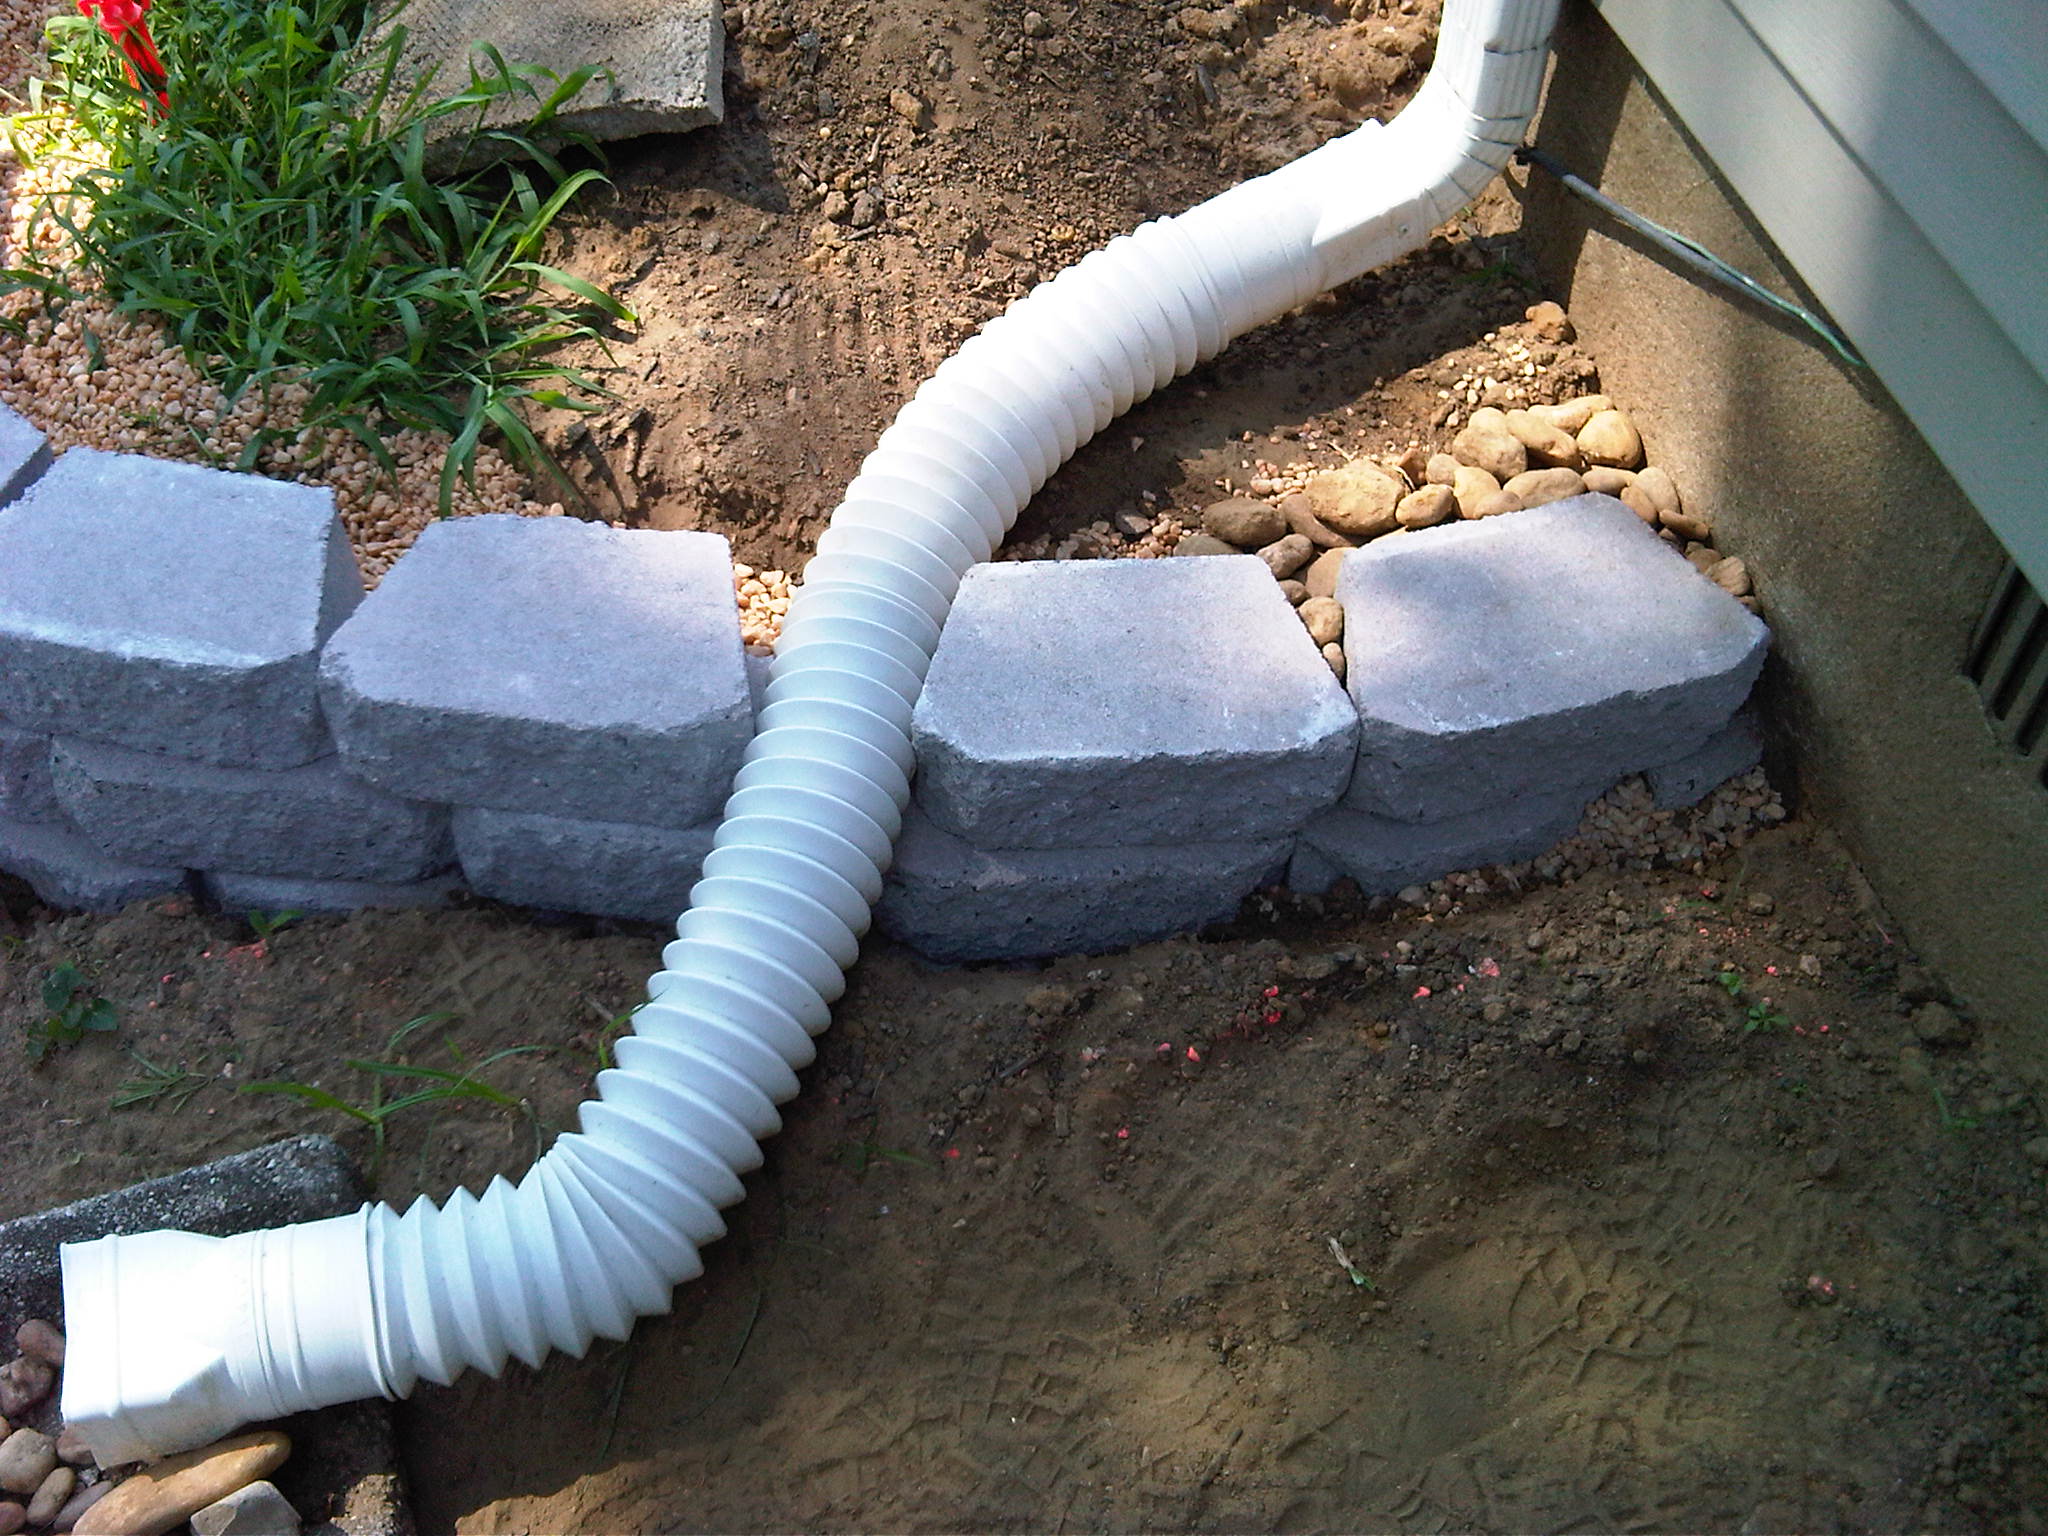
- Near the gutter. Had to cut a little bit off the end block.
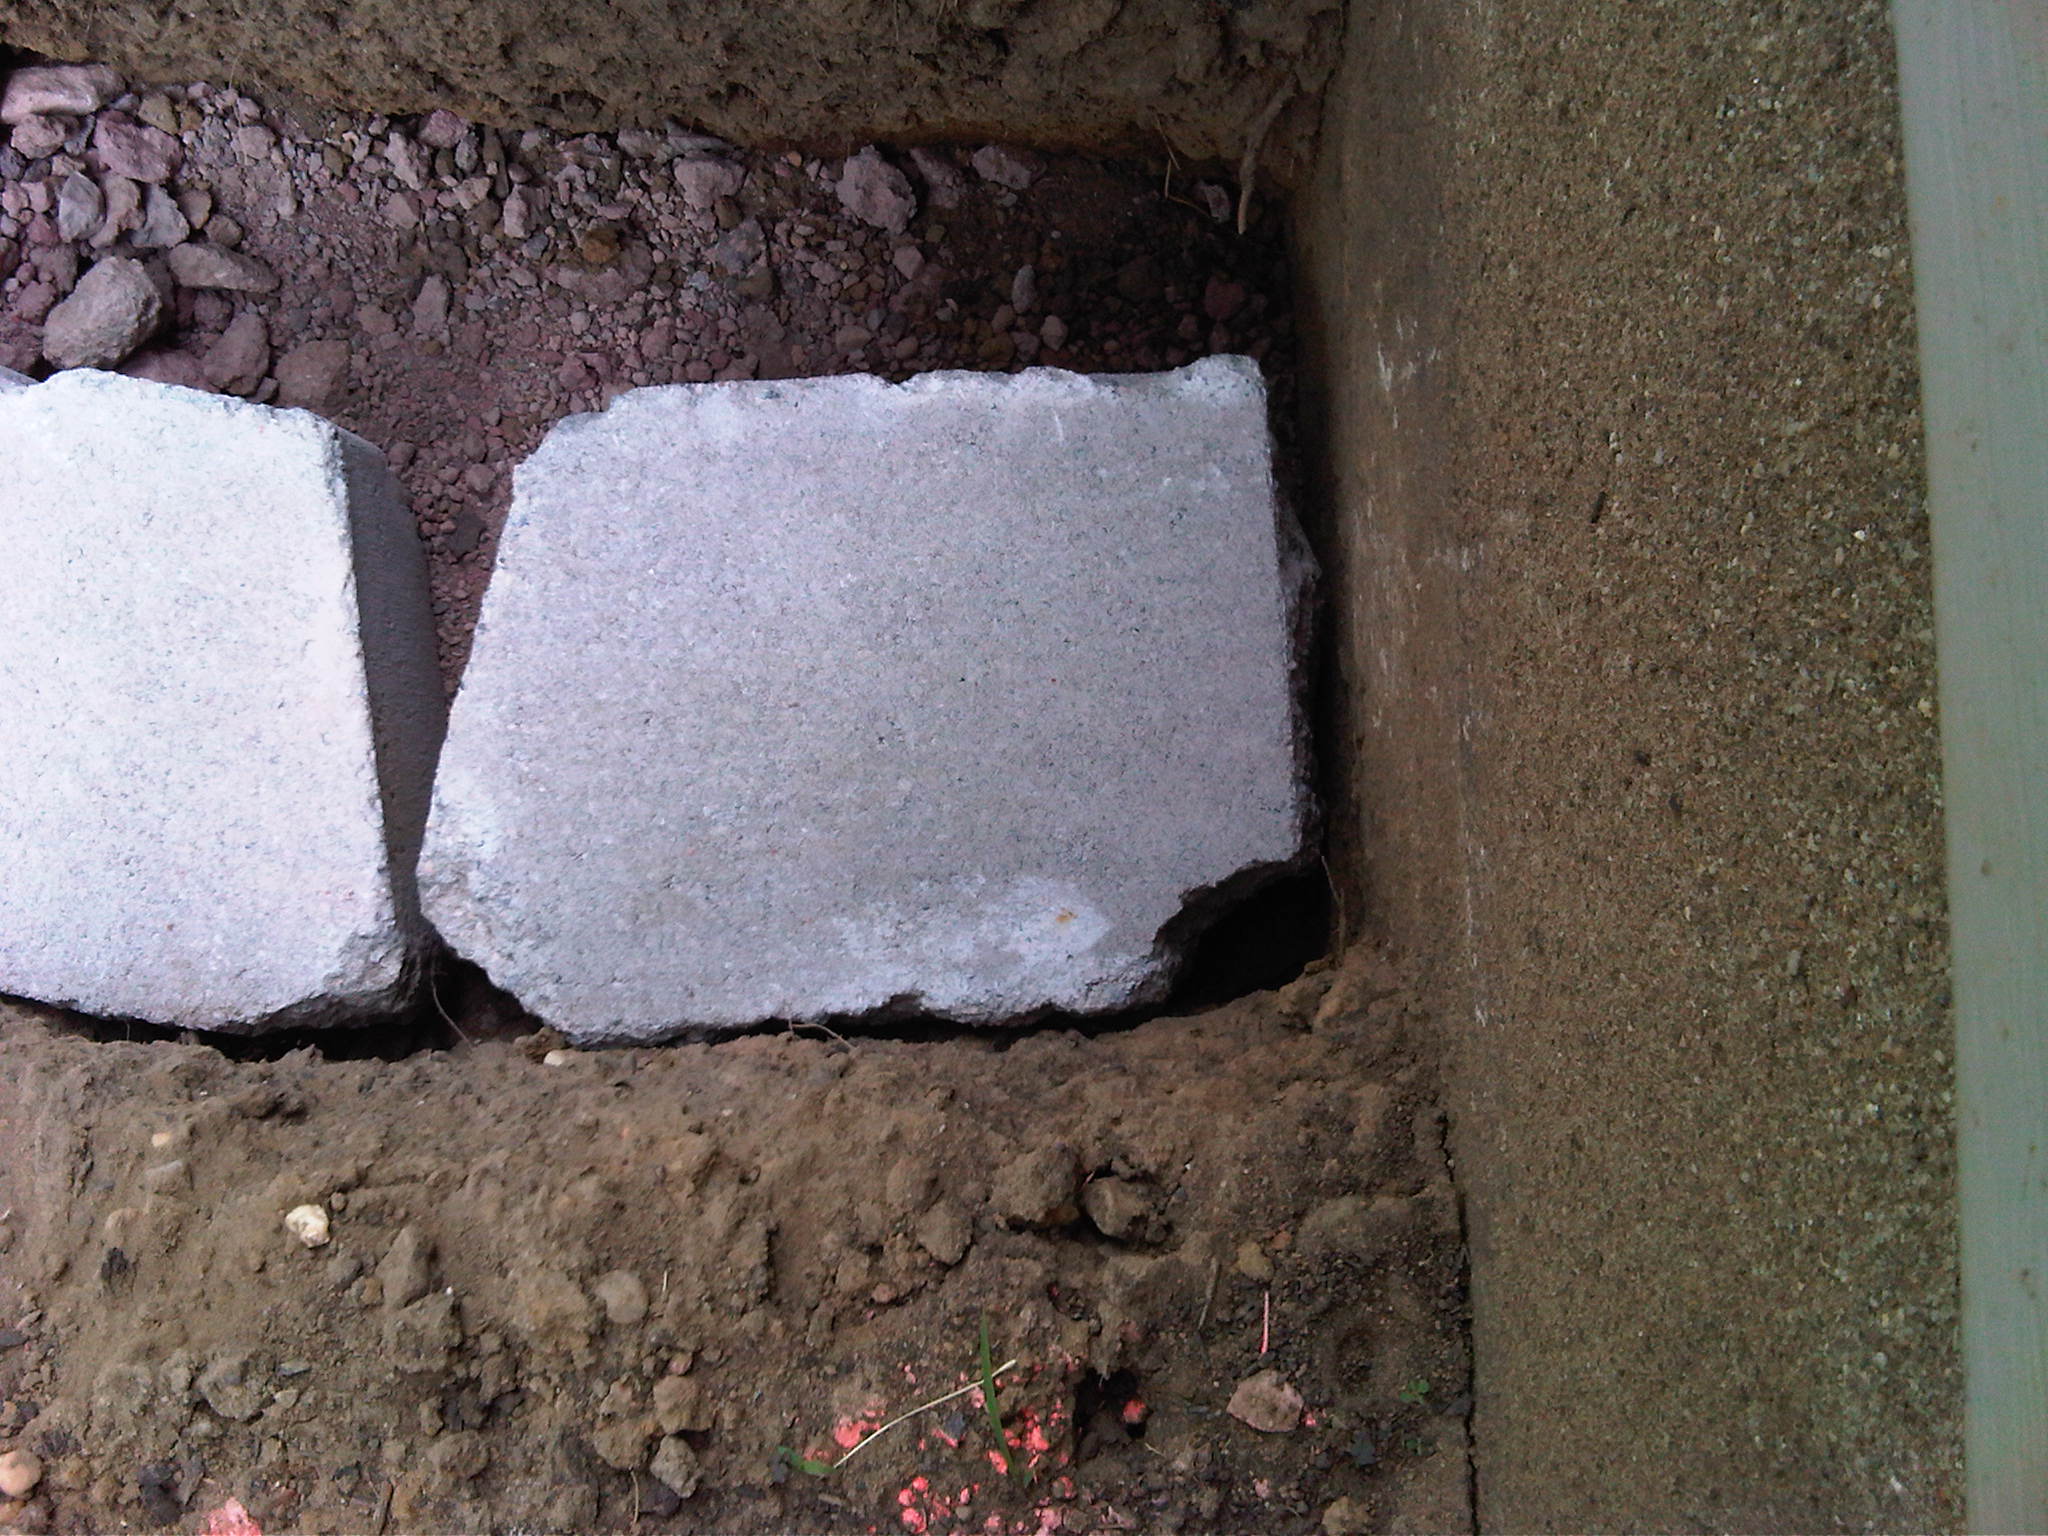
-
- Using 4 in putty knife to work the paver base in.
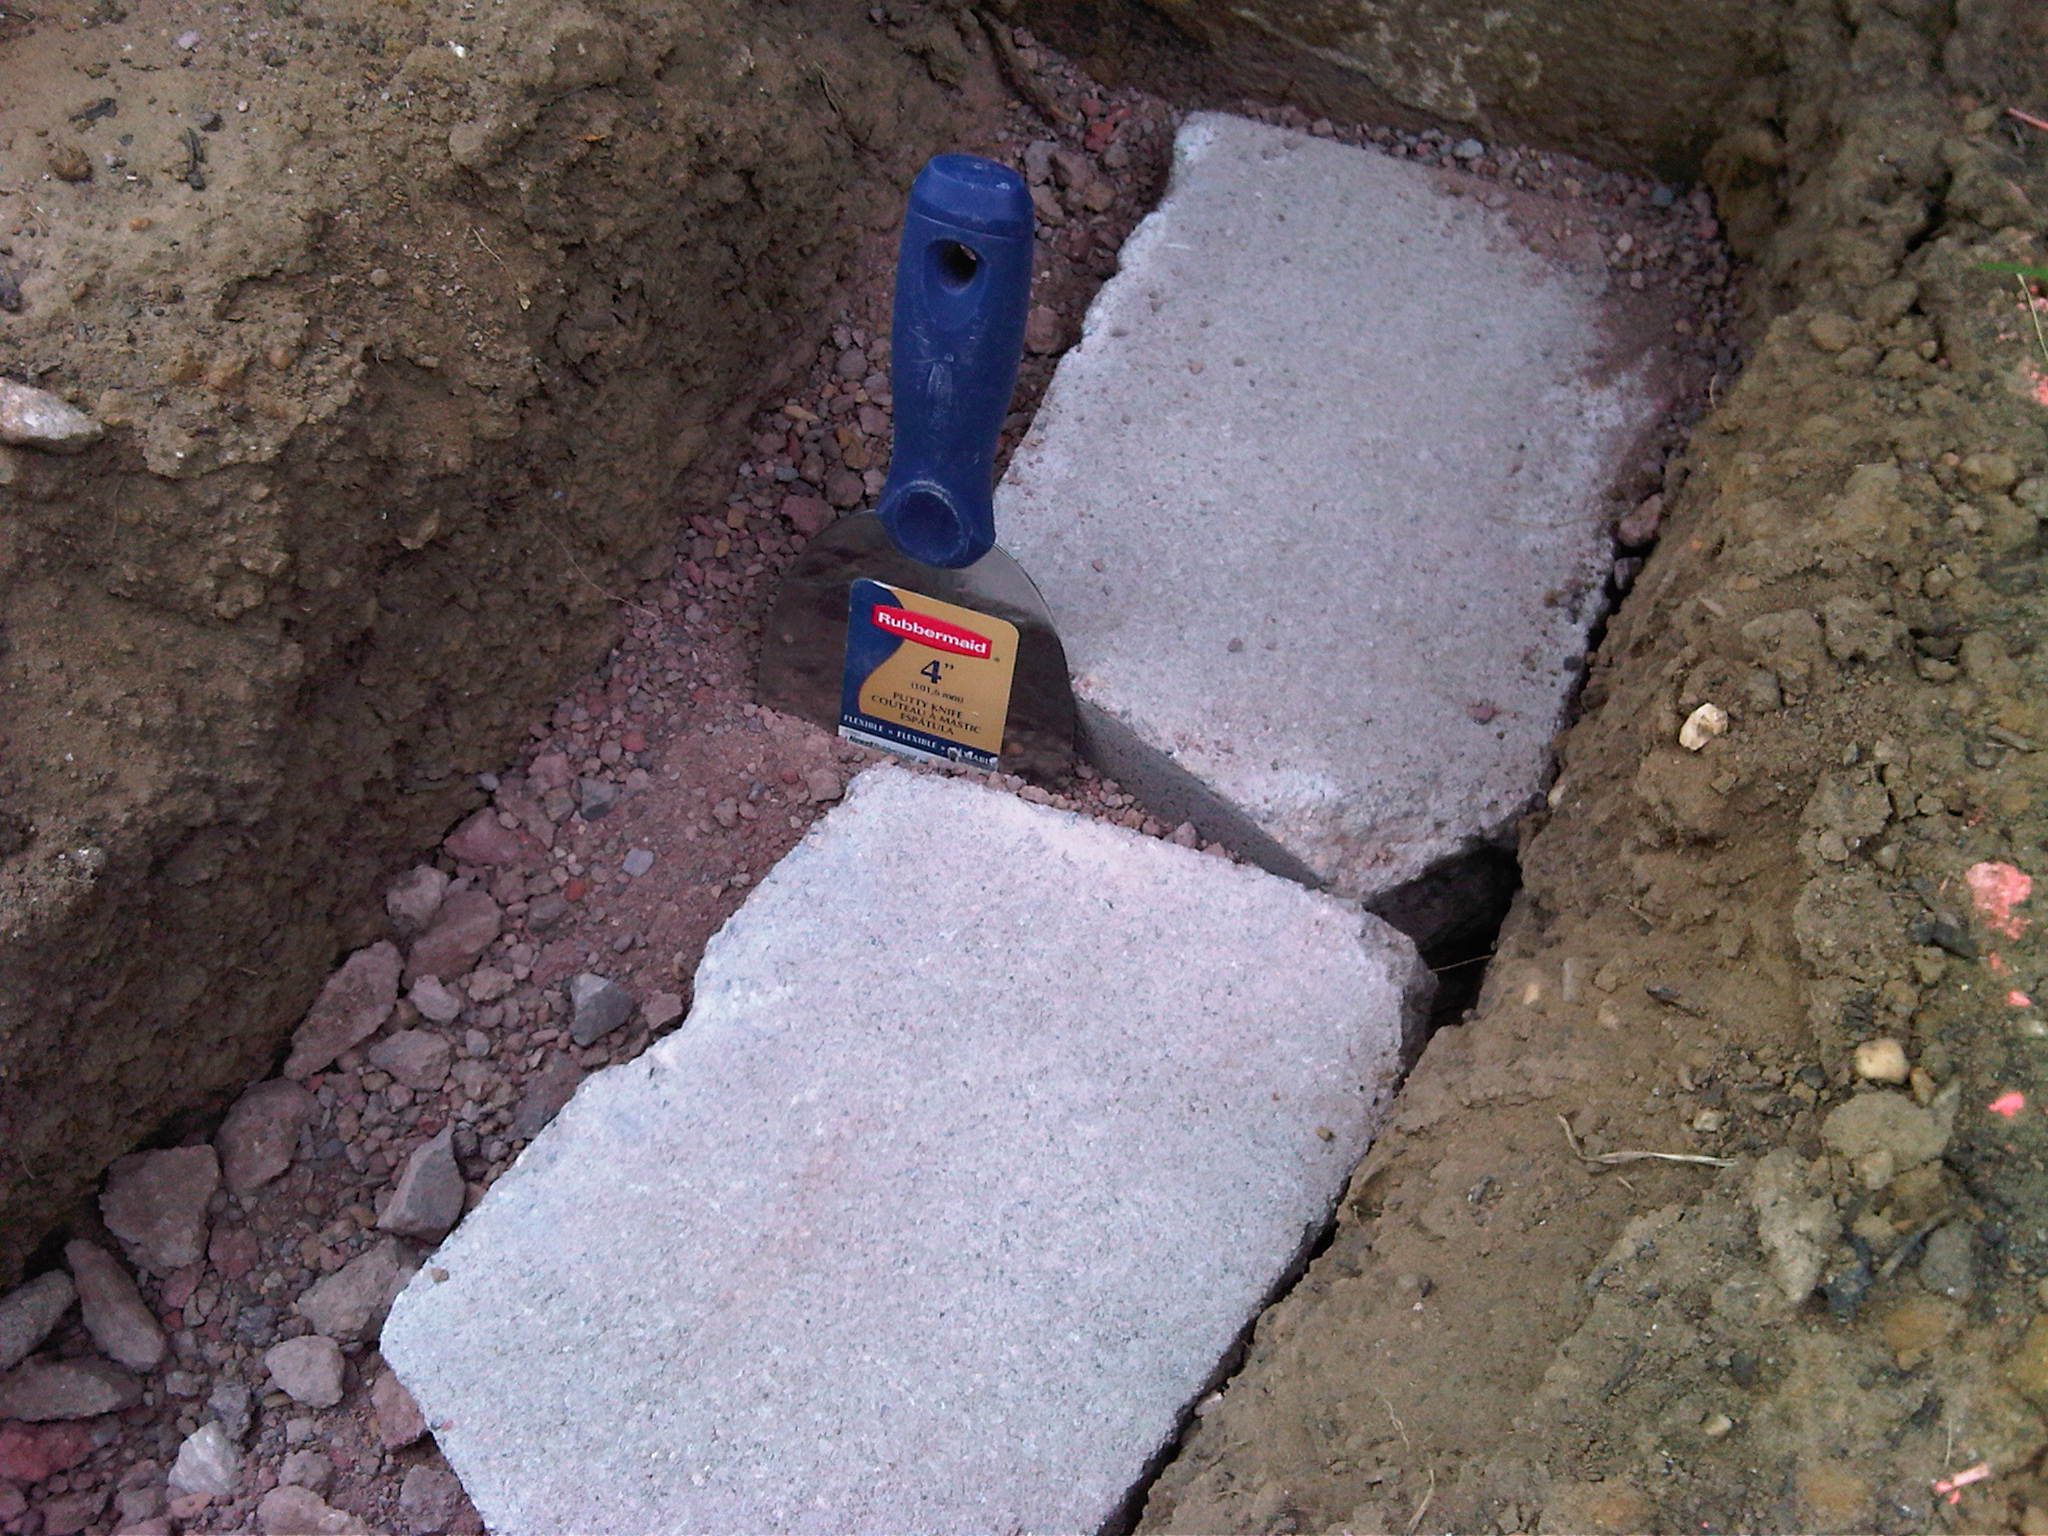
-
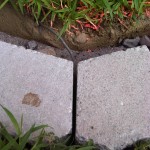
- Squeezed the wire between two blocks in 1st course. The wire is probaly not up to code, but that’s how I found it, so leaving it as-is.
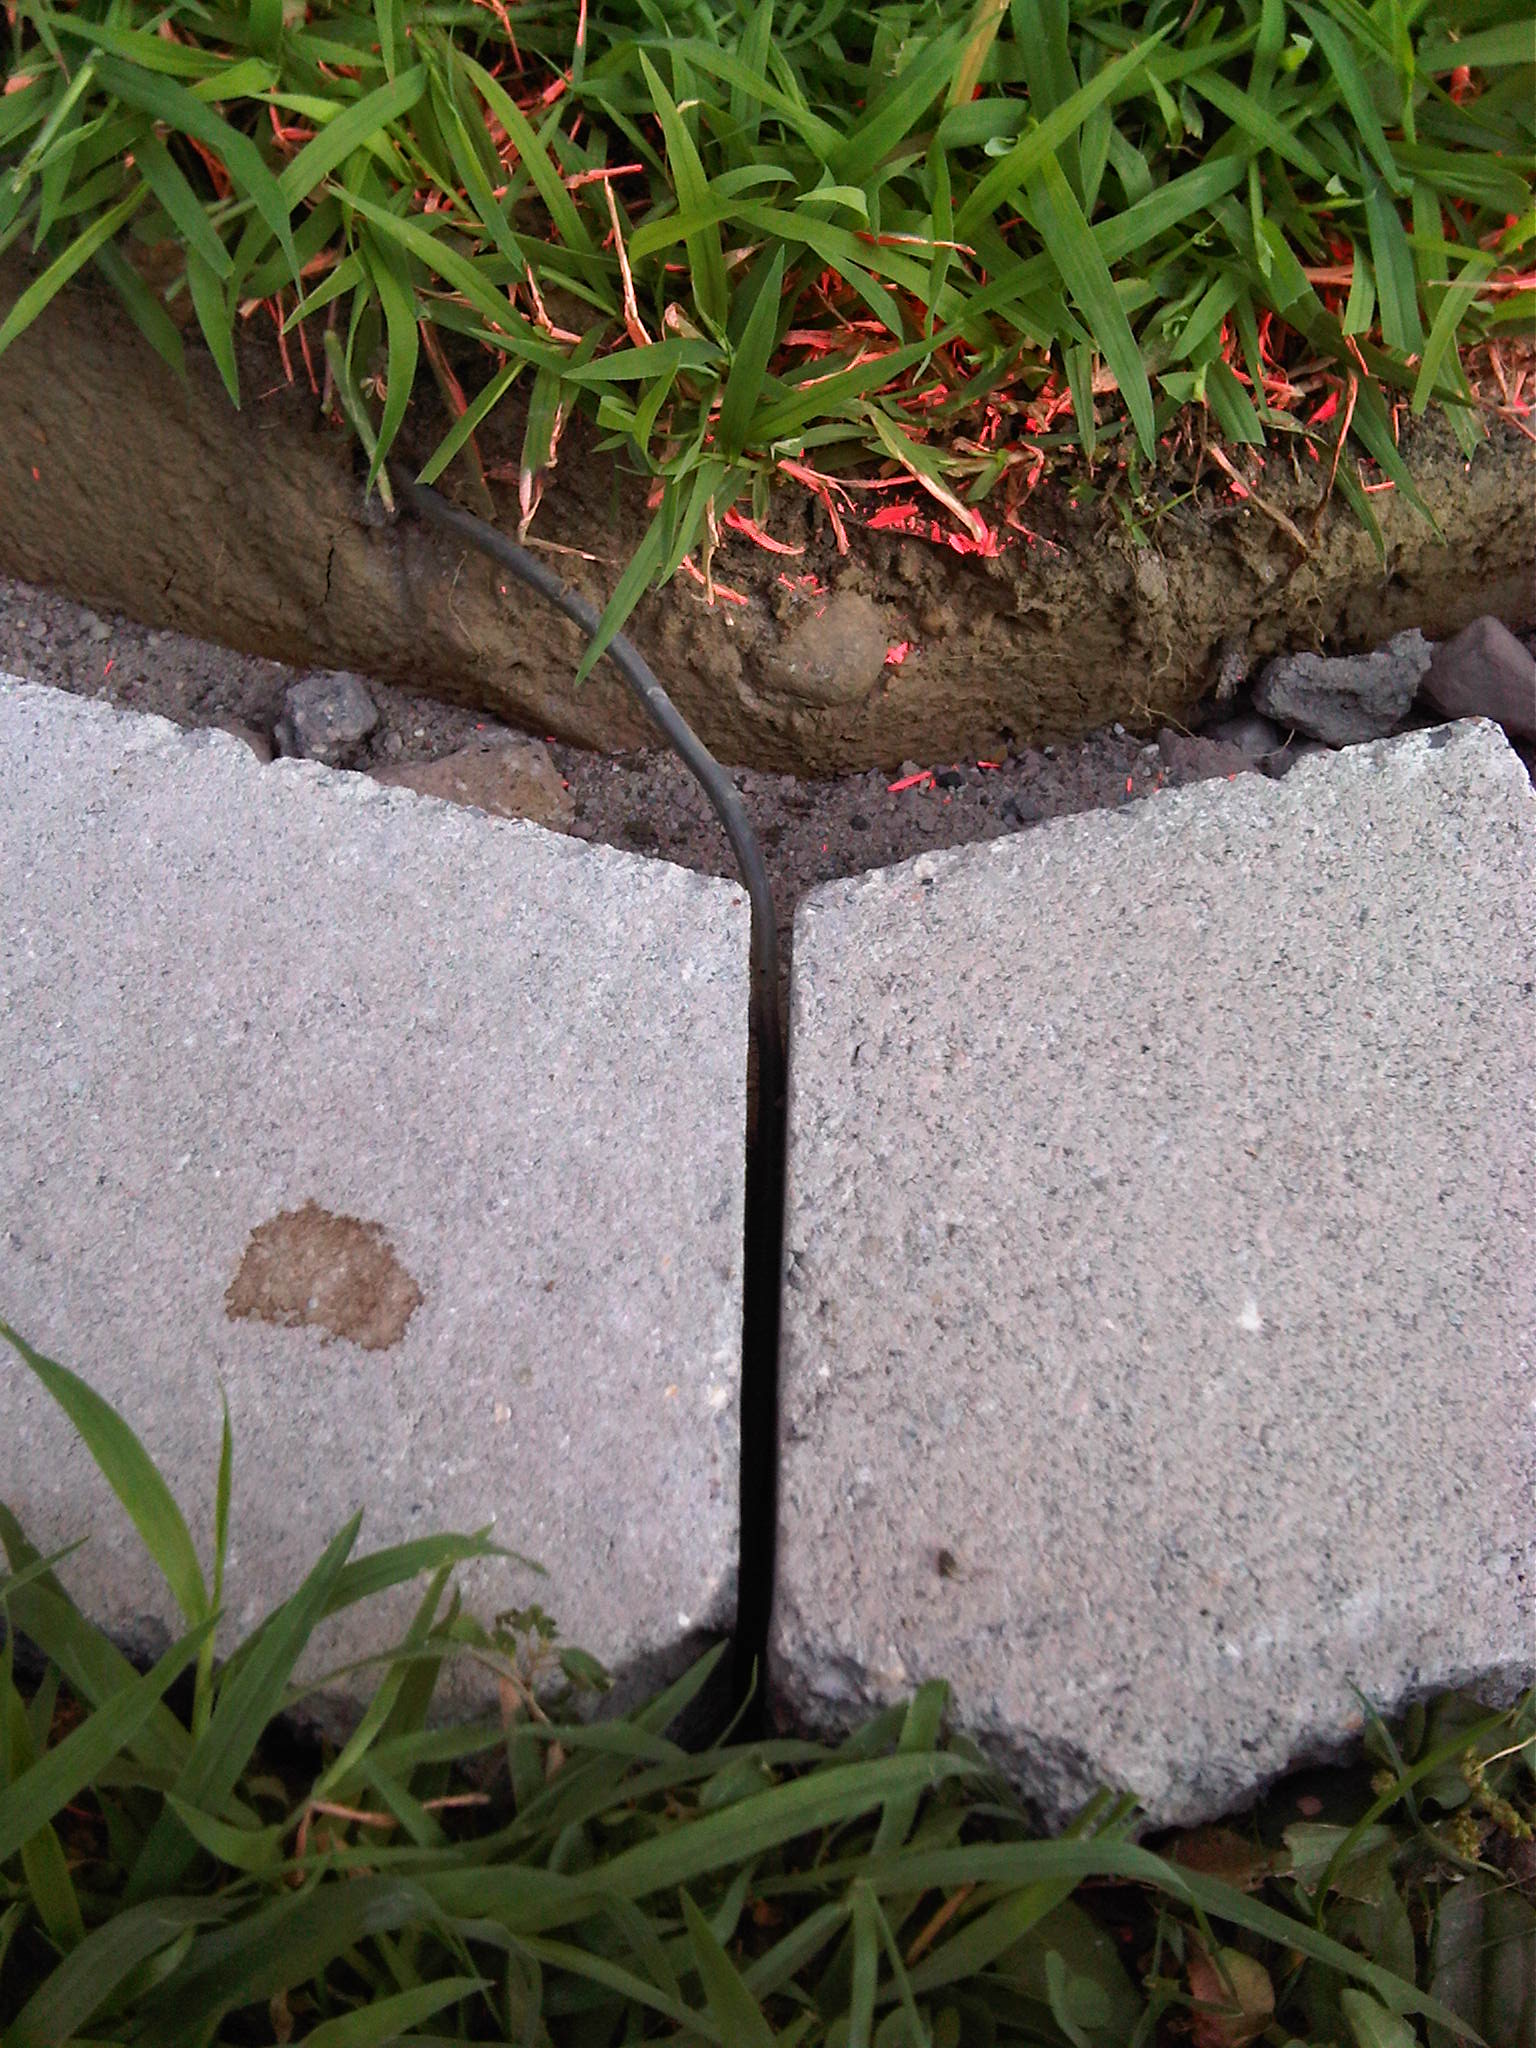
-
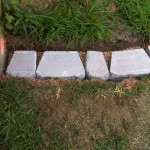
- End block by the porch didn’t need to be cut.
-
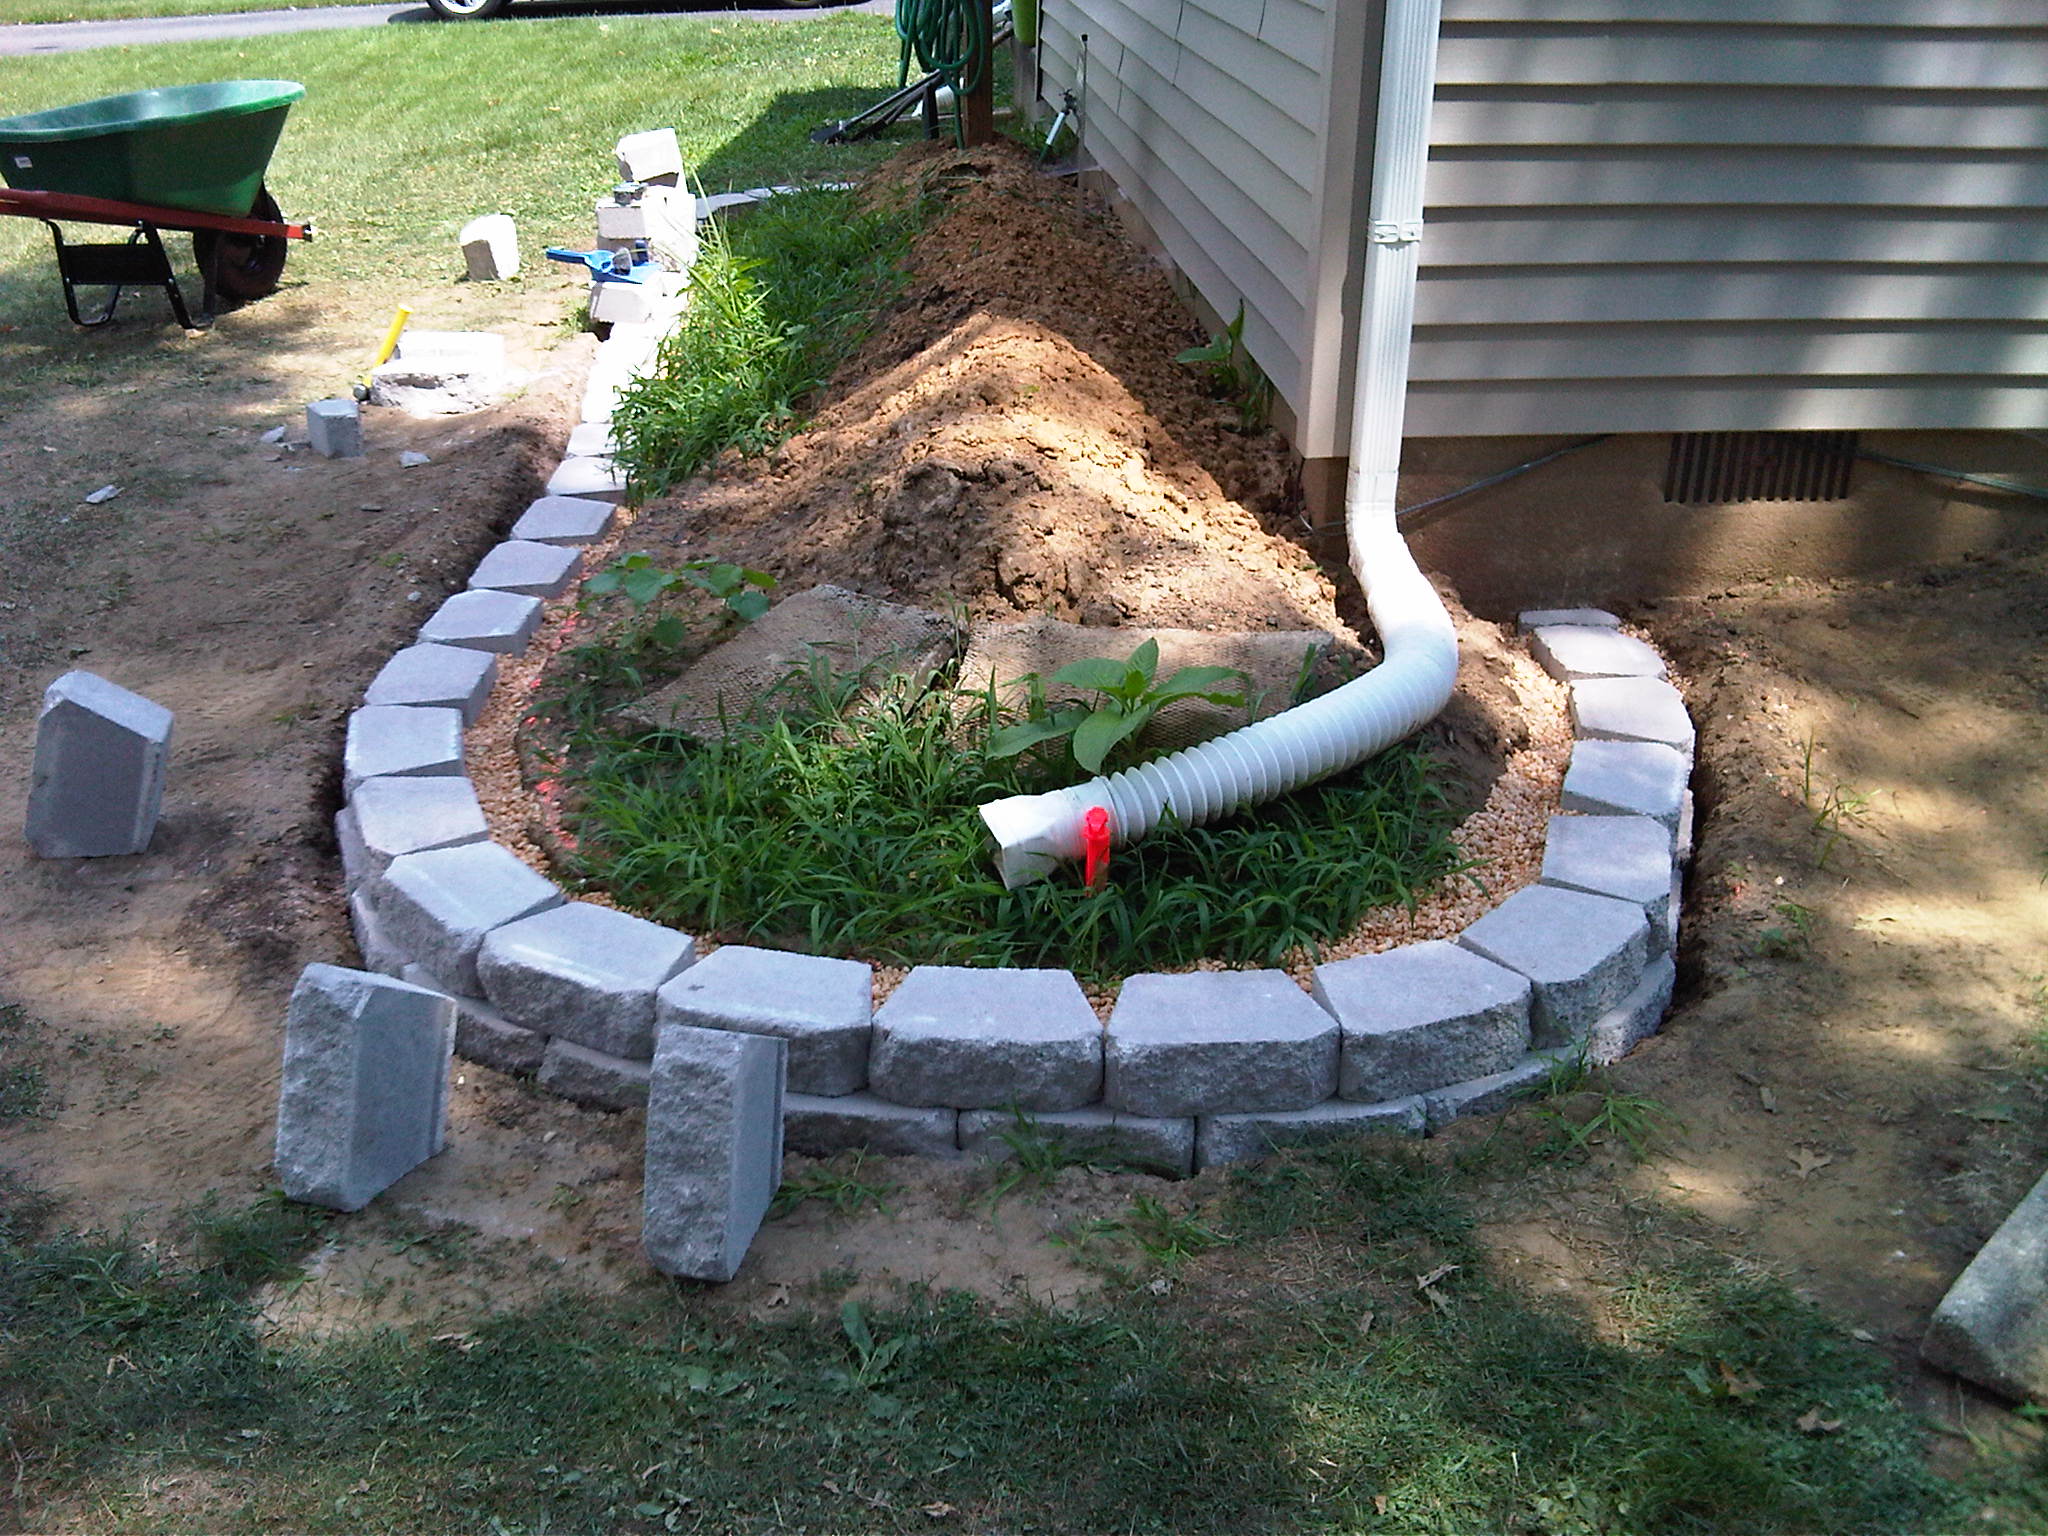
- Pea pebbles for backfilling (15 bags @ .5 cu ft).
-
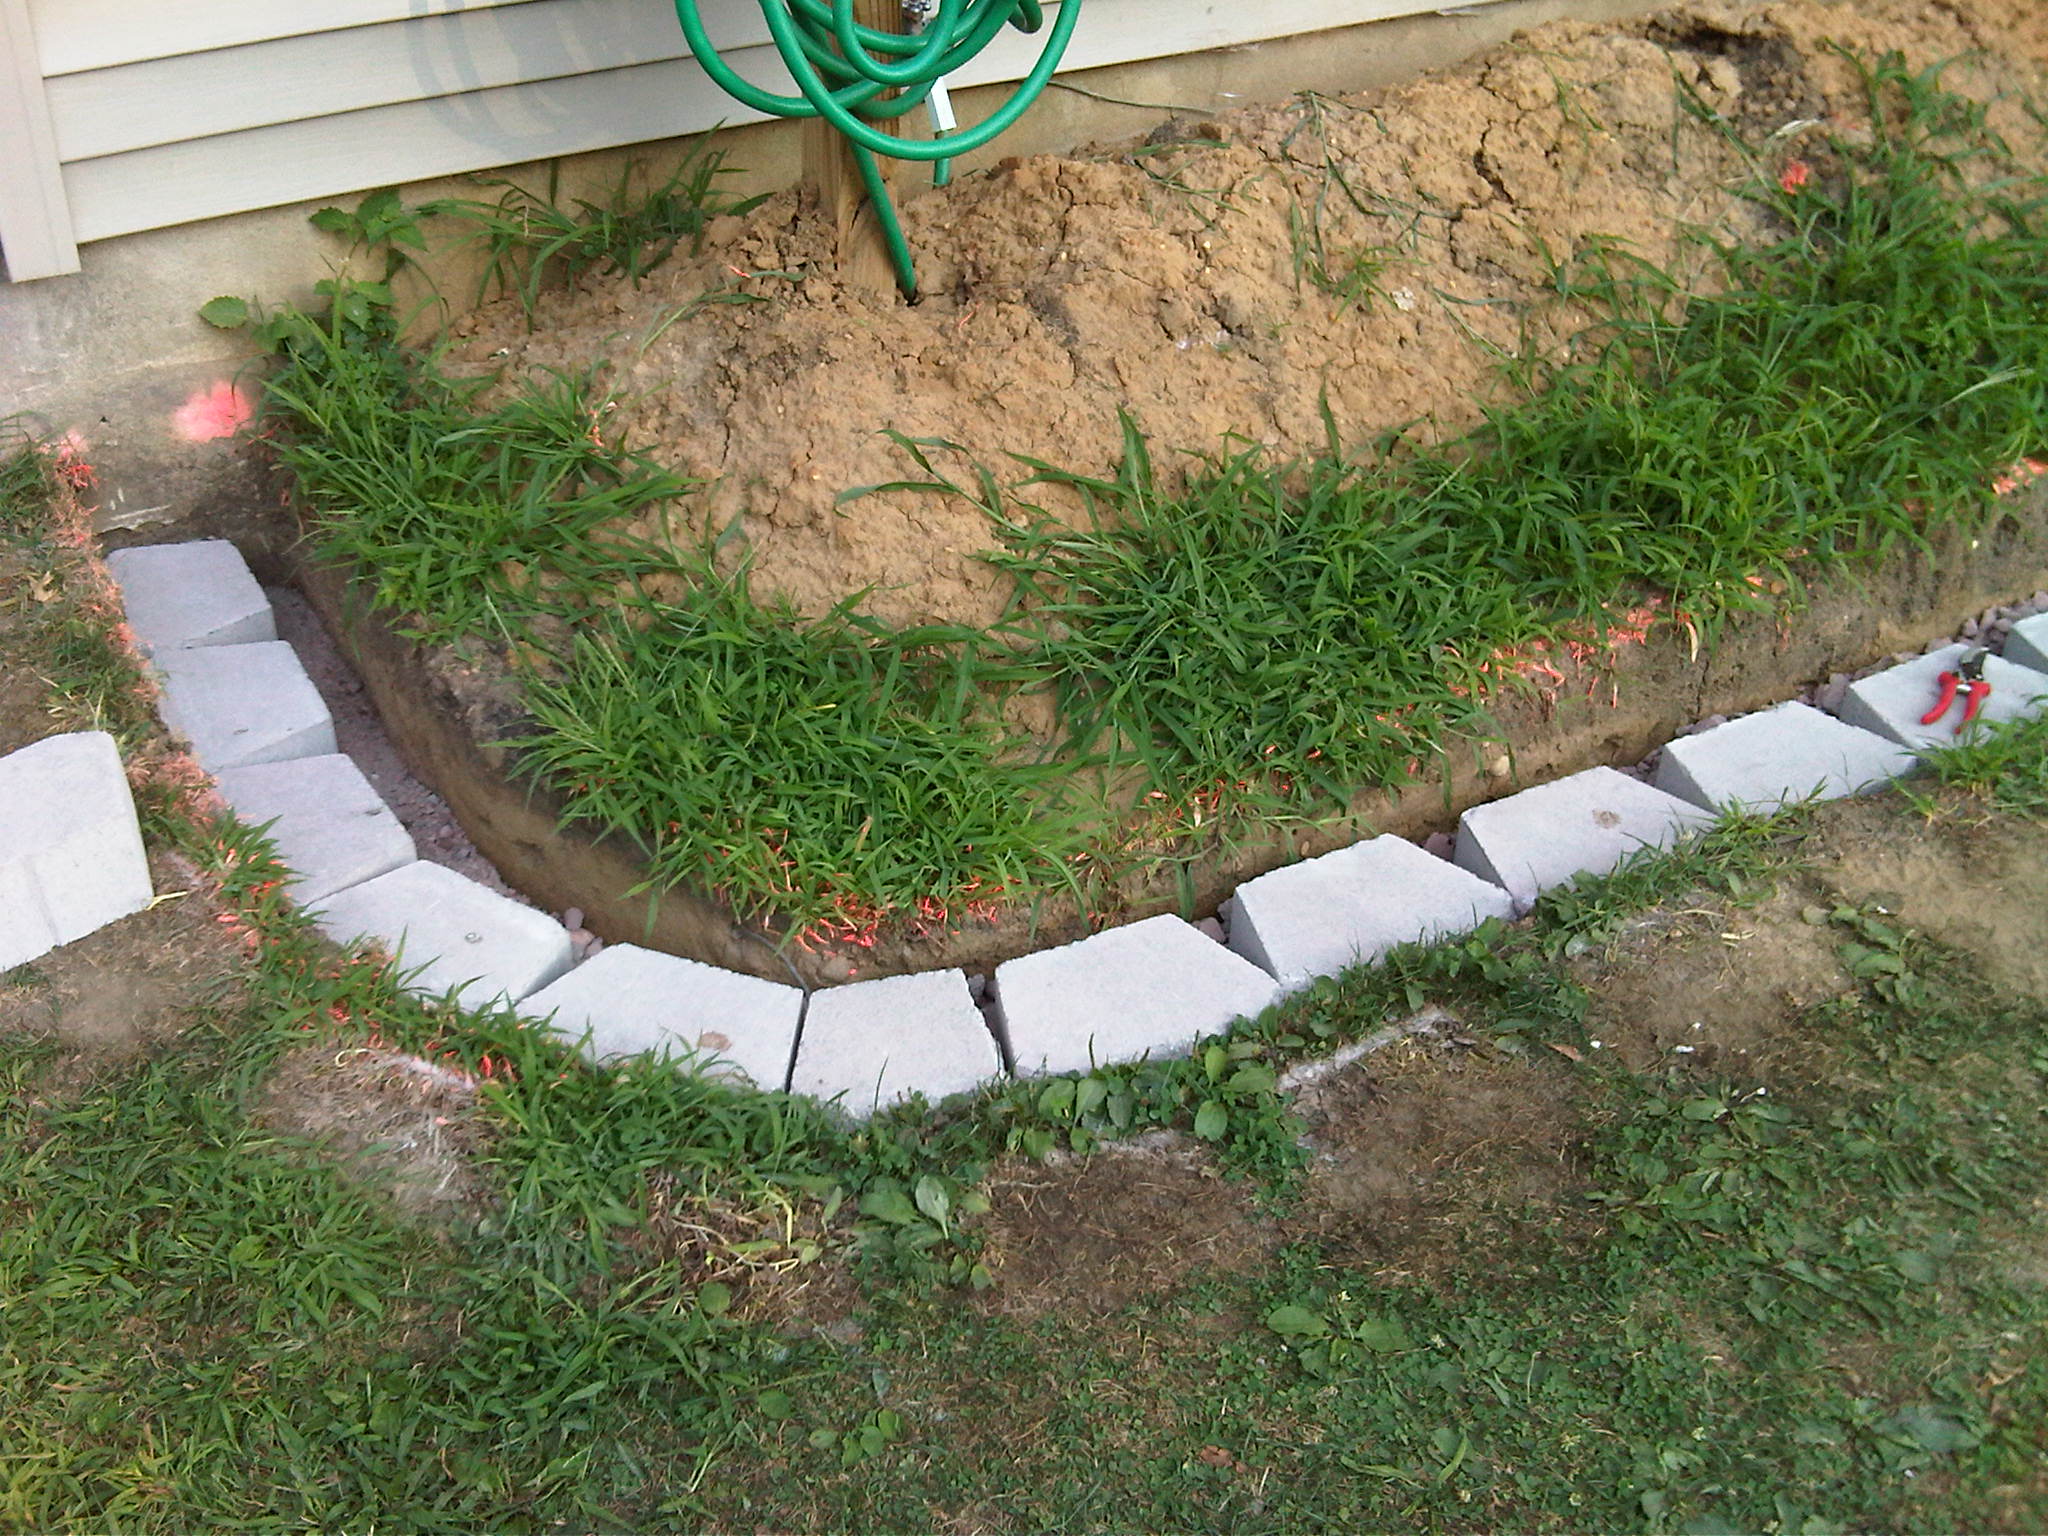
- Finished backfilling 1st course.

-
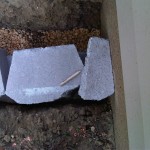
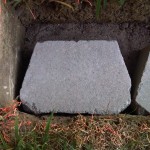
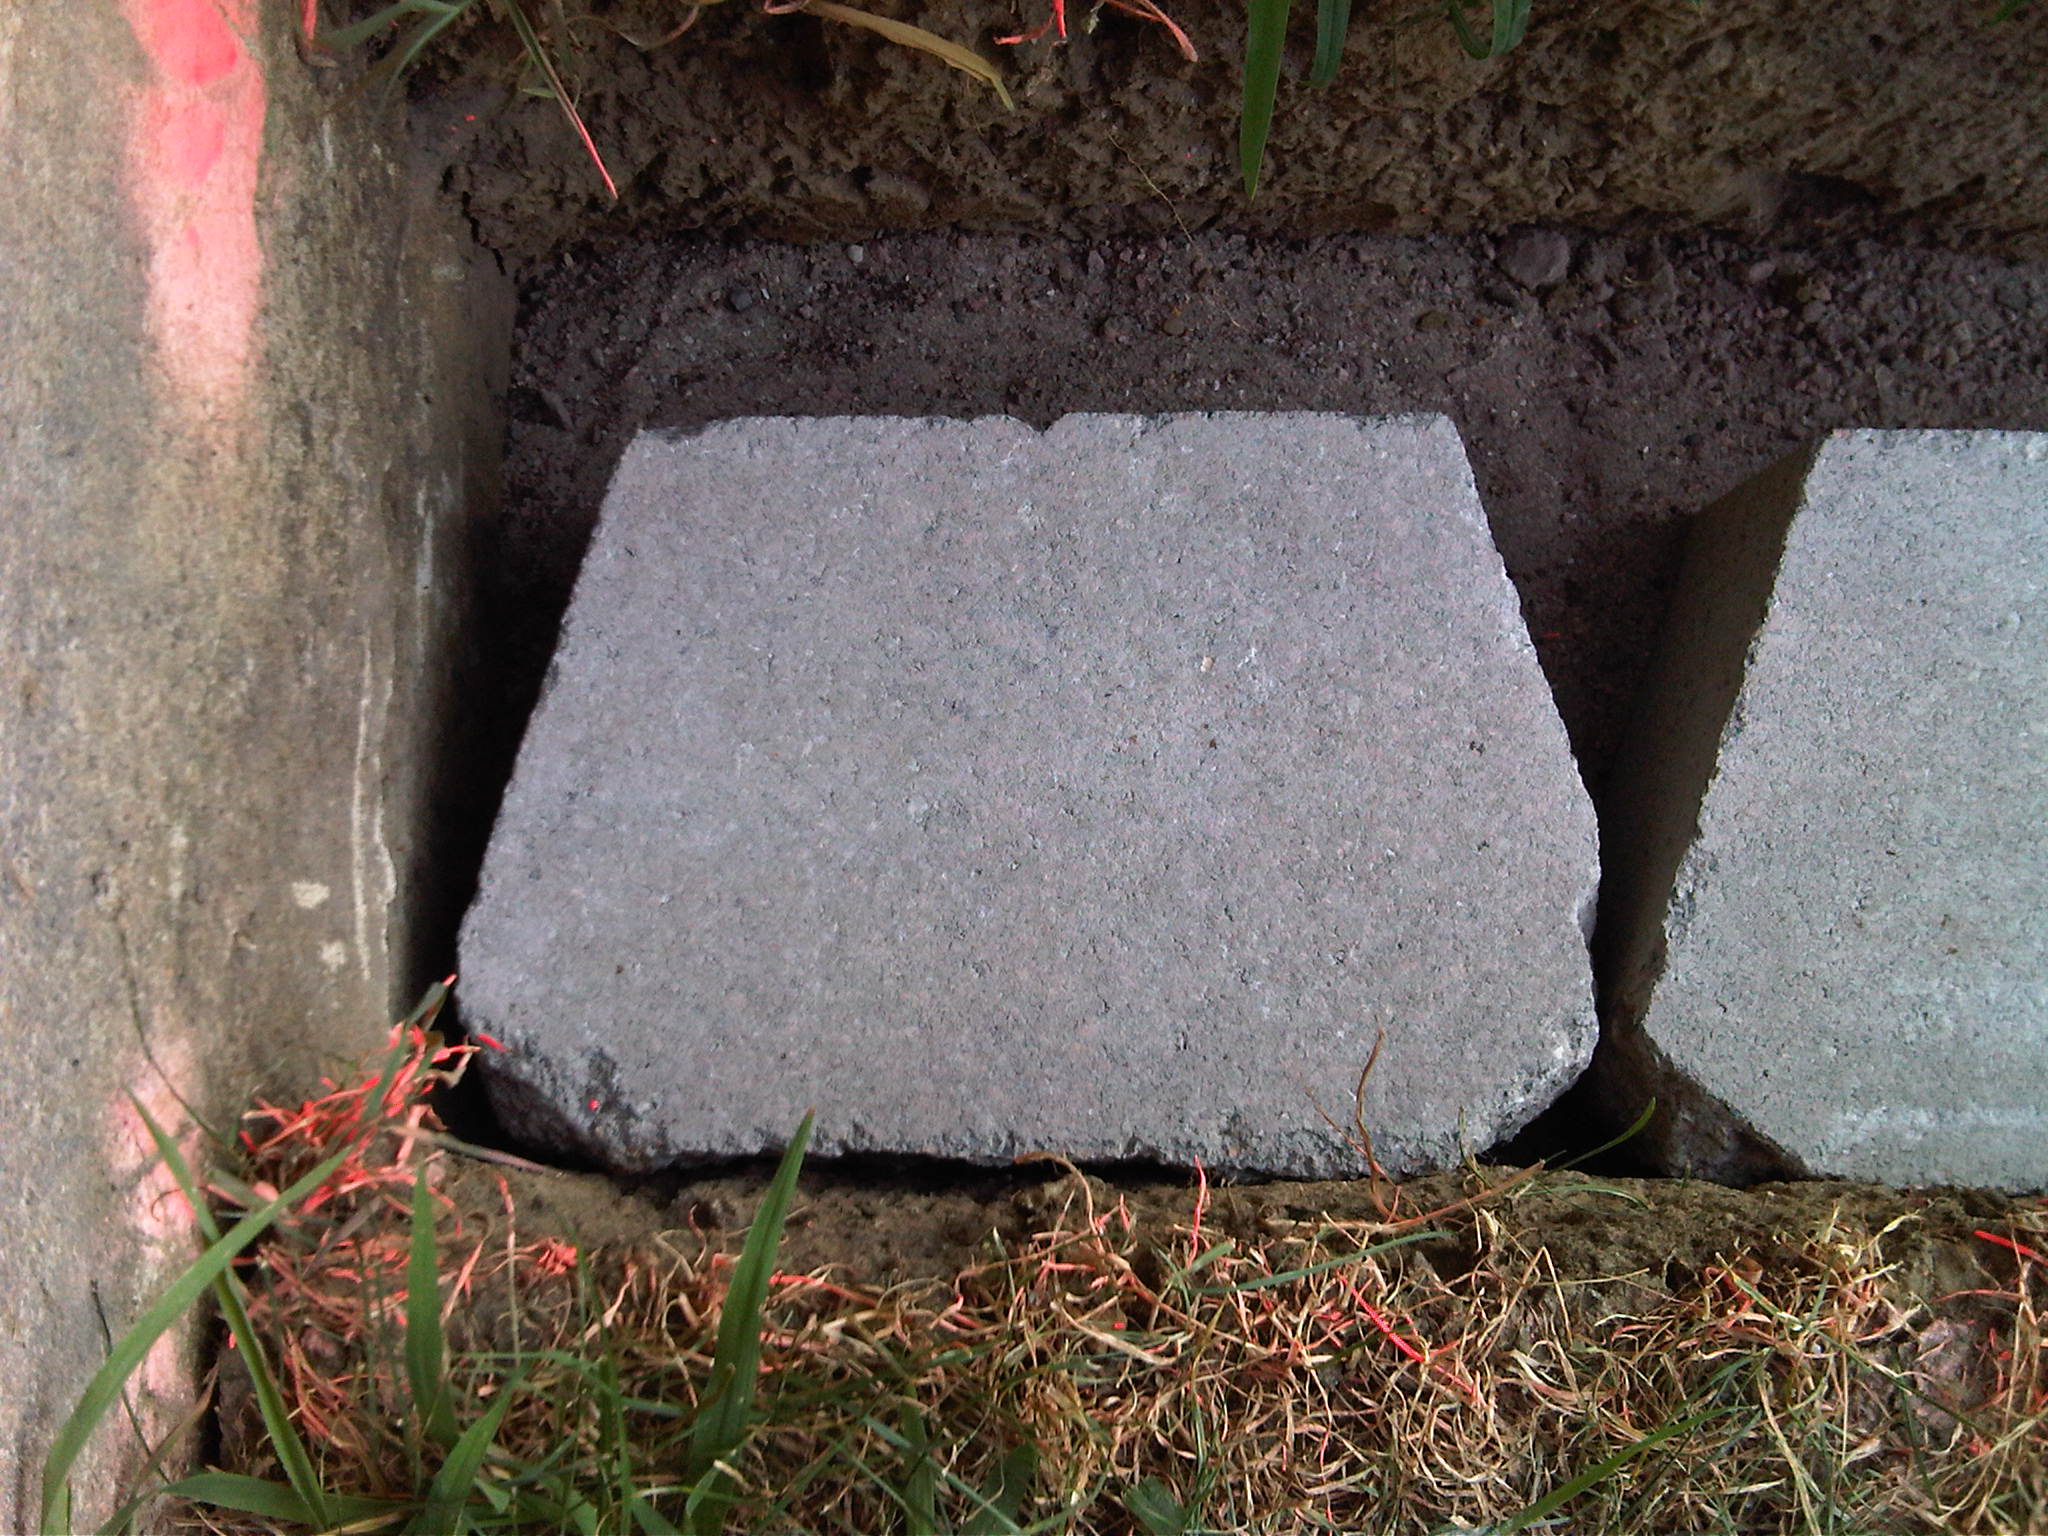
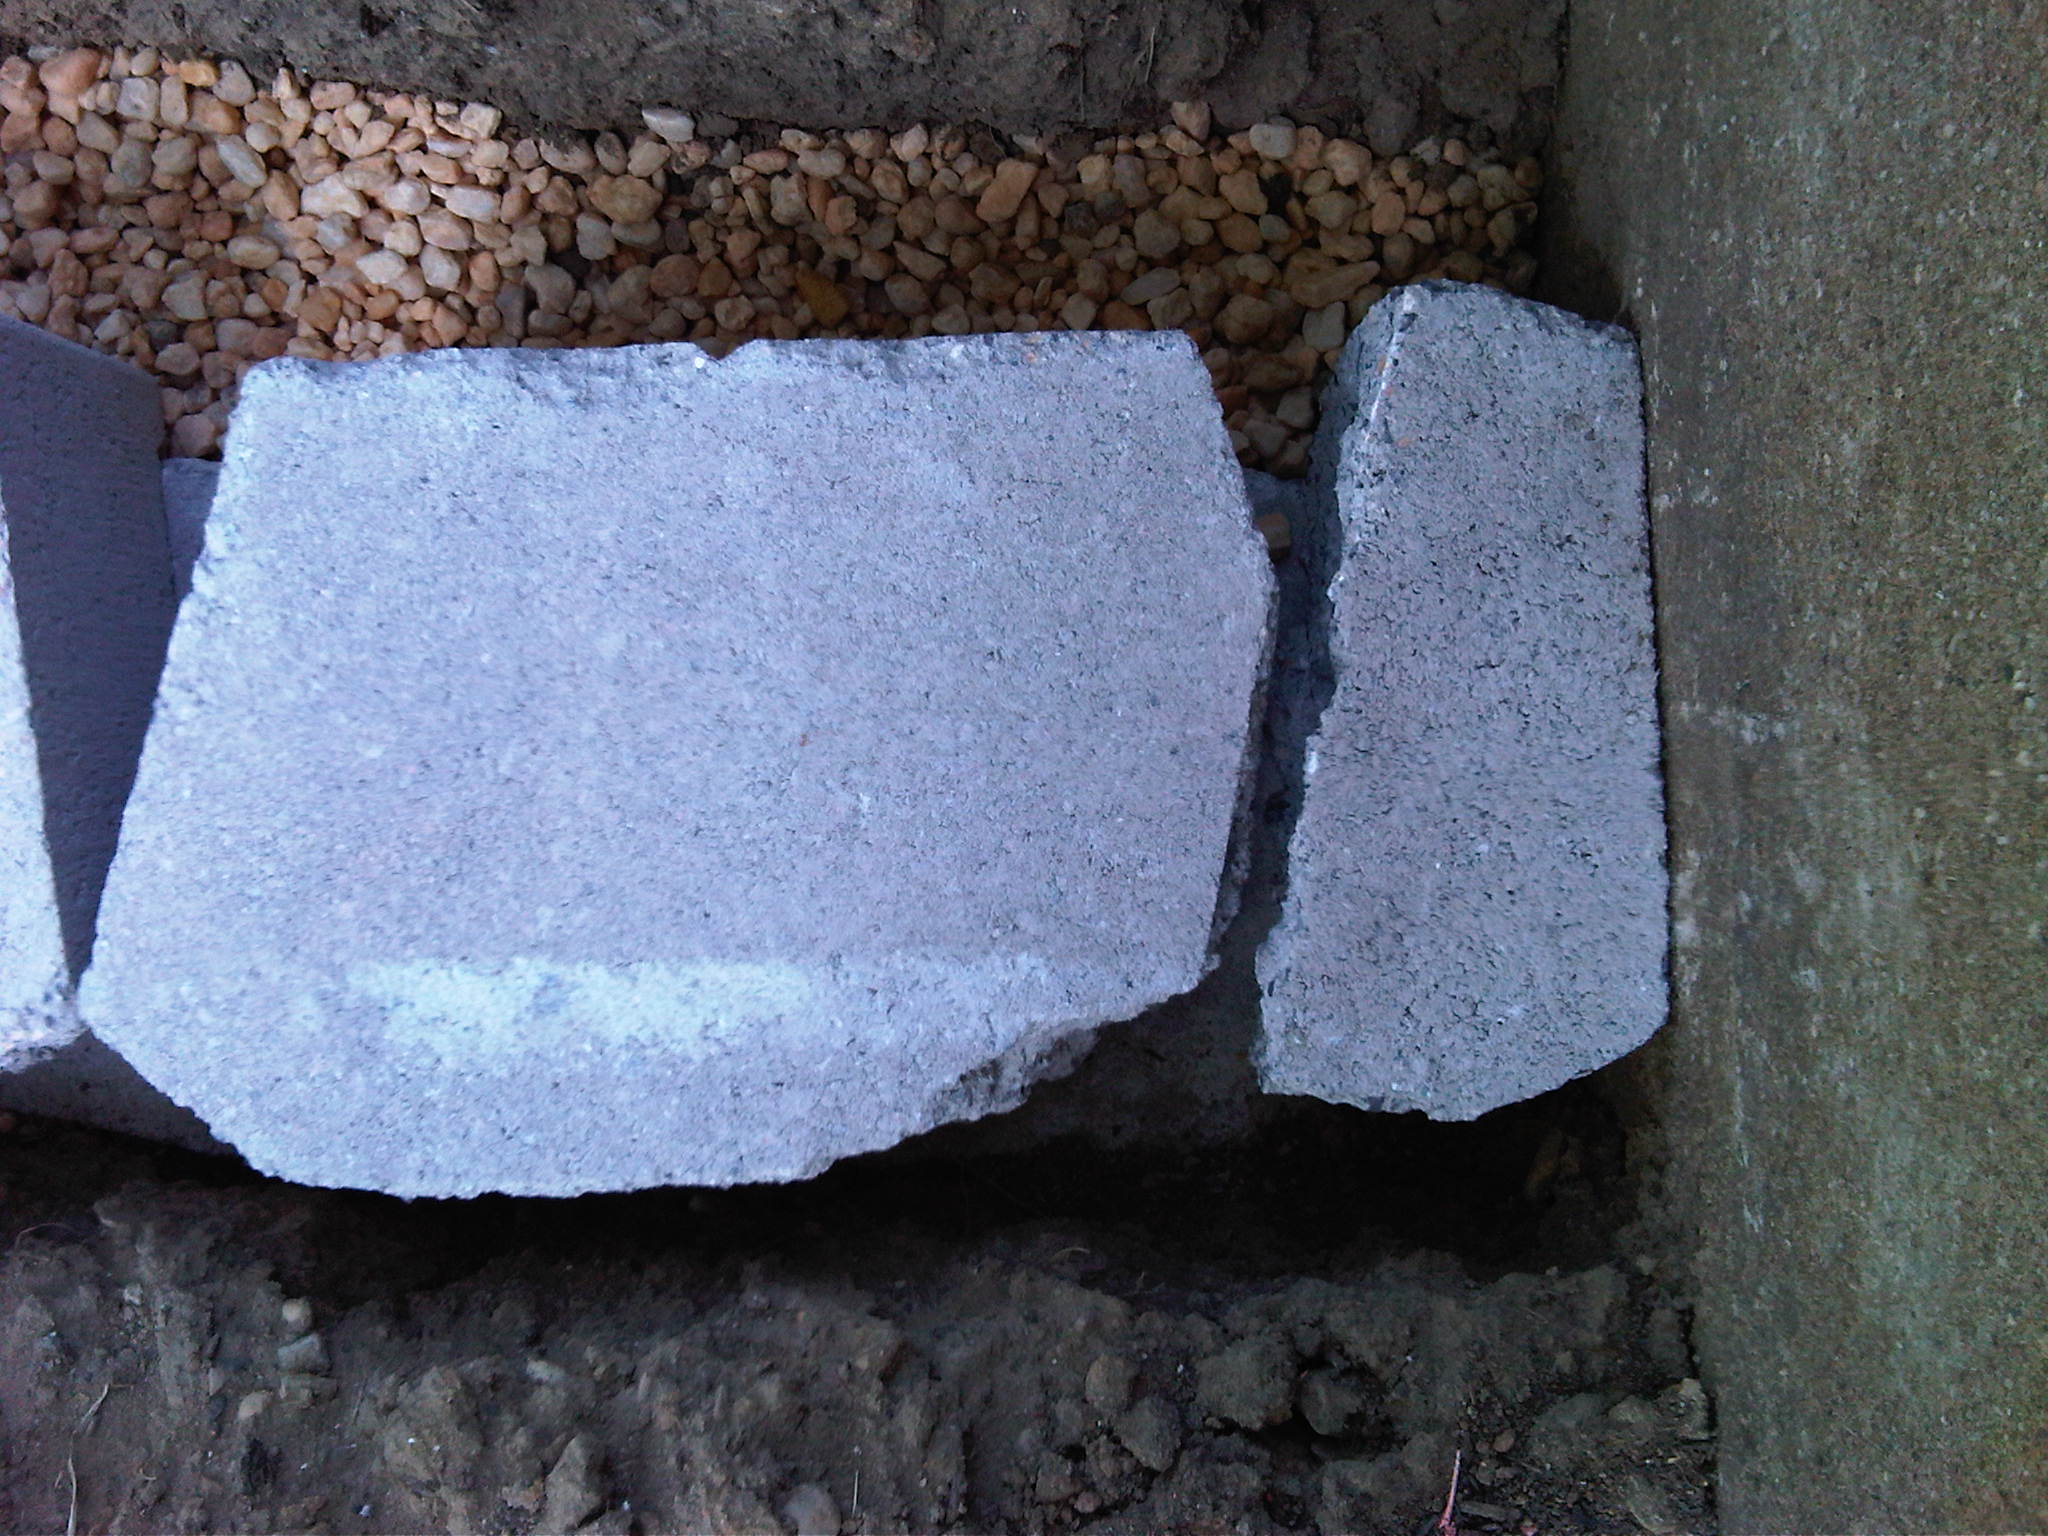
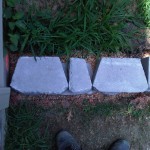
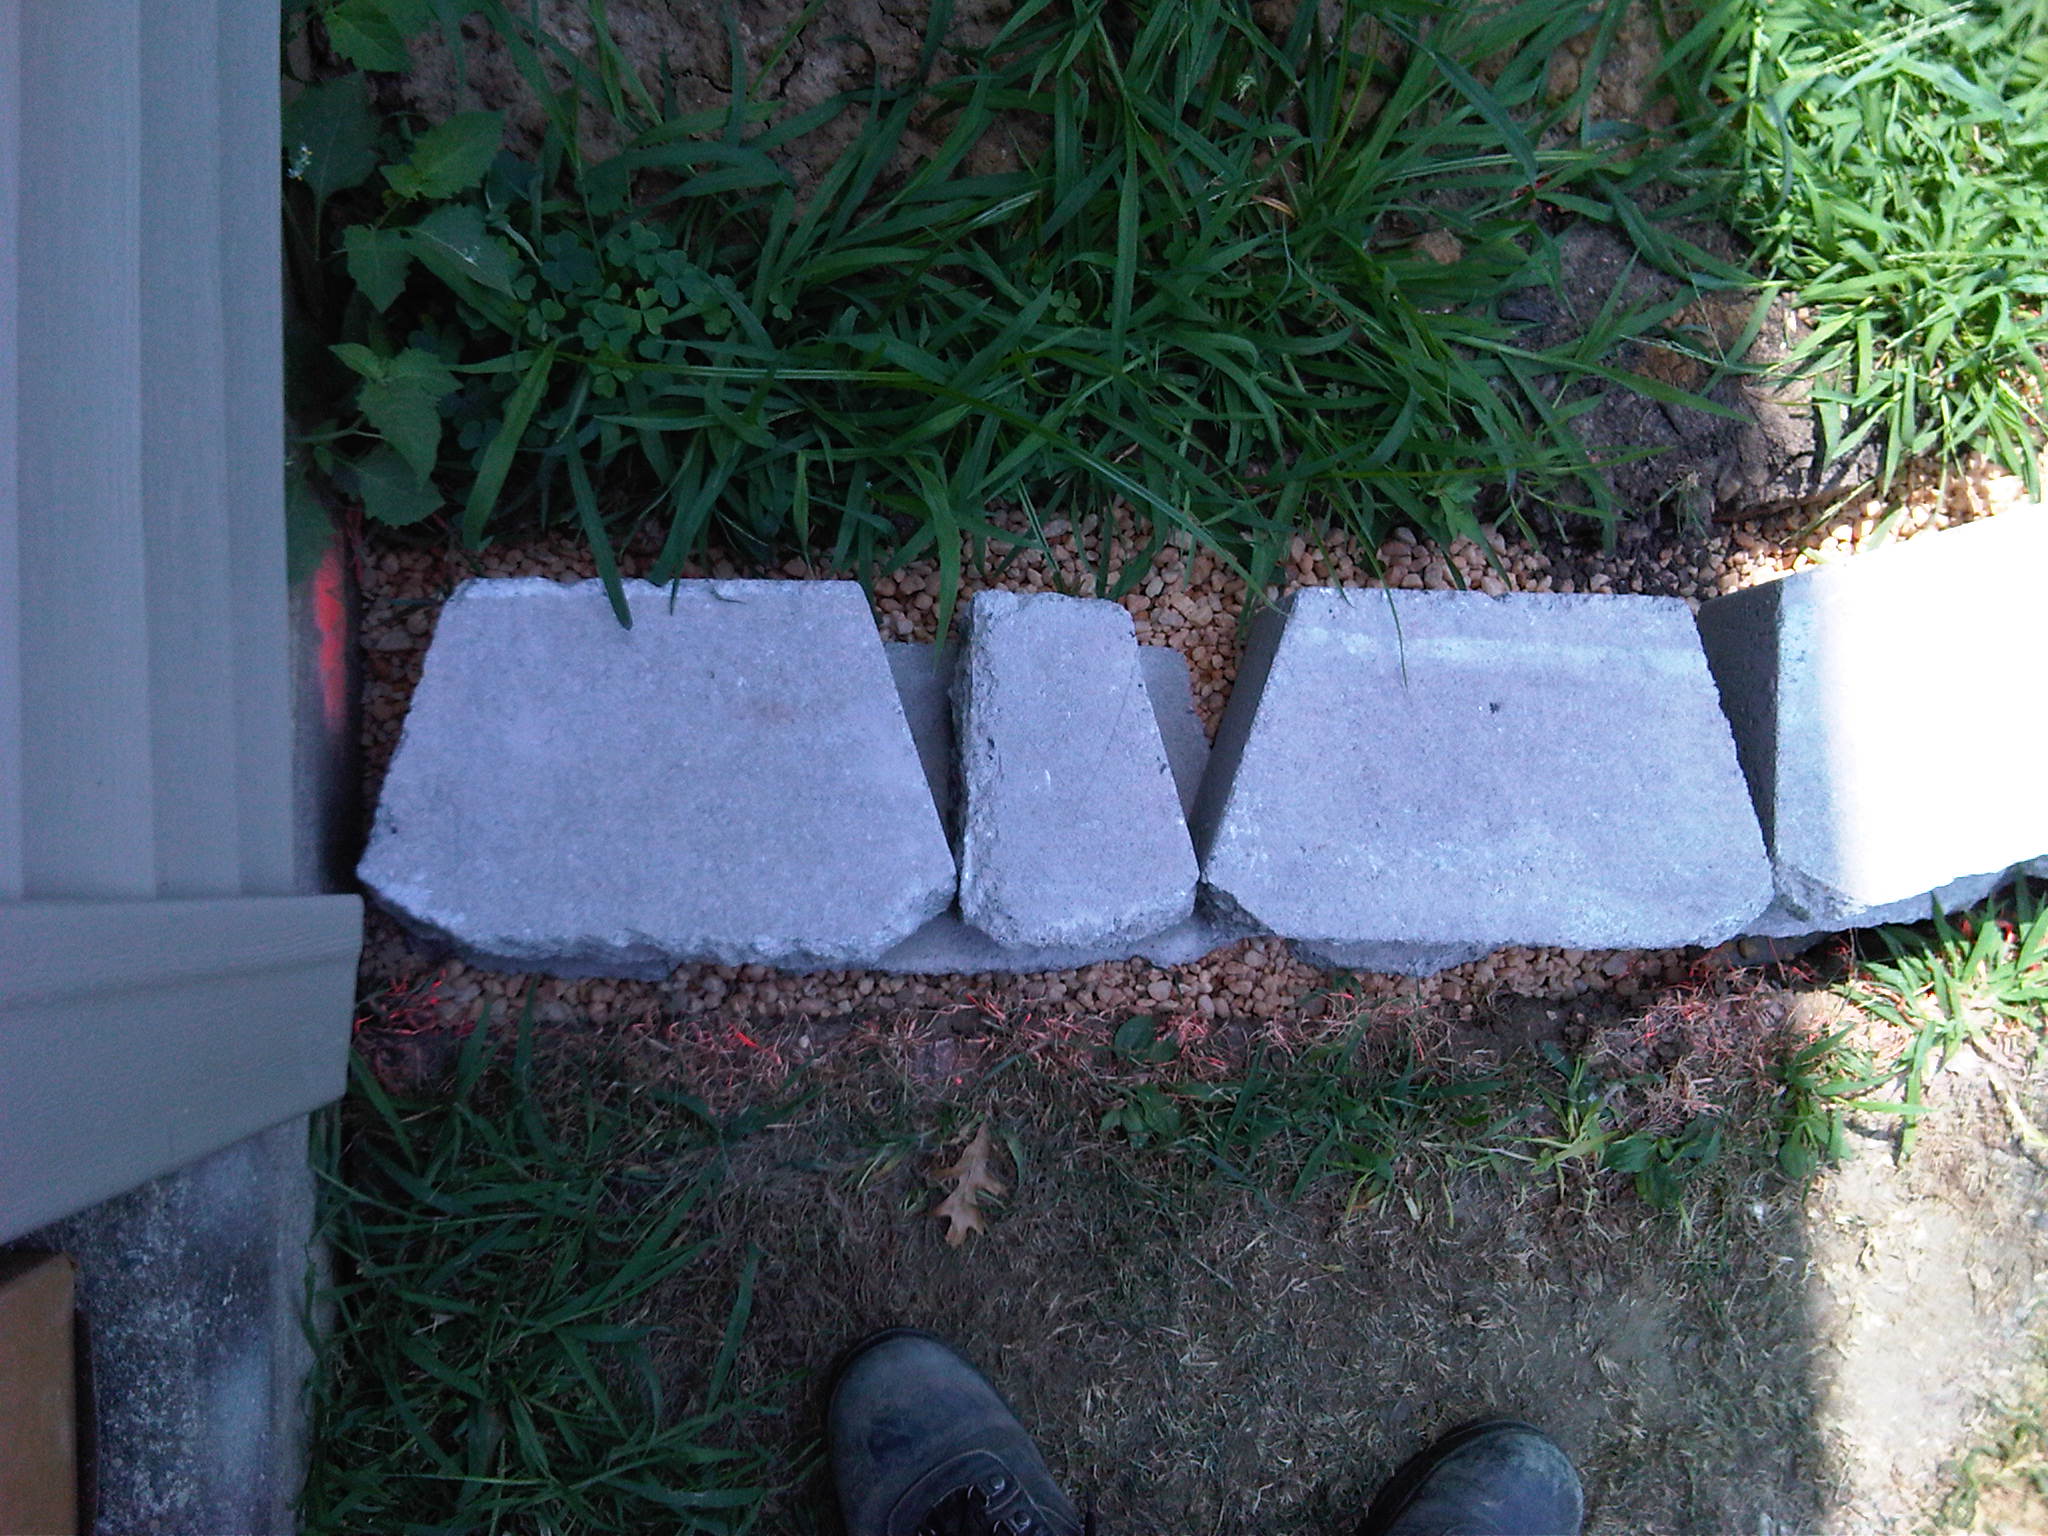
- Near the gutter. Had to squeeze in end block for 2nd course using scrap block.
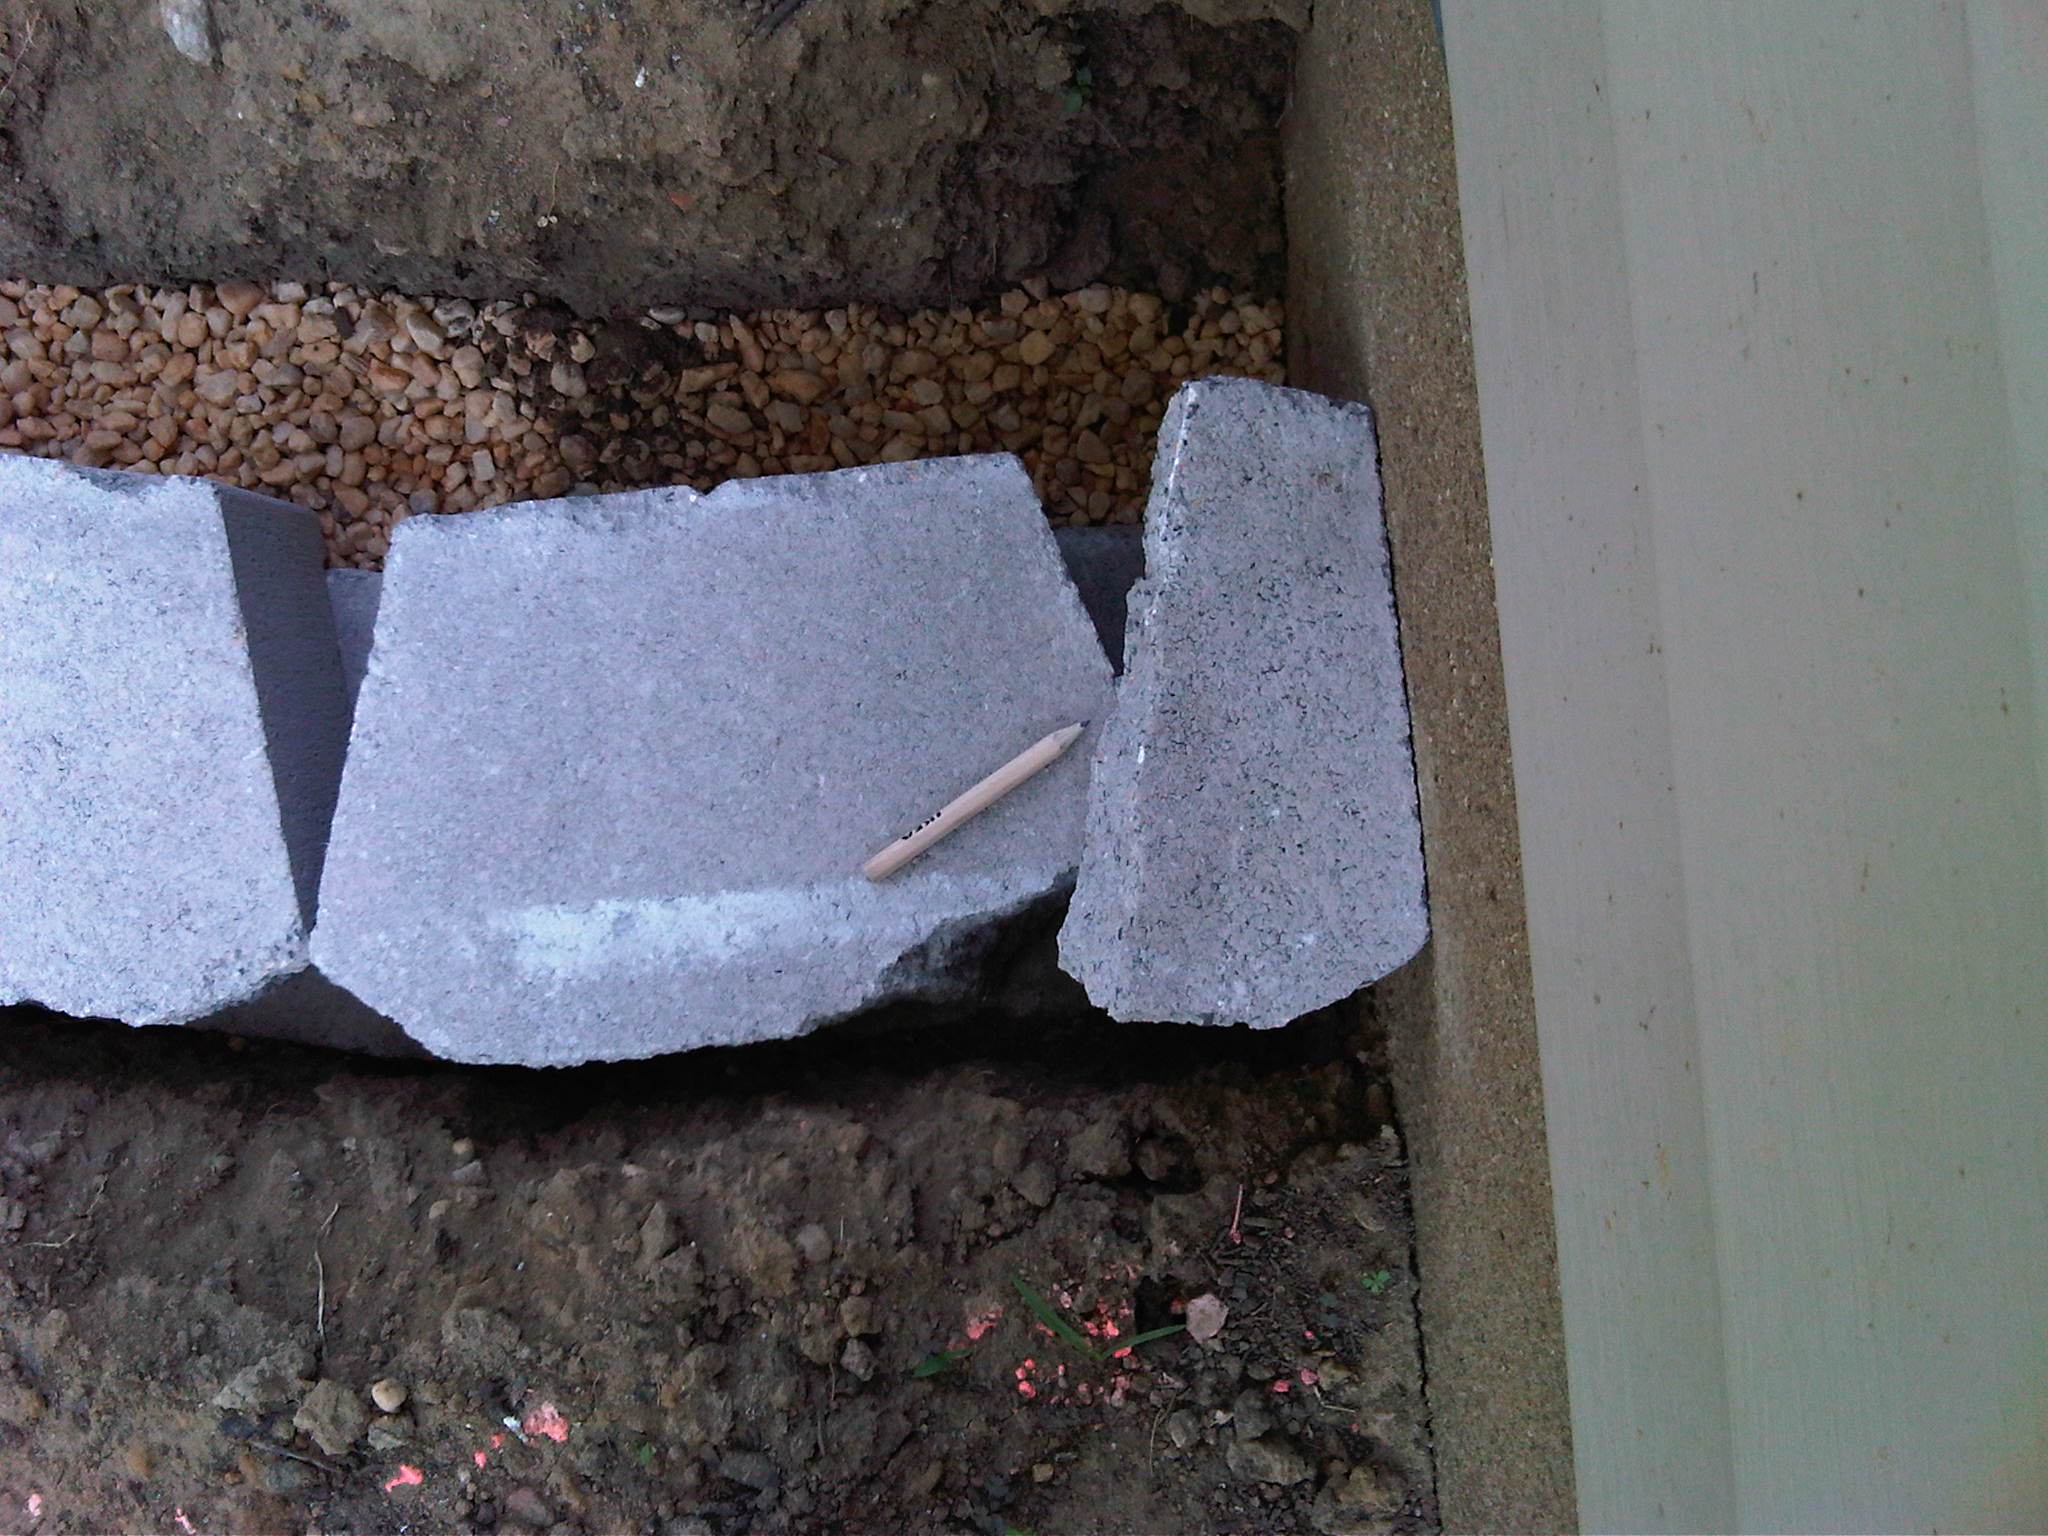
-
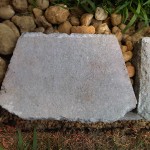
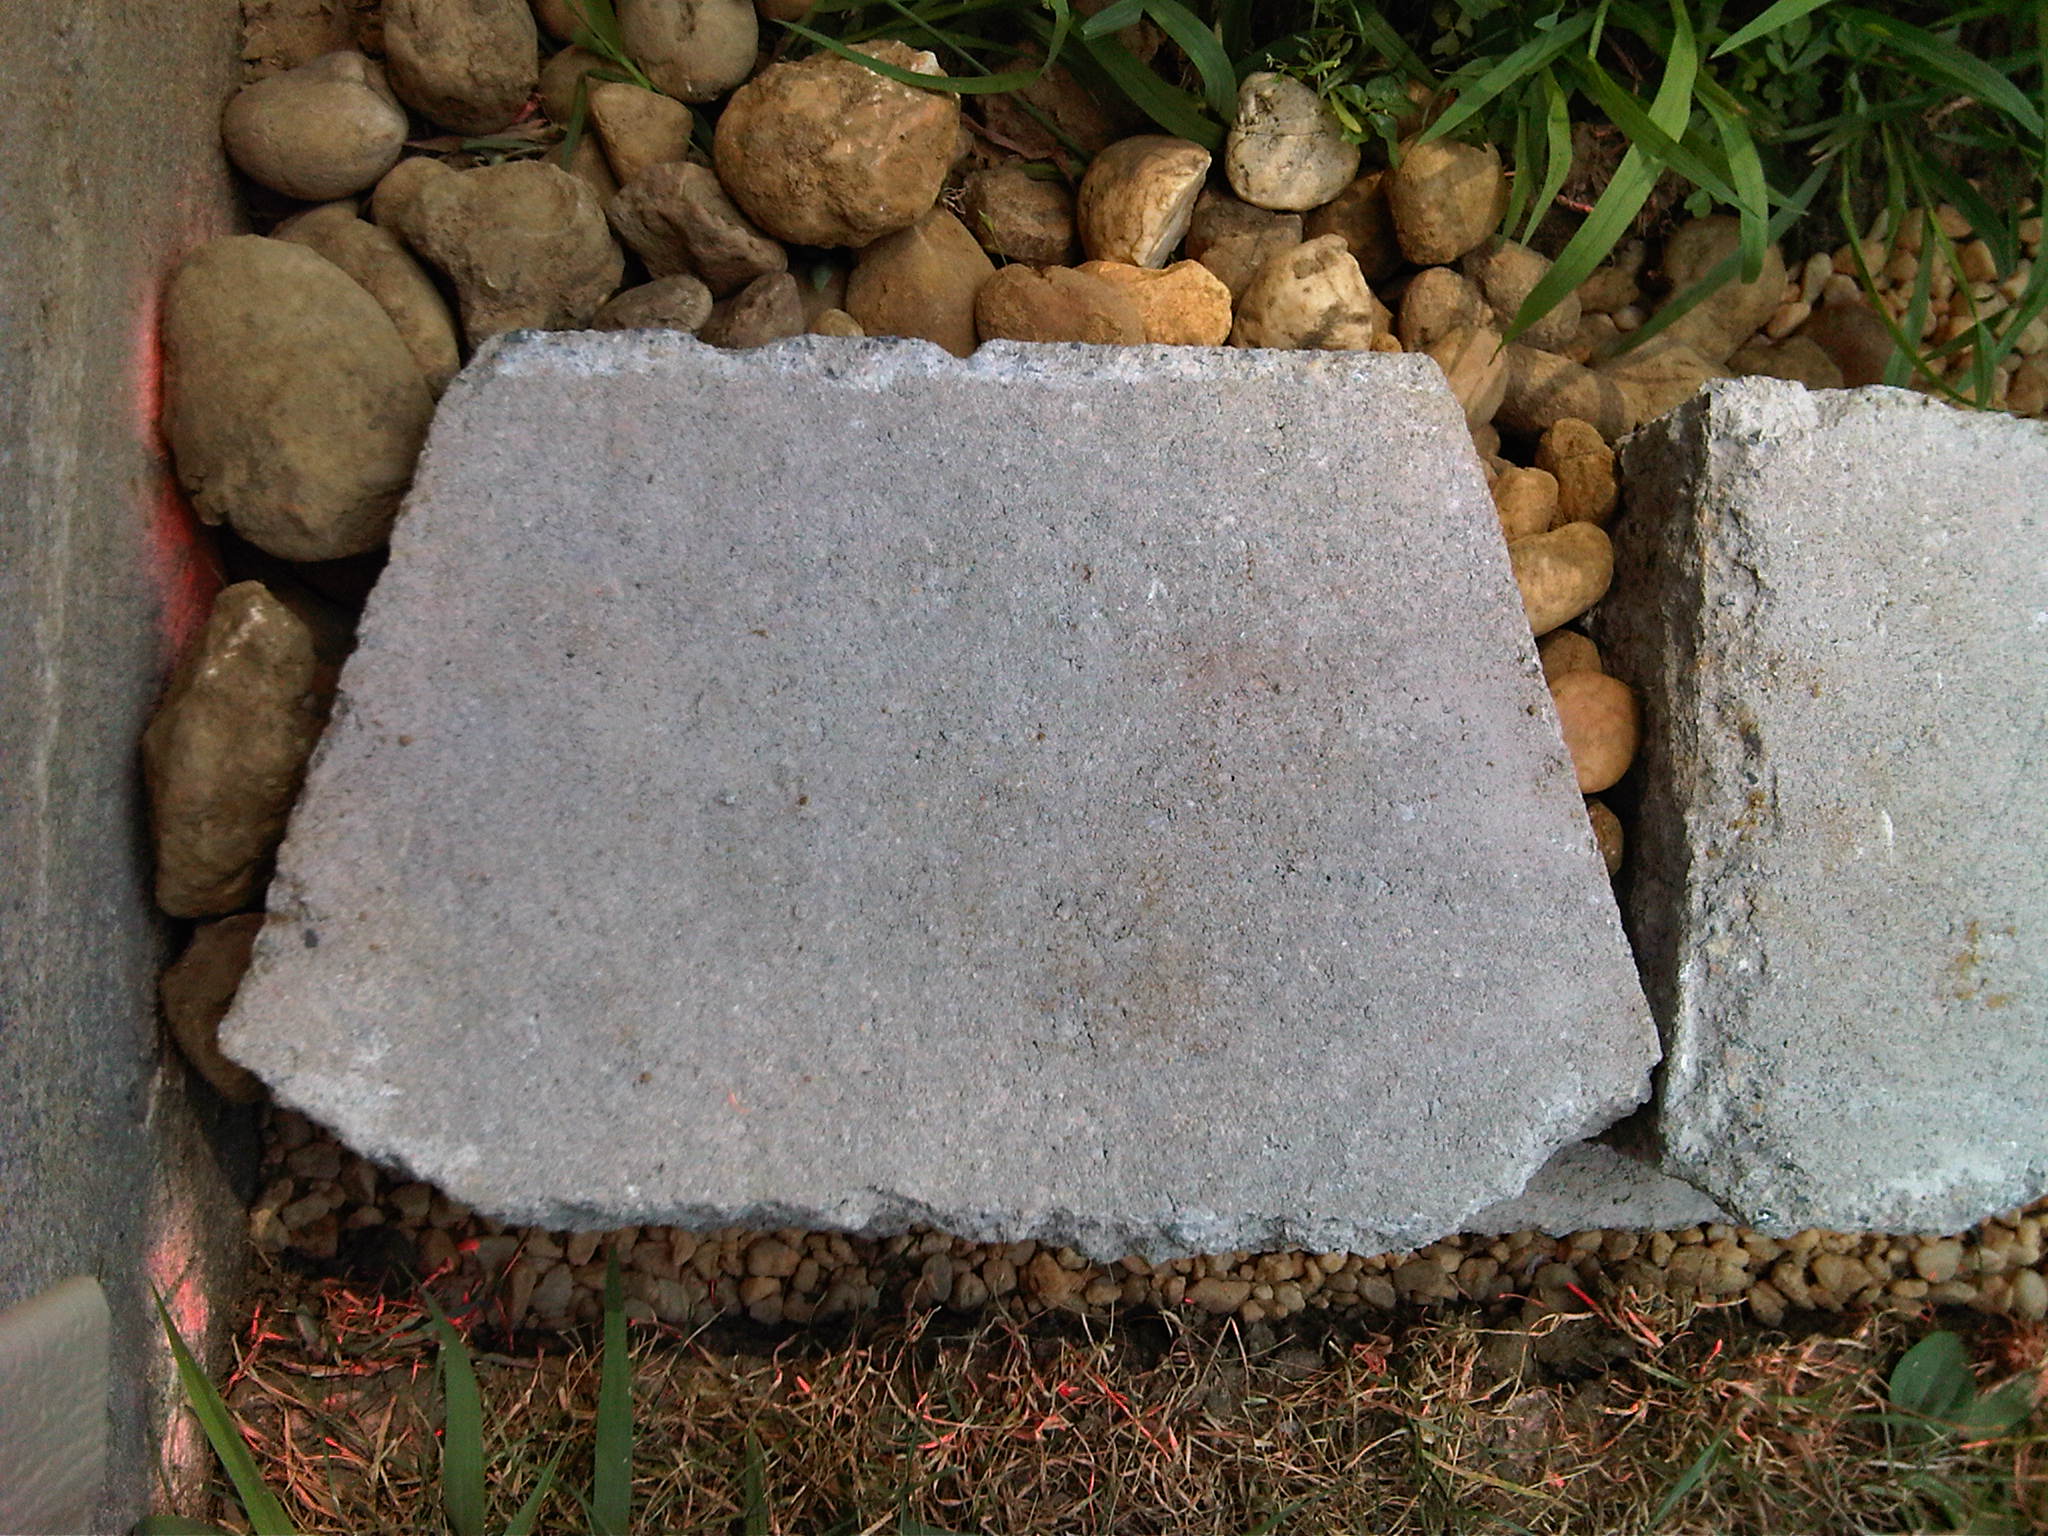
- After trimming the scrap block.
-
- Finishing up 2nd course.
-
- 2nd course, porch end. I used a scrap block for the end.

-
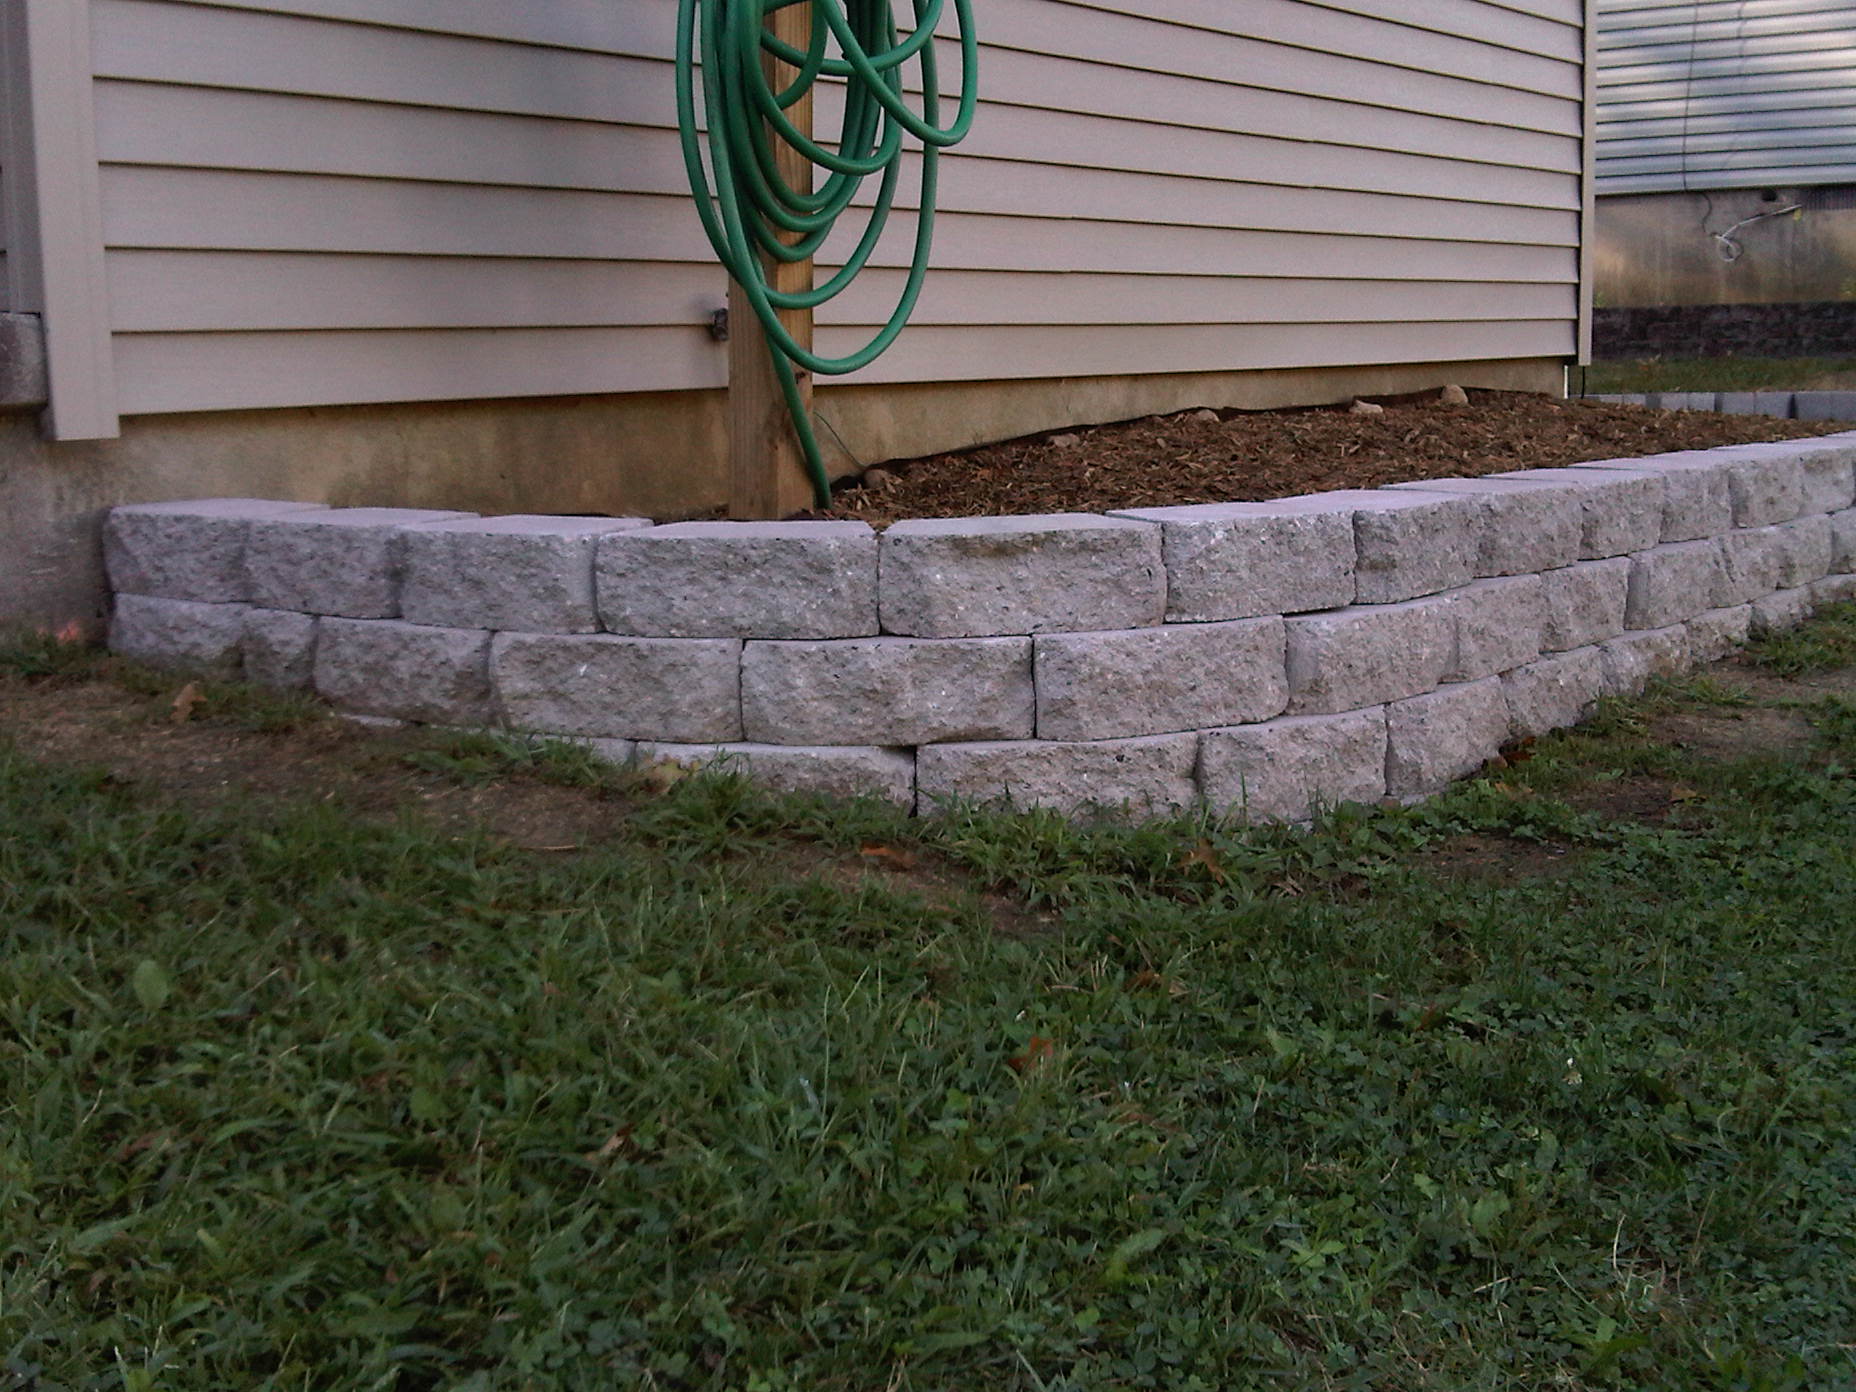
- 2nd course, gutter side.
-
- 3rd course, porch end.
-
- 3rd course, porch end. Backfilled with larger pebbles to get some use out of them.
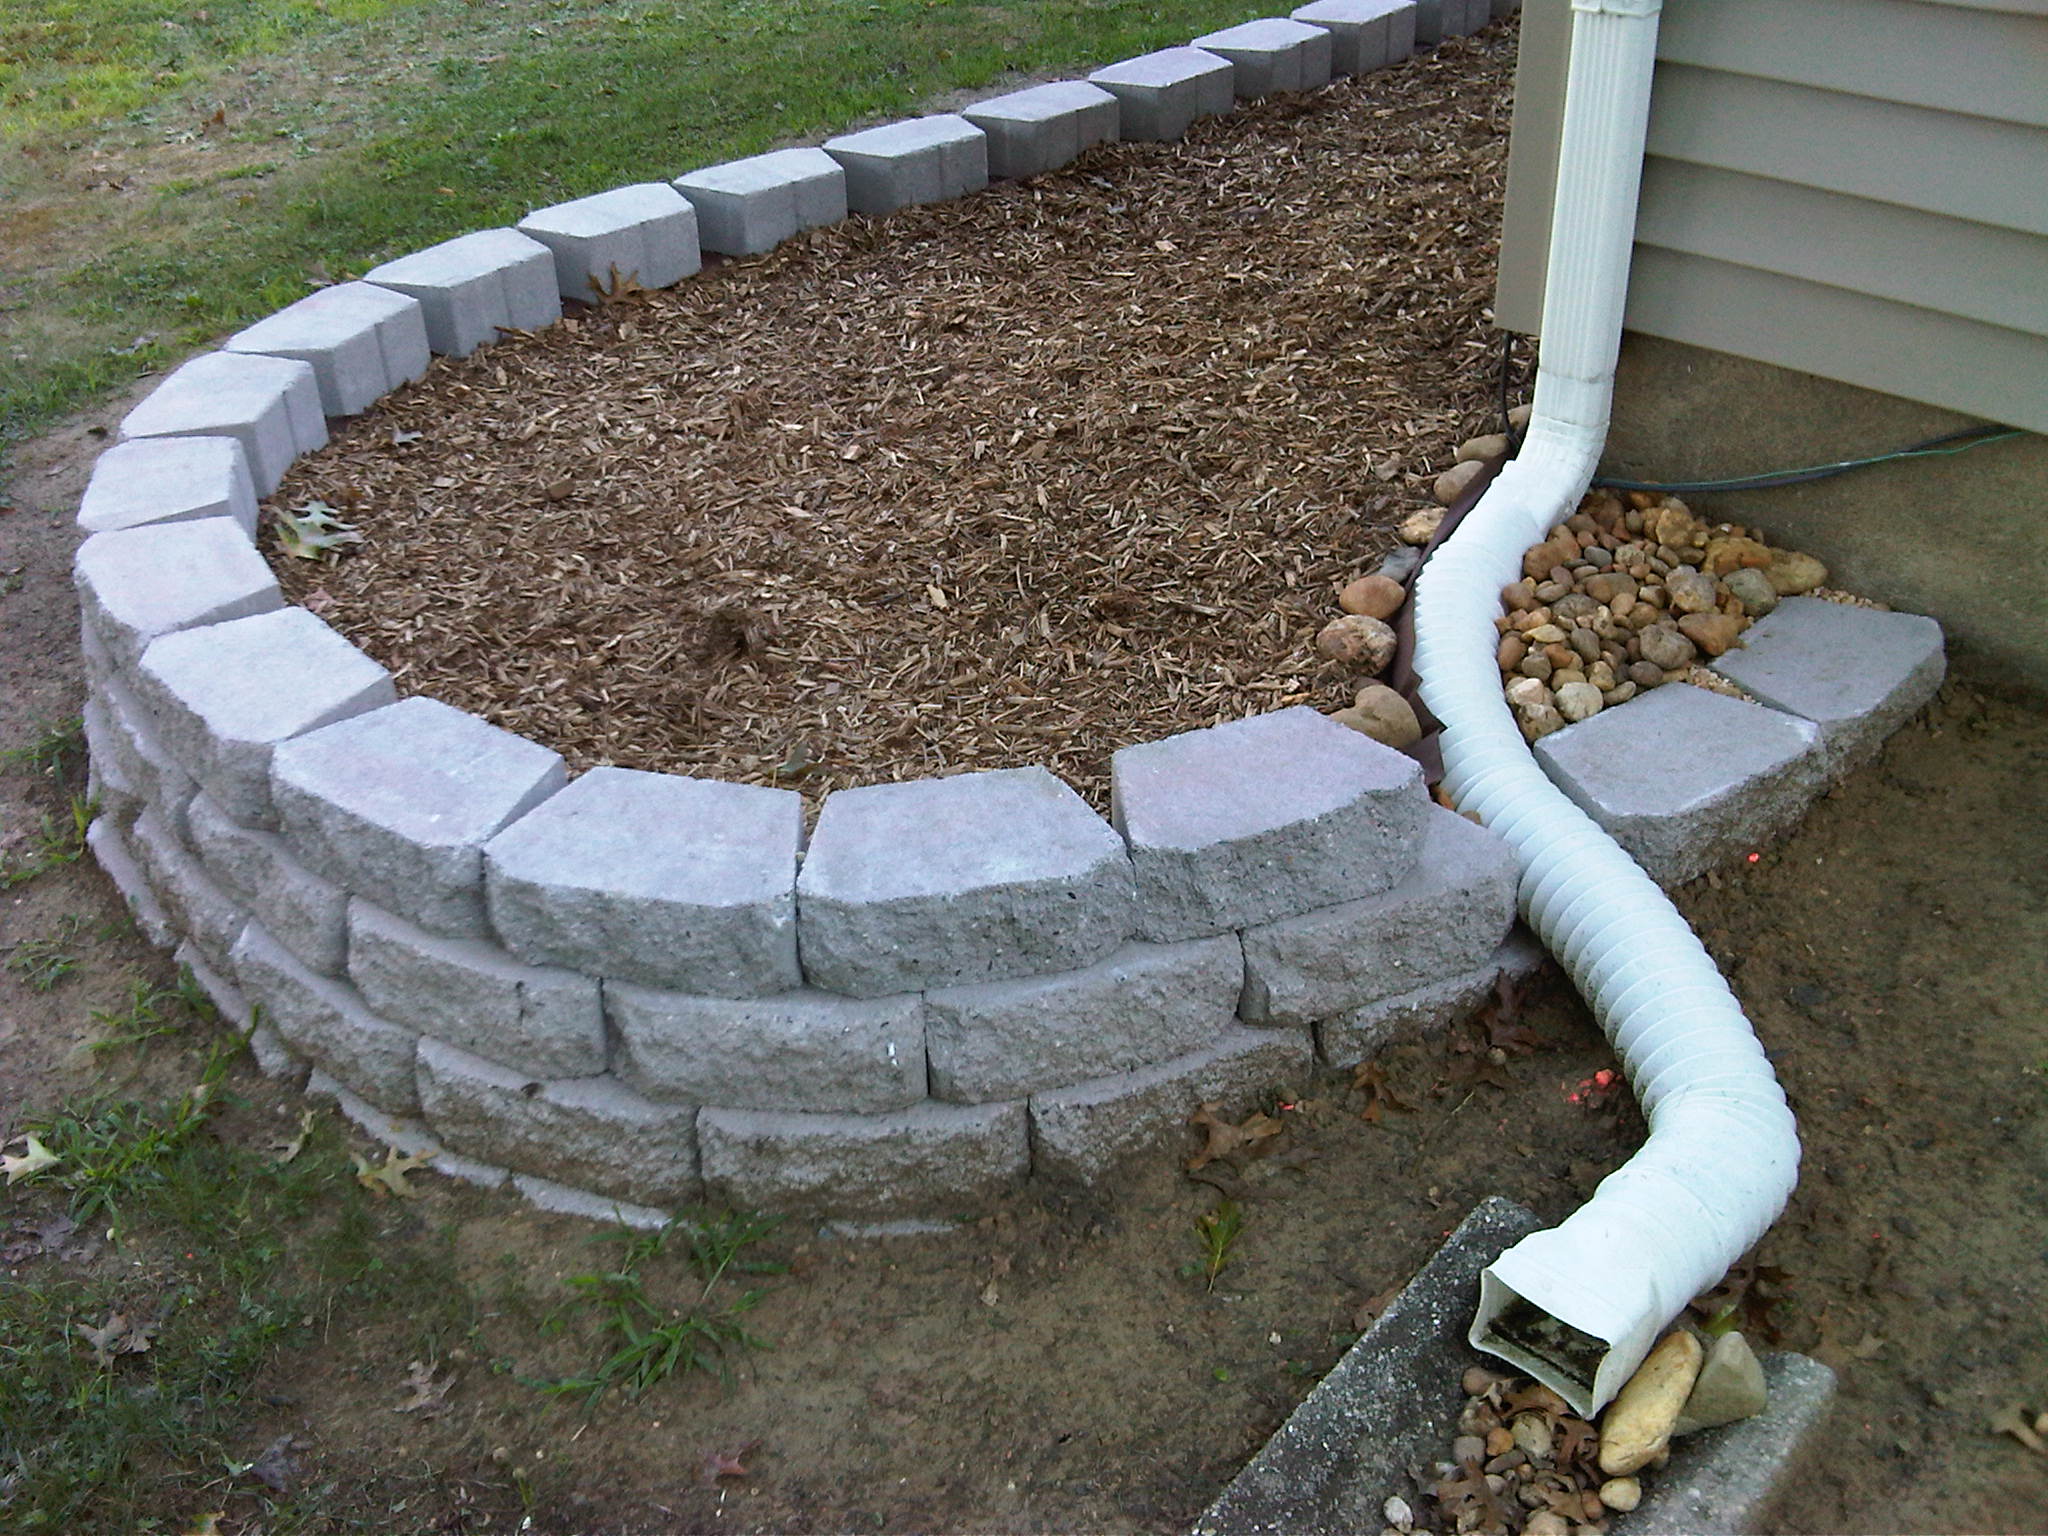
-
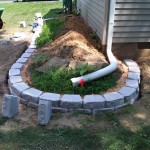
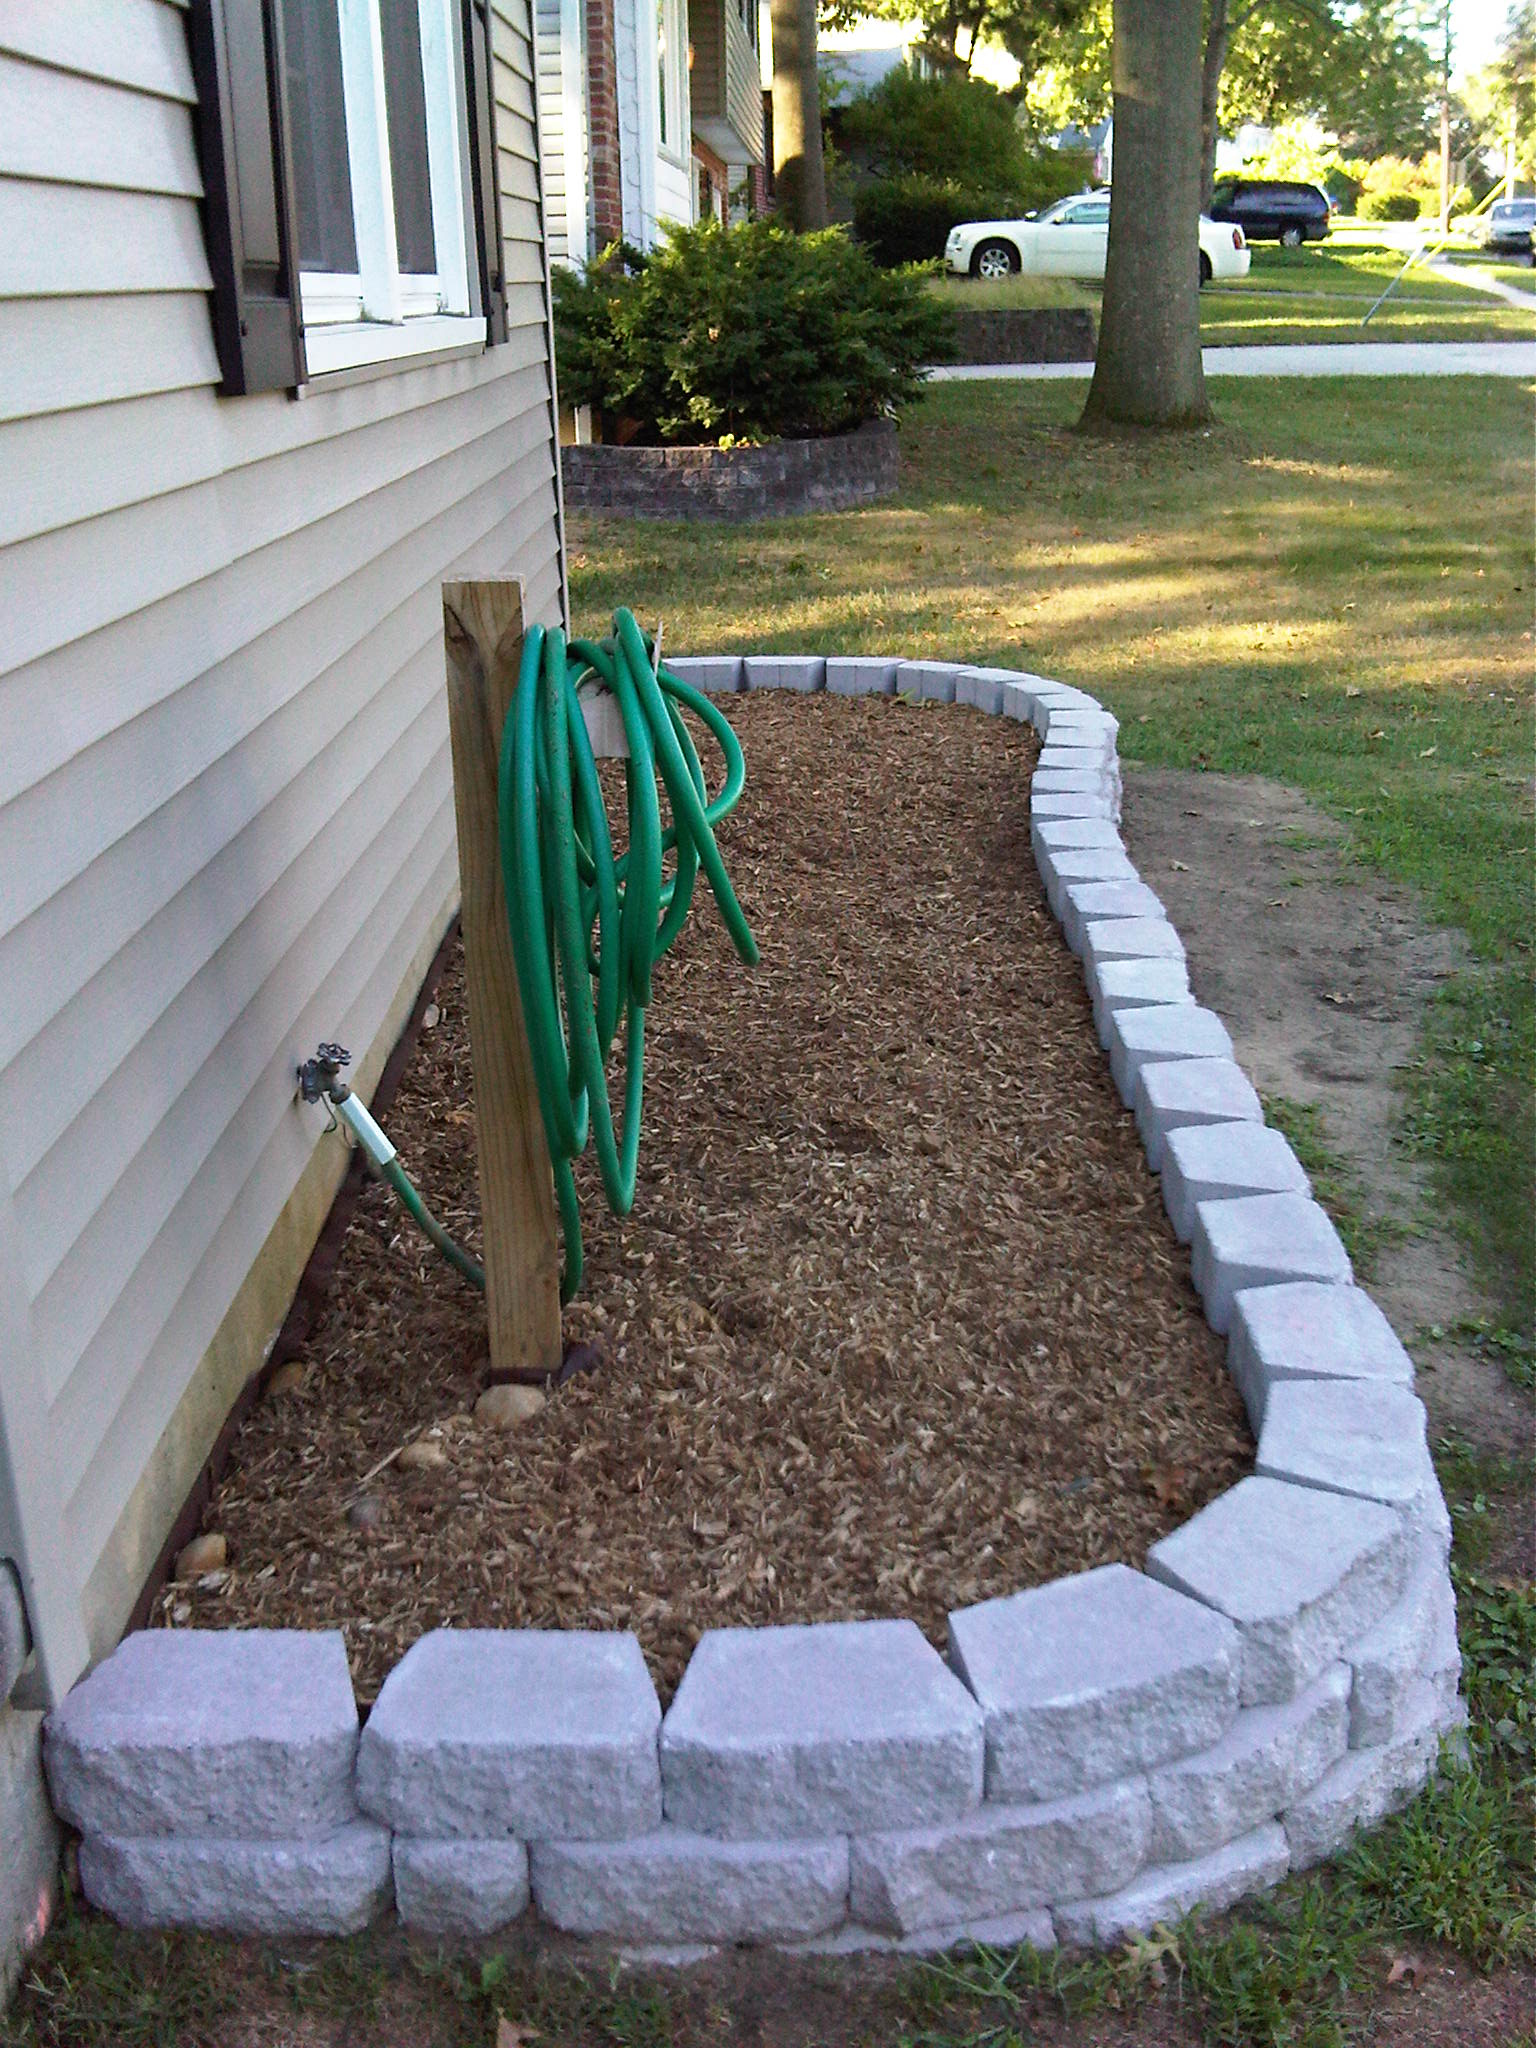
- I don’t like underground gutters, so keeping everything above ground. This area is not clearly visible from the street.
-
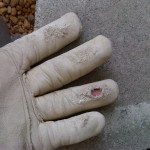
- During 2nd/3rd course work. One hole.
-

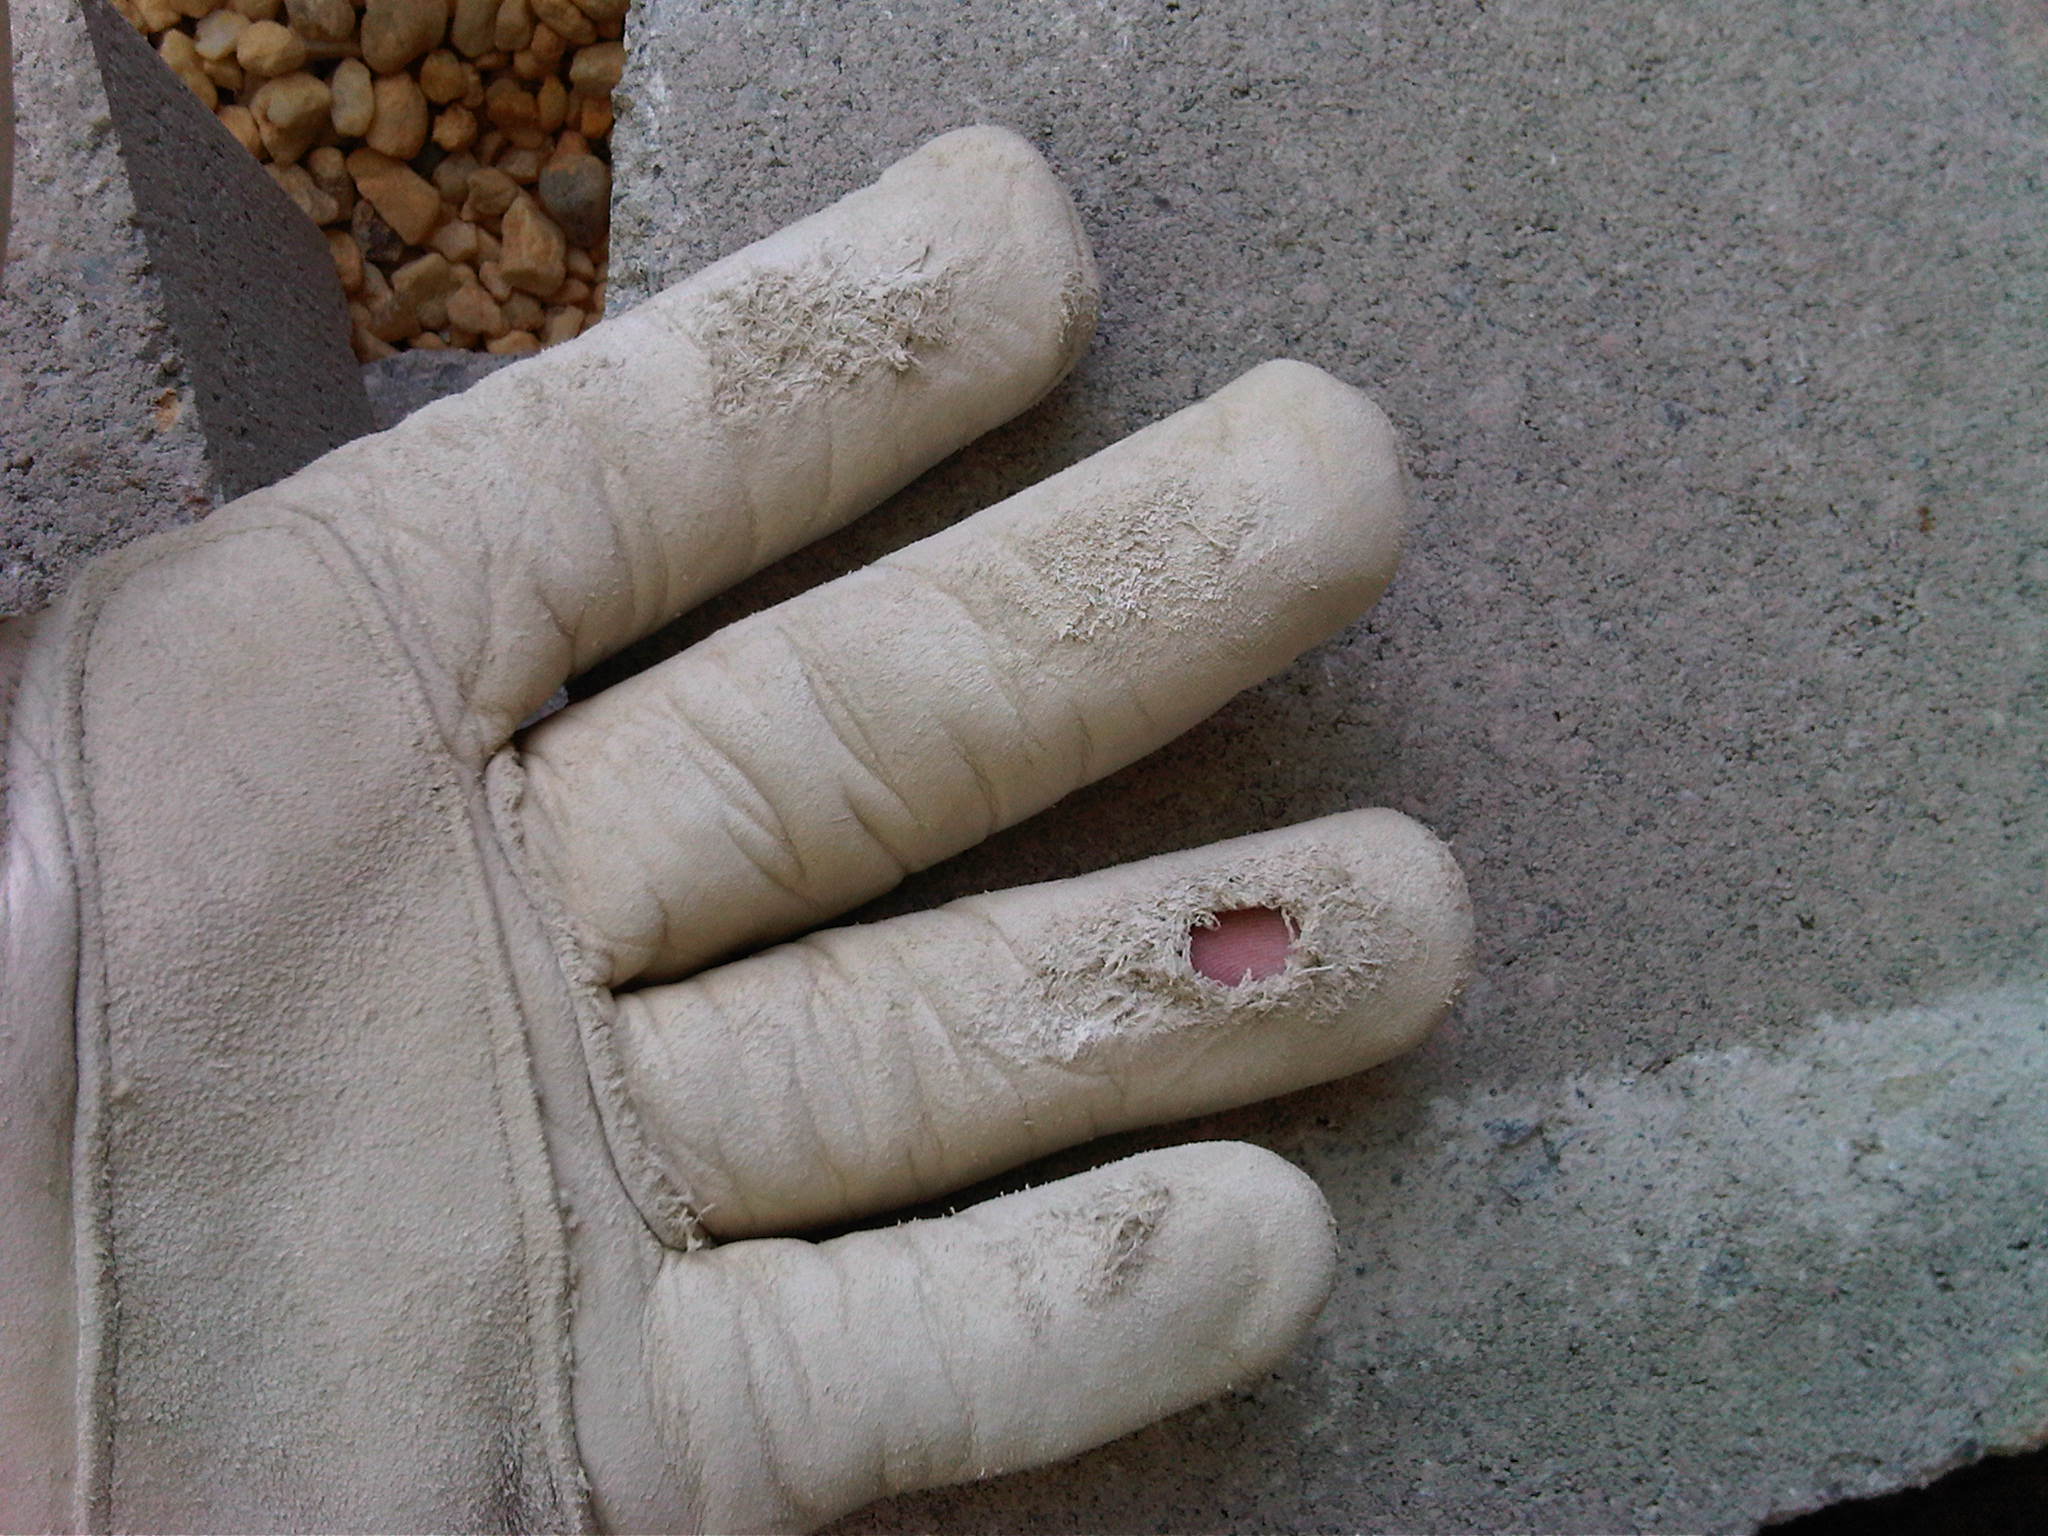
- 5 hrs later, more holes. These blocks are like course sandpaper. Wear thick leather gloves!
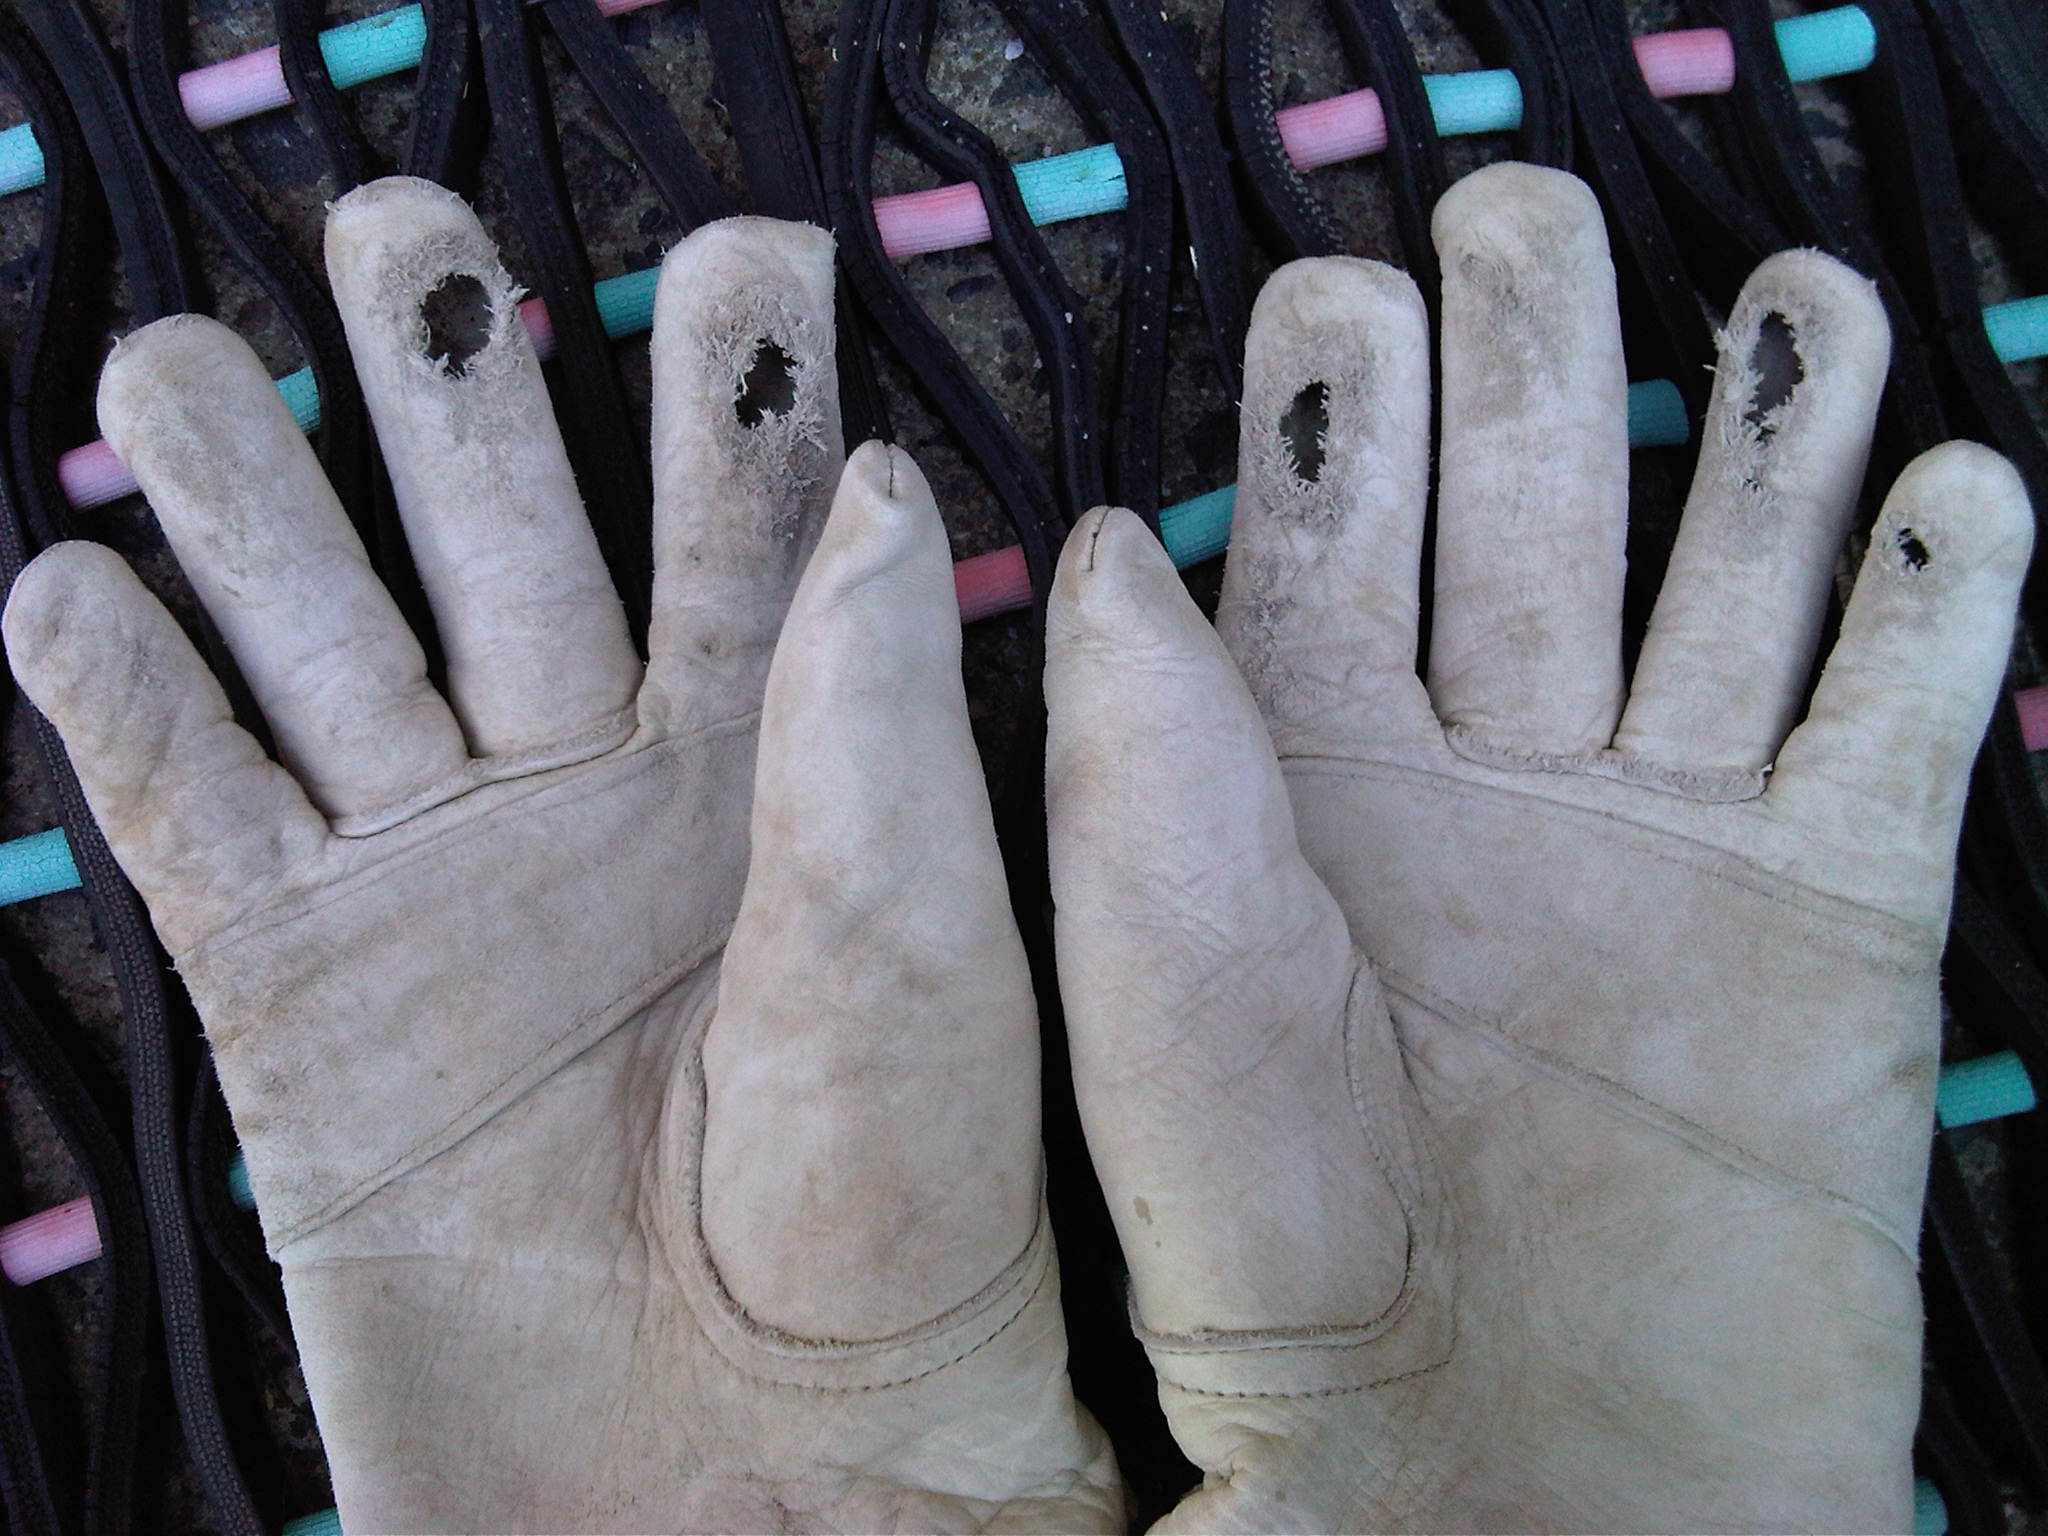
-
- 4th course, landscape fabric, and mulch (4 bags @ 2 cu ft). Just enough mulch for now. I’ll get at least 4 more bags after I plant.
-
- View from porch end.
-
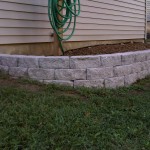
- Two minor errors, but not bad overall for an amature. You would never spot them from the street.