Roof Rail / Rack / Cross Bar and Accessories
2016-07-03 Updated
2010-06-25 Initial Post
This is an interesting area that I looked into last year when I got a bike rack for my 2009 Subaru Tribeca. The term “roof rack” basically refers to the basic rail and cross bar system on a vehicle’s roof. In most cases, you need the rails and cross bars in place before you can install accessories such as a bike or ski carrier (these are generally referred to as “bike rack” and “ski rack,” respectively).
Most vehicle manufacturers do not make their own cross bars and accessories, so you can get aftermarket parts that will fit perfectly onto a factory rail or cross bar. For example, Subaru uses Yakima. Yakima and Thule are the two major manufacturers of automotive roof accessories, so I’m pretty sure that most vehicle manufactures use one of the two. If you have the factory rails, you should be able to buy an aftermarket cross bar kit from Yakima or Thule that will fit perfectly with the factory rails.
It's probably not cost effective for Subaru to design and manufacture their own roof equipment, so they buy Yakima and just put a big Subaru sticker on the side. The equipment still has Yakima written all over the place and on the keys. So if you have a Subaru, you can get aftermarket roof accessories from Yakima that should fit perfectly—just contact Yakima and ask them what will fit your car. I actually called them to verify that one of their bike attachments was the exact one that Subaru uses.
Here are some key terms and concepts regarding roof racks:
Rails
These run lengthwise on the outer edge of the roof on both sides of the vehicle. These are standard on most non-base models of minivans and SUVs. You can also get them as an option from the dealer or purchase aftermarket ones. These are usually specifically designed for the particular vehicle model and cannot be taken off and installed on another model vehicle. Some rails are embedded in the roof and are not visible, resulting in a more aerodynamic profile. If you get an aftermarket “universal” rail kit, it won’t look as clean as factory rails.
Cross Bar
These sit widthwise on top of the rails, one towards the front and one towards the rear of the vehicle. Like the rails, these might be included on some non-base models of minivans and SUVs. From what I’ve seen, there are two major types. One is the round cross bar, which is more of a standard and can fit many different rails. The other is a slimmer, aerodynamic cross bar (Subaru refers to these as “Aero Cross Bars”). The aero cross bars are more specific to the vehicle model.
I thought that getting the round cross bars would be better since they’re more standardized and it would be easier to find aftermarket accessories for. But one big issue with the round cross bars are that they are noisy. With the sunroof open I could hear the wind against the bars, and at highway speeds, it's loud. So I ended up removing the cross bars and never used them at all for the entire year that I had the Tribeca leased.
When I leased a 2010 Subaru Forester, I decided to get the aero cross bars. They are much quieter so I leave them on all the time. And as I’ll explain in the next section, it’s not a big issue with getting accessories to fit the aero cross bars.
For better fuel economy, remove the cross bars if you don't need to use them. I was able to get a small mile-per-gallon increase after I removed the cross bars on the Forester. On the highway at 65 MPH, I got a fraction of a gallon more per mile. I take the same highway to work everyday, so I was able to get a good baseline before removing the cross bars.
I see a lot of vehicles with their cross bars on, so either people don't know or don't care that the cross bars can be removed. Once you've actually done it once, removing the cross bars shouldn't take more than a few minutes on most vehicles. The cross bars on the Forester came with instructions for installation, but not for removal. It took me a few tries to figure out that I needed to push out the nut on the cross bar clamp. If you do a lot of highway driving, then the marginal increase in MPG will add up.
Attachments for Bikes, Skis, Kayaks, Luggage, Etc
Once you have a suitable “roof rack” (rails and cross bars) in place, you can buy accessories and attach them to the rack. These accessories allow you to carry various things. And herein lies some key points that you need to be aware of. I’ll explain by using a 2010 Subaru Forester as an example.
On the Forester I have the factory rail and optional aero cross bars. I had the upright bike attachment from the Tribeca, which I never used and was still brand new in the box. The bike attachment can attach to pretty much any cross bar as long as you have the correct cross bar mounting clamps. So the cross bar mounting clamps are the key.
The bike rack does not come with any cross bar mounting clamps. Why? Because Subaru/Yakima doesn’t know which type of cross bar you have. So you need to purchase cross bar mounting clamps separately. If you have the round cross bar, then get the round mounting clamps. If you have the aero cross bar, then get the aero mounting clamps. The clamps are made of plastic and metal and there's not much to them, so they're not expensive.
Note that in my case, the mounting clamp is not specific to the bike rack, but specific to the cross bar. You should be able to go to any Yakima or Thule dealer and get clamps to fit your factory cross bars.
It looks like there is somewhat of a standard for bike racks so that they’ll fit on any “standard” sized cross bar mounting clamp. I think this applies to most other accessories as well. So the point here is that it’s the cross bar mounting clamps that are the key to allowing accessories to fit on a cross bar. You can mix and match accessories with round or aero cross bars, so long as you have the correct cross bar mounting clamps and the clamps fit the accessories.
This link has good info on roof racks: http://www.bikerackshops.com/roofracks.html. Whatever I didn’t learn from there I figured out on my own by looking at the roof and bike rack that I have and also paying attention to the roof racks of other vehicles and checking out the Yakima and Thule Web sites.
Example
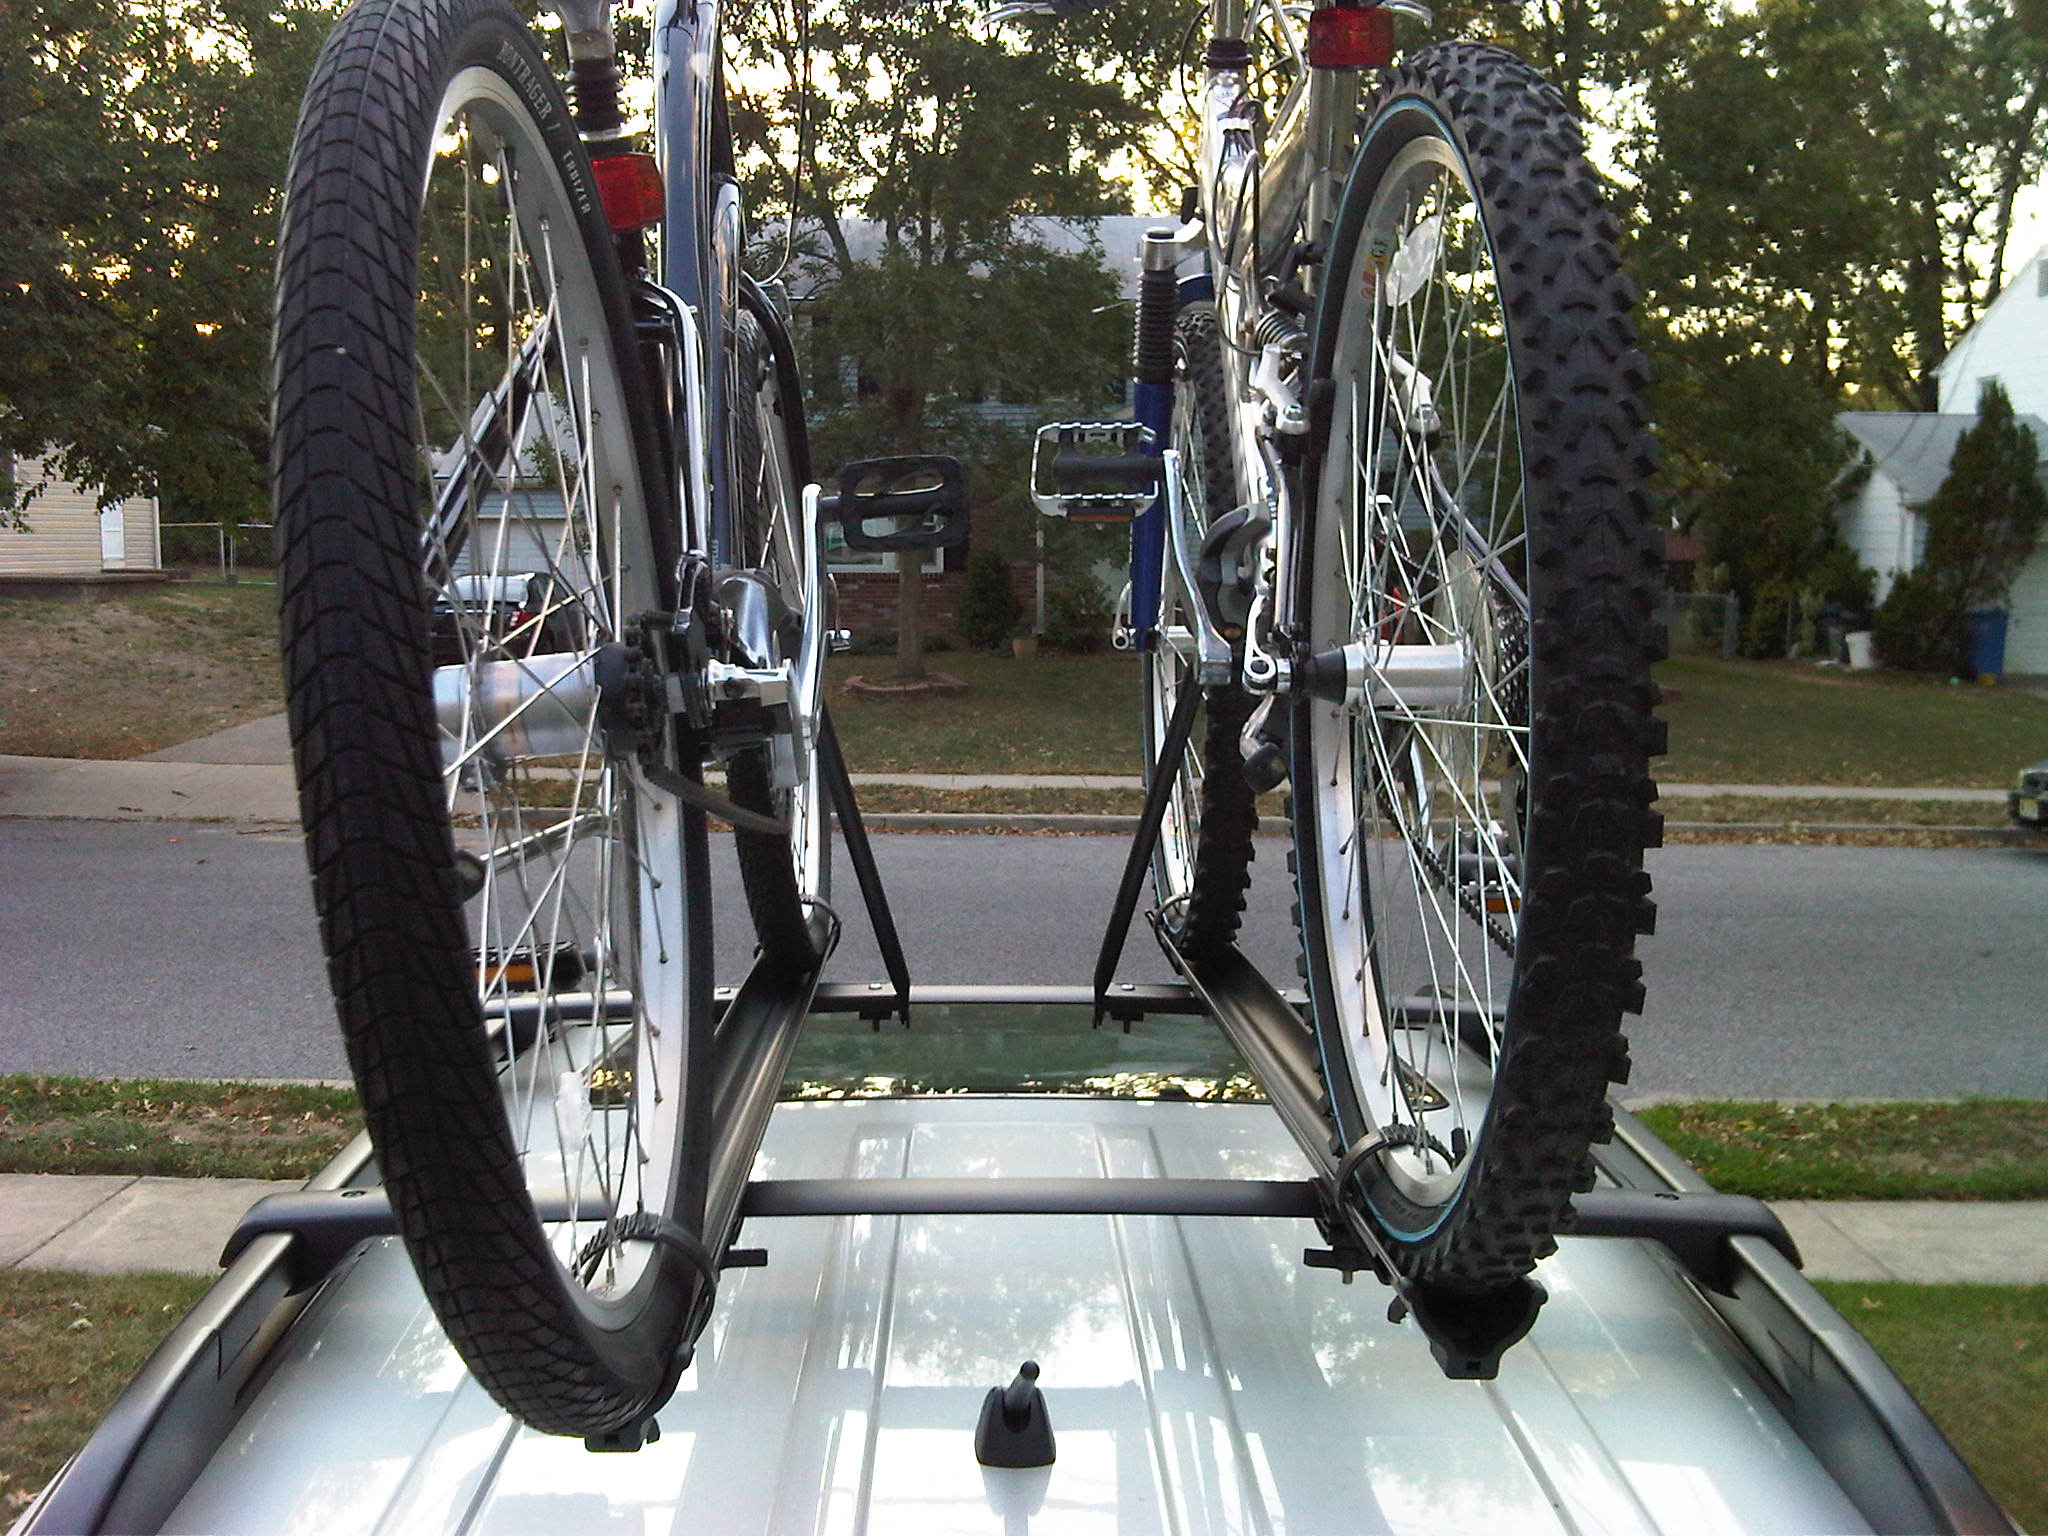
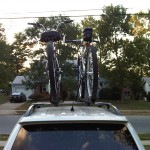
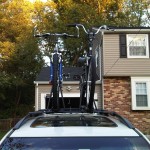
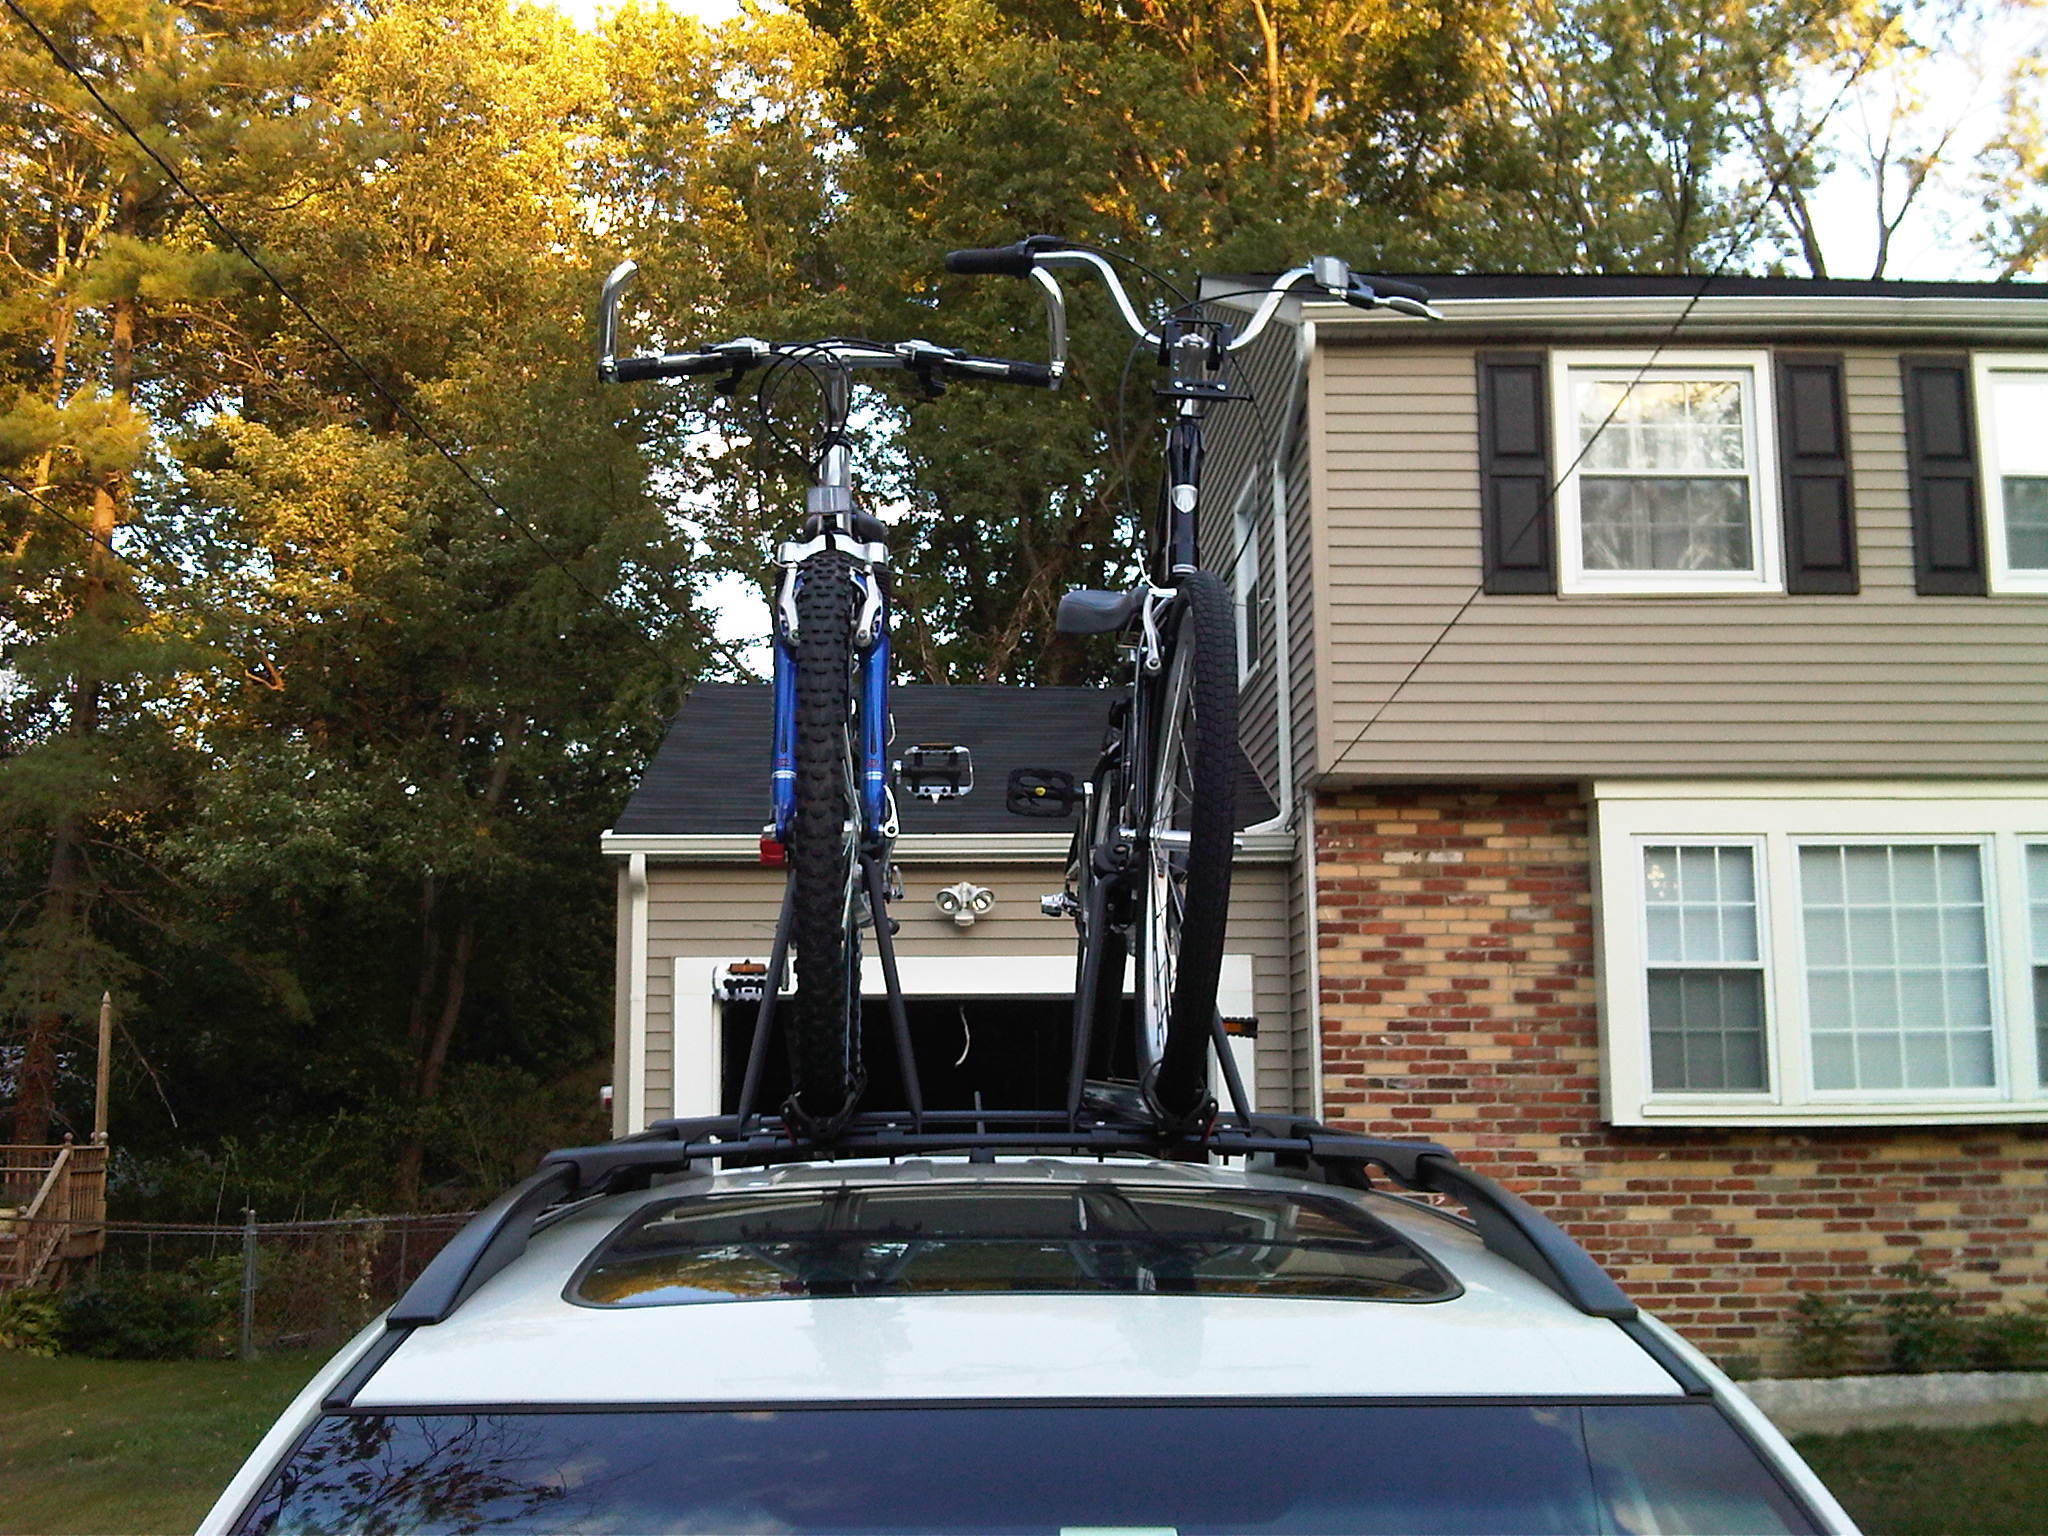
Below is a list of parts and some pics of the bike racks on my 2010 Subaru Forester 2.5X Limited. The names of the parts were taken from Subaru's Web site as of 2010-09-05. The bike attachment is made by Yakima. The total height of the vehicle with bikes on top was just under 10 ft.
- Aero Cross Bars
- Bike/Kayak/Roof Bskt Mtg. Clamps Aero Bars - You'll need 6 total - 3 for each bike attachment. When I got these, they were only sold in packs of 4, so I had to get 8 total.
- Bike Attachment - Roof Mounted (Dual) - Based on Yakima Aero Raptor.
This was the first time I've every worked with a bike rack and even though I had both fully assembled before trying to install them on the vehicle, it still took me 2 hours by the time I got everything done and had the bikes mounted. Here are some notes/tips from my experience:
- Do a test run on the ground. I had skipped this step and thus wasted some time taking the attachment off and then putting it back on on. The attachment needs to be adjusted specifically for each bike style, and it's a lot easier to do that on the ground.
- Get a small step stool. I had a lightweight plastic Rubbermaid step stool from Home Depot. You'll need this for washing an SUV or mounting other things on the roof.
- When mounting the bikes, lift them up and rest the tires on the roof itself first. Next, reposition yourself and the bike before lifting the bike into the wheel tray. When I had remounted the bikes after going for a ride, I didn't properly lift one of the bikes onto the roof and the bike fell over on the roof and the metal pedals scratched up the roof. So based on that accident, next time I'll put cardboard or a moving blanket on the roof while I'm mounting or dismounting the bikes.
- I don't know why, but there were several extra parts left over from the bike attachments. I didn't see anything in the instructions about that.
- I was able to mount and dismount the bikes alone, but it doesn't hurt to have someone spot you in case you fall back.
Summary / Additional Notes for Myself
I used my bike rack a total of one time on the 2010 Forester. Recently, Jul 2016, I used the bike rack again, but this time on a 2014 Subaru Forester 2.5i Touring with the same style Aero crossbars. I didn’t have the crossbars on so I had to install them first. Even though I had the bike carriers fully assembled from last time, by the time I had the crossbars and bike carrier installed with the bikes on them this time, I spent at least 2 hours. I had forgotten how everything worked and it took me some time to re-learn. So here are additional notes for myself.
- The crossbars need to be mounted at a certain distance from the front and rear of the rail, and this is specific to the vehicle/rail. The carriers do have some flexibility with how far you mount them from the side of the vehicle, but per Subaru installation guide, mount them as close to the center as possible.
- The bike carrier needs to be adjusted specifically for the bike. The reason is that every bike is different, specifically with the down tube design so you have to adjust the carrier’s hoop assembly (the part that actually clamps on to the bike’s down tube). The initial adjustment should be done on the ground.
- My 2014 Forester has the power rear gate and it allows you stop the gate at a specific height by pressing the gate button (from the gate itself or from within the vehicle or the remote) while the gate is opening. This allows you to open the gate easily and stop it from hitting the bike tires.
- If you have more than one carrier, label the keys and the carrier so it’s easier to keep track of.
- Check the step stool for stability first before lifting the bike onto the carrier. When you lift the bike up, hold the fork (the part of the bike that the front tire sits in) with one hand and the seat post area with the other hand. Hold the bike at approx. 45 degrees on its side and rest the tires on the roof and then put the bike upright and then onto the carrier tray (be careful not to scratch your roof with the pedals). Warning: this can be very dangerous to do by yourself and you must be very controlled and deliberate when lifting the bike on and off. Getting a little off-balance or a strong gust of wind could cause you to fall backwards. If you just lift the bike up will-nilly, you increase your chances of hurting yourself or scratching up the roof.
- Once the bike is on the carrier, in order to lift the hoop assemble up, you may need to roll the bike backwards a little bit. Be very controlled when you do this, otherwise the bike may roll off the vehicle.
- Keep the tools for the crossbar and carrier inside your vehicle in case you need to adjust any of the components later.
Pictures (2010 Subaru Forester)
-
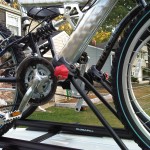
- Close-up view of front wheel hoop and clamp.

-
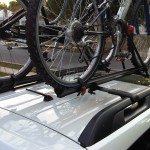
- Close-up view from right rear.
-
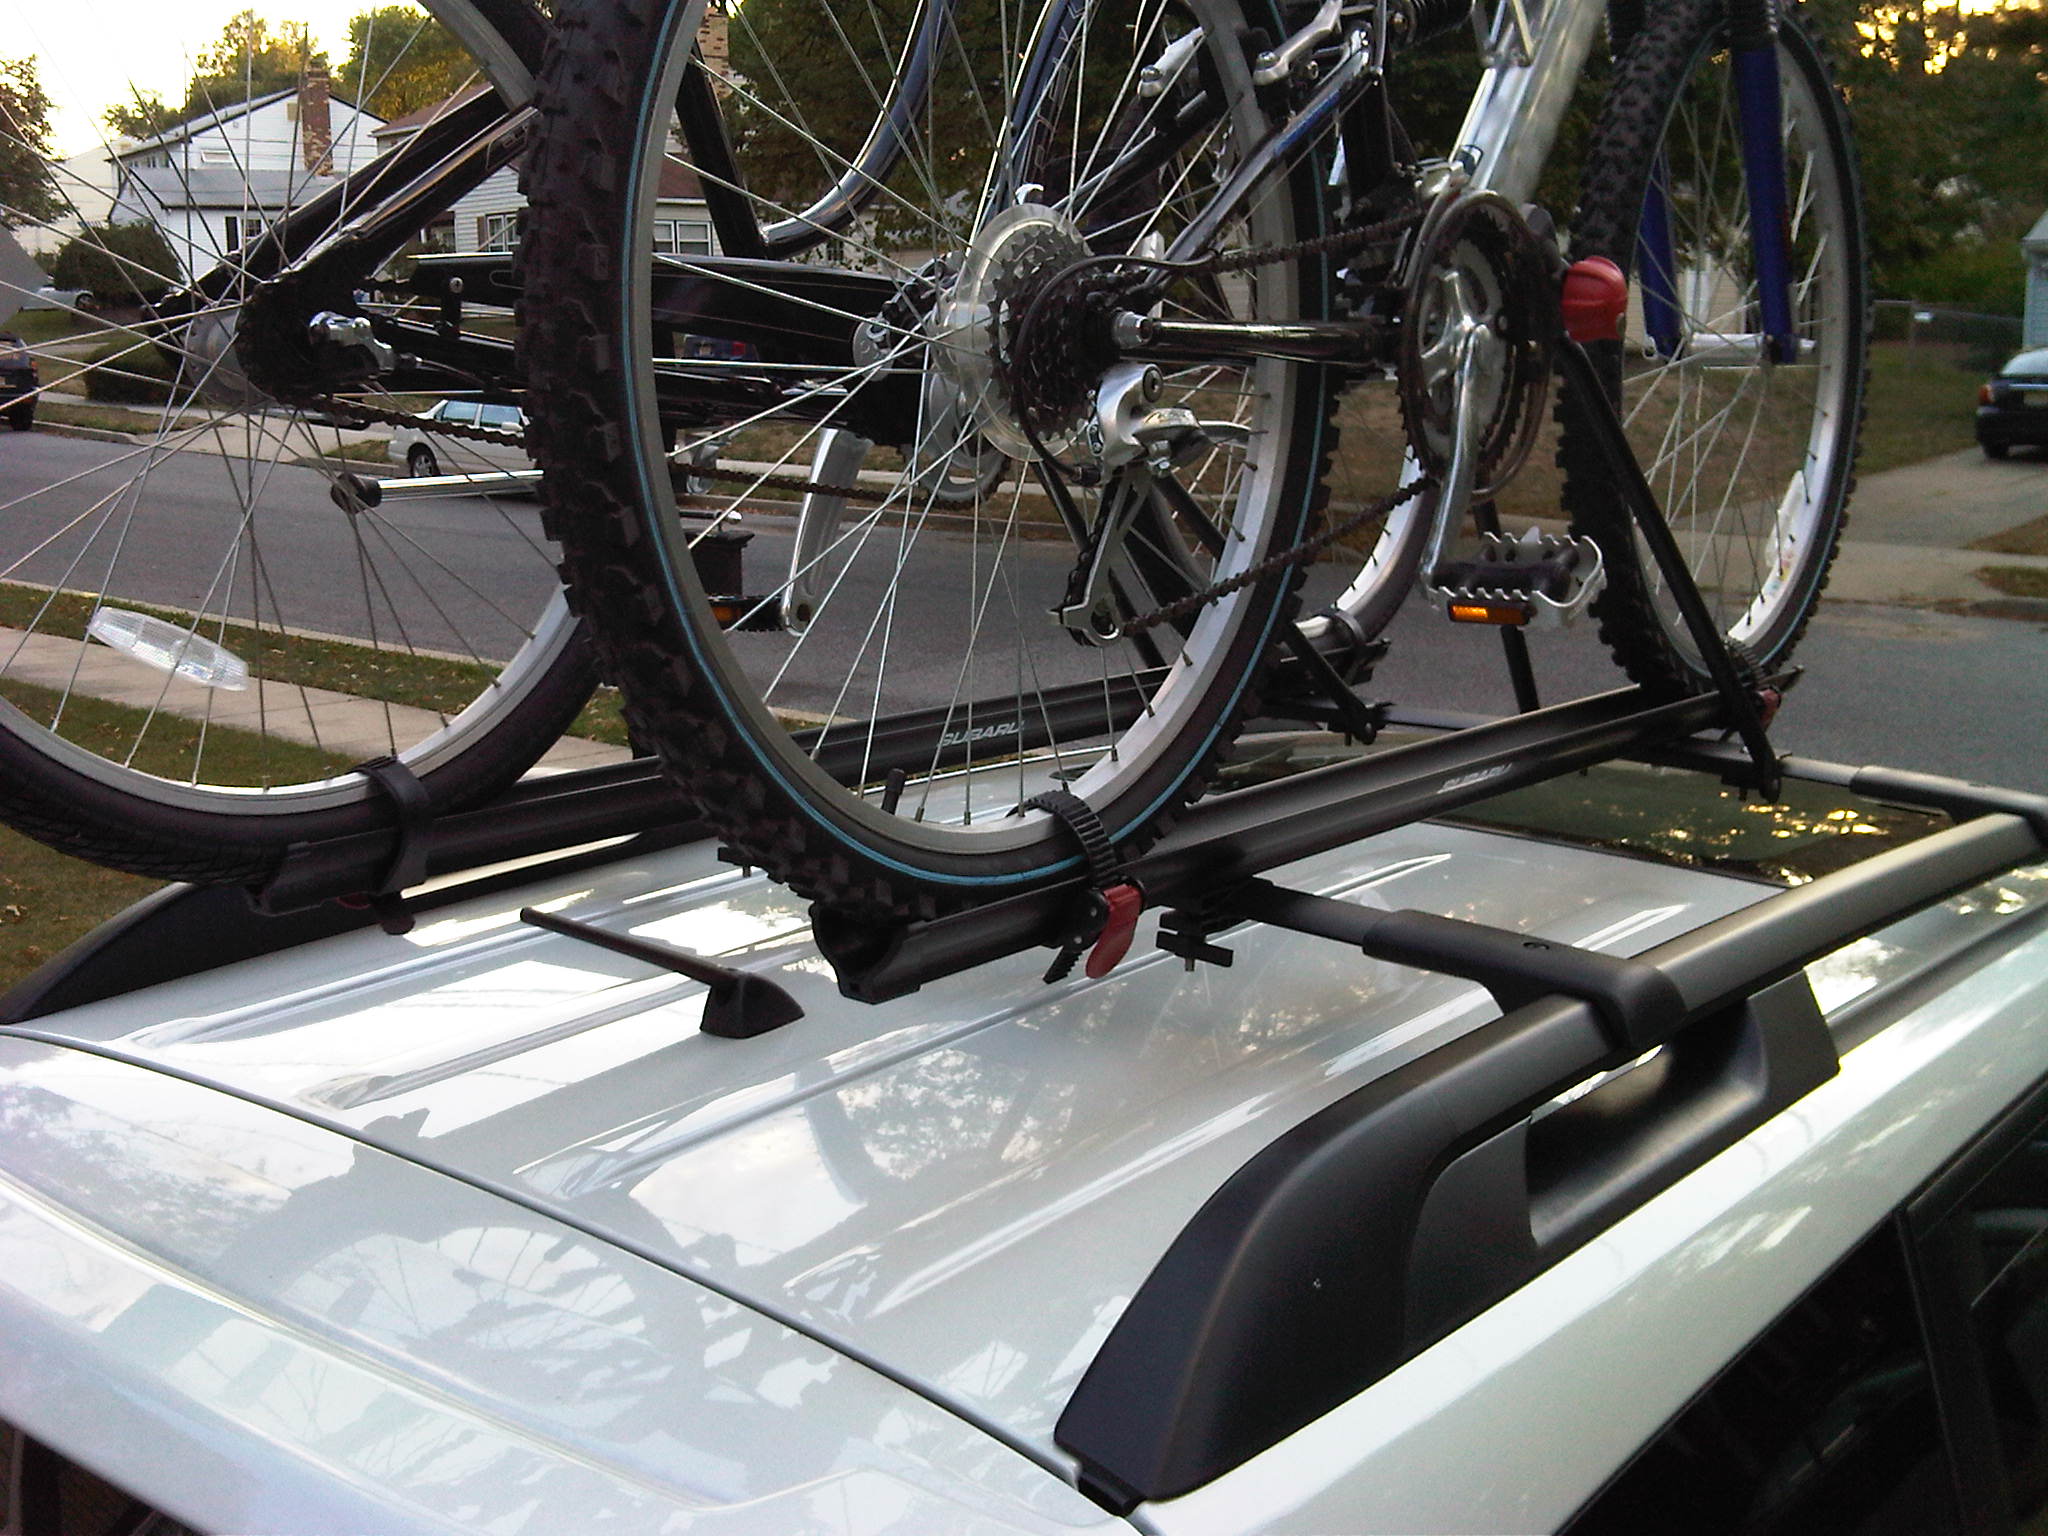
- Close-up view from rear.
-
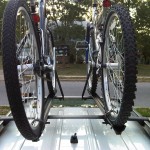
- View from rear.

-
- View from front.
Tags: bicycle, car, carrier, crossbar, Impreza, Legacy, mount, Outback, truck

February 7th, 2012 at 1:47 AM
Informative post; you cleared up much of my confusion; thanks.