Installing a Hanging Pot Rack – Range Kleen CW6001R
2011-08-20 Initial Post
The other week my wife got the Range Kleen CW6001R pot rack. The construction and steel look very good, but I was not very happy to find that the package did not include toggle anchors, but the instructions advised the customer to go to a home improvement store to get one if necessary.
I wasn’t sure if I would need anchors, so I wanted to be prepared and brought one of the included ceiling hooks with me to Home Depot. There were no toggle anchors that would fit the hook. All the anchors came with their own screws that were made for the anchors—they’re all sold as matching sets. The guy who helped me was leery of using any type of anchor in the ceiling and suggested that if the anchors didn’t work, get a board and screw that into the joists and then screw the pot rack hooks into the board. I’m thinking that if I had to do all that, I was going to hire someone.
I ended up getting the plastic anchors that had screws that were close to the size of the hook. After I got home decided not to use them because the package stated “not recommended for overhead use.” I didn’t want to take any chances since it could be disastrous to have a hook fall out. I decided to try to find the ceiling joists and use the hooks as-is.
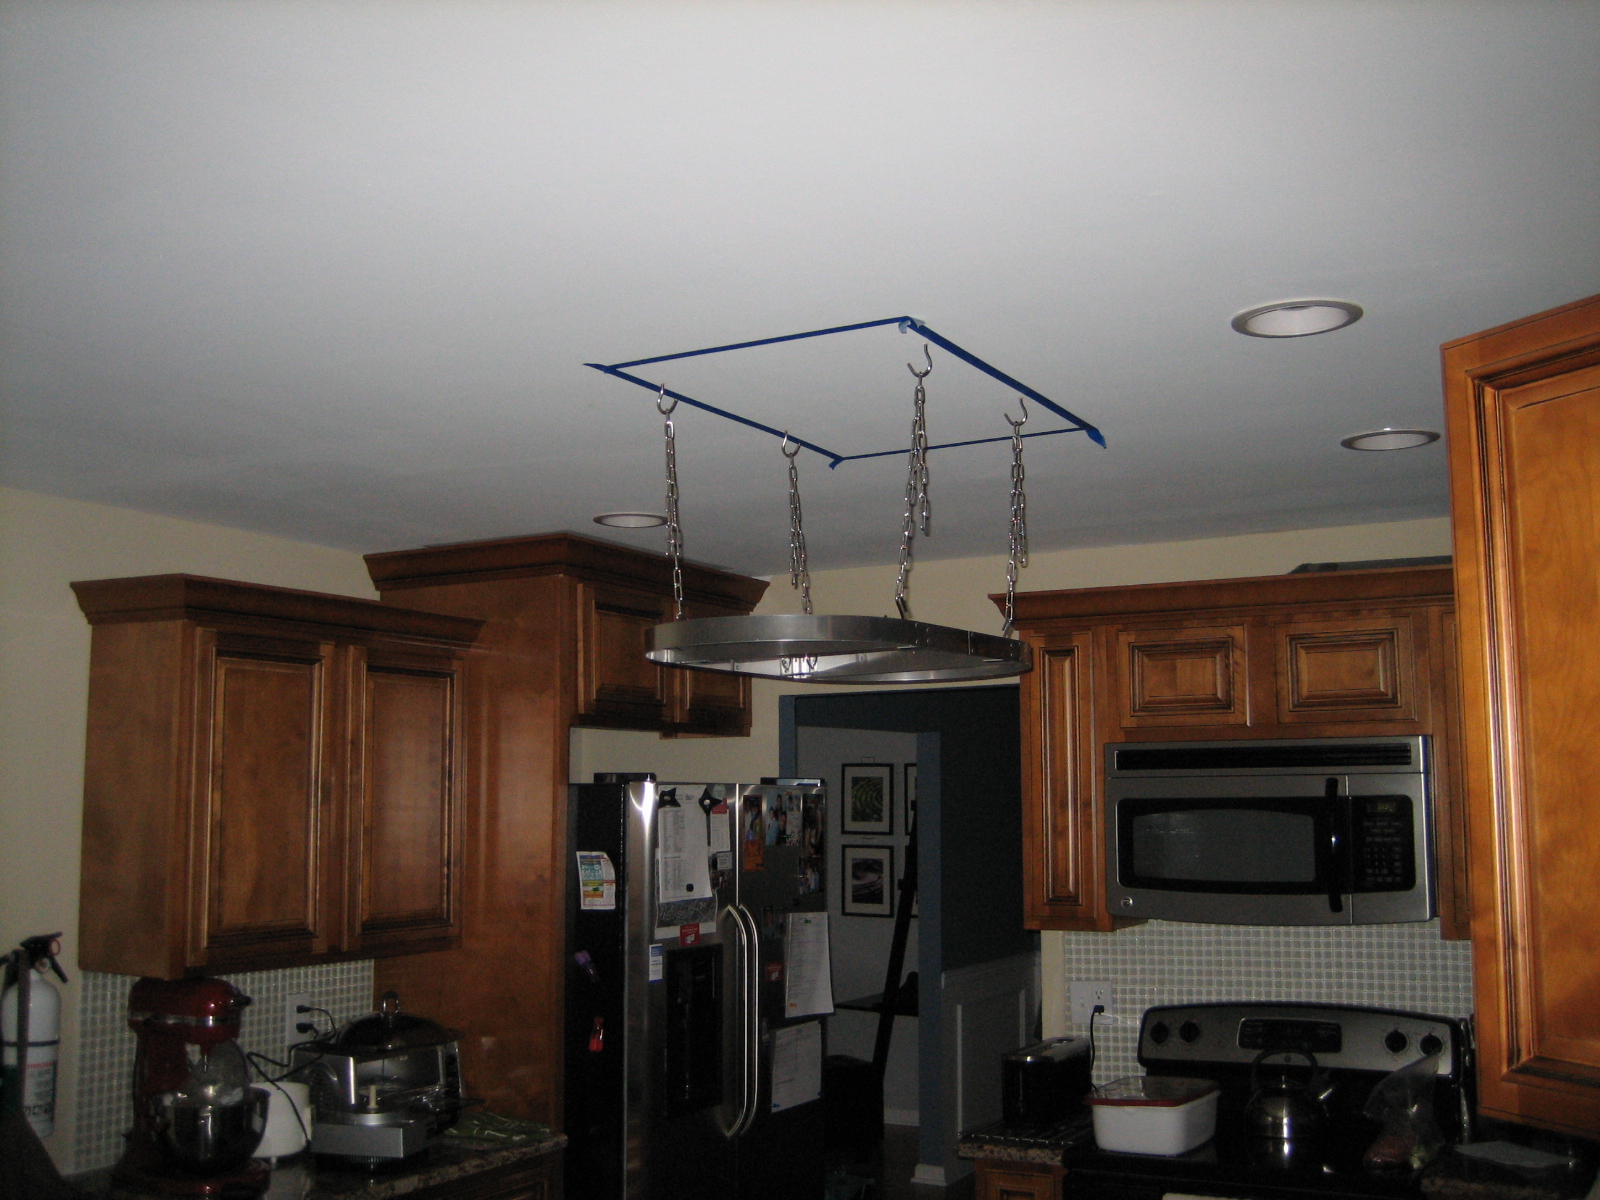
I tried using the stud sensor to find the ceiling joists but it was frustrating since I had no markings to go by. I took a break to gather my thoughts and then decided to use the plumb bob to mark off the corners of the kitchen cart on the ceiling and then used masking tape to mark off the perimeter on the ceiling. After that it was much easier to use the stud sensor since I now had several points of reference on the ceiling.
Since I had a kitchen cart instead of a built-in island, I was able to adjust the kitchen cart to line up with the ceiling joists. So in the end it worked out nicely, but took me over two hours.
Tools:
- Step ladder/ladder
- Plumb bob
- Pencil
- 1 inch wide blue masking tape
- Stud sensor
- Straight pick
- Drill
- Drill bit – slightly smaller than pot rack hook
- Ruler
- Tape measure
Instructions:
- Use plumb bob to mark corners of cart/island on ceiling.
- Use masking tape to connect markings on ceiling and establish perimeter.
- Use stud sensor to find joists within perimeter. I knew from talking to the electrician before that my joists run front to back and are spaced 16 inches apart, on center.
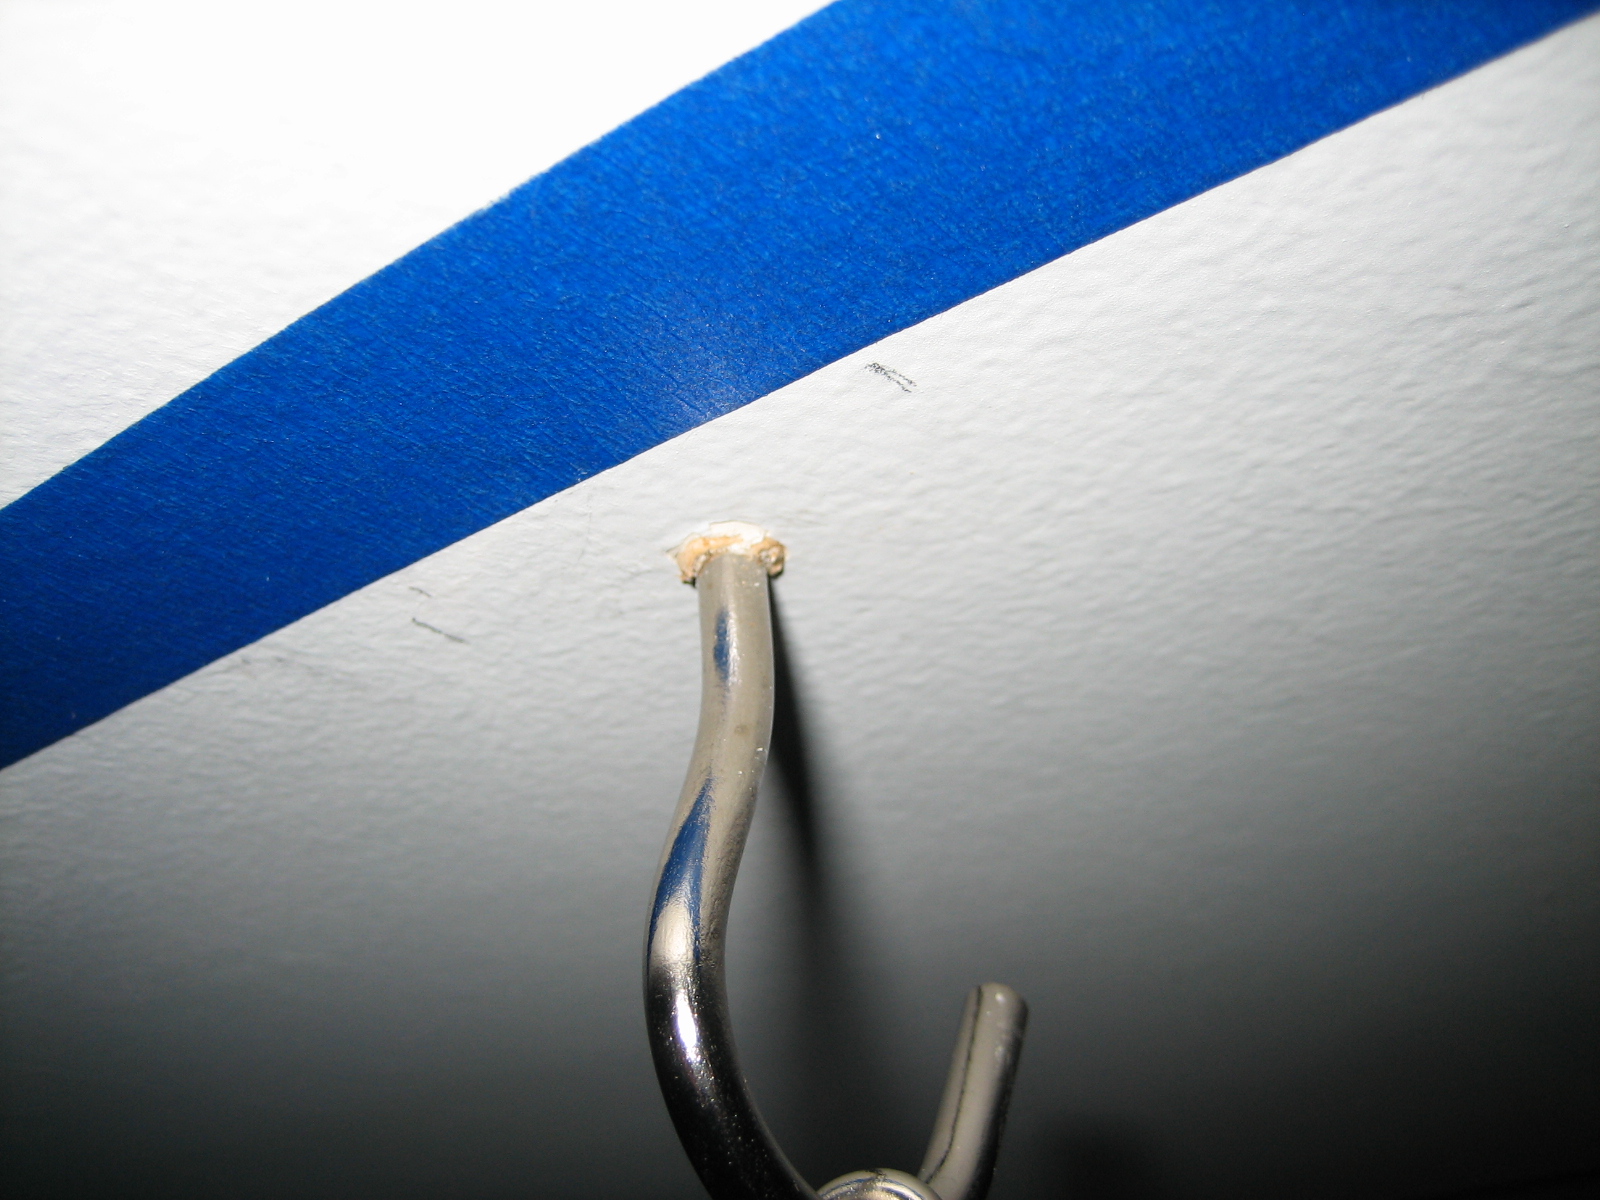
- Use a pencil to mark off the sides of the joists in the area were each hook will go. Note that the hooks don’t need to match up exactly with the holes in the pot rack. Since you’re using a chain to connect the hooks to the pot rack, you have more flexibility. What is important is to space the ceiling hooks evenly, either in a square or rectangle pattern.
- Use the straight pick to poke a hole through the drywall, centering the hole between each set of markings.
- Drill through the holes you've poked.
- If you hit ceiling joists in all the holes (you should if you've used the stud sensor correctly), proceed by screwing in the ceiling hooks until they are firmly in place.
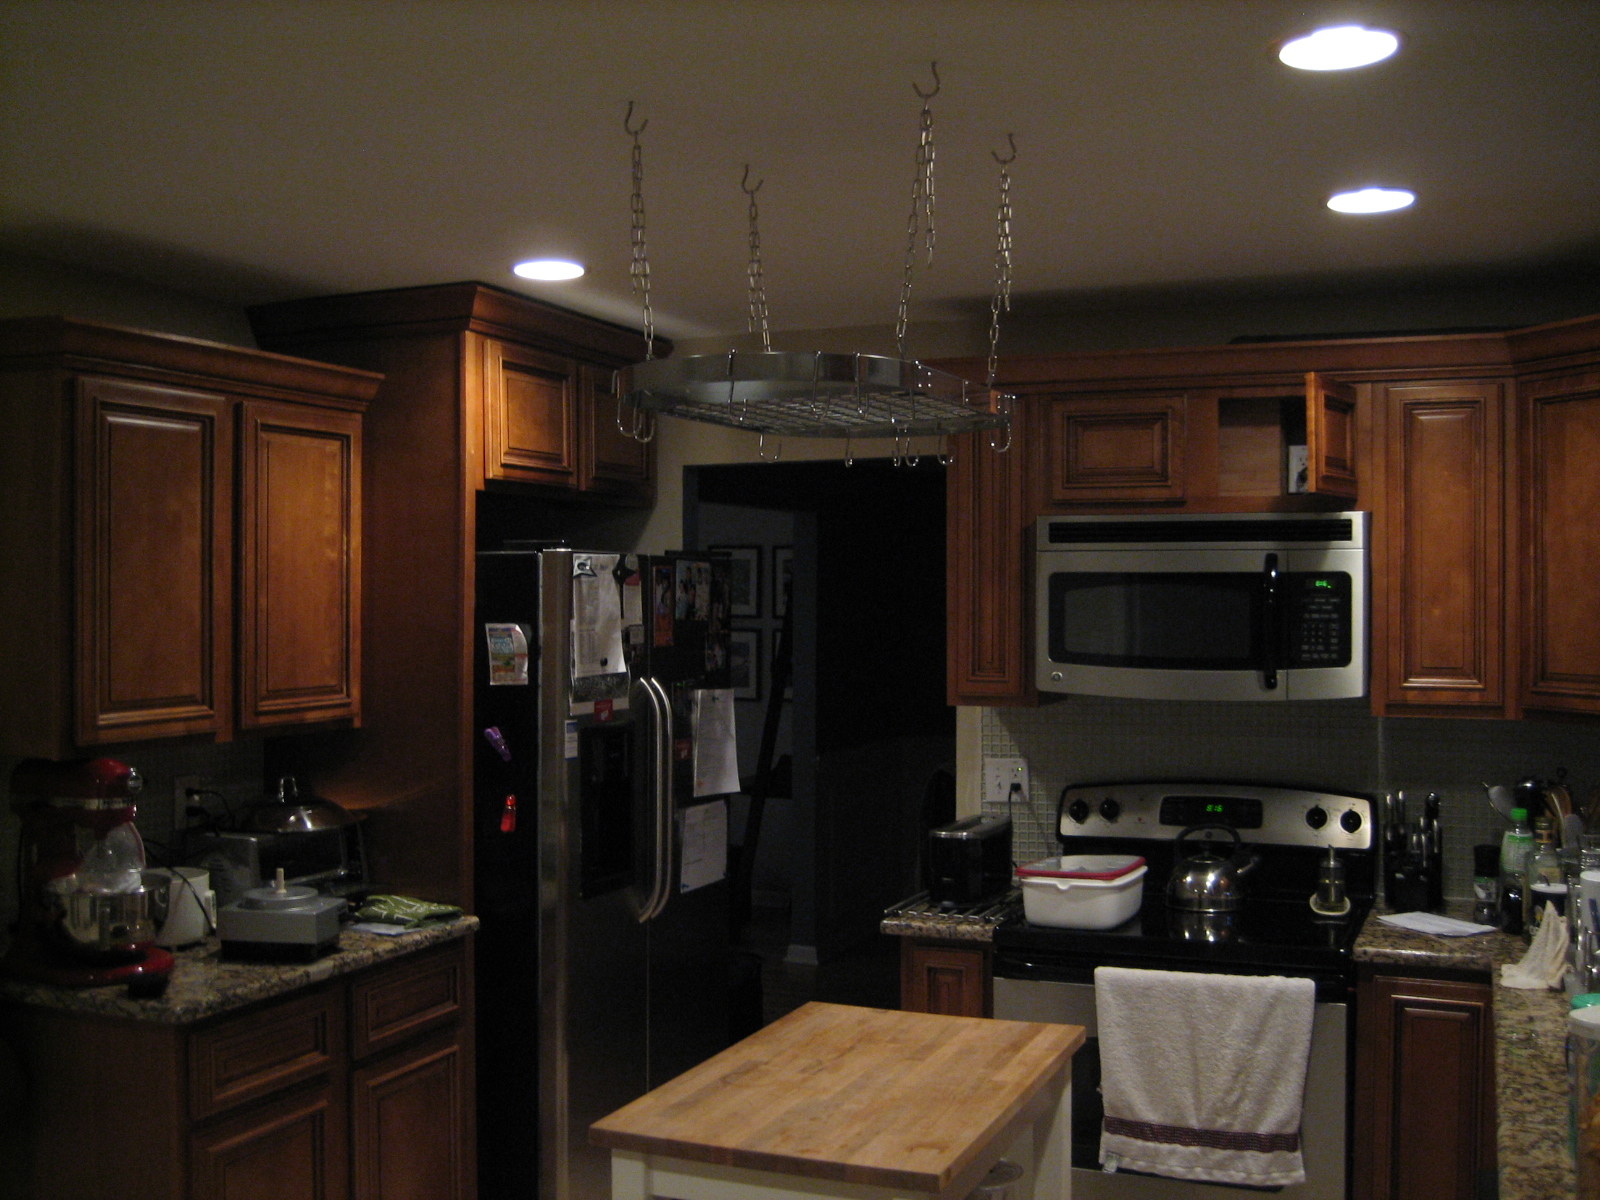
- Adjust the chain and hook the pot rack up to the ceiling.
-
- Mark off the ceiling with masking tape
-
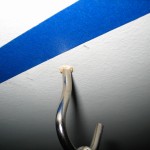
- Mark the sides of the studs and screw the hook into the center
-
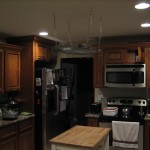
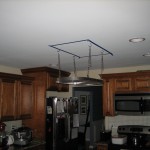
- Completed install
-
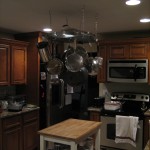
- All ready!

