Creating a Garden and Edging it With EP Henry Coventry Edgestone
2010-08-12 Updated
2010-08-03 Initial Post
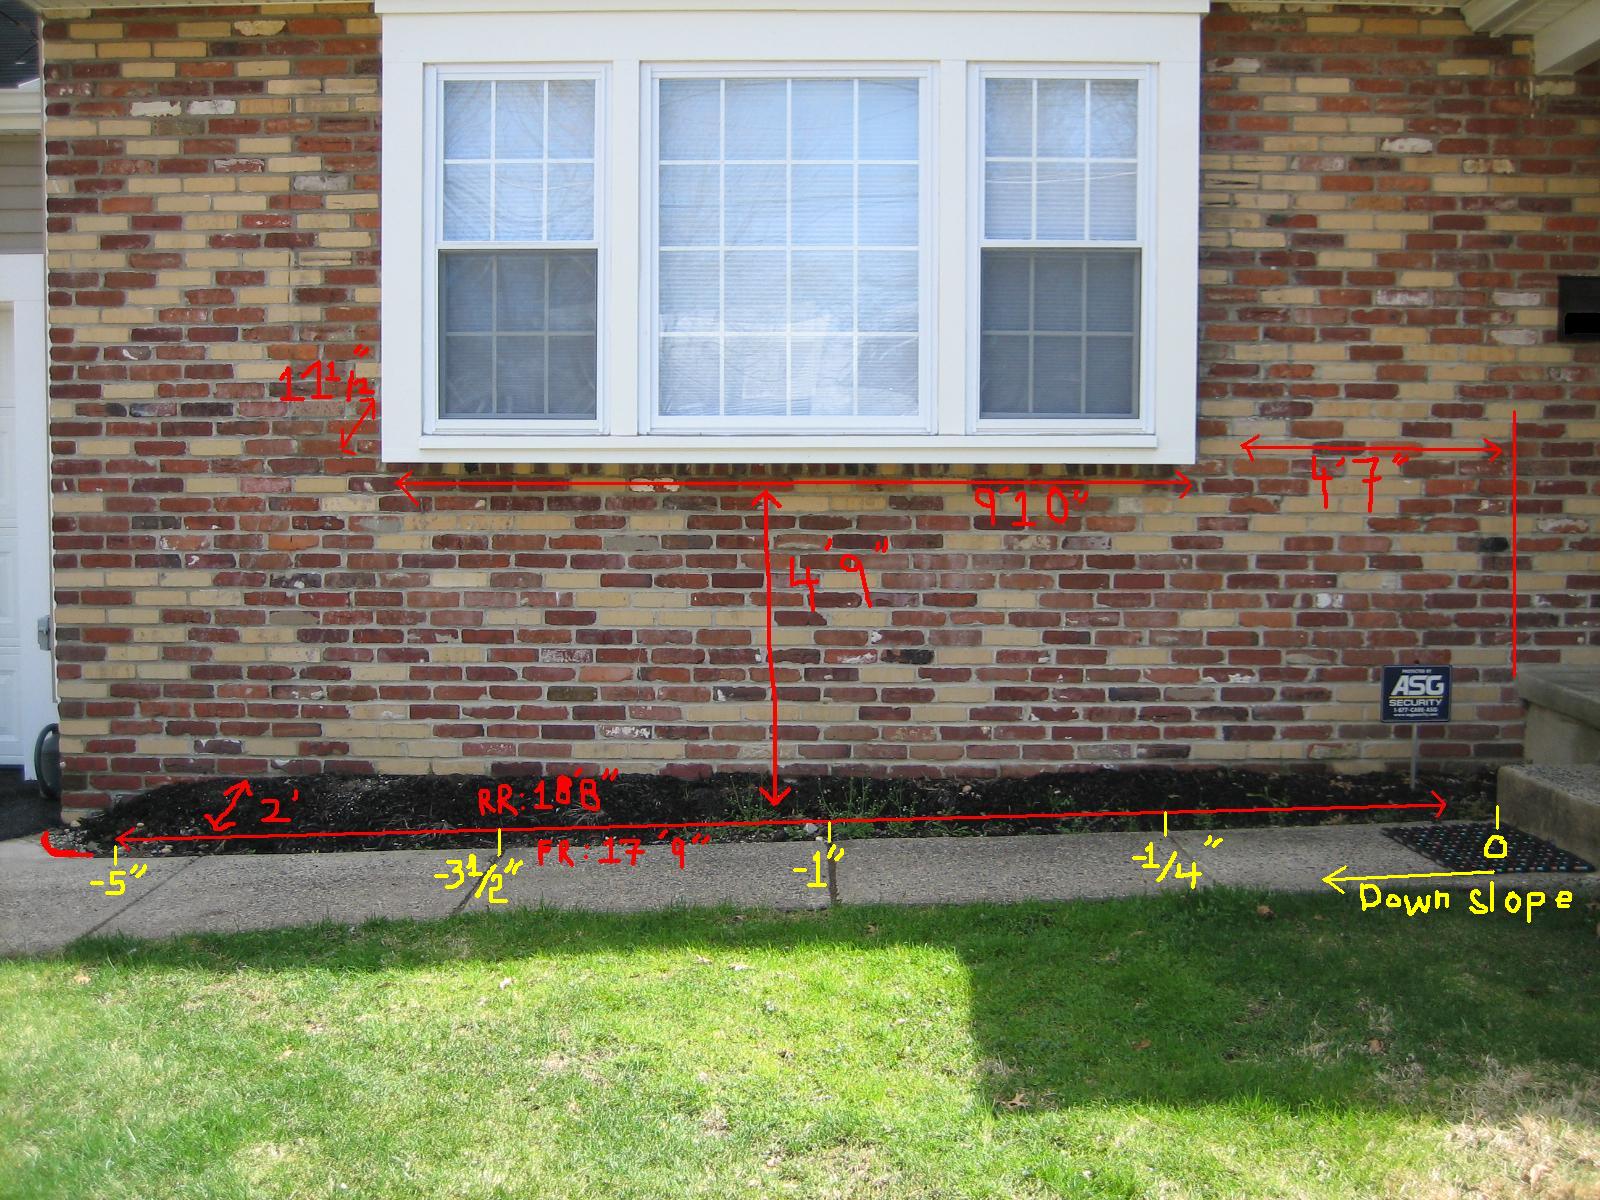
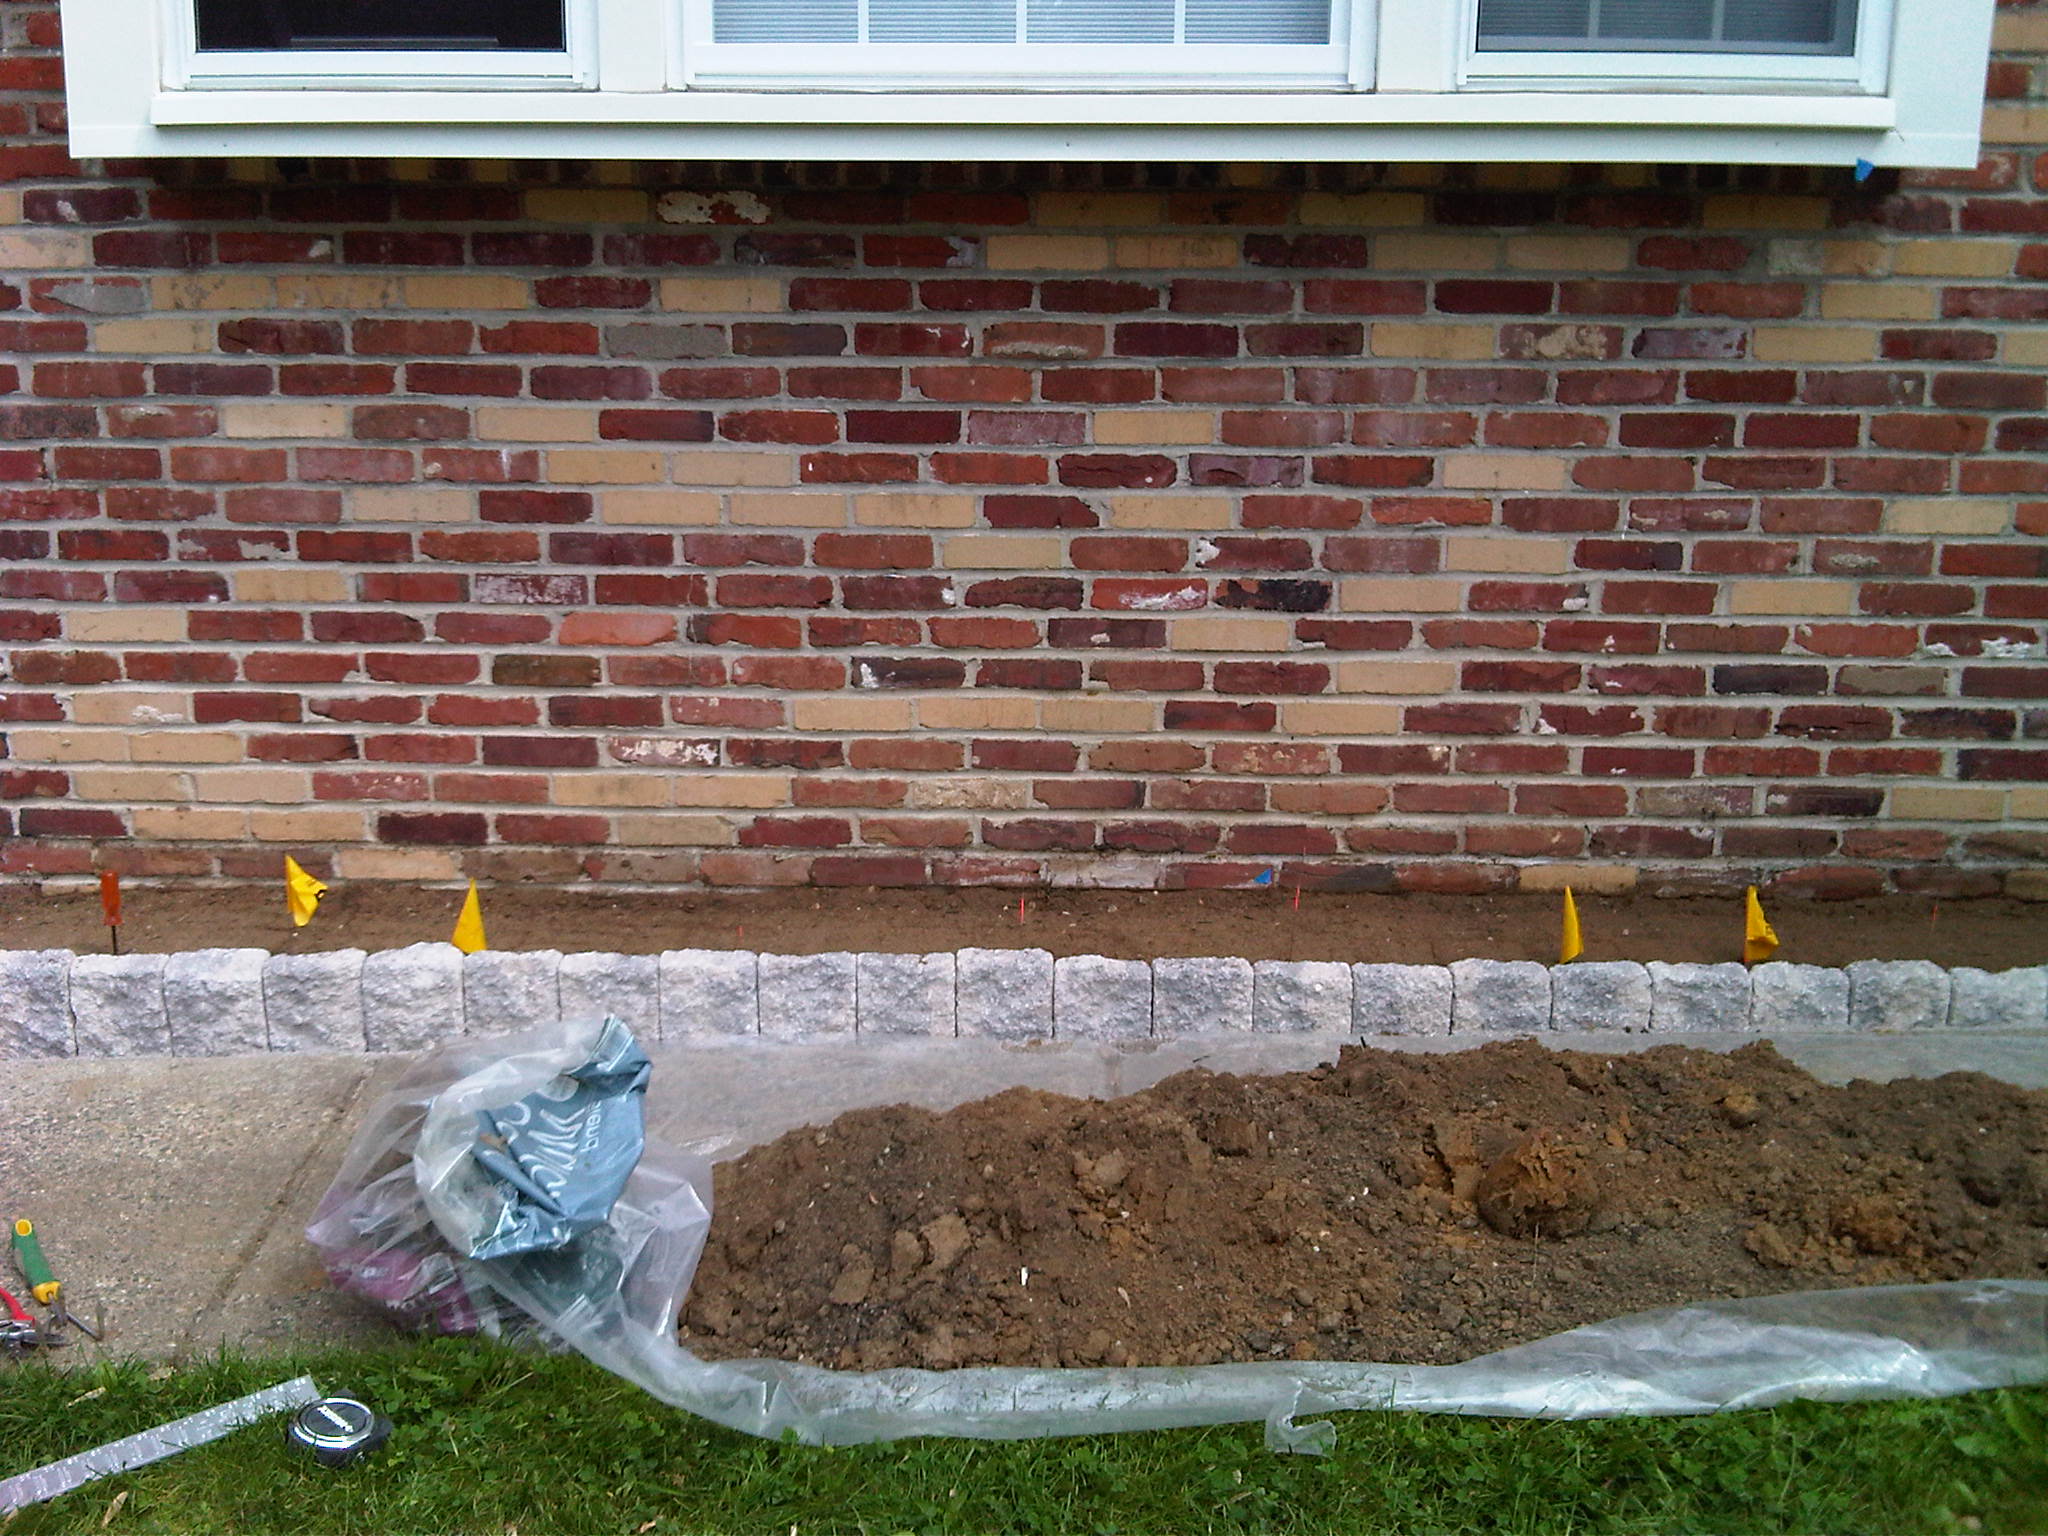
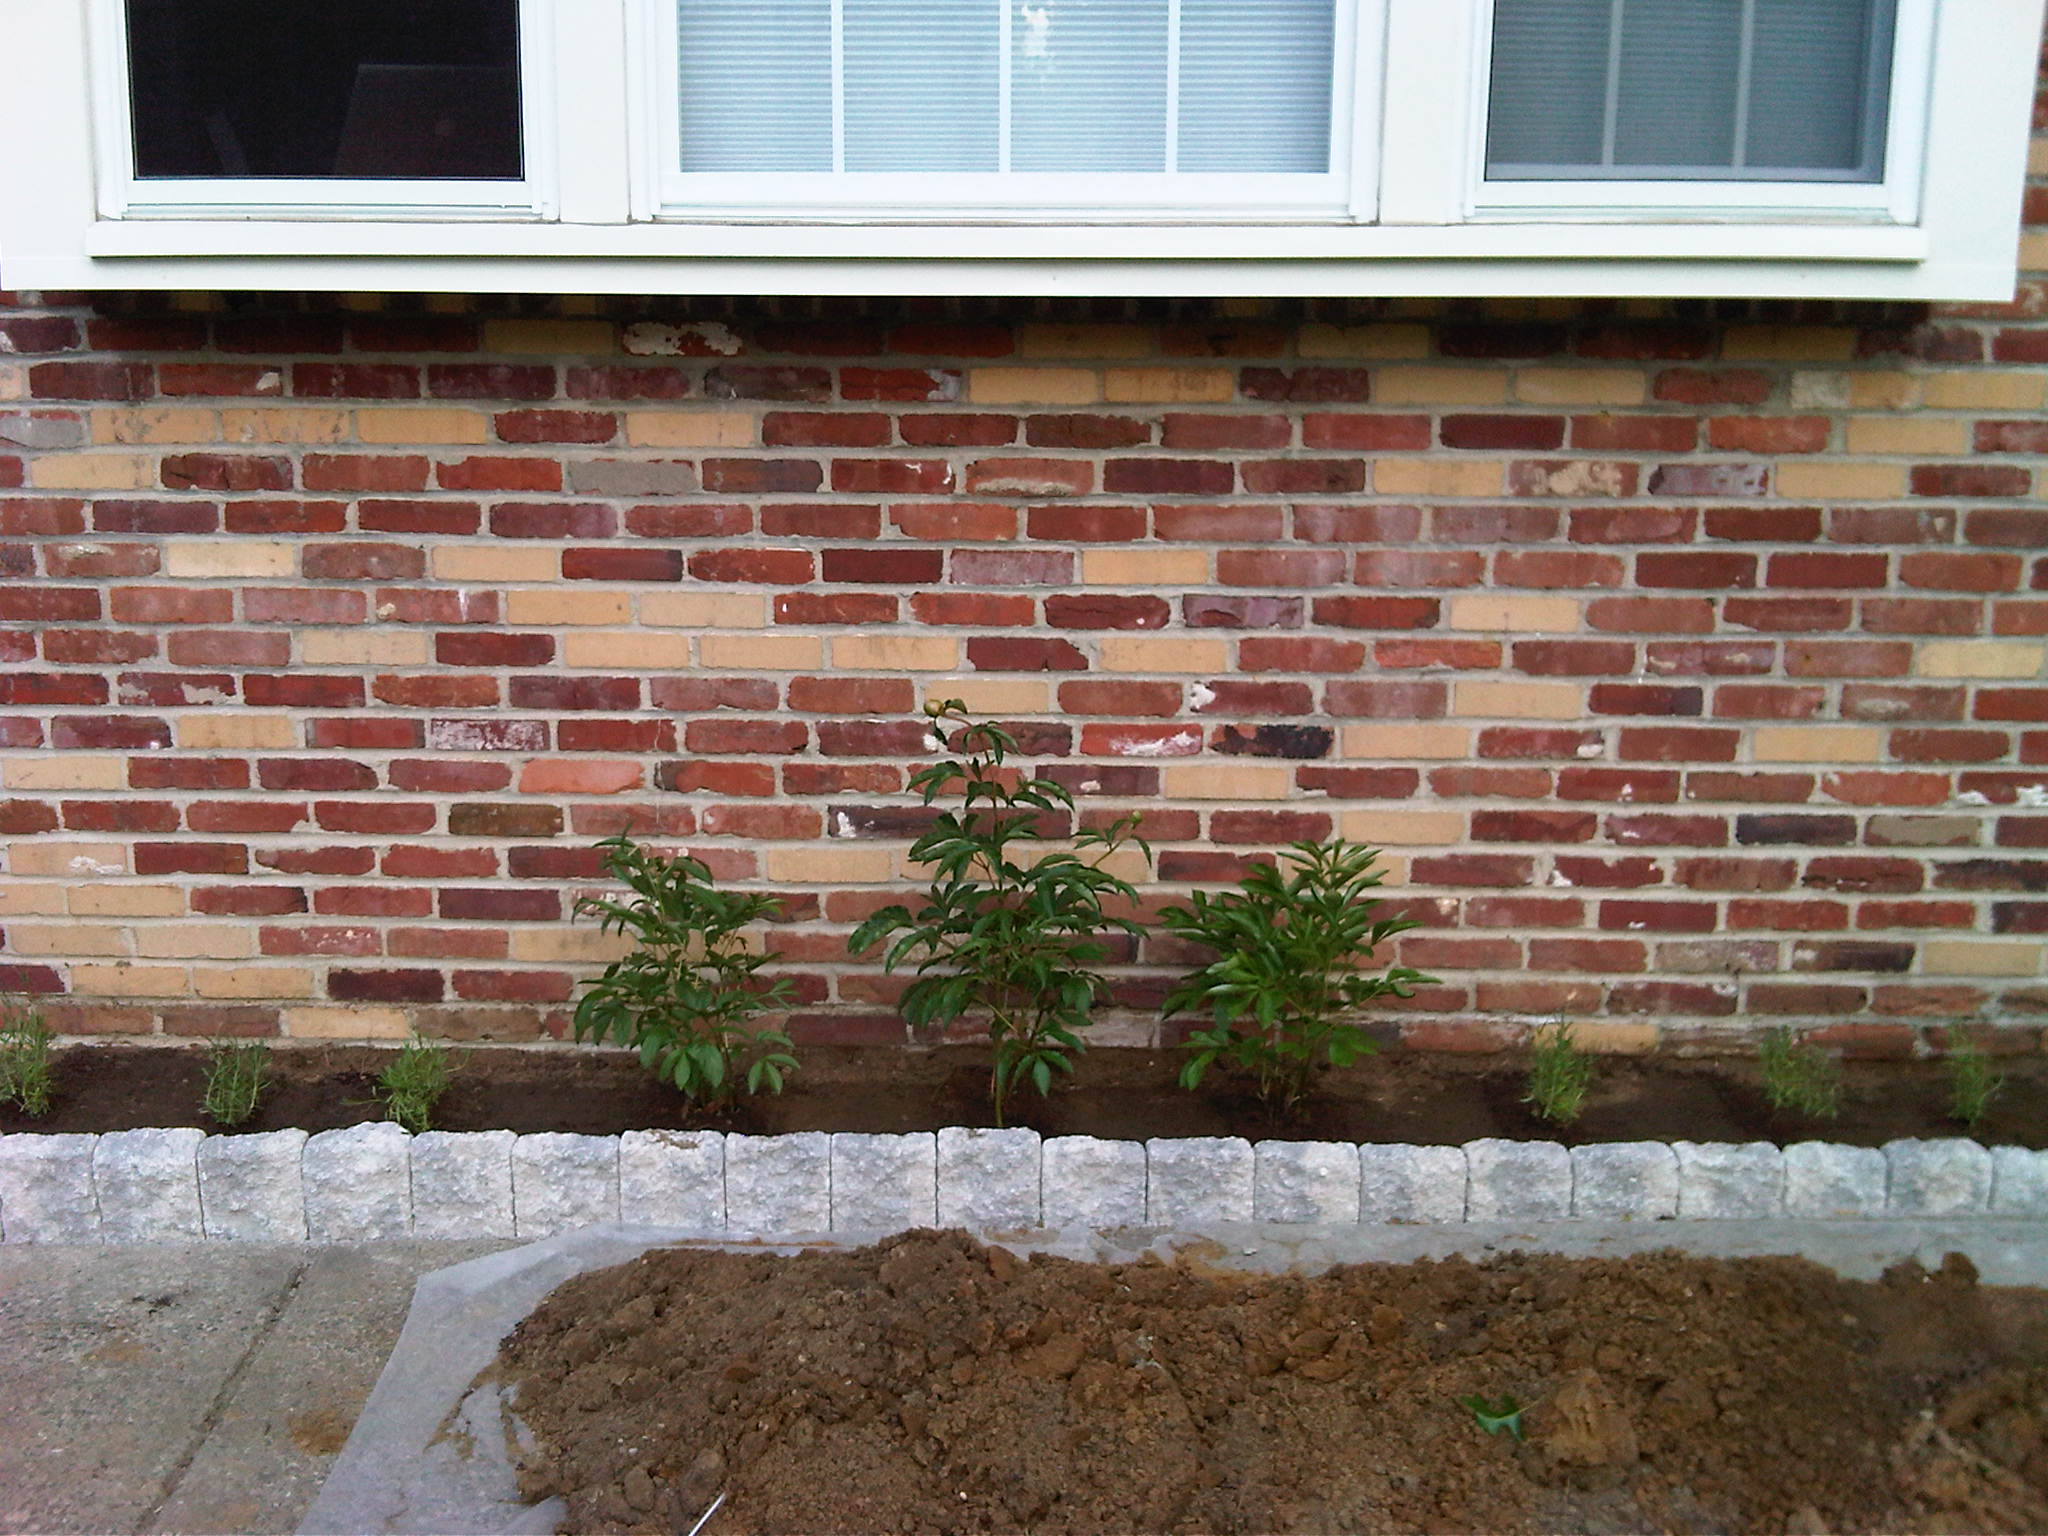
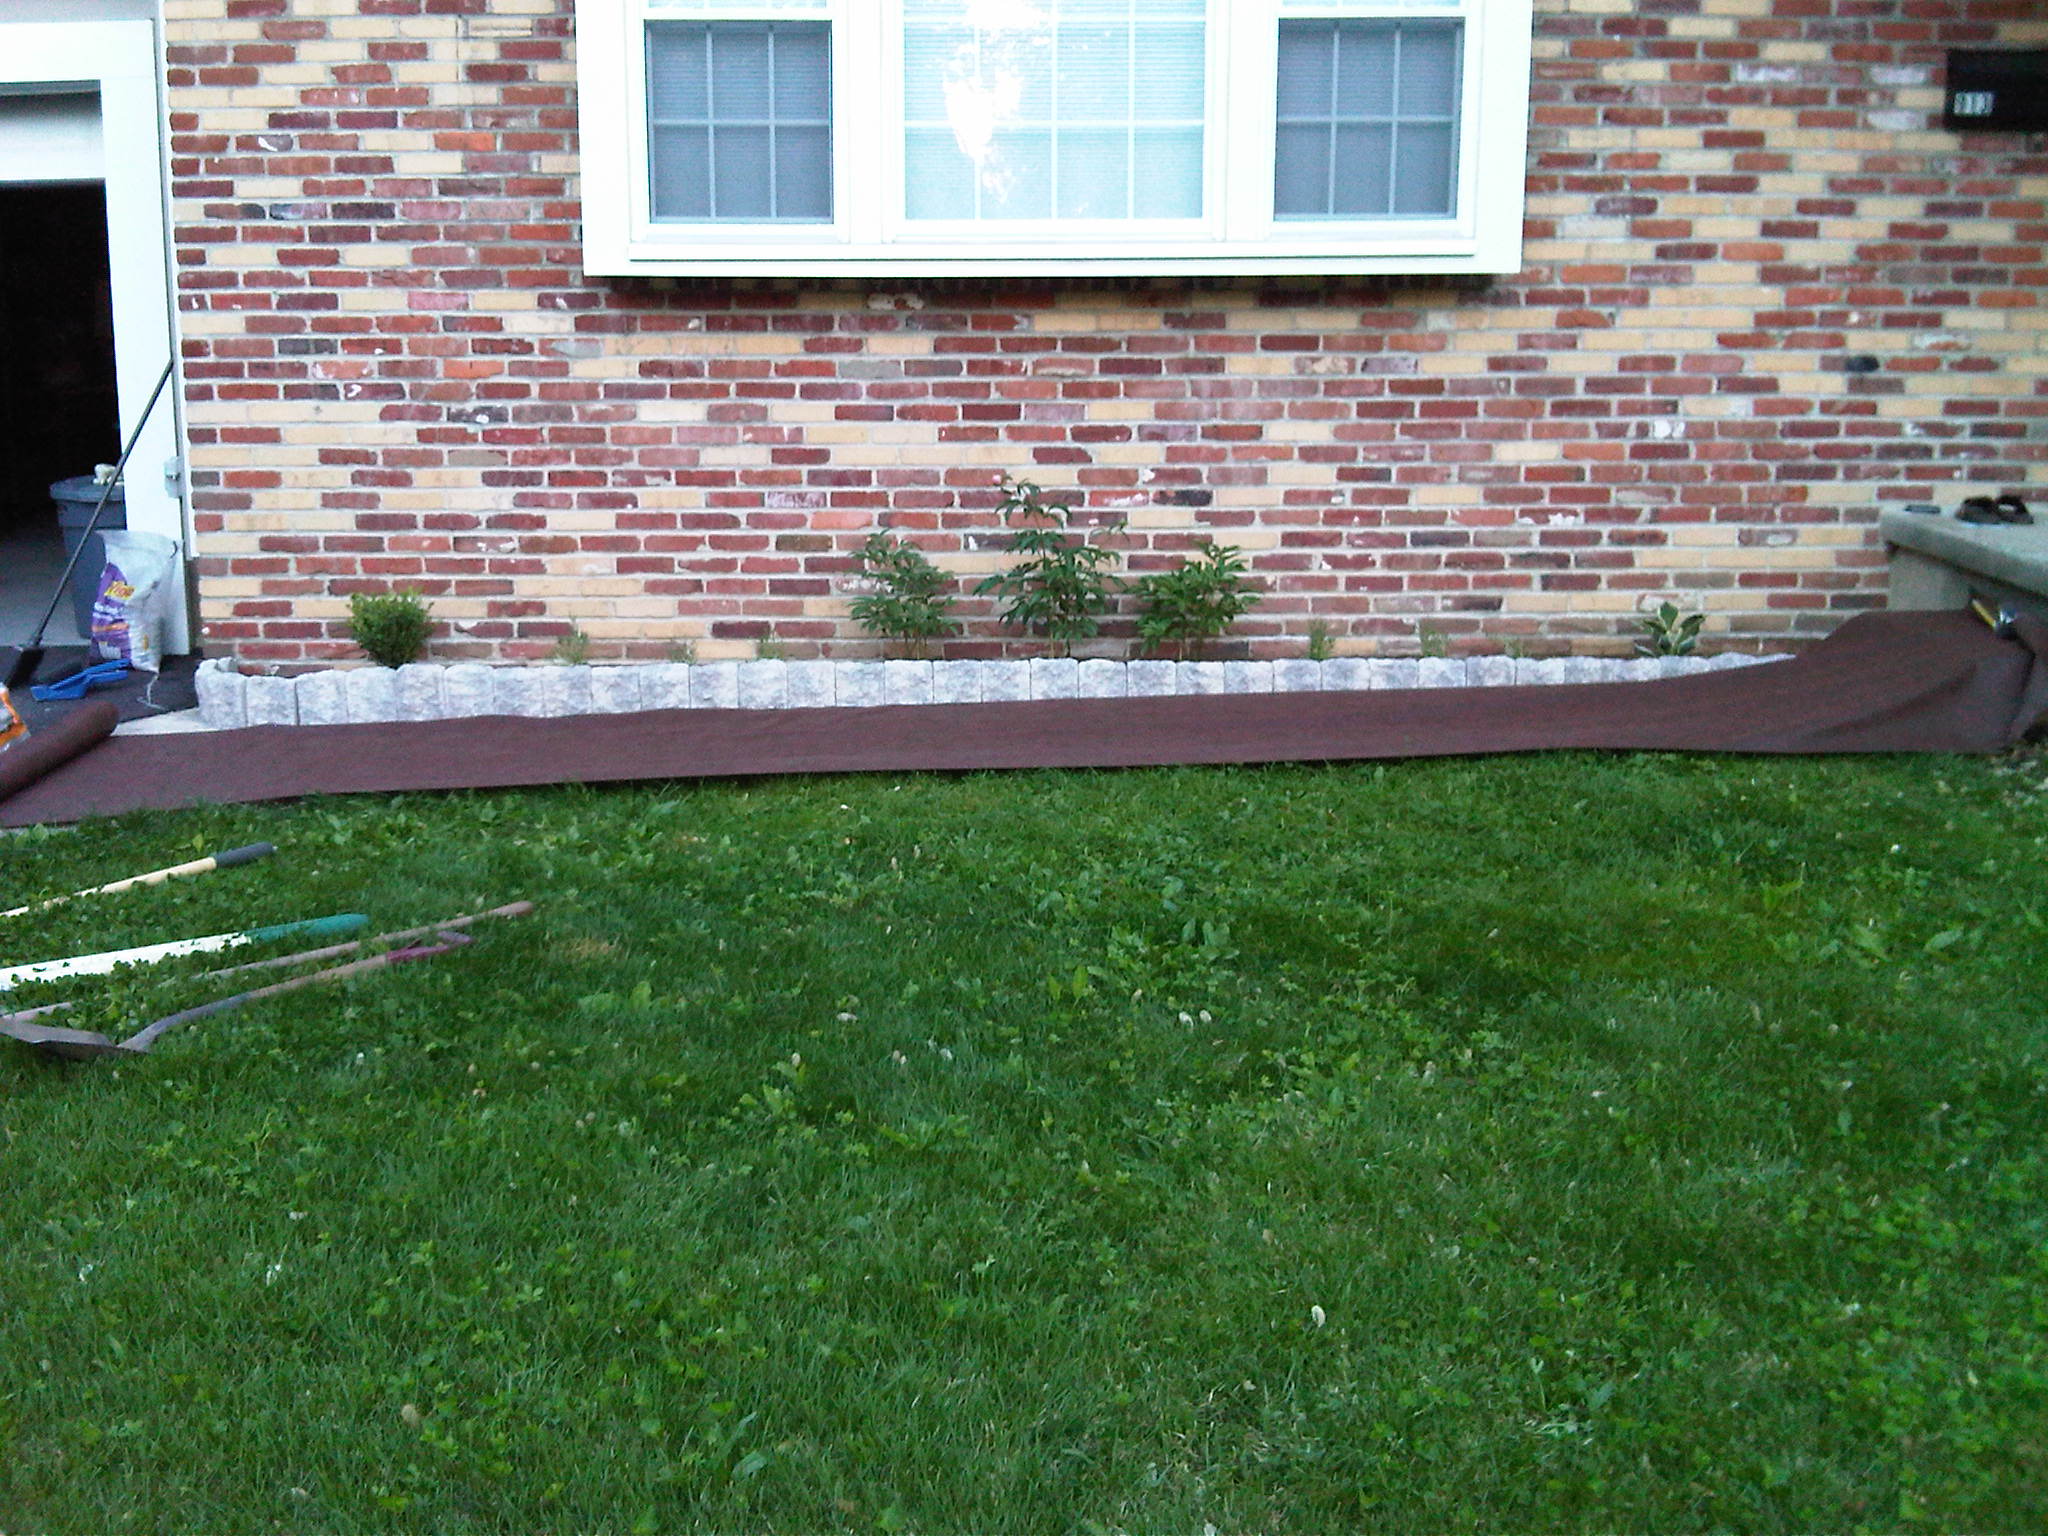
In May of 2010 I cleared out the area between the front walkway and front of my house, edged it, and planted a garden. The area is roughly 2 ft wide x 18 ft long and 2 ft curved on the left side. I used EP Henry Coventry Edgestone for the edging. I got them at a local nursery/landscape supply place. They were $2.34 each, which was more expensive than a few other places that I had called, but this place was less than 10 minutes from my house, so I saved money on gas and travel time.
I chose Edgestone because they're 8 in high and I needed the height in order to bury them deeper (5 in) on the right side to make the finished edging pretty much level. NOTE: EP Henry also makes a product called Curbstone, which looks similar, but it's wider and thicker and is designed for curbing areas around driveways and parking lots.
I couldn't find any good instructions for doing doing this (the instructions from EP Henry were very general), so I'm posting some info here in case other homeowners want to do this themselves. Note that this project took much longer than I had anticipated and was very laborious. The first day I worked on this it was 90 degrees and humid, so that really took its toll on me. I thought I'd be able to finish everything in one weekend, but it took a few days during the week also. I should have split the planting off as a separate project--it's just too much to try to do everything together.
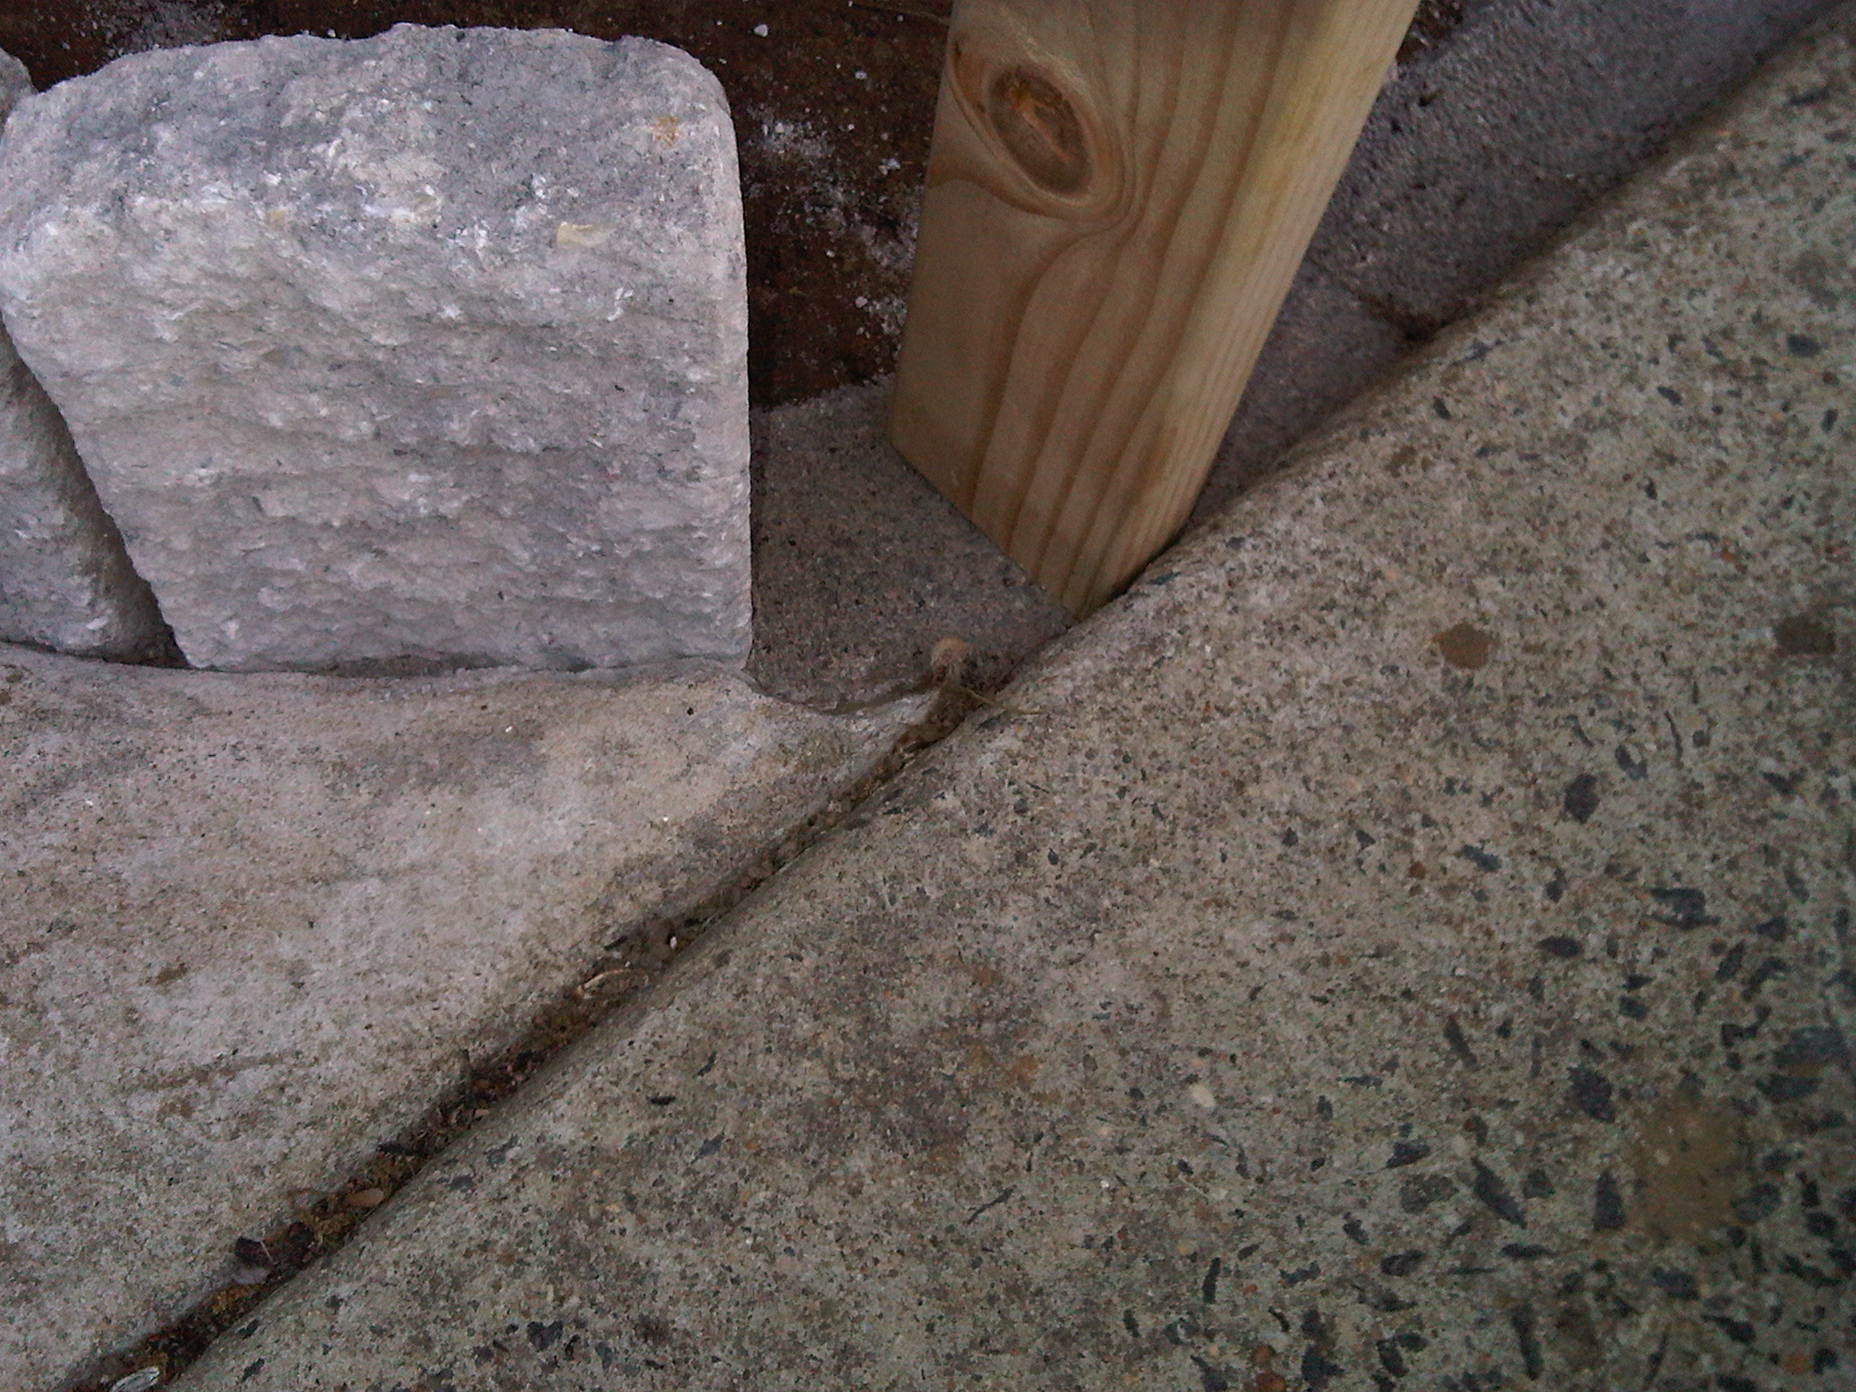
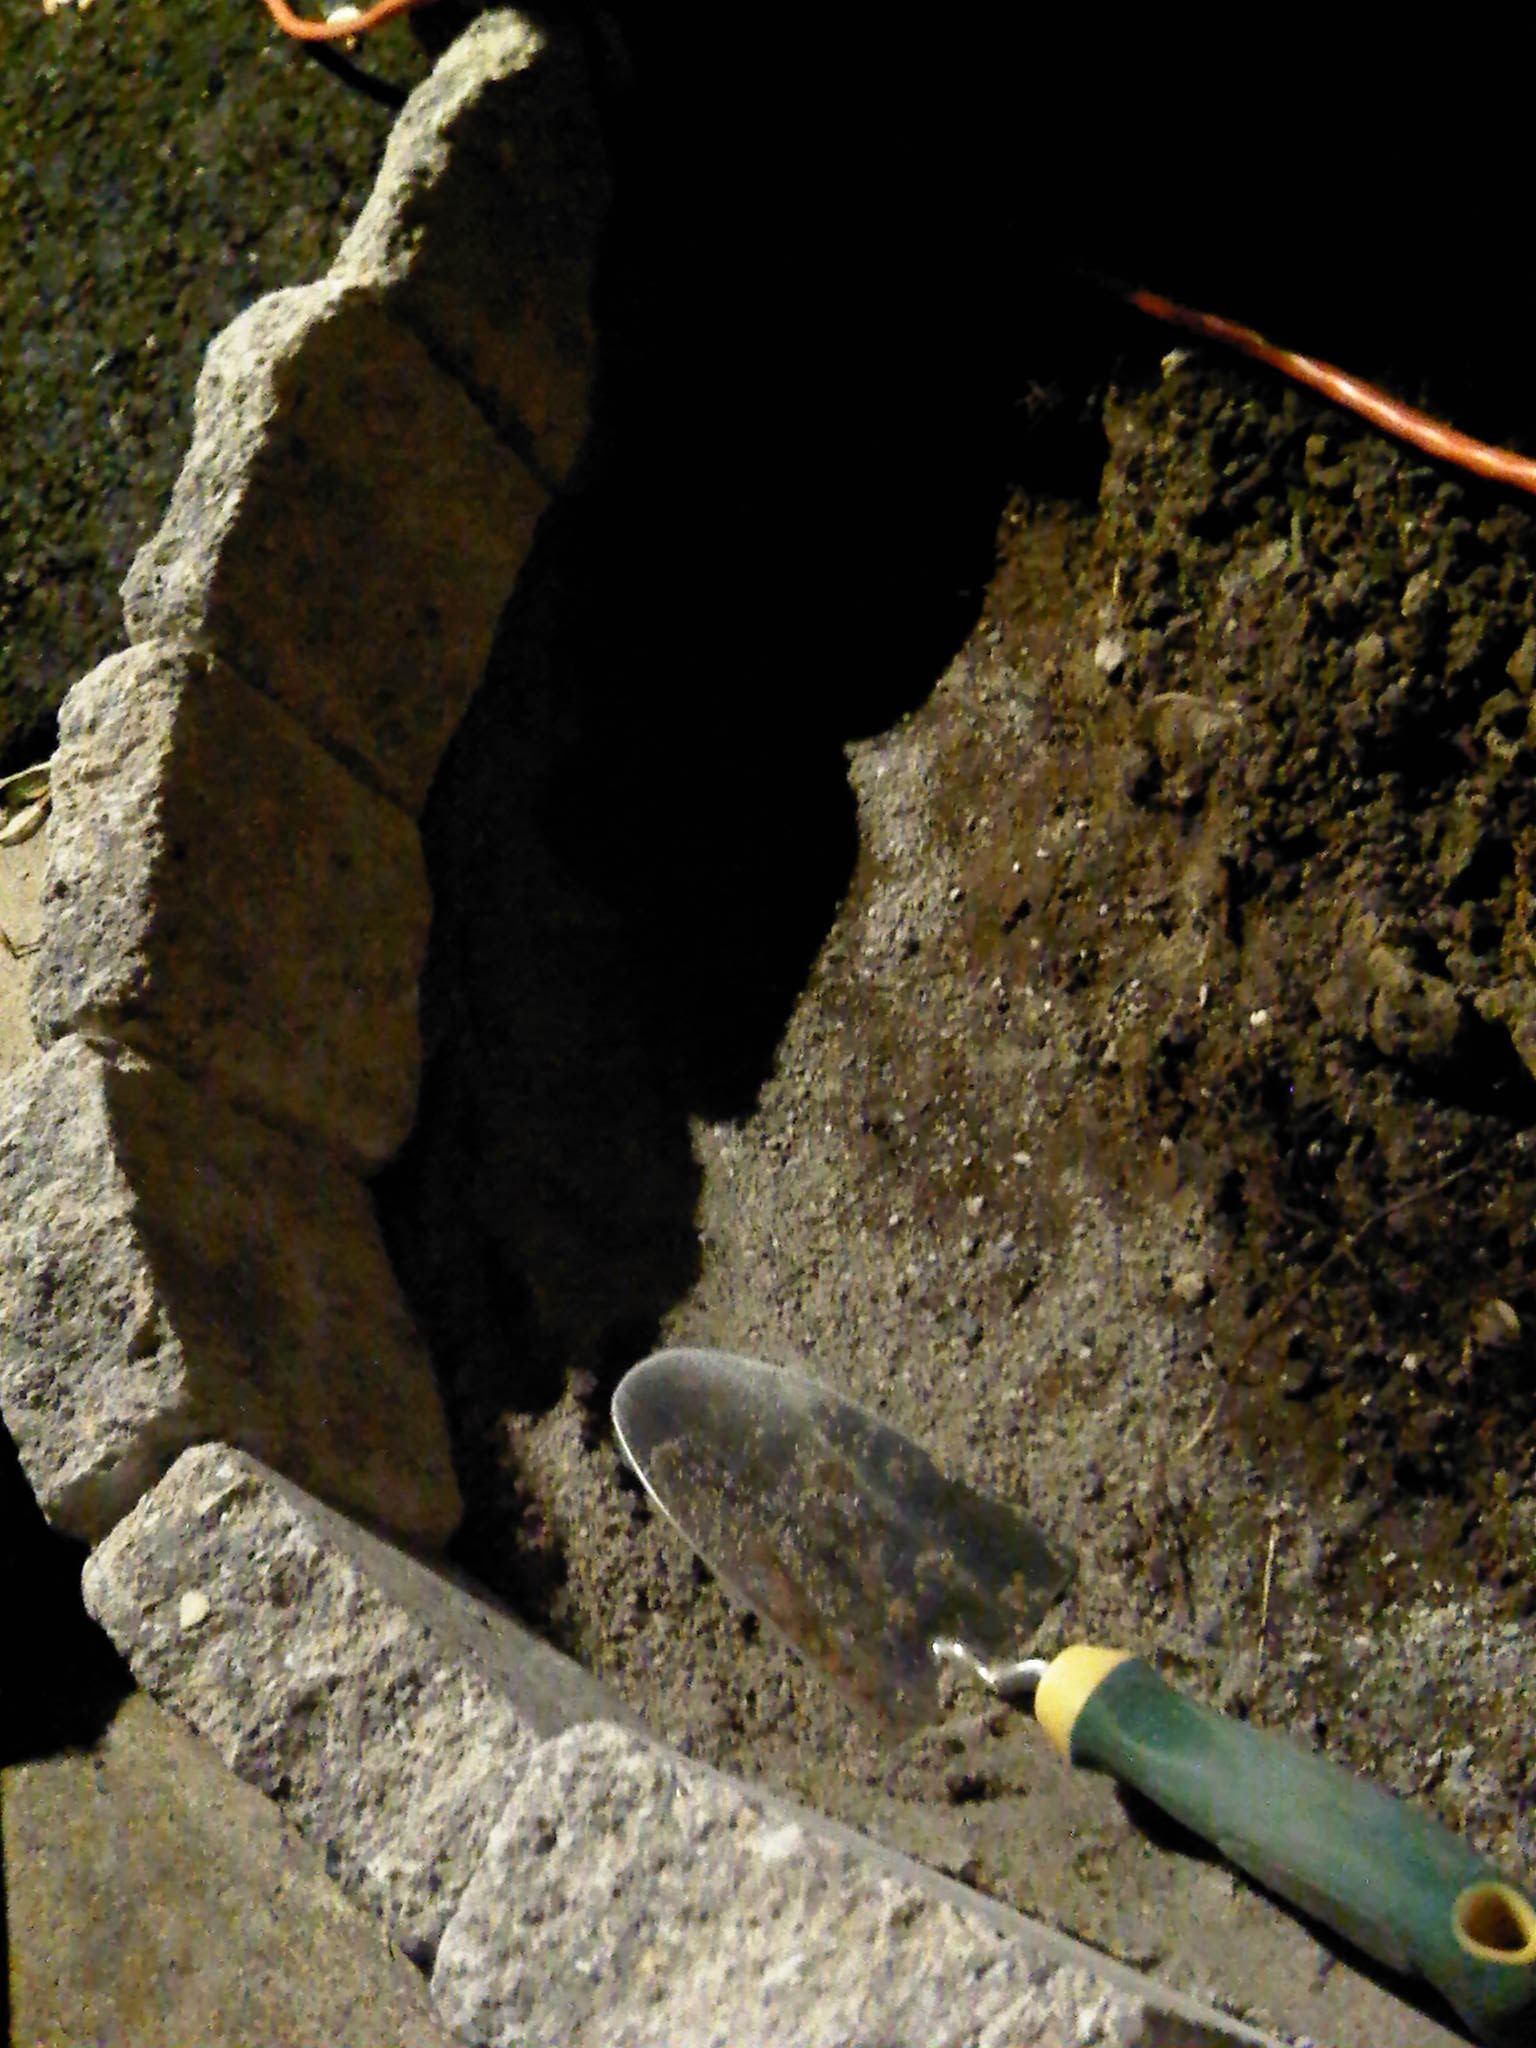
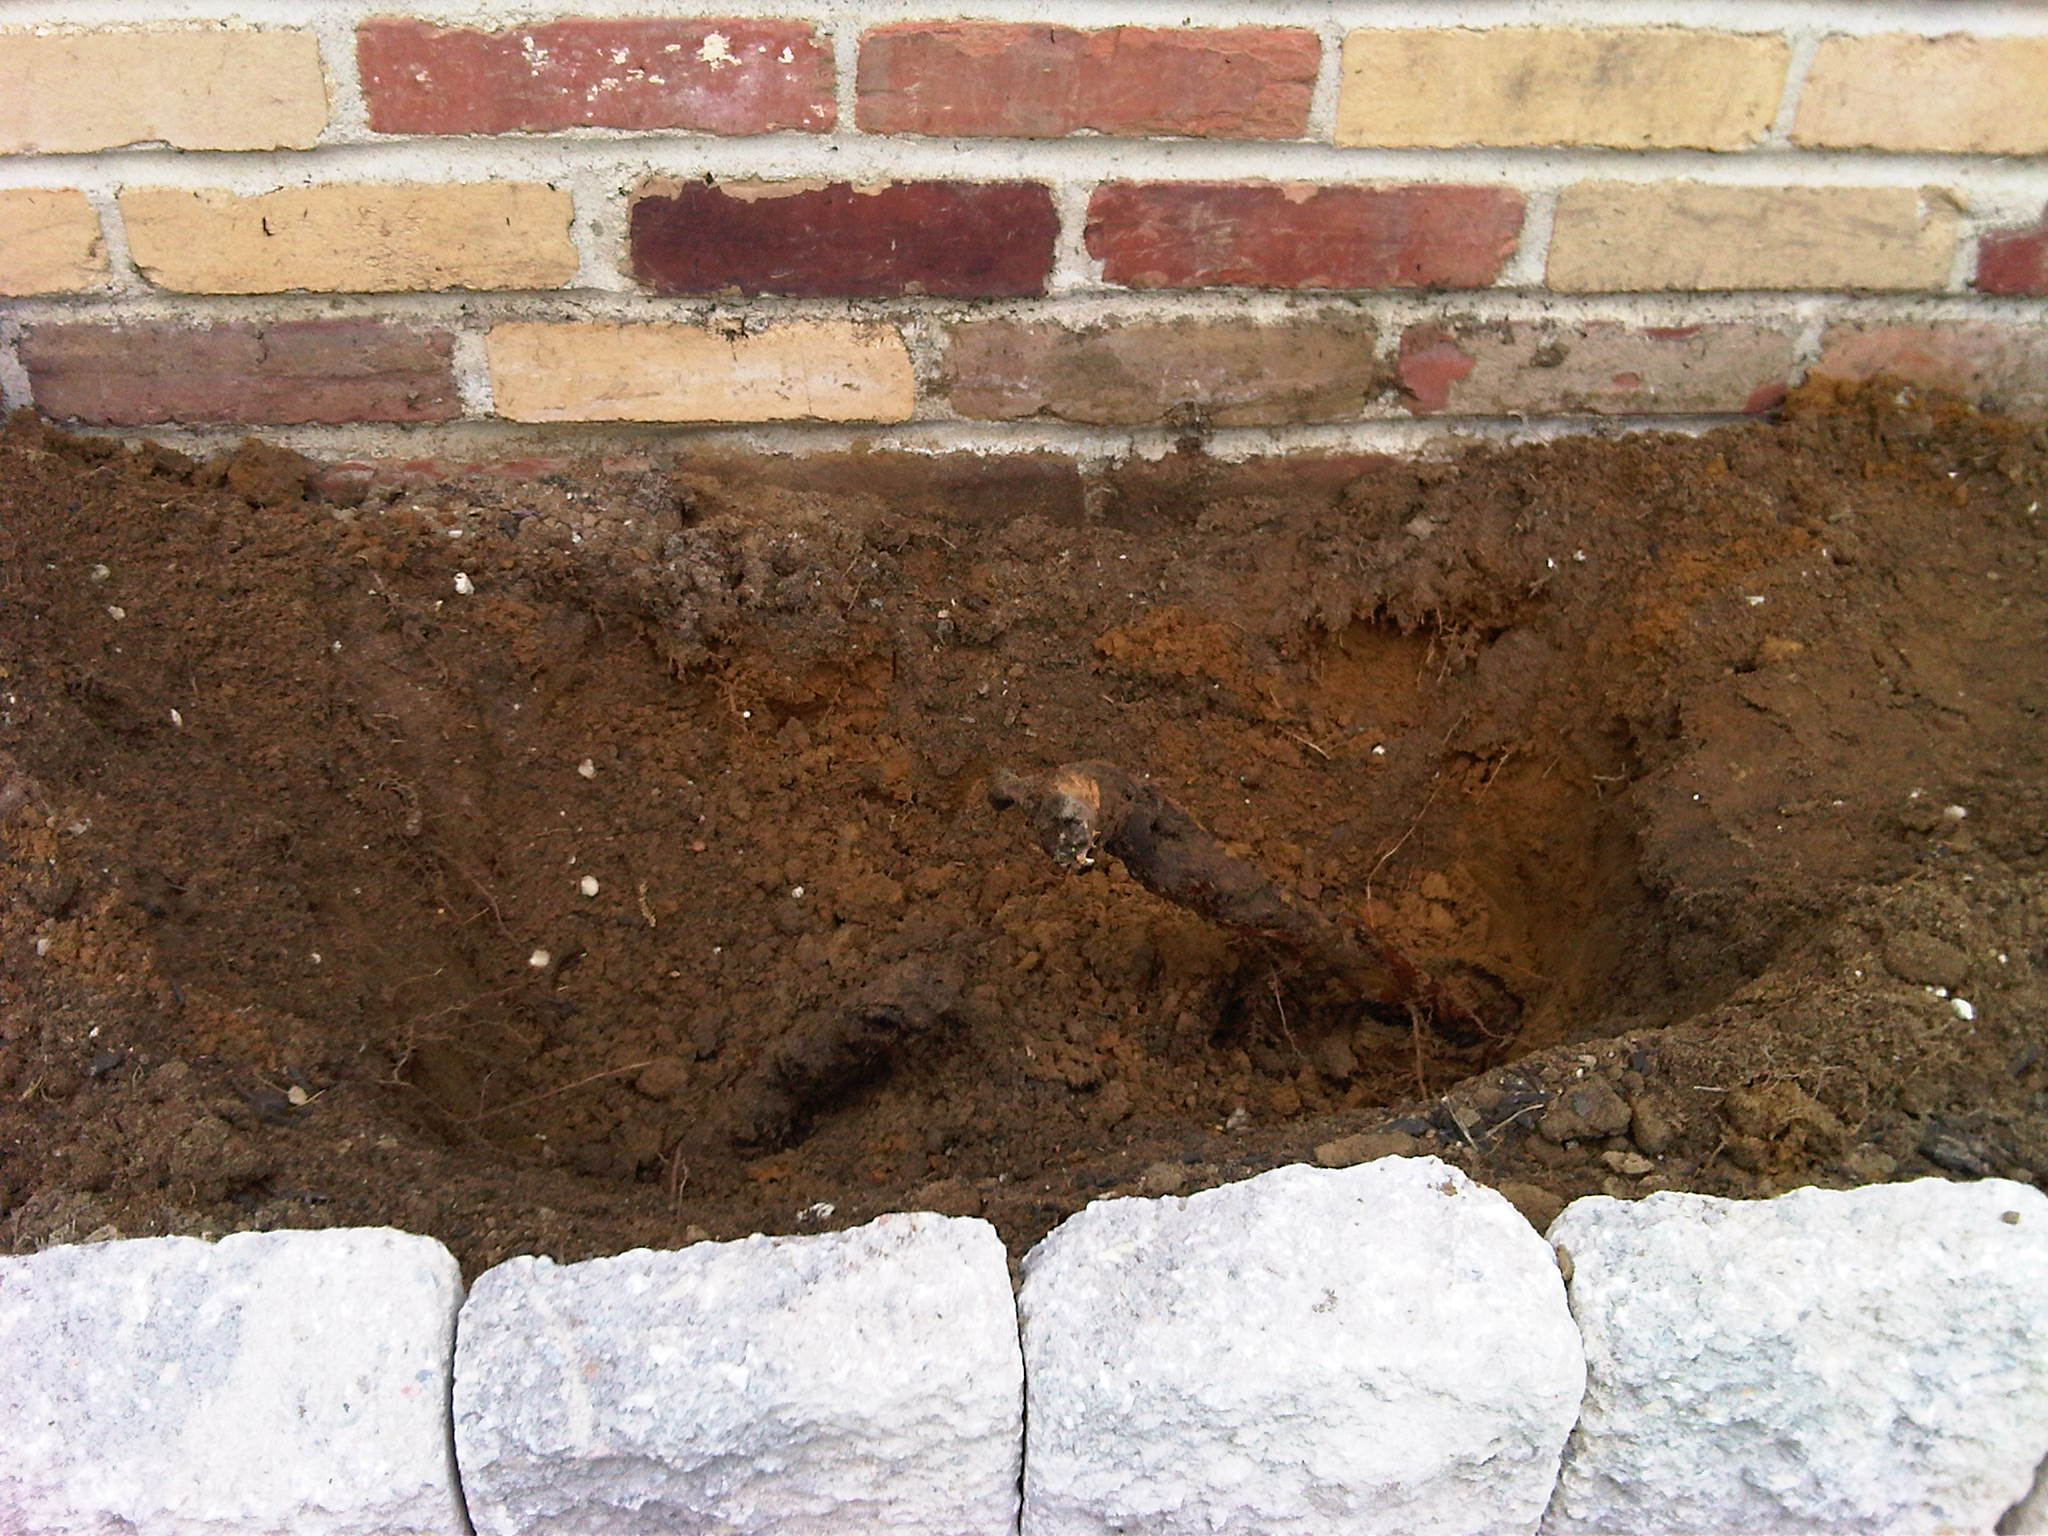
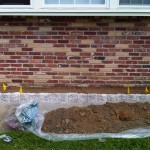
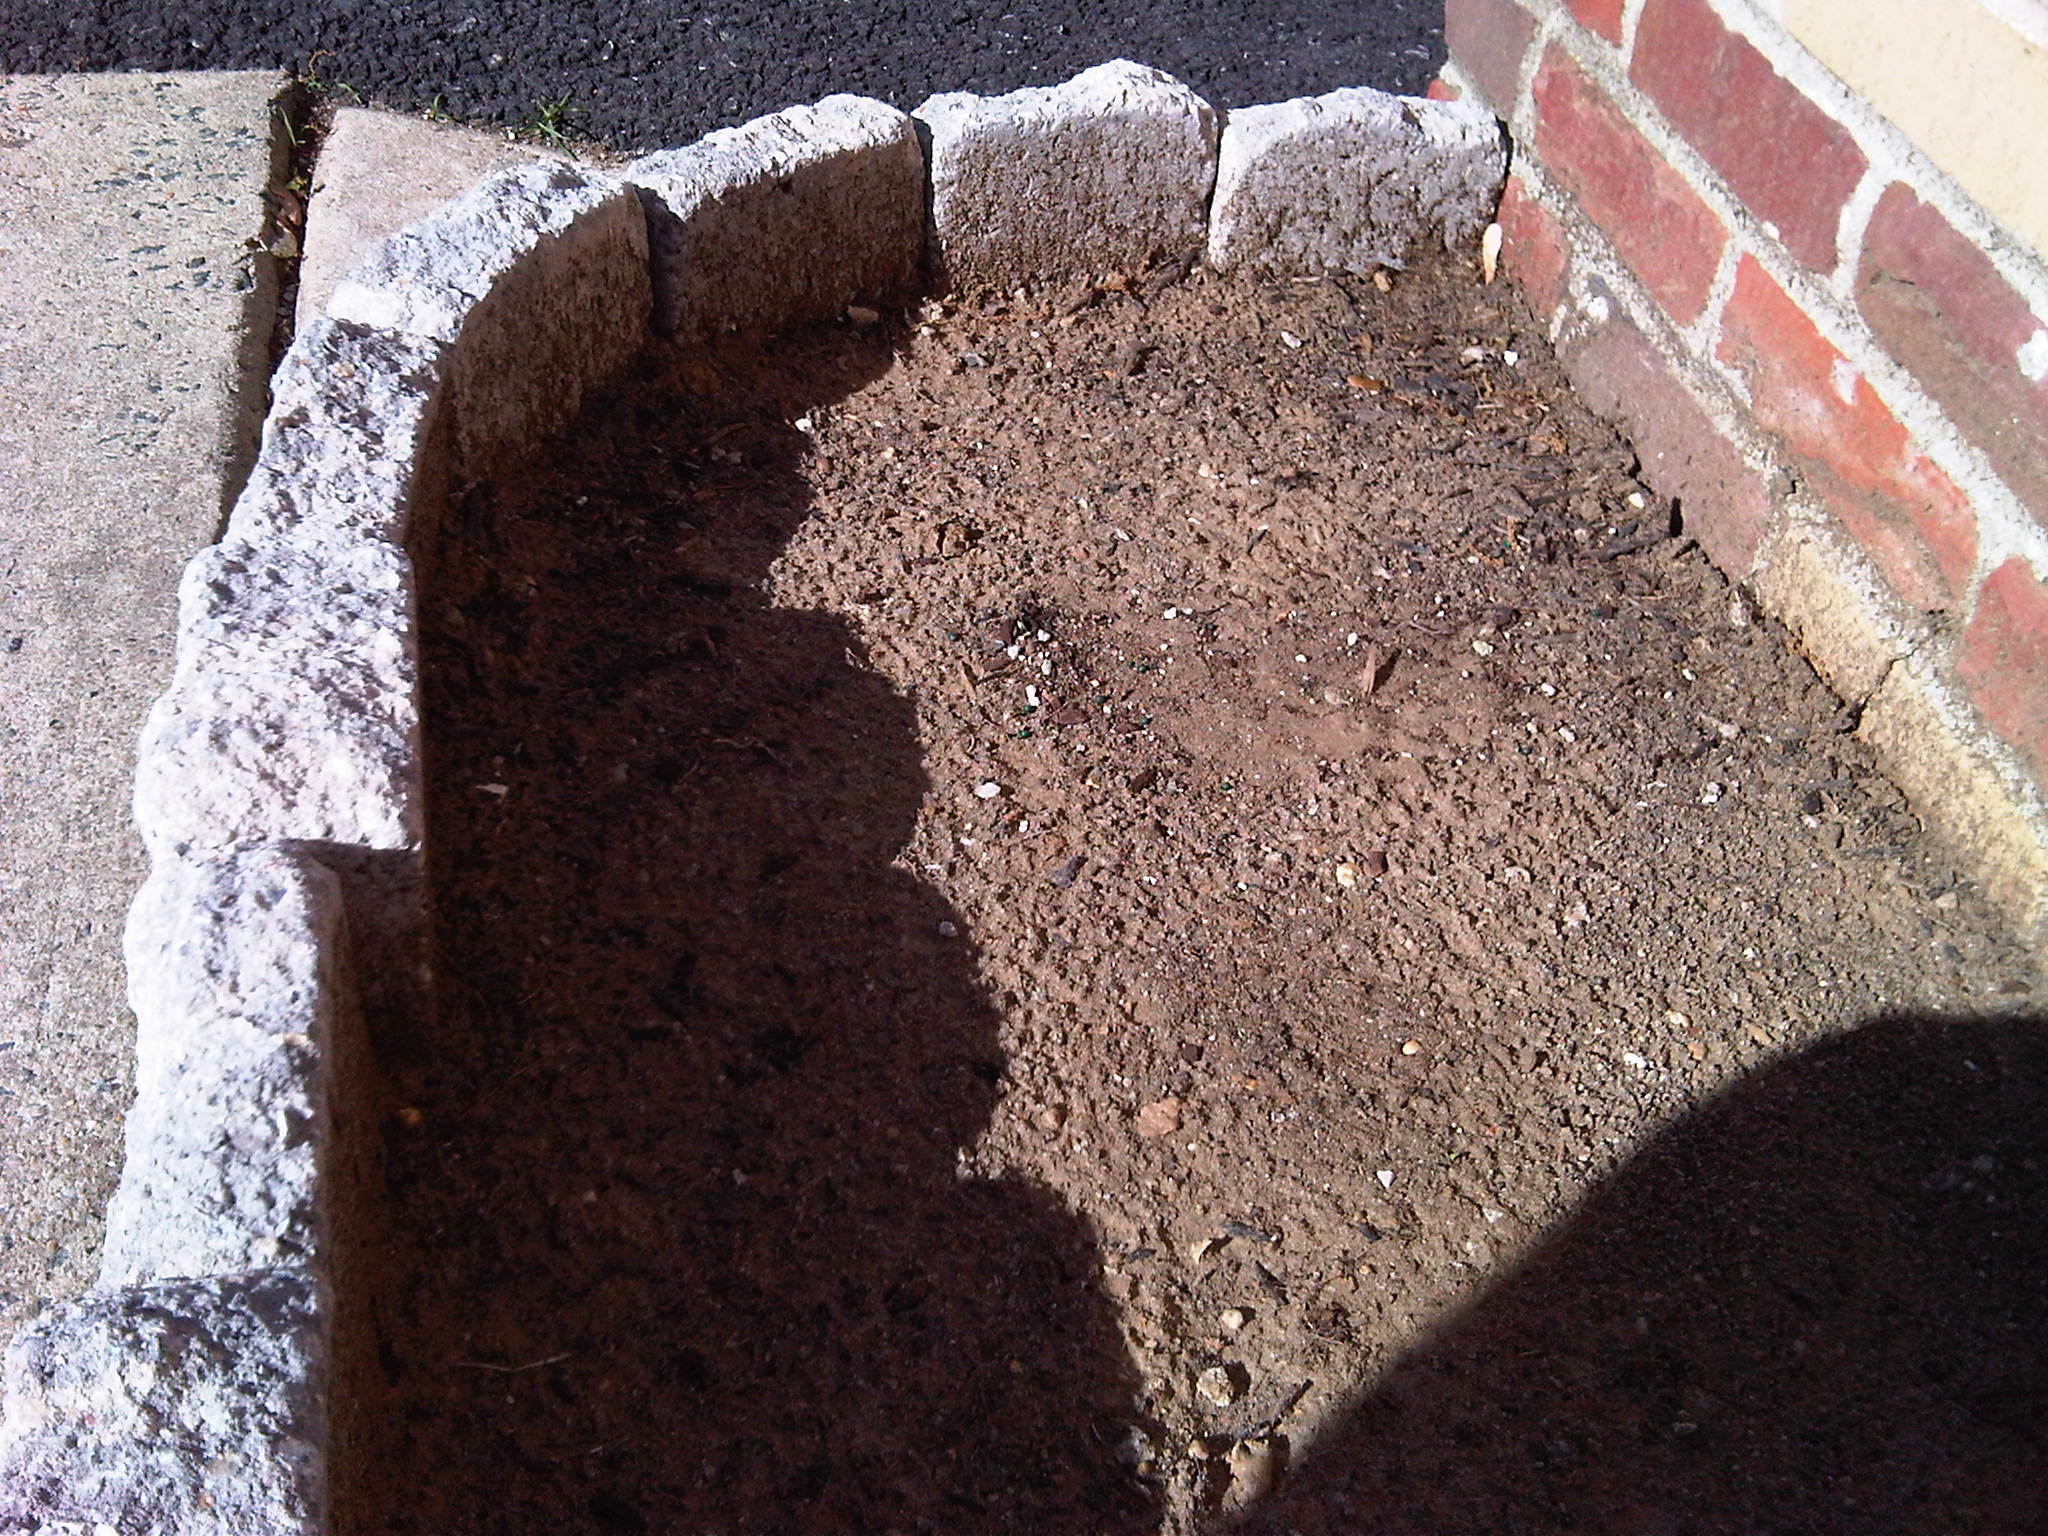
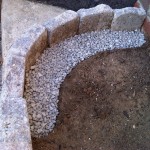
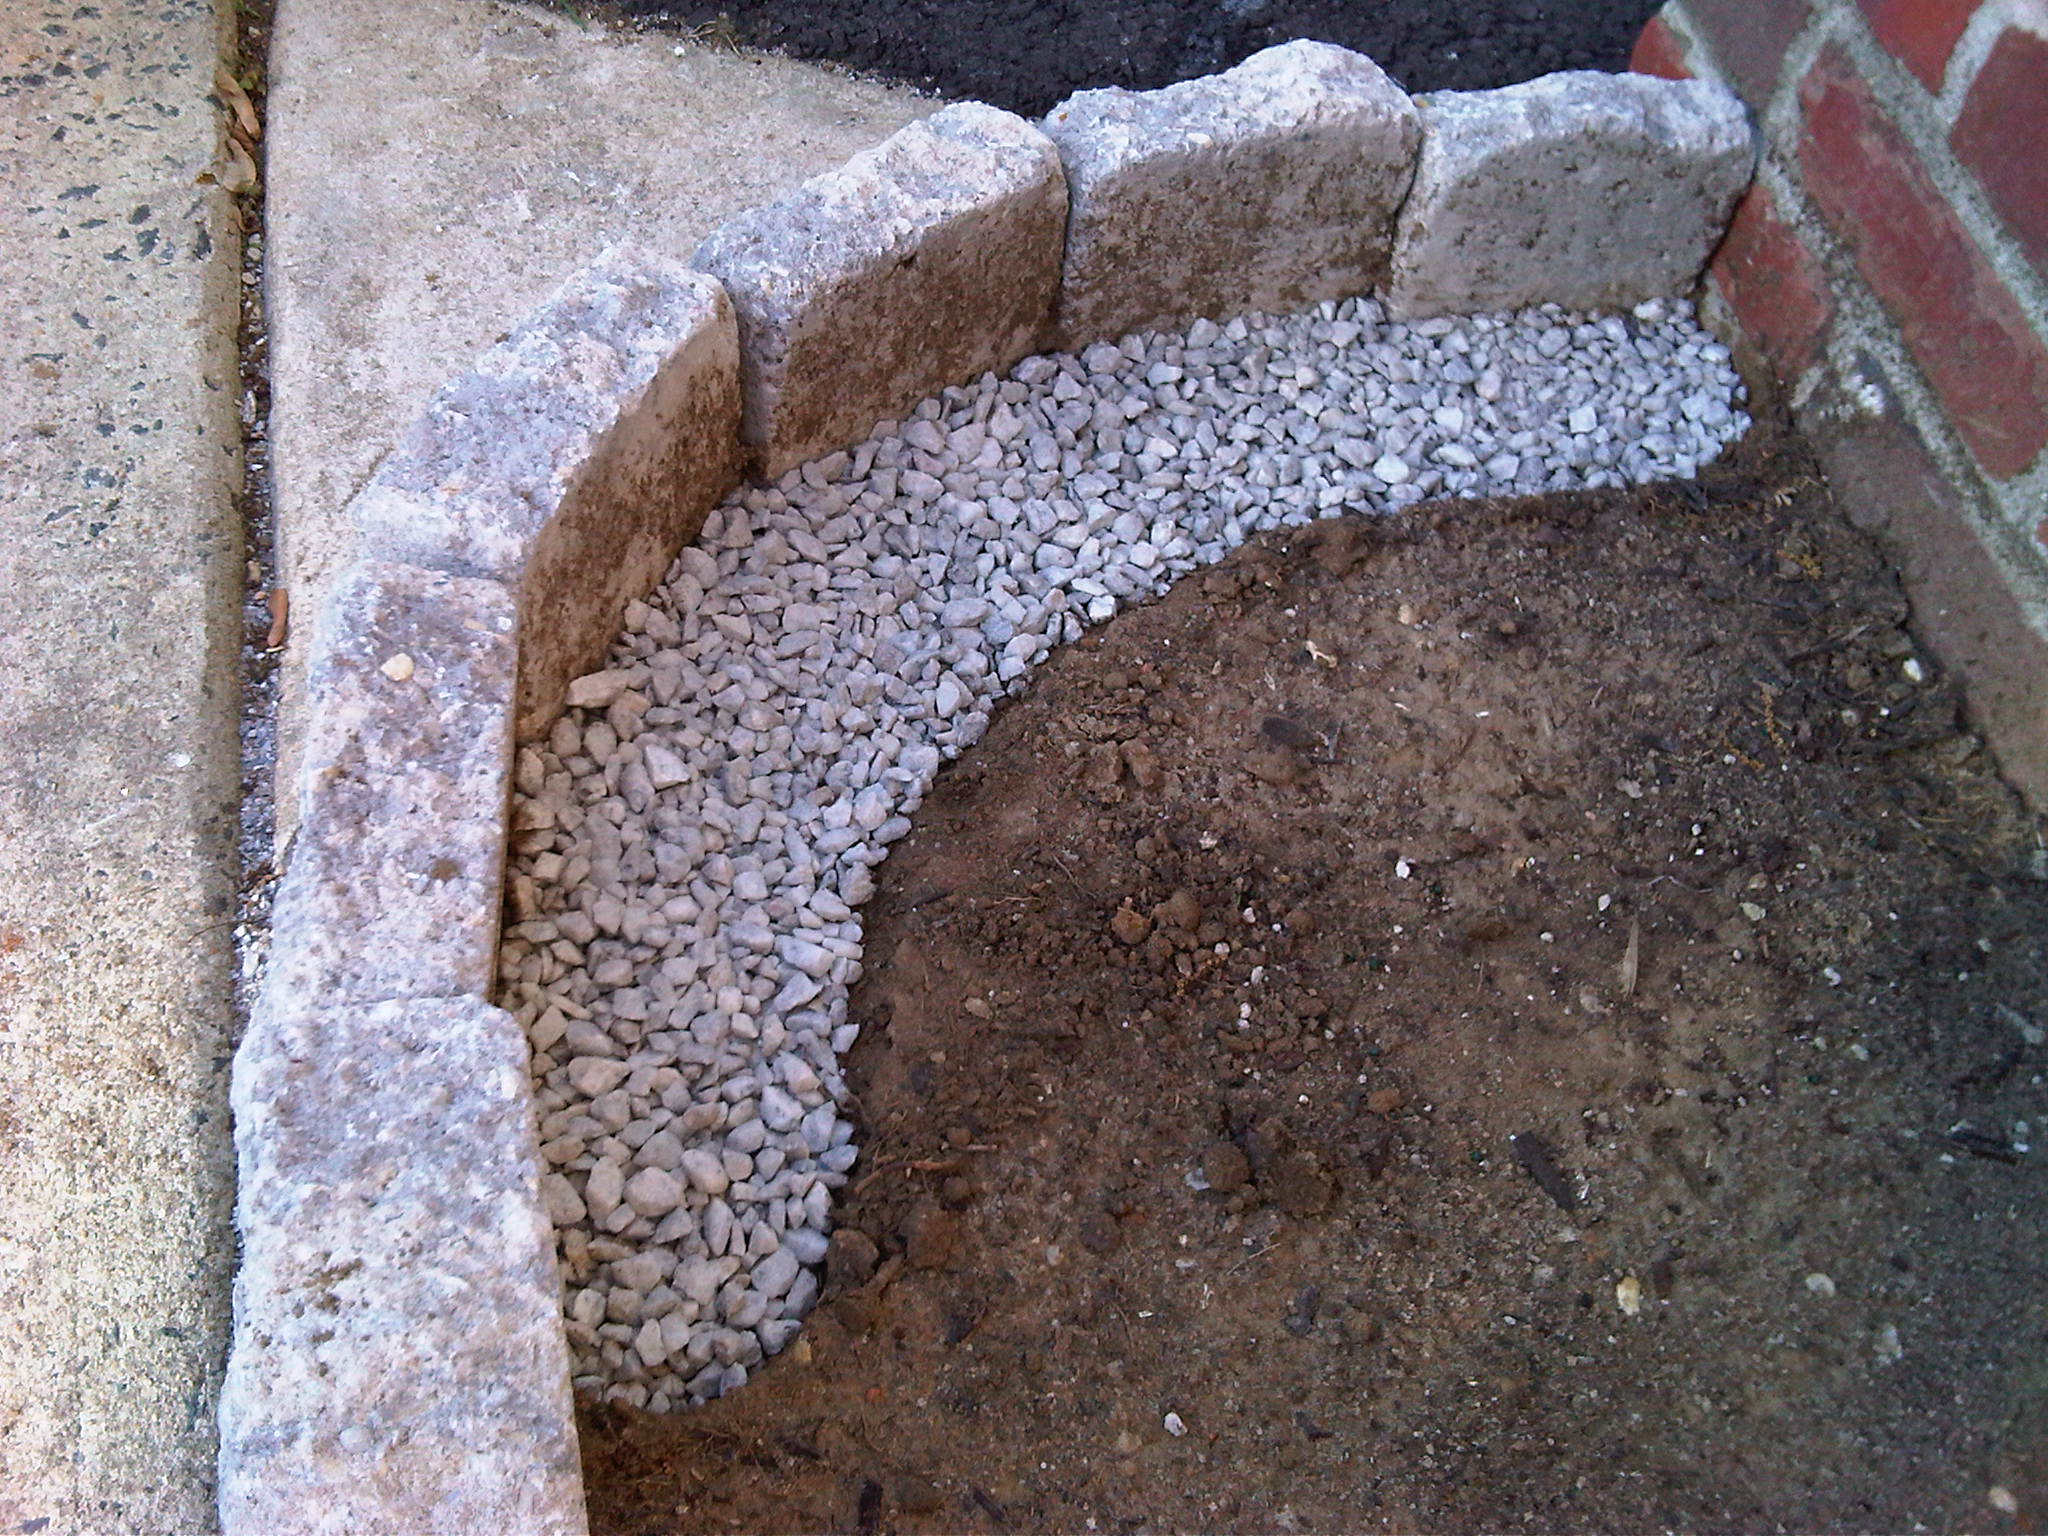
One thing I'm not too happy with are the joints in the curved section. I should have chiseled the blocks at an angle so that they'd fit together tightly, but I was in a rush since the weather reports were calling for rain the next day. I ended up digging up the area behind them and putting mini marble chips down to reinforce the area and also to prevent soil from getting through the joints. We'll see how this holds up--I might have to eventually dig that section up and chisel the blocks.
Tips
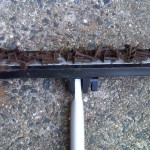
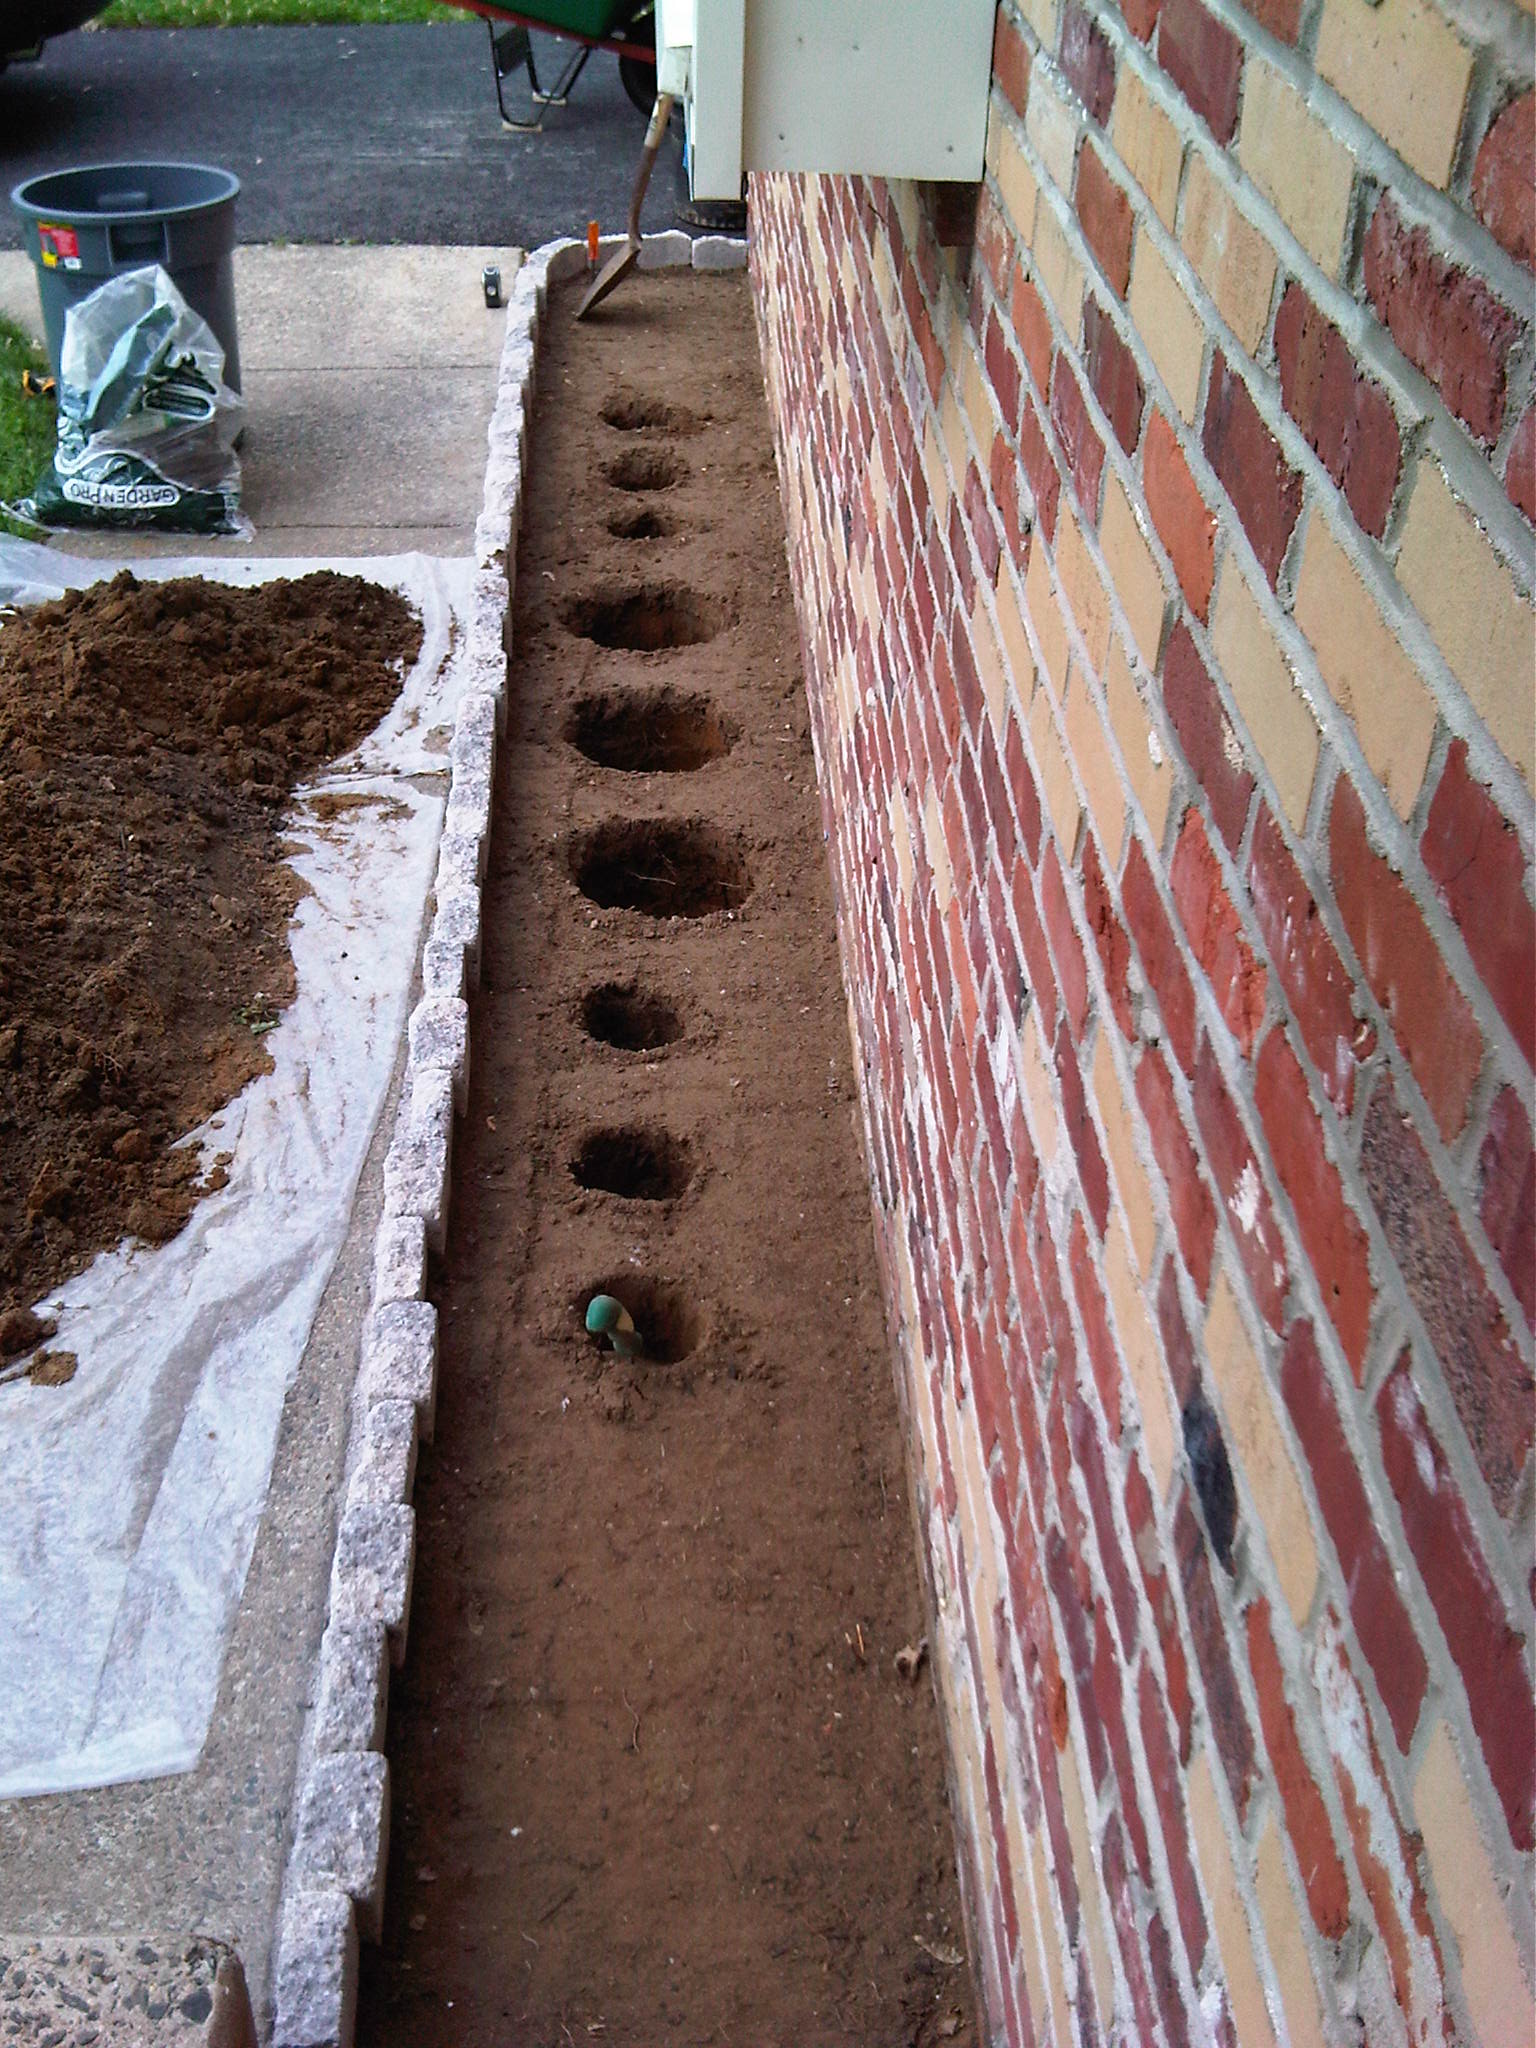
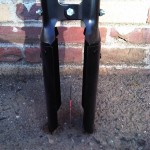
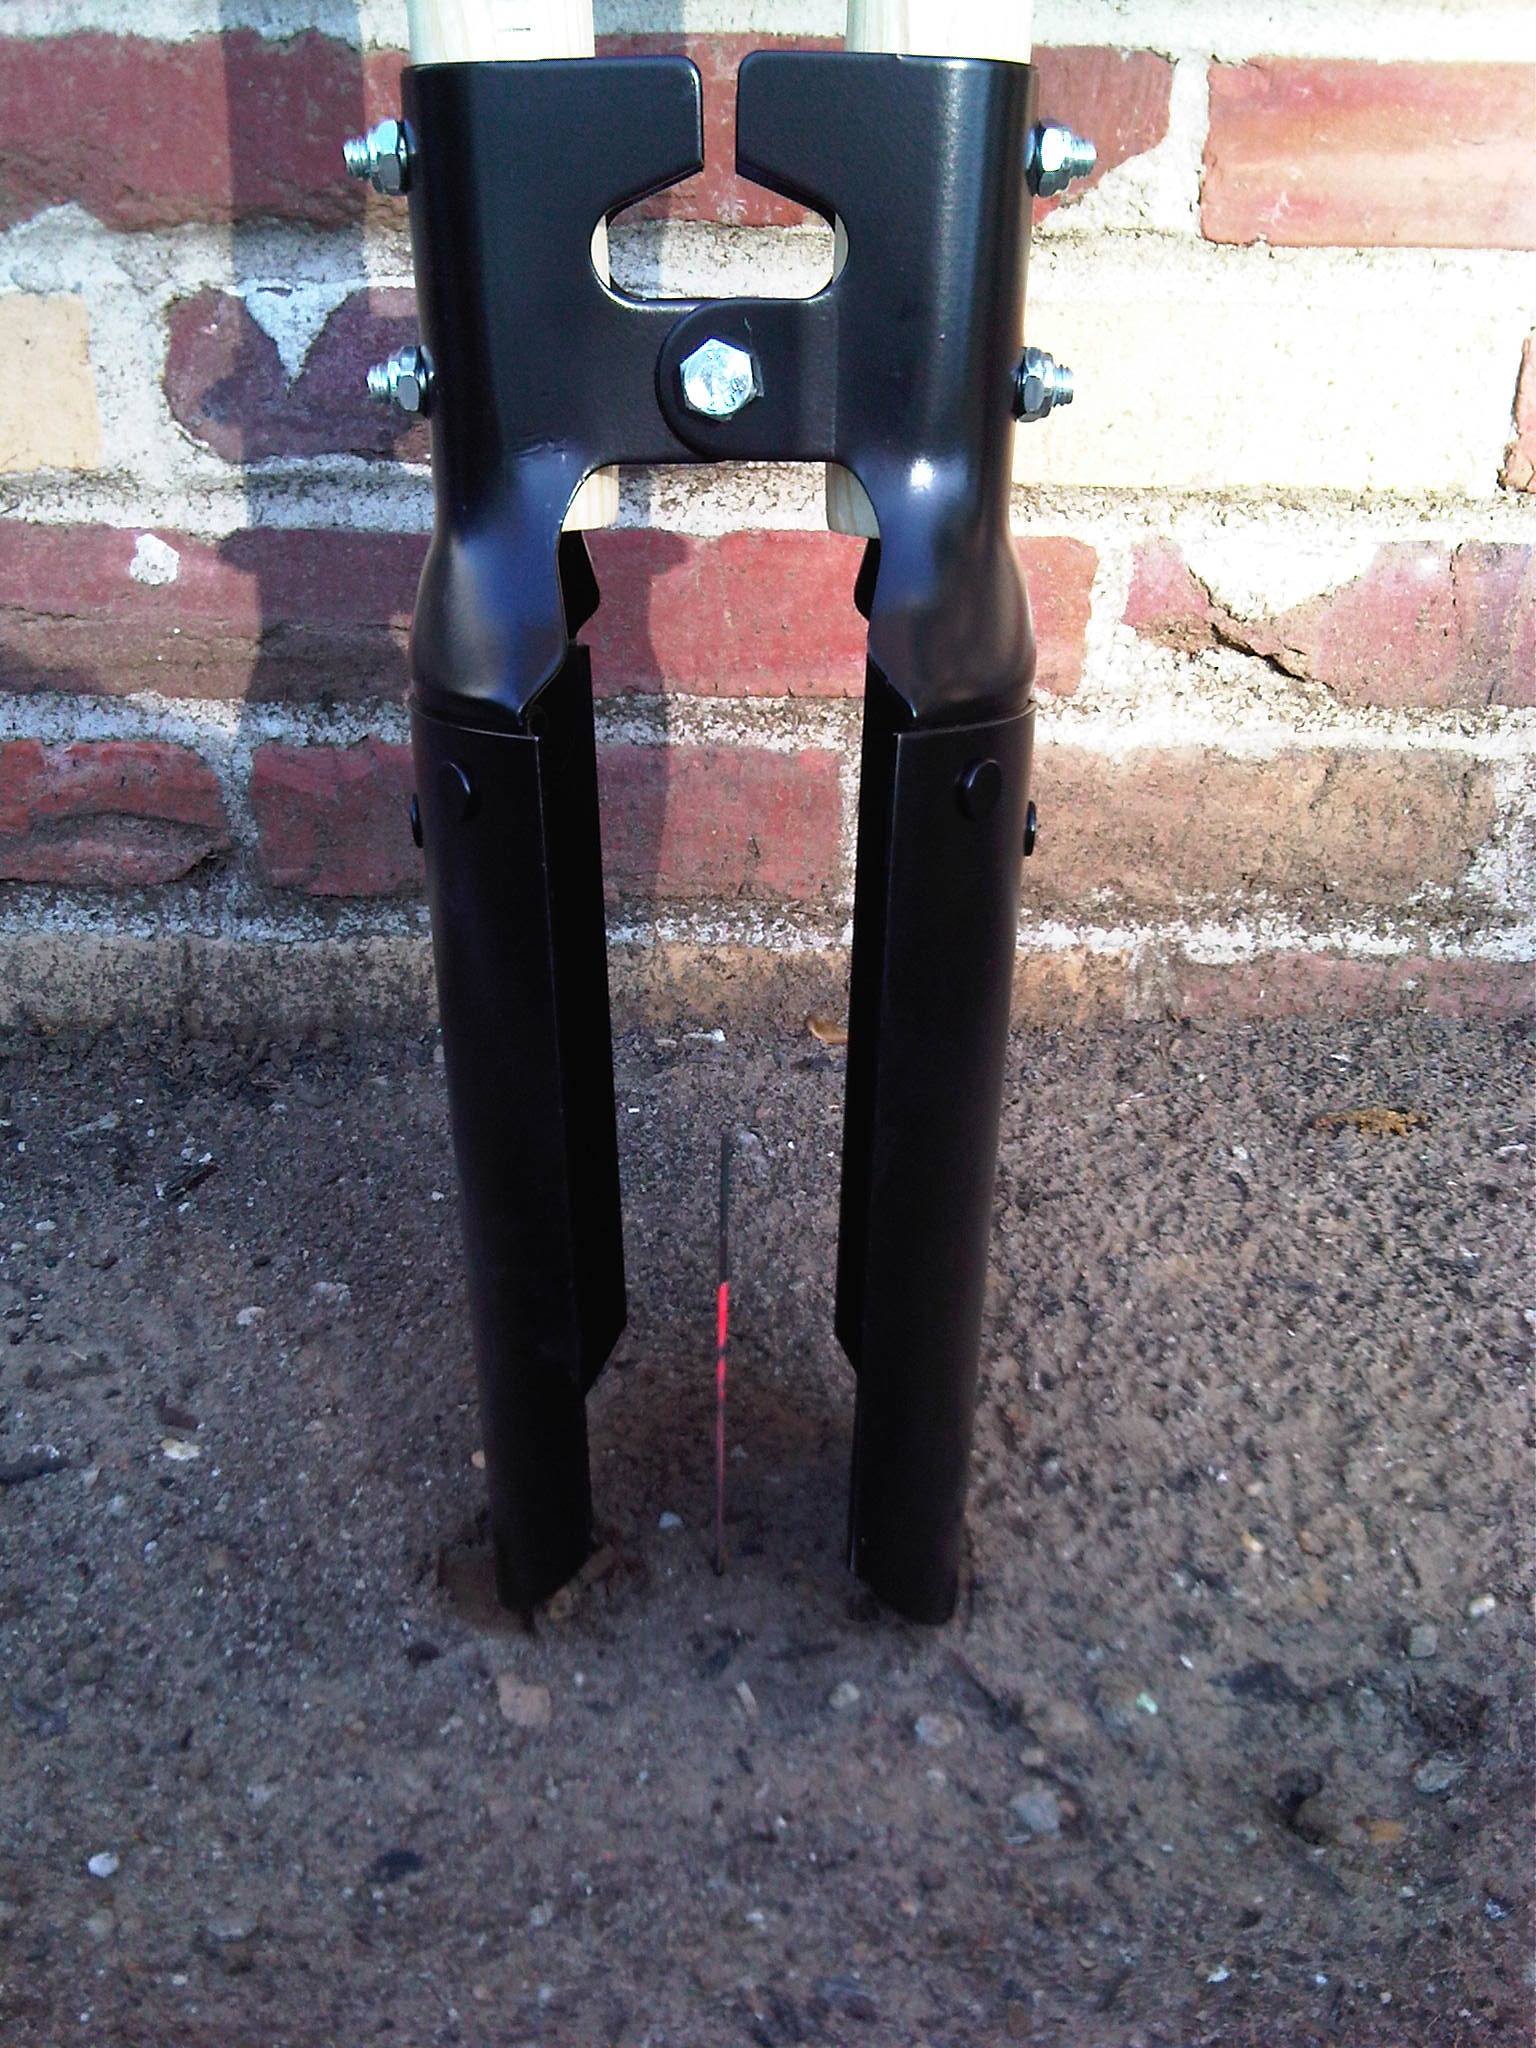
Get a post hole digger to dig the plant holes. I started out digging the holes with a hand trowel which put a lot of strain on my wrists and took much longer than I thought it would. I thought about this afterwards and tried to find a better tool. I couldn't find one, so I figured that the post hole digger would do the best job, and boy, did it. It was sooo much easier to dig a planting hole with this tool. See my comments about this tool and other useful gardening tools here.
Major Materials Used
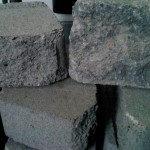
- EP Henry Coventry Edgestone in pewter blend (gray): 8 in H x 6 in W x 2 ½ in D (the dimensions are approximate since these are made to look like natural stone so they aren’t all exactly the same size). I needed 22 ft for the front area (20 ft + 2 ft for spares). Since each piece is 6 in wide, I needed 44 pieces. I was able to fit all 44 pieces in the back of a mid-sized SUV.
- 1 in deep of sand x 20 ft @ ~3 in block depth = 20 ft / 4 = 5 sq ft of area for sand. I divide by 4 because the 3 in bock depth = 1/4 ft and I want to find sq ft. So this means that 4 lin ft = 1 sq ft. And since I have 20 lin ft, I have 5 sq ft. One .5 cu ft bag of sand can cover 6 sq ft @ 1 in so I needed only 1 bag of sand.
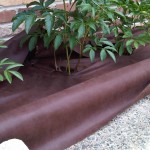
- Mulch, cedar/cedar blend (natural color), four 2.0 cu ft bags.
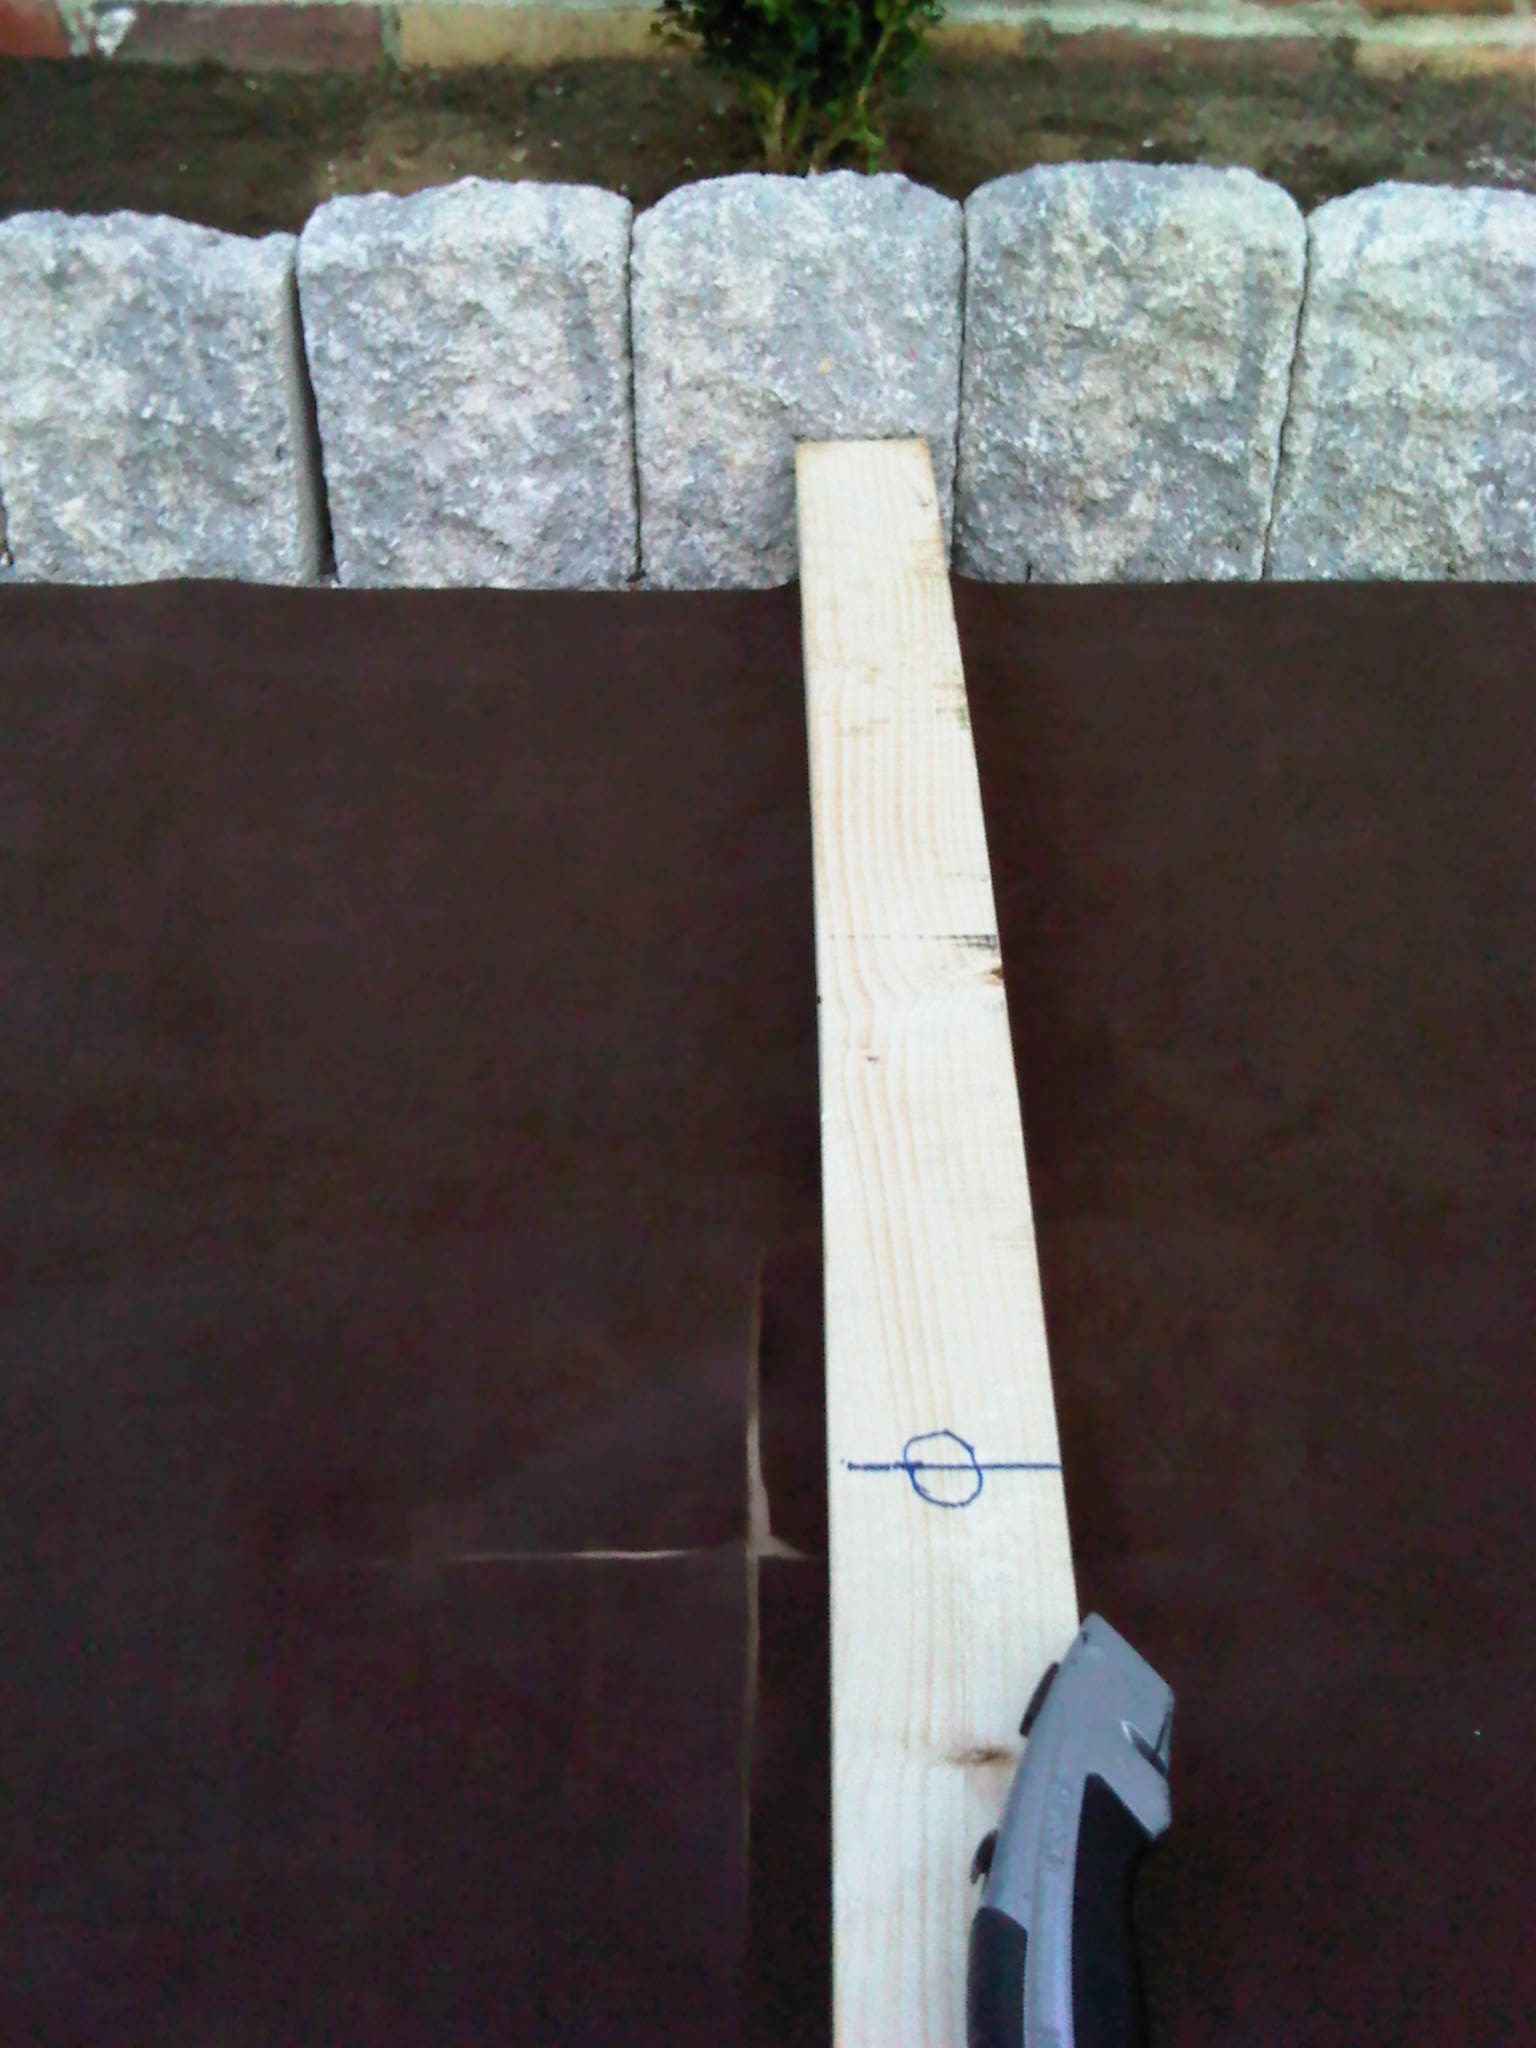
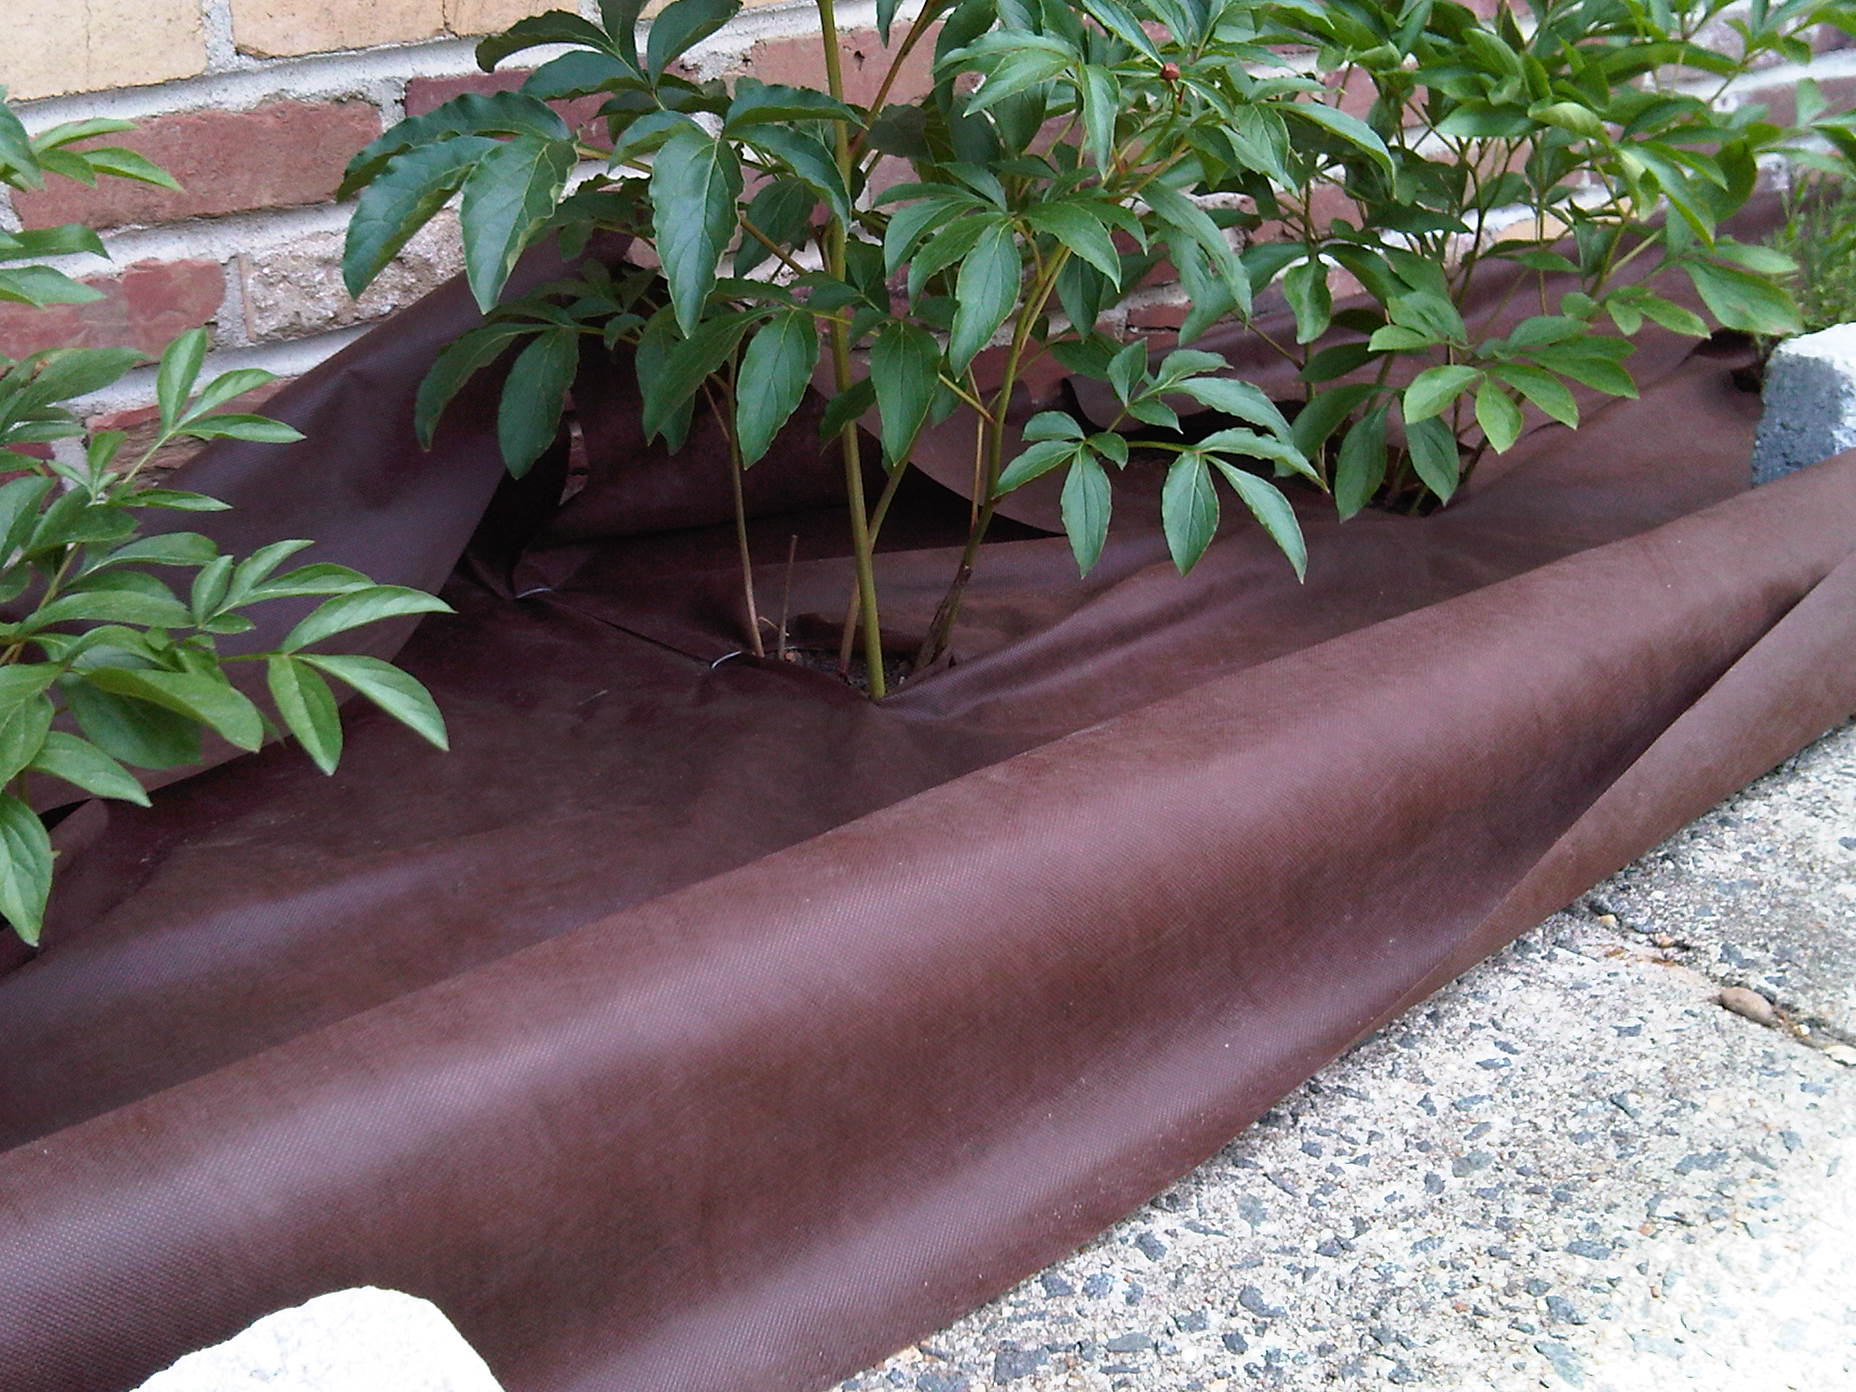
- Weed block fabric (4 ft x 120 ft roll of Easy Gardner Weed Block Pro, brown--I had plenty left over from my tree ring).
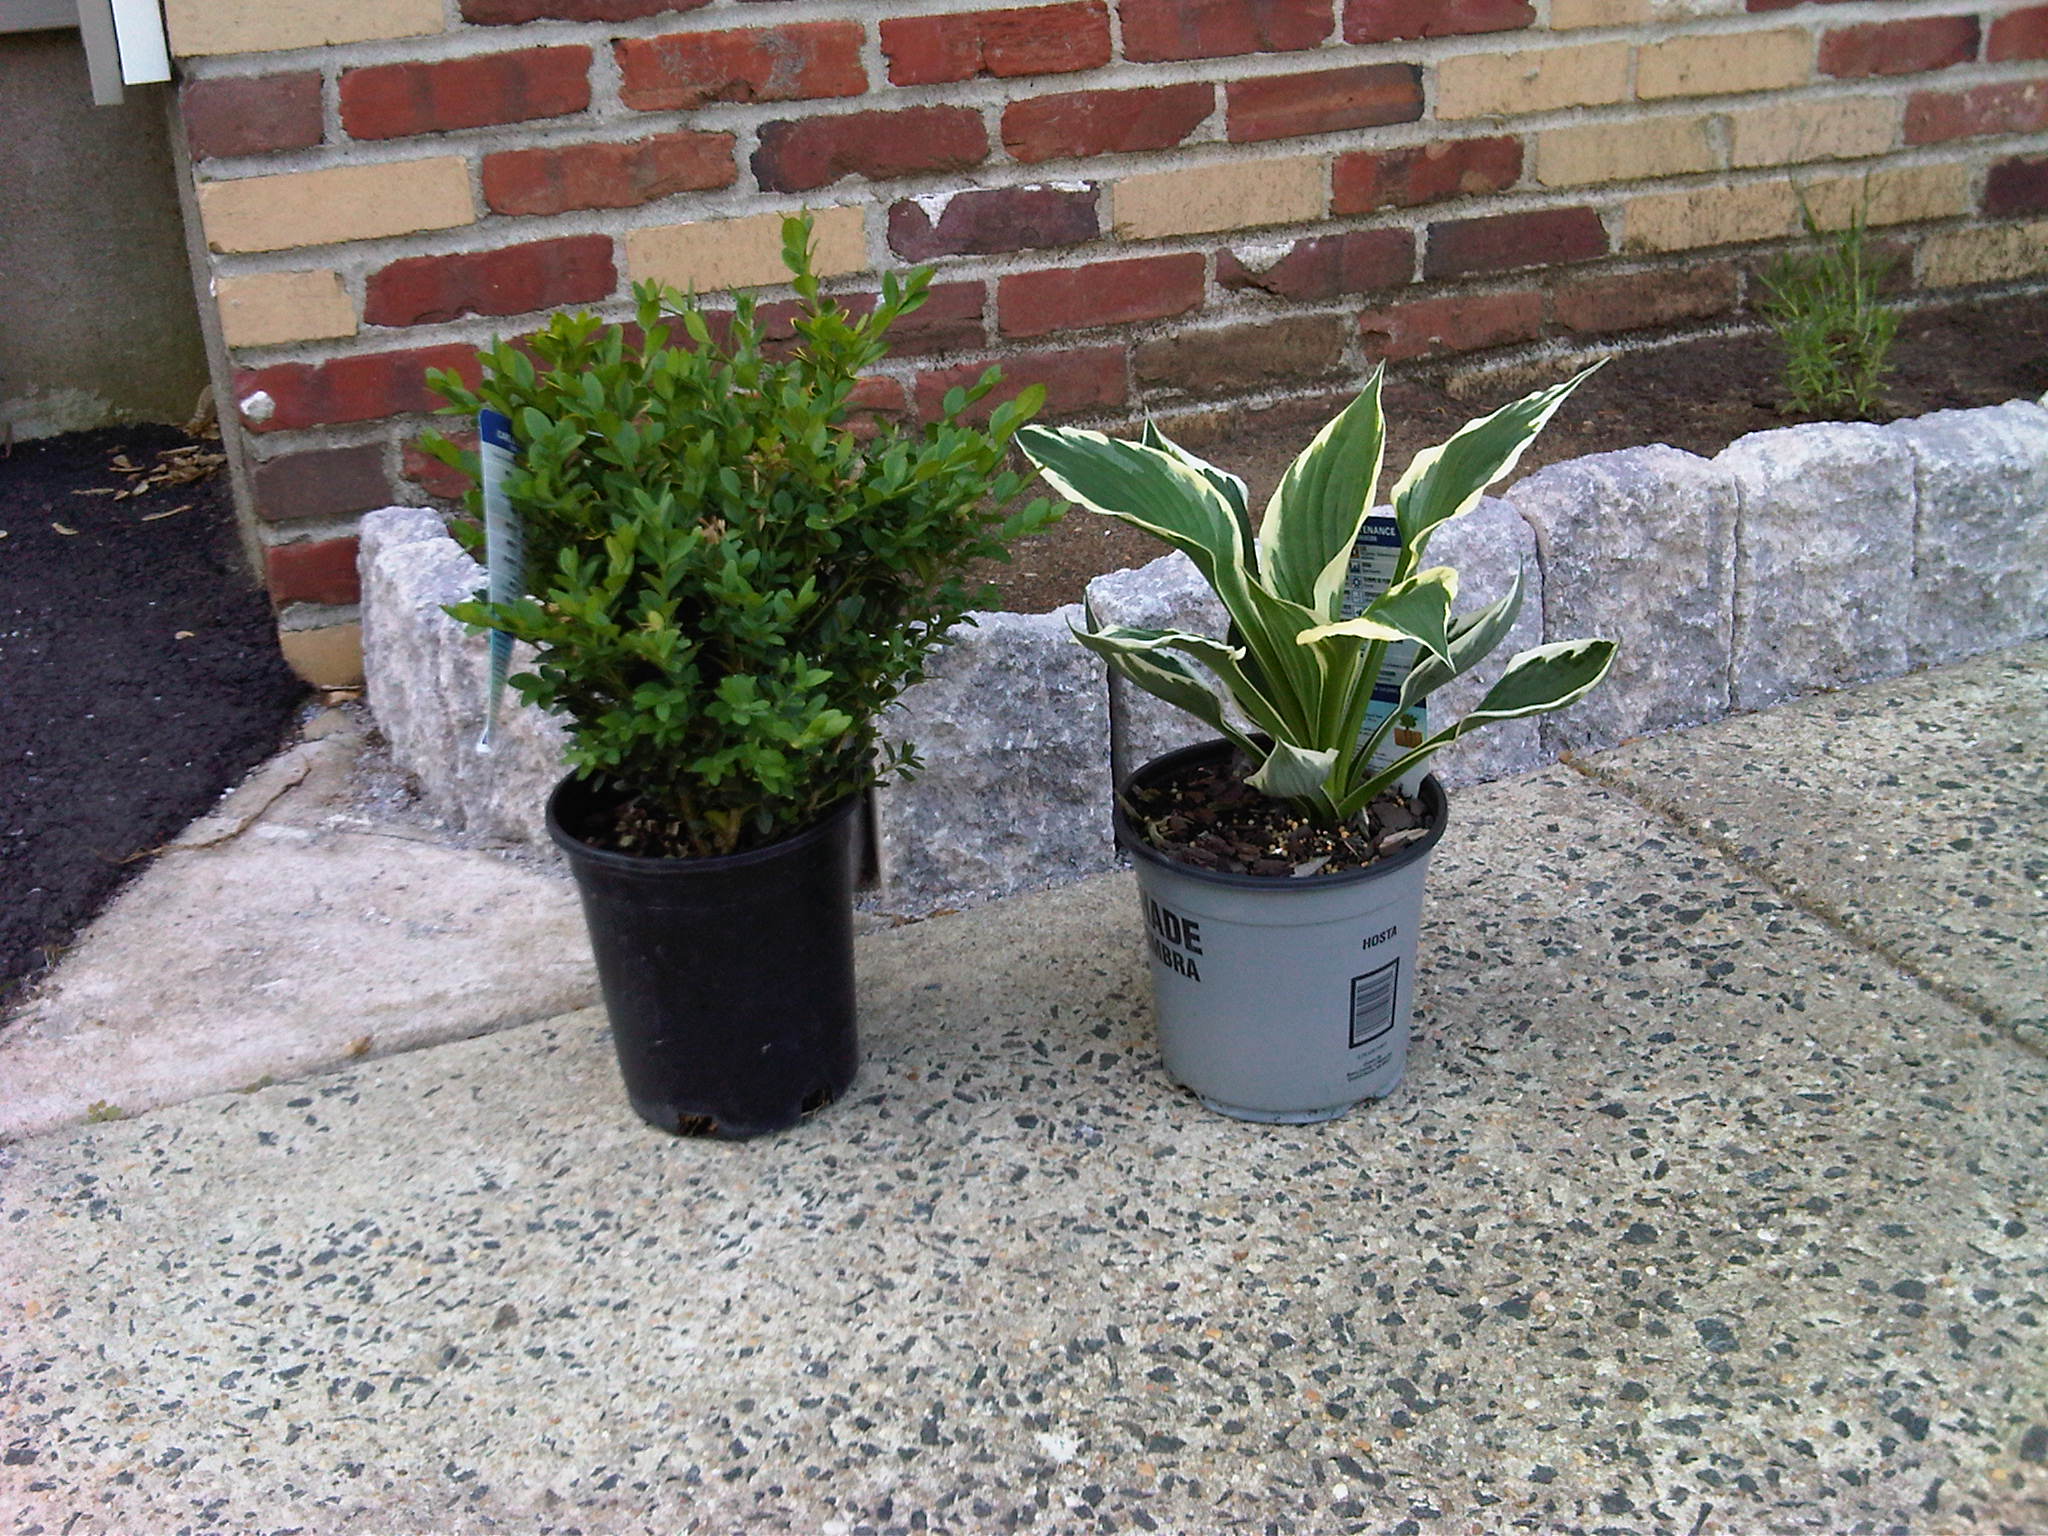
Plants
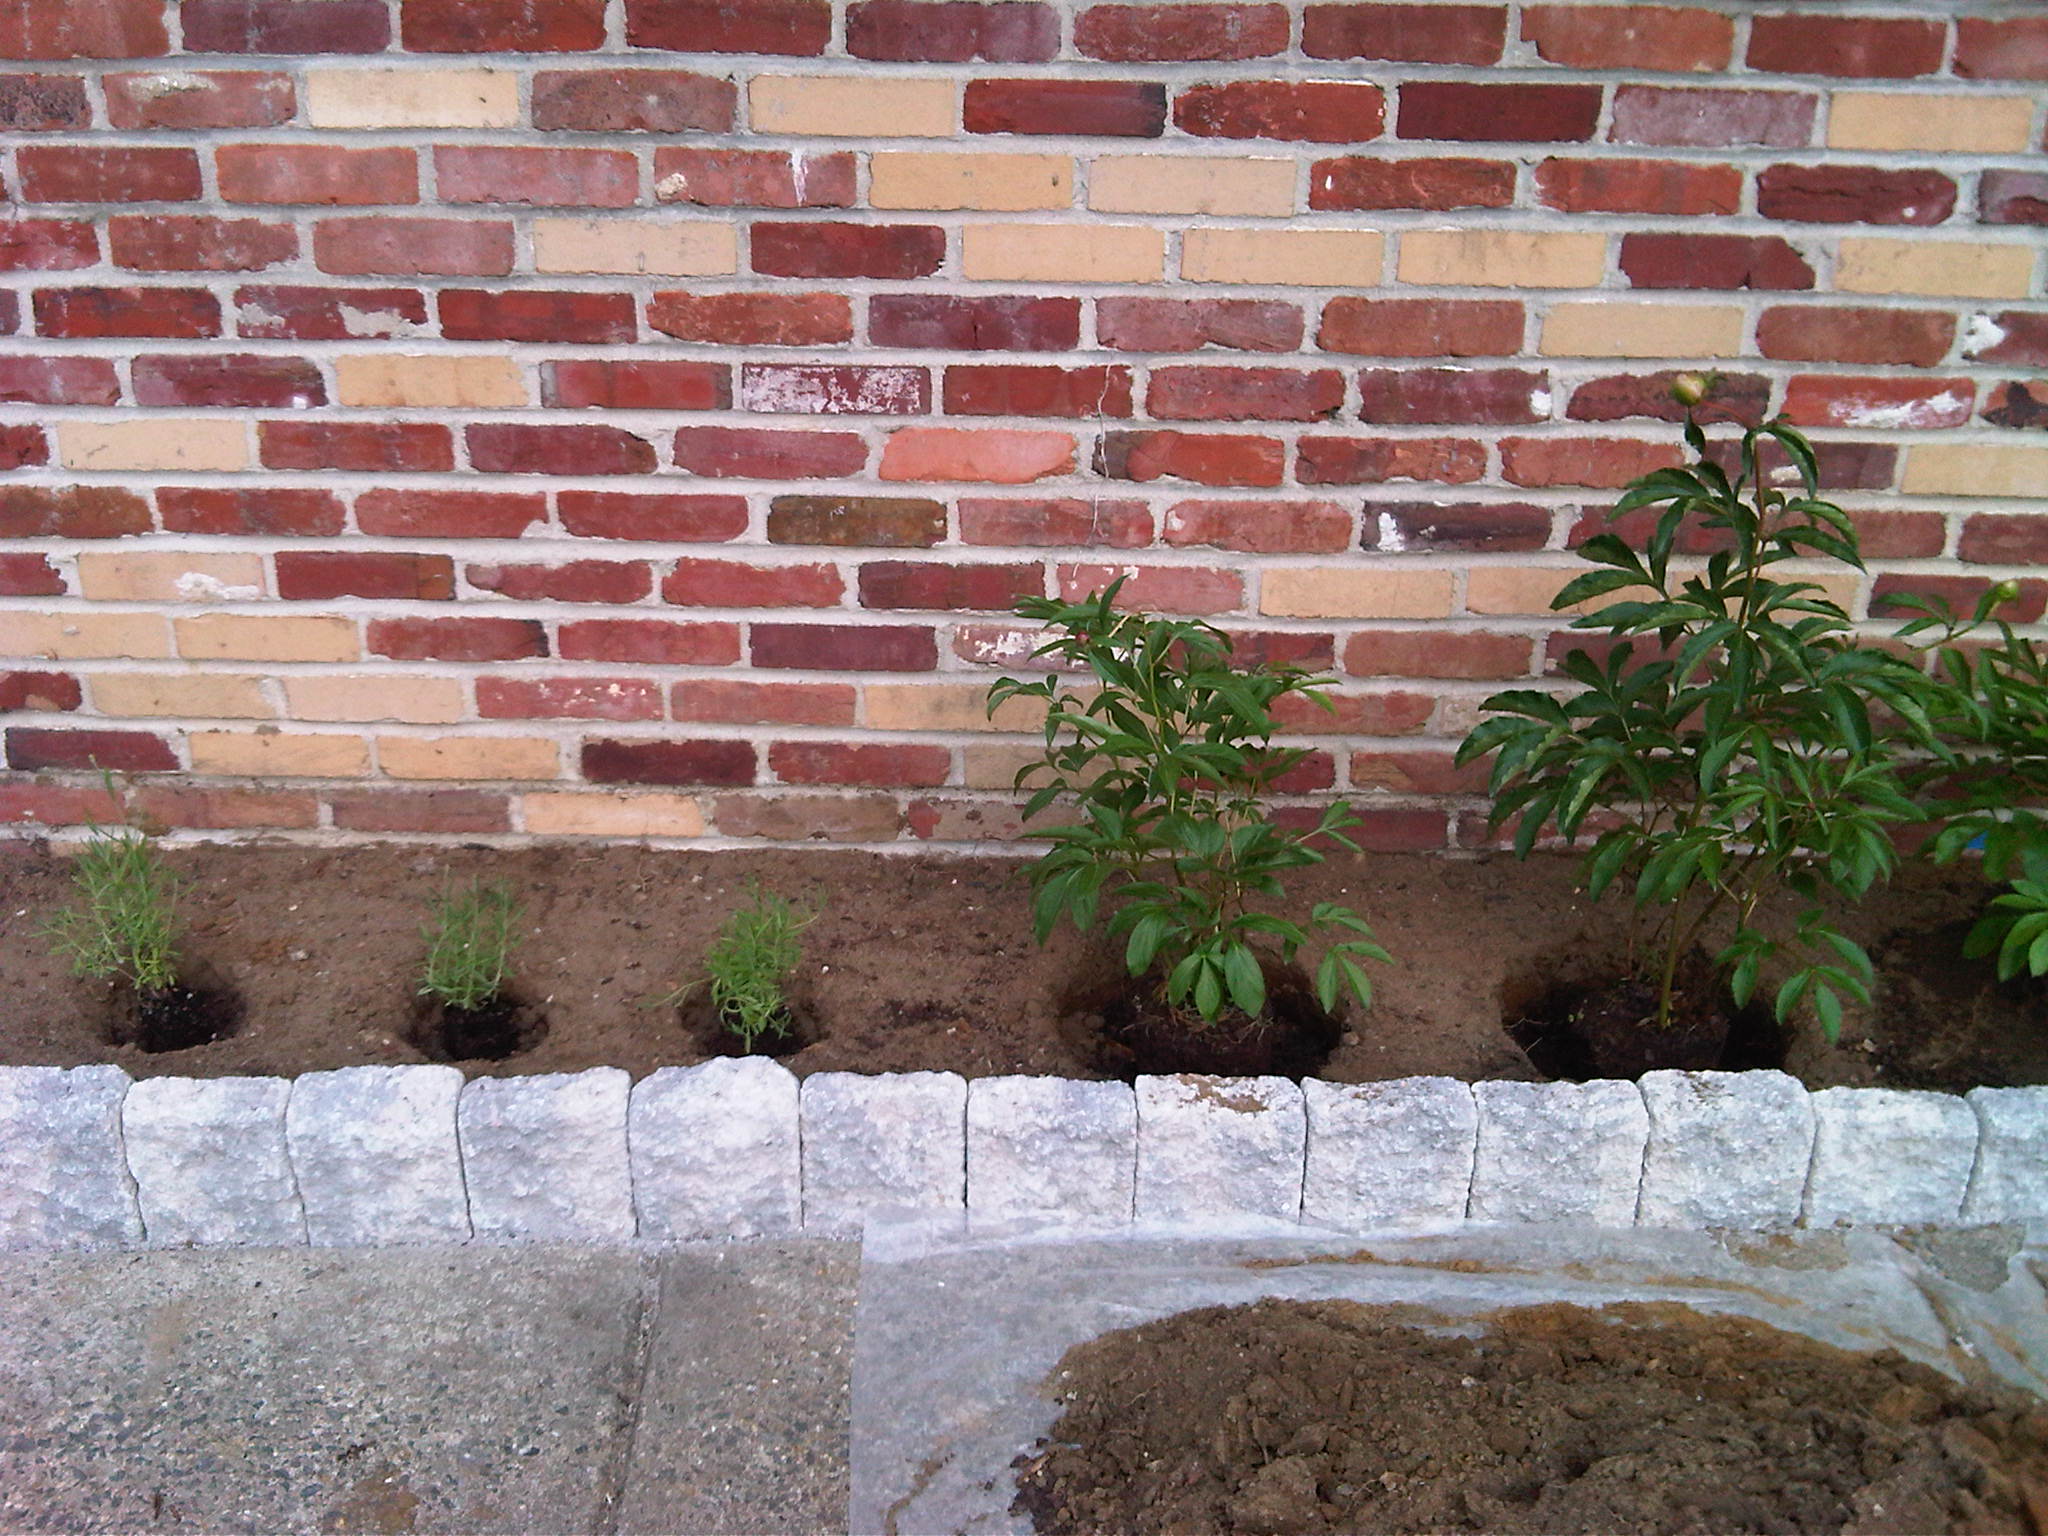
The plants I have from left to right are Boxwood (1), Lavender (3), Peony (3), Lavender (3), Hosta (1). The lavender is interesting because its very fragrant and has a lot of uses in health and beauty products such as lotions and soaps.
I mail ordered the lavender from Spring Hill Nurseries since I had a $25 coupon. I won't do that again because the plants they send are so small. For the same price (before the discount coupon) I could have gotten more mature and larger lavenders from Lowe's. The lavender did grow very quickly though, which was surprisingly pleasing. Now they're at least as big as the ones from Lowe's, if not bigger.
The other plants I got at the local nursery/landscape supply place (where I got the Edgestone) and Lowe's. Around here, Lowe's has a much larger and better selection of plants than Home Depot.
Project Time
Total: 27 hours
5/1/2010 and 5/2/2010: Excavate, install edgers and plants: 20 hours.
5/6/2010: Added two more plants and installed landscape fabric: 4 hours.
5/7/2010, 5/8/2010: Adjust and trim landscape fabric, mulched, installed plant supports, misc touch ups: 3 hours.
-
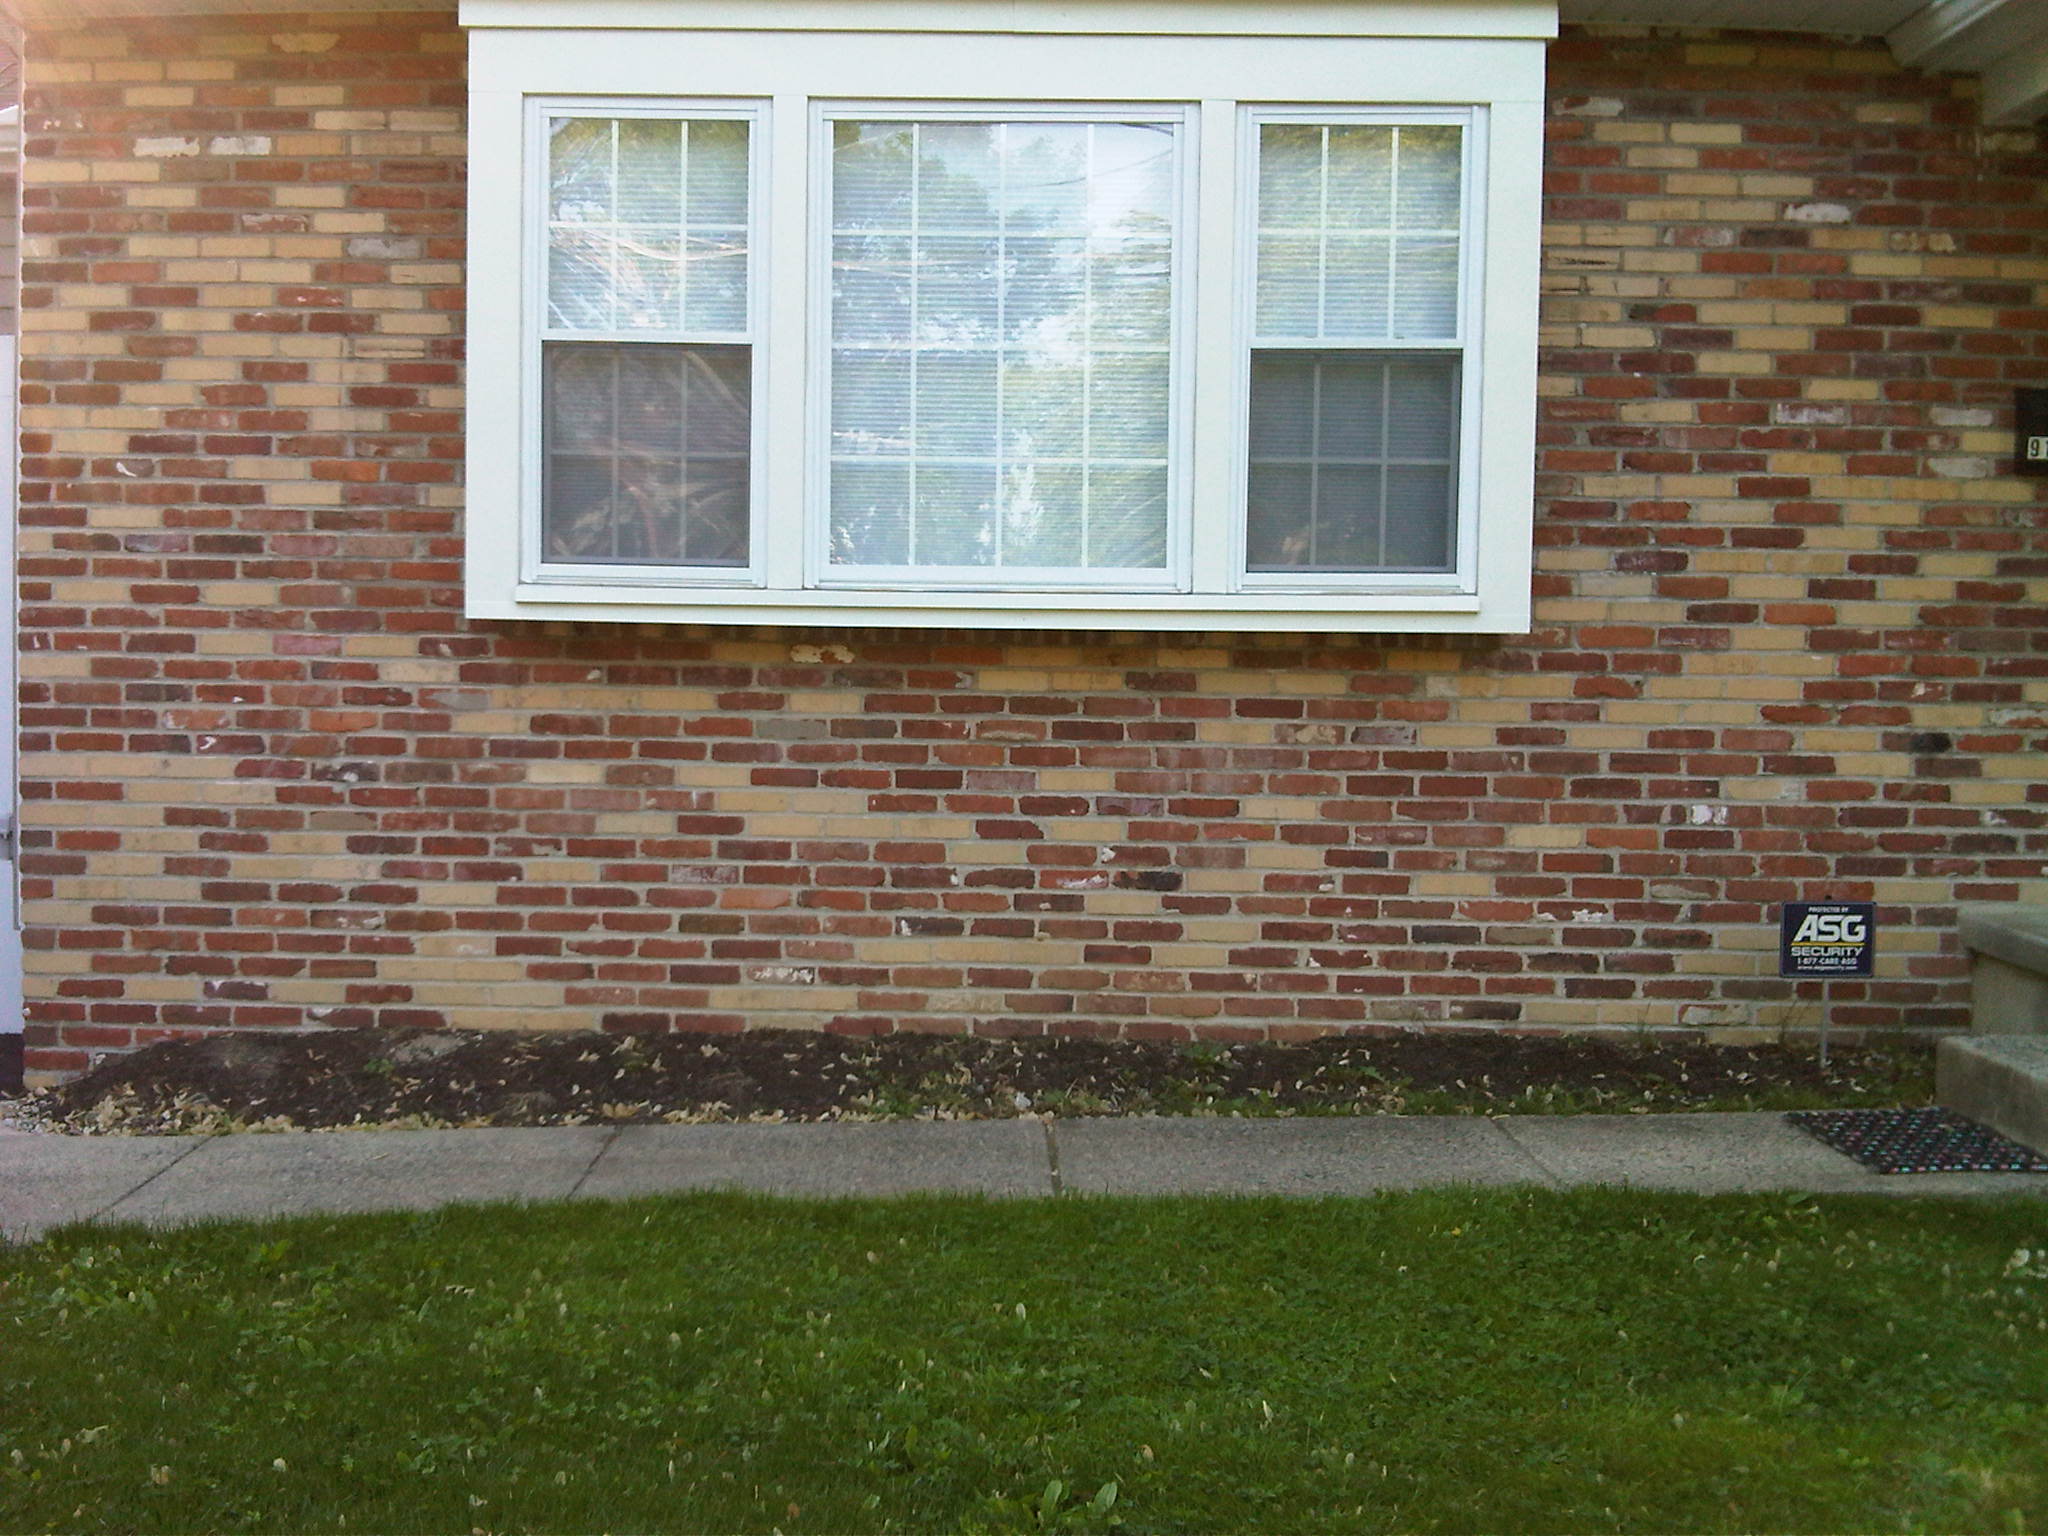
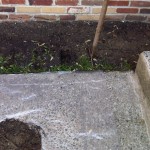
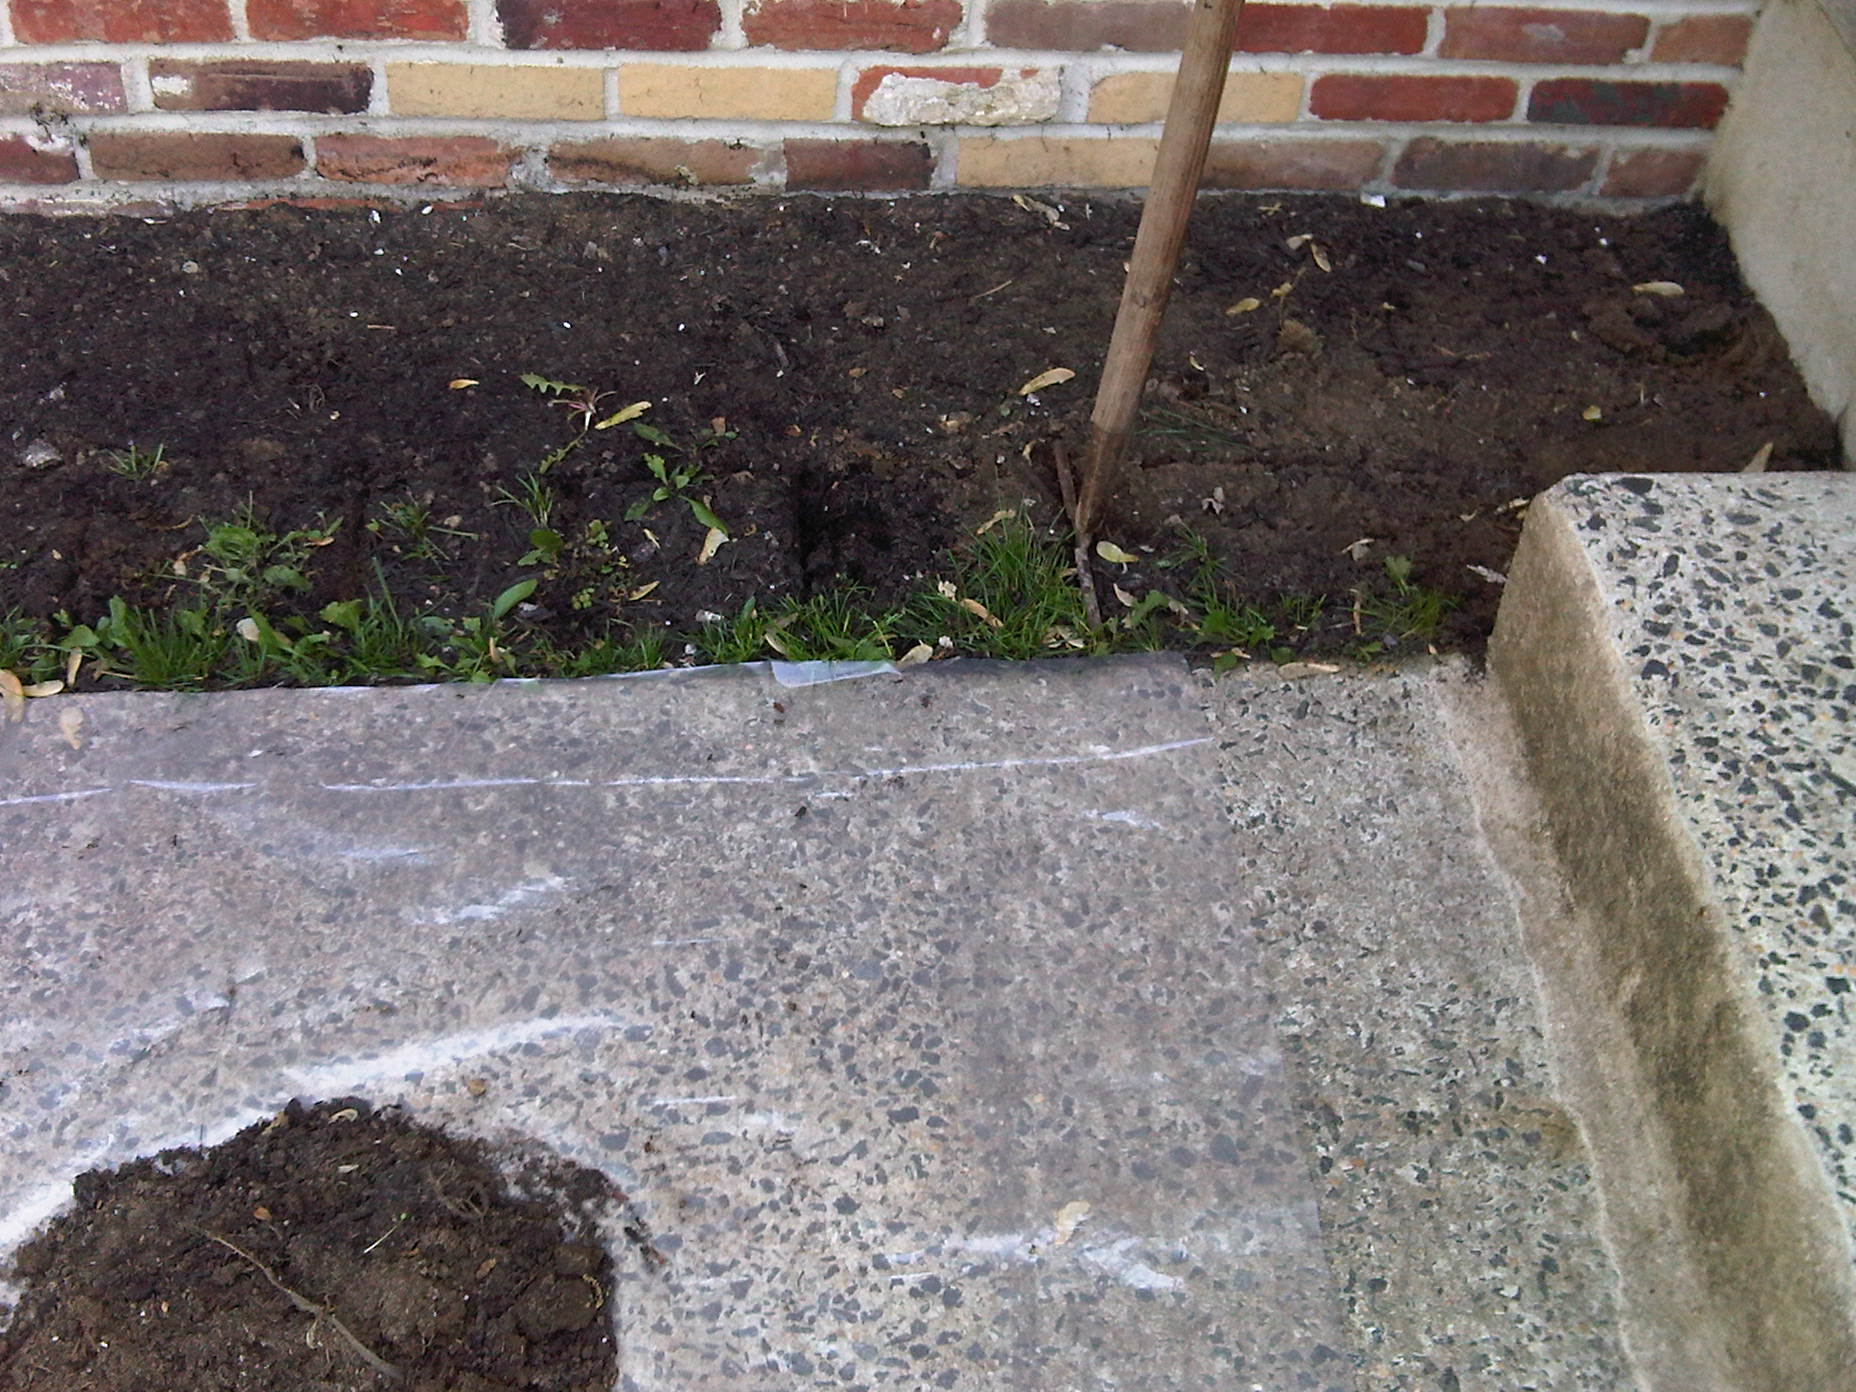
- Before – just dirt, mulch, and weeds.
-
- Measure thrice, dig once.
-
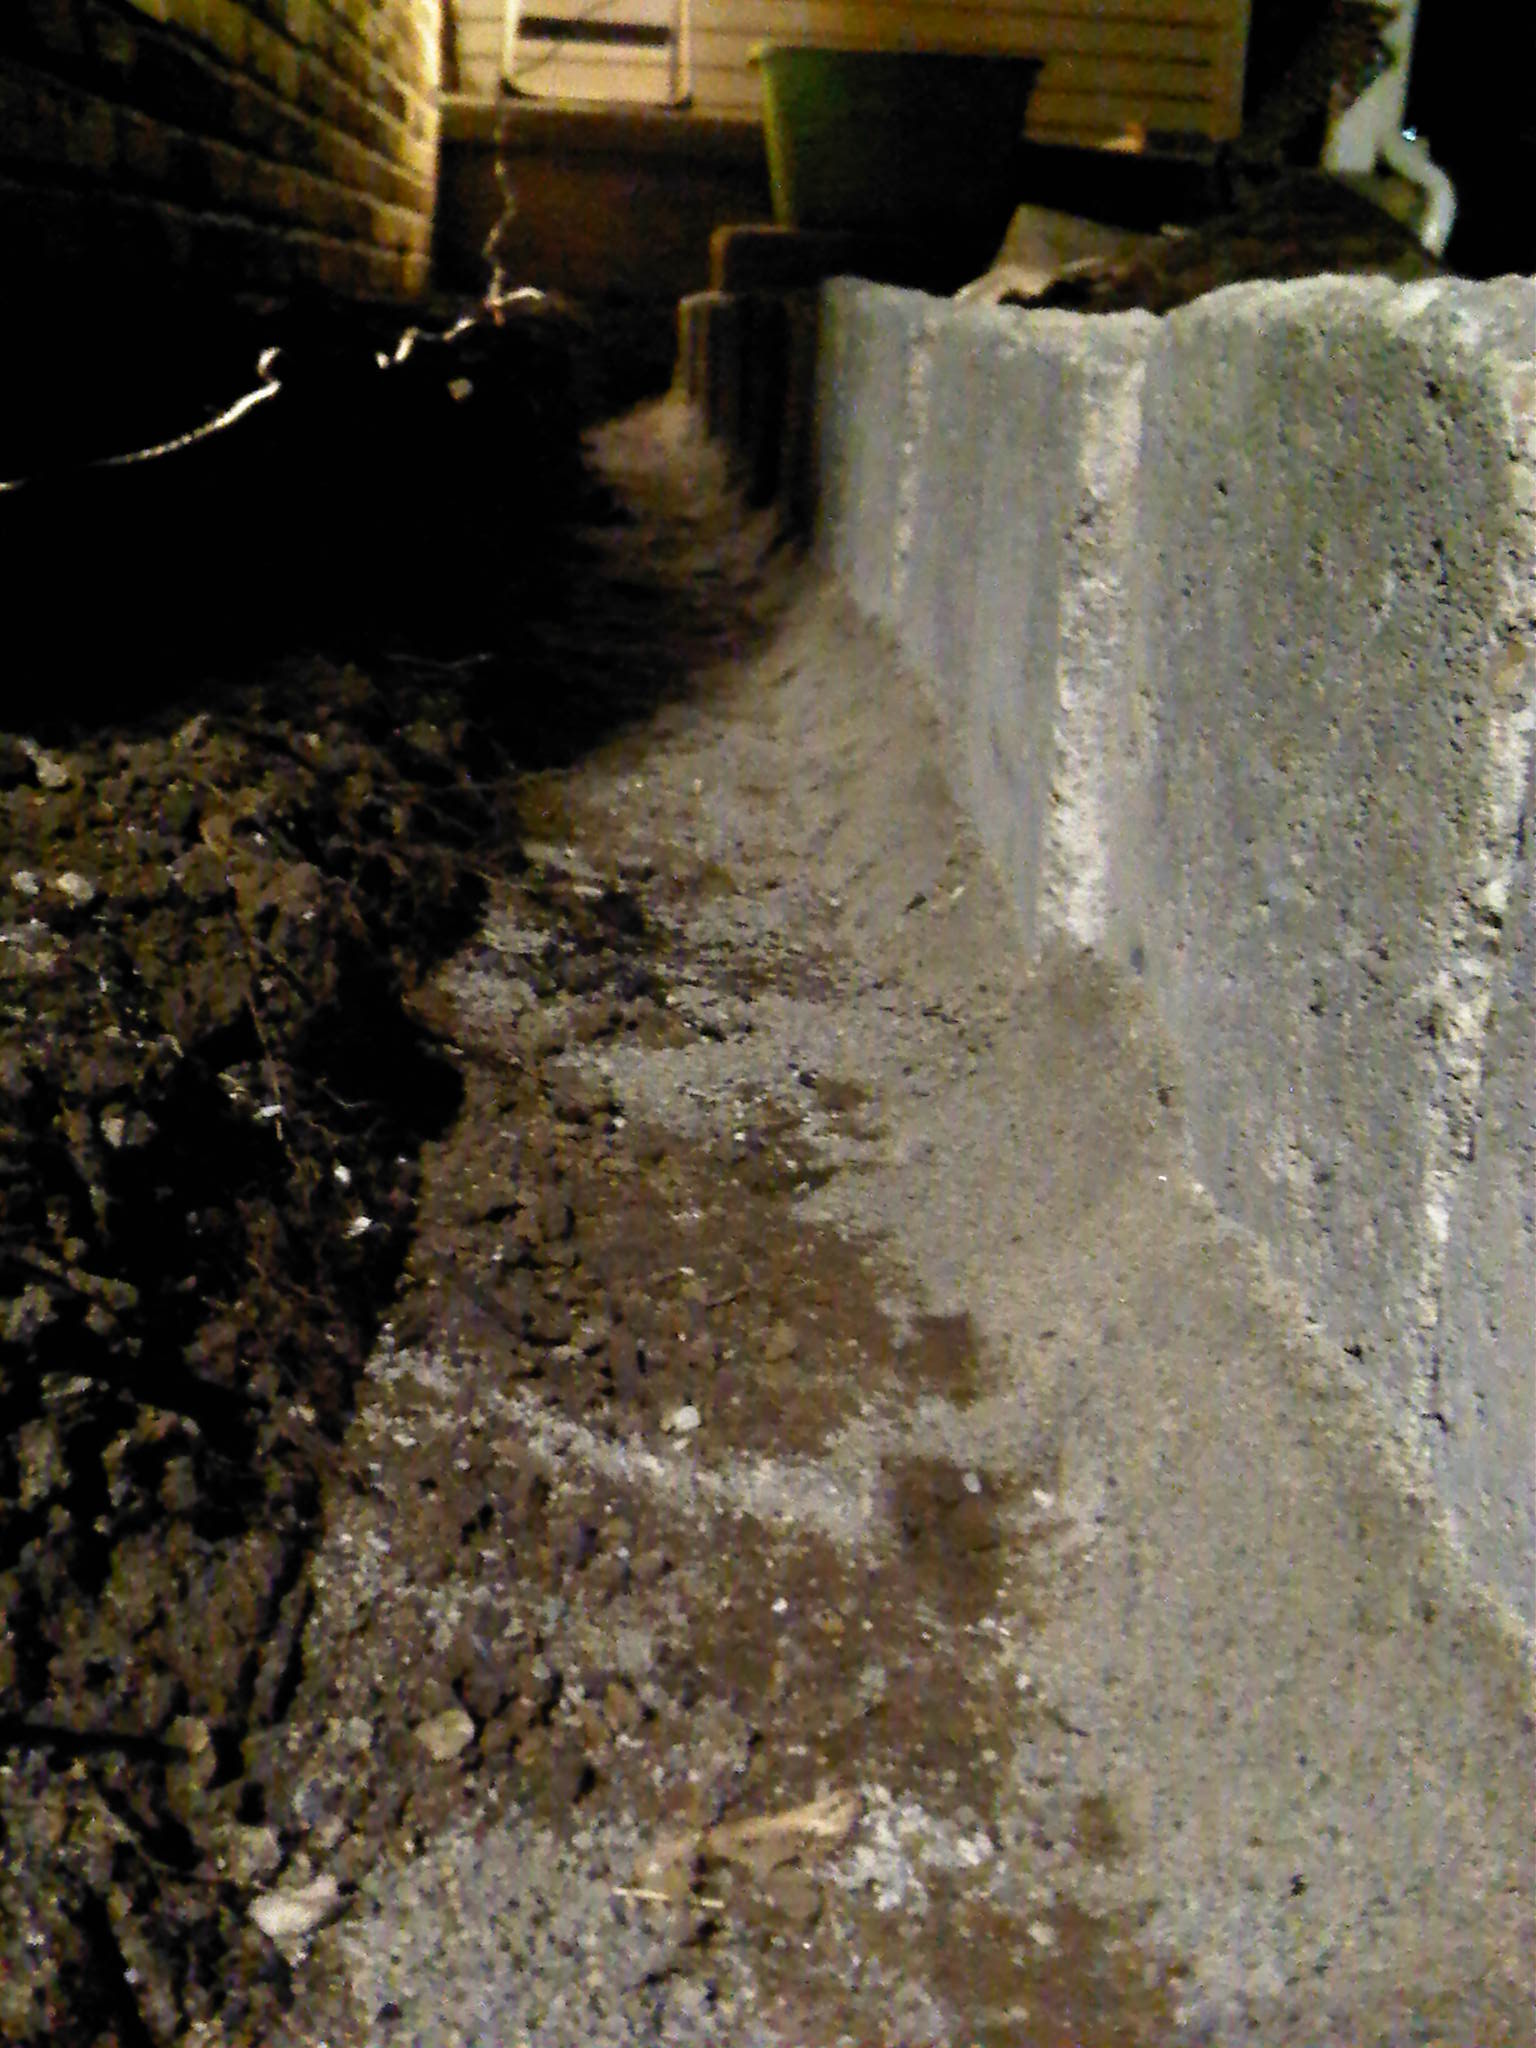
- Scoring the trench area with half-moon edger.
-
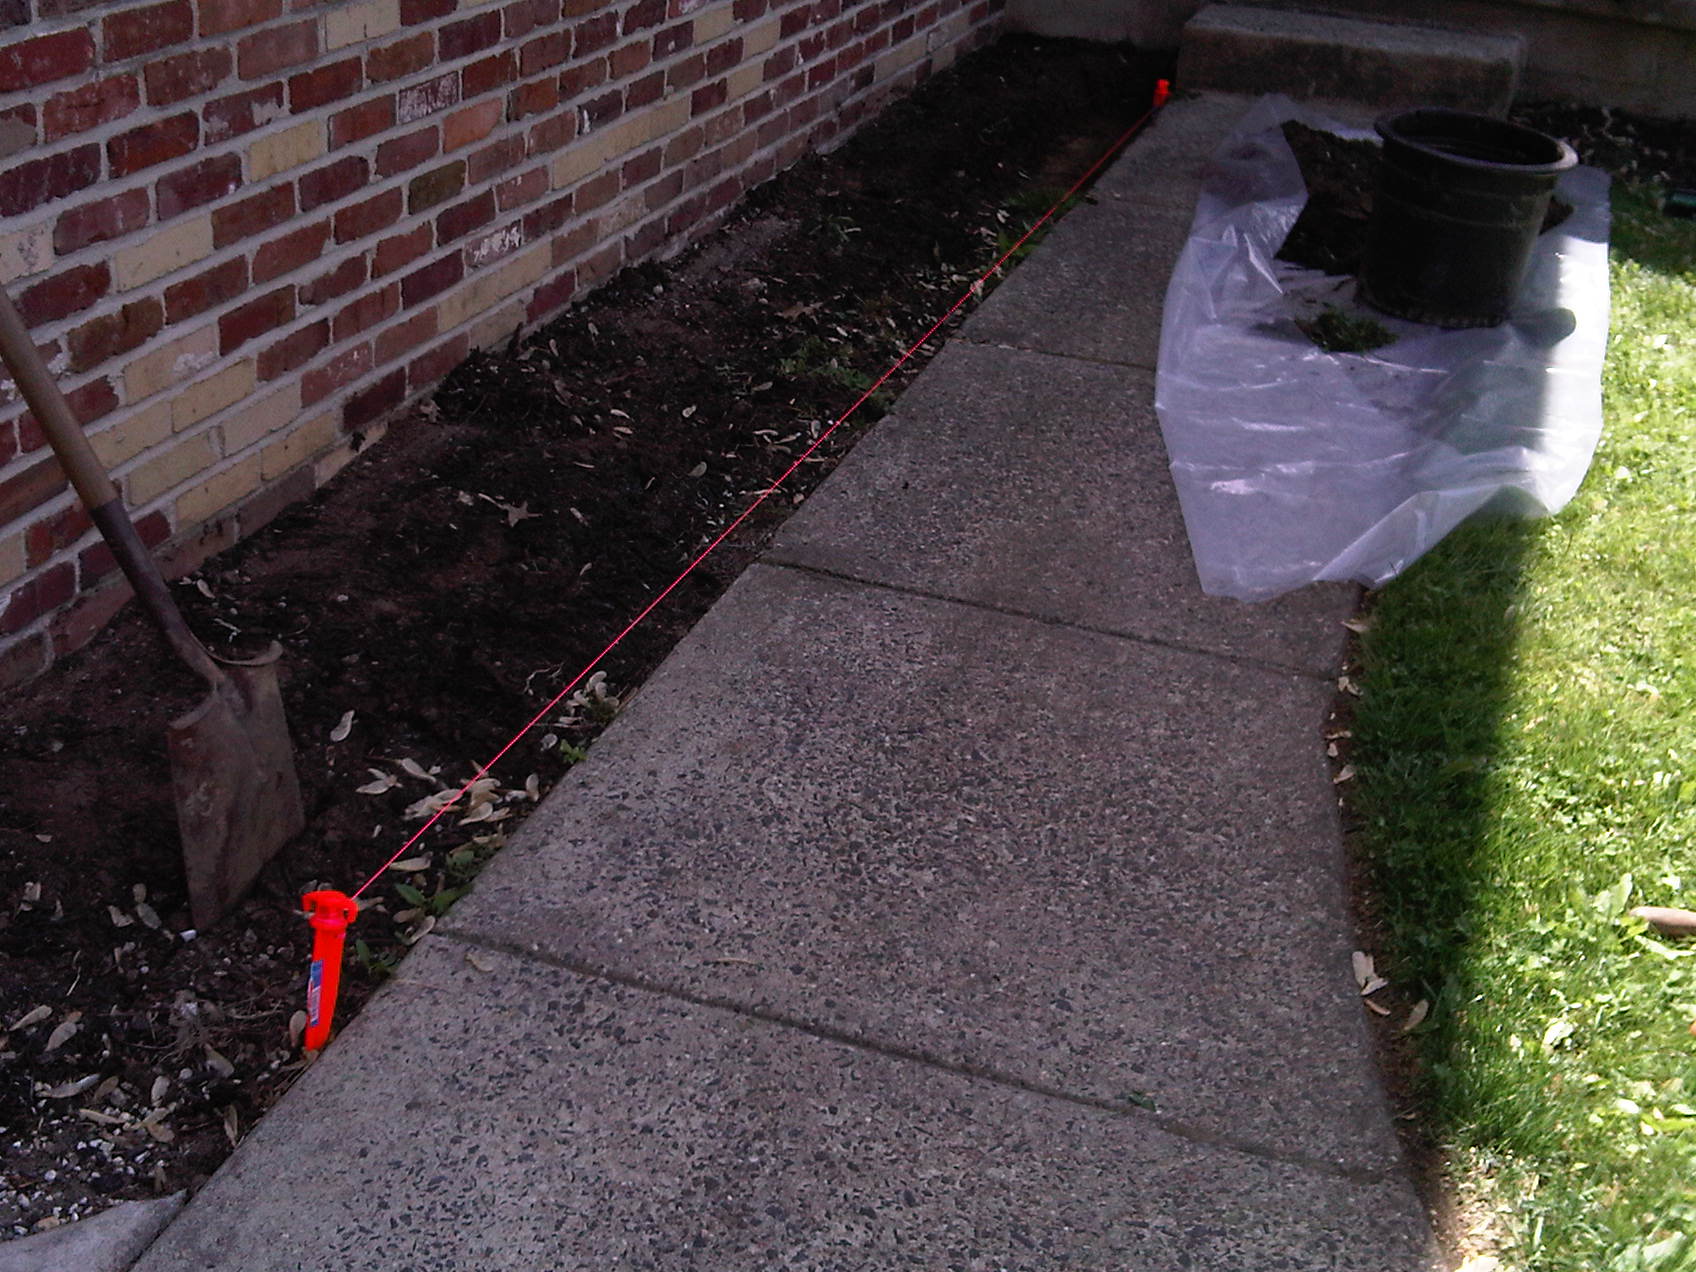
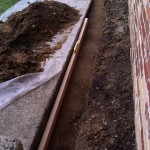
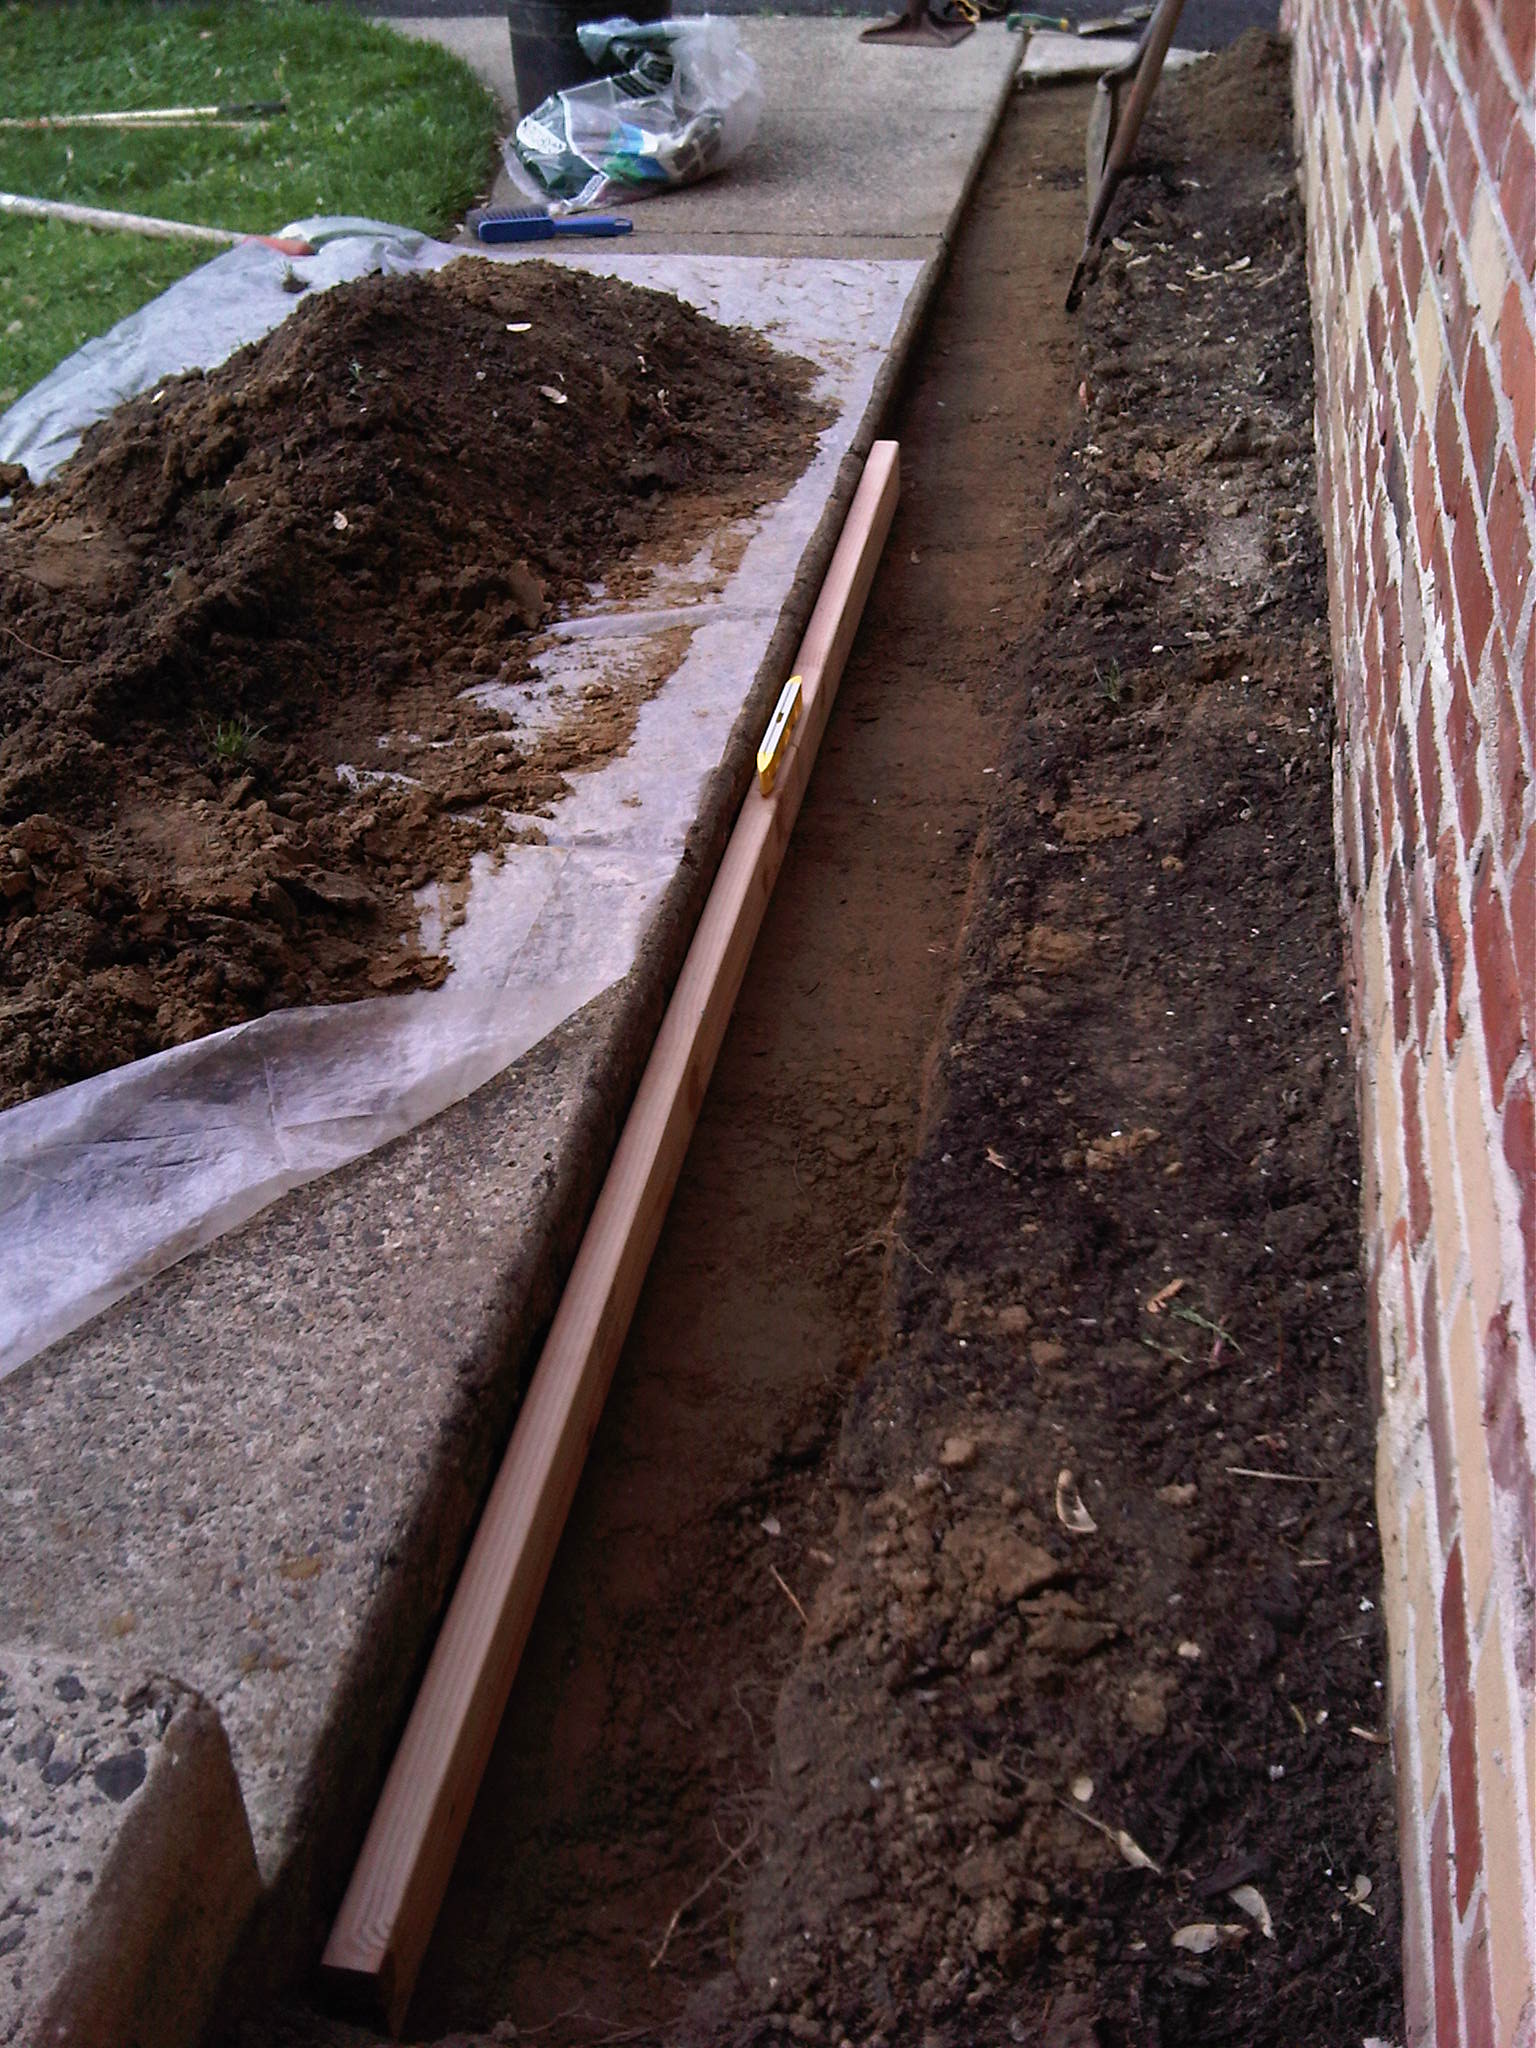
- Using string / line level to get a level trench.
-
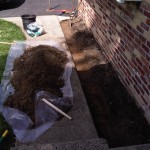
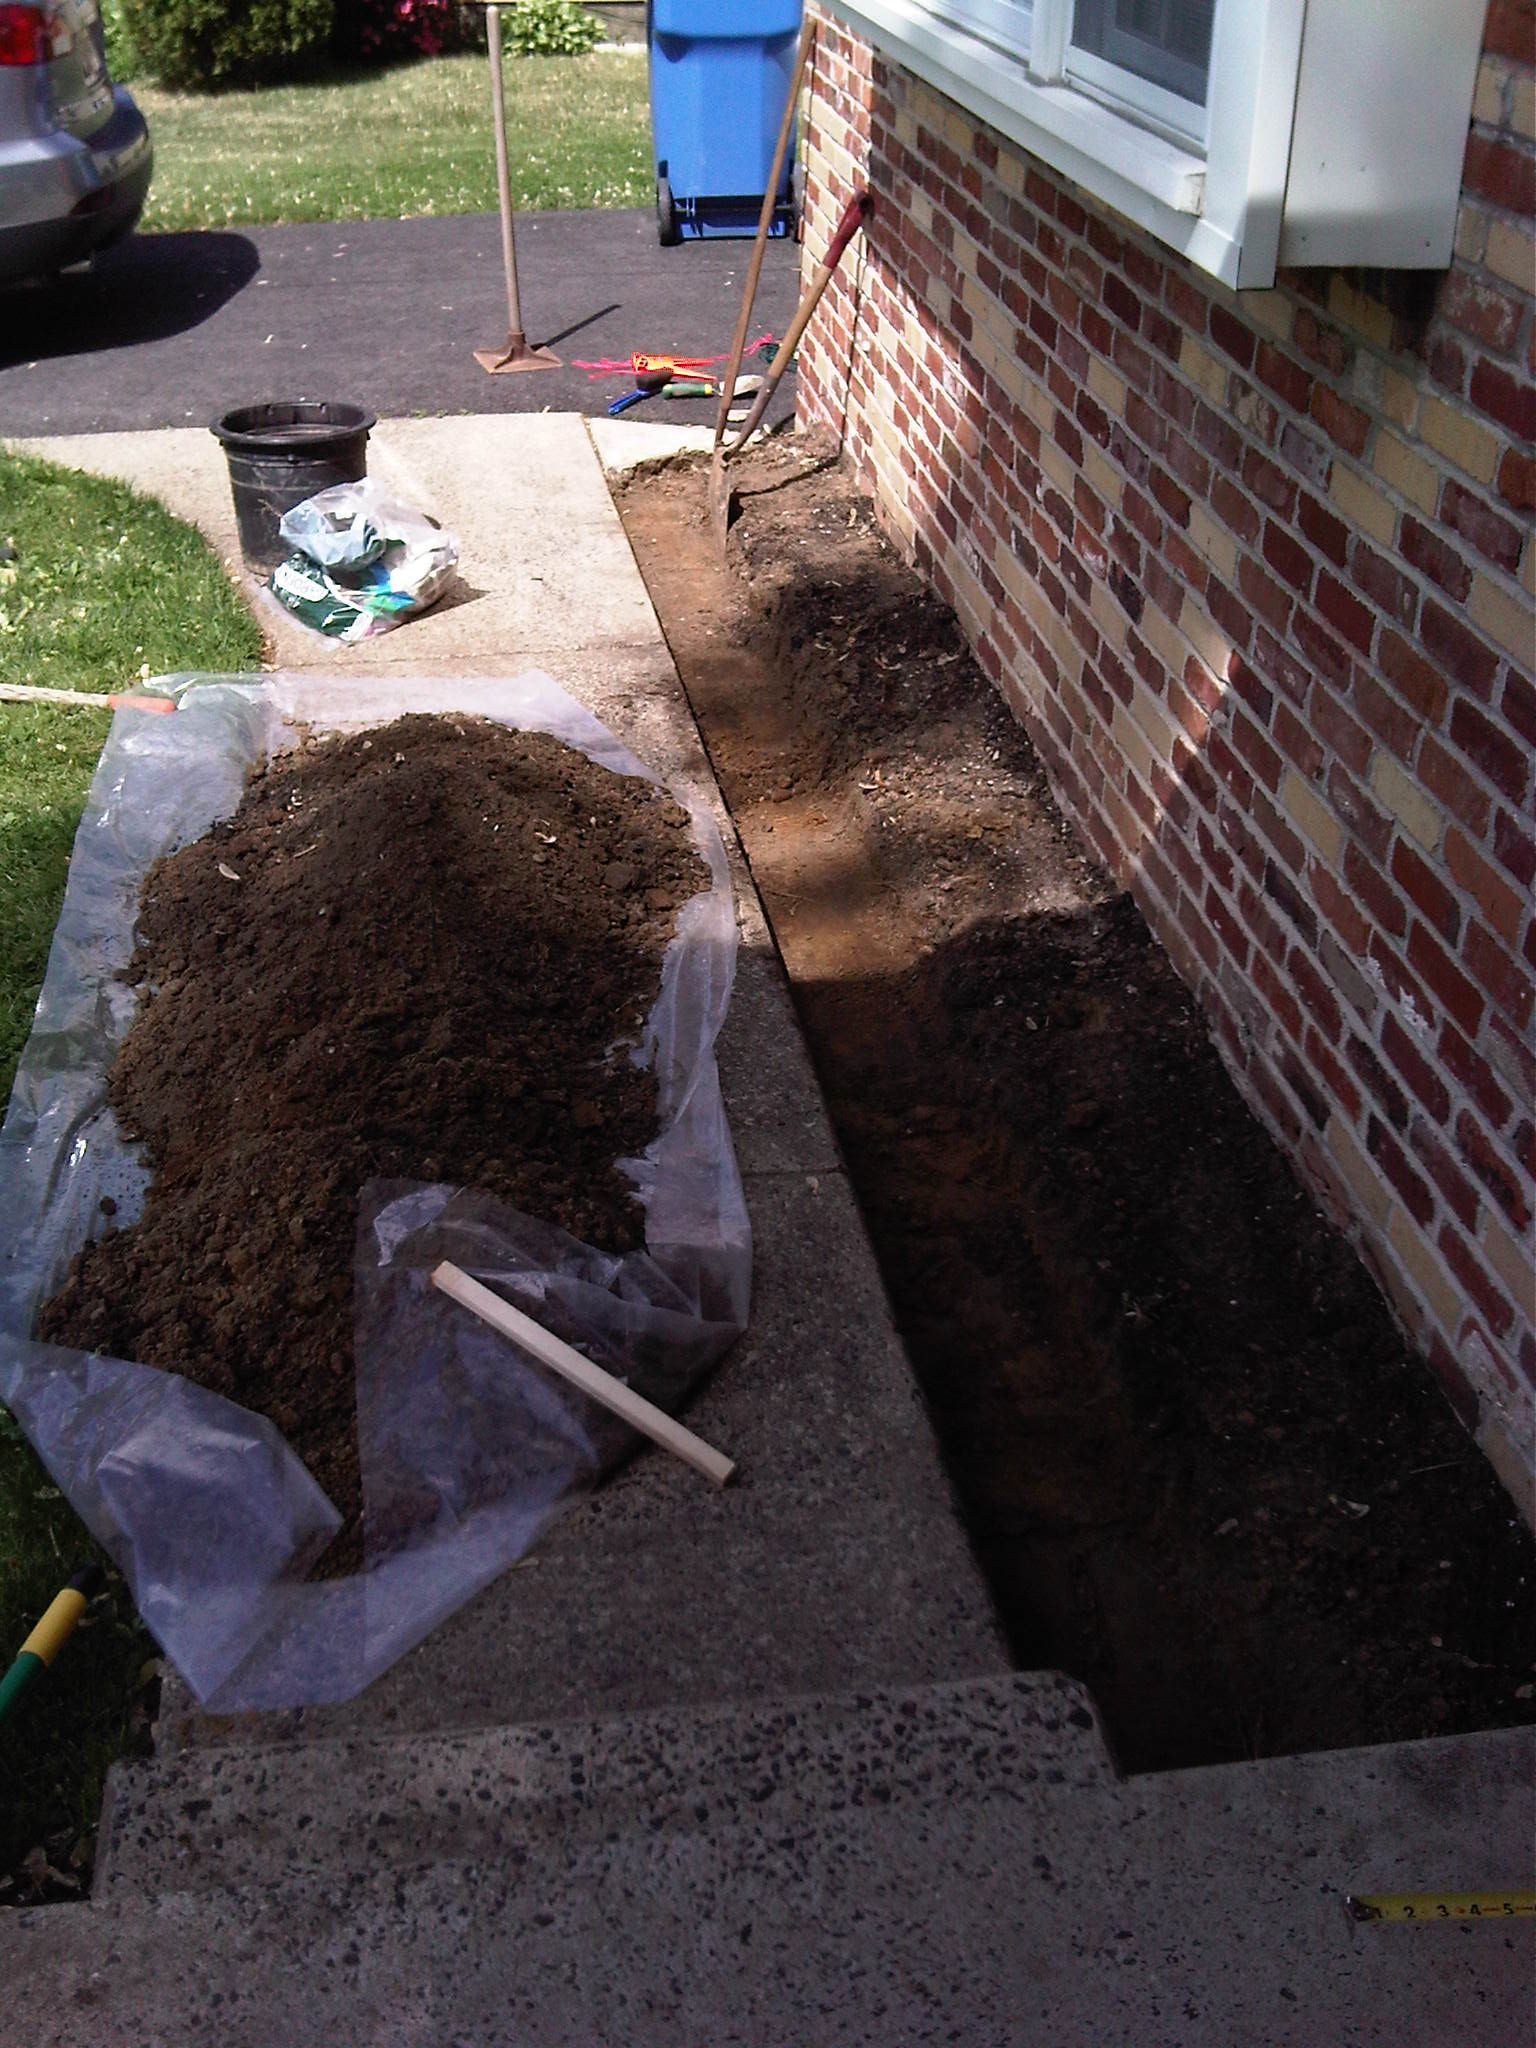
- Rough trench dug out.
-
- Leveling out the trench.
-
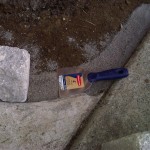
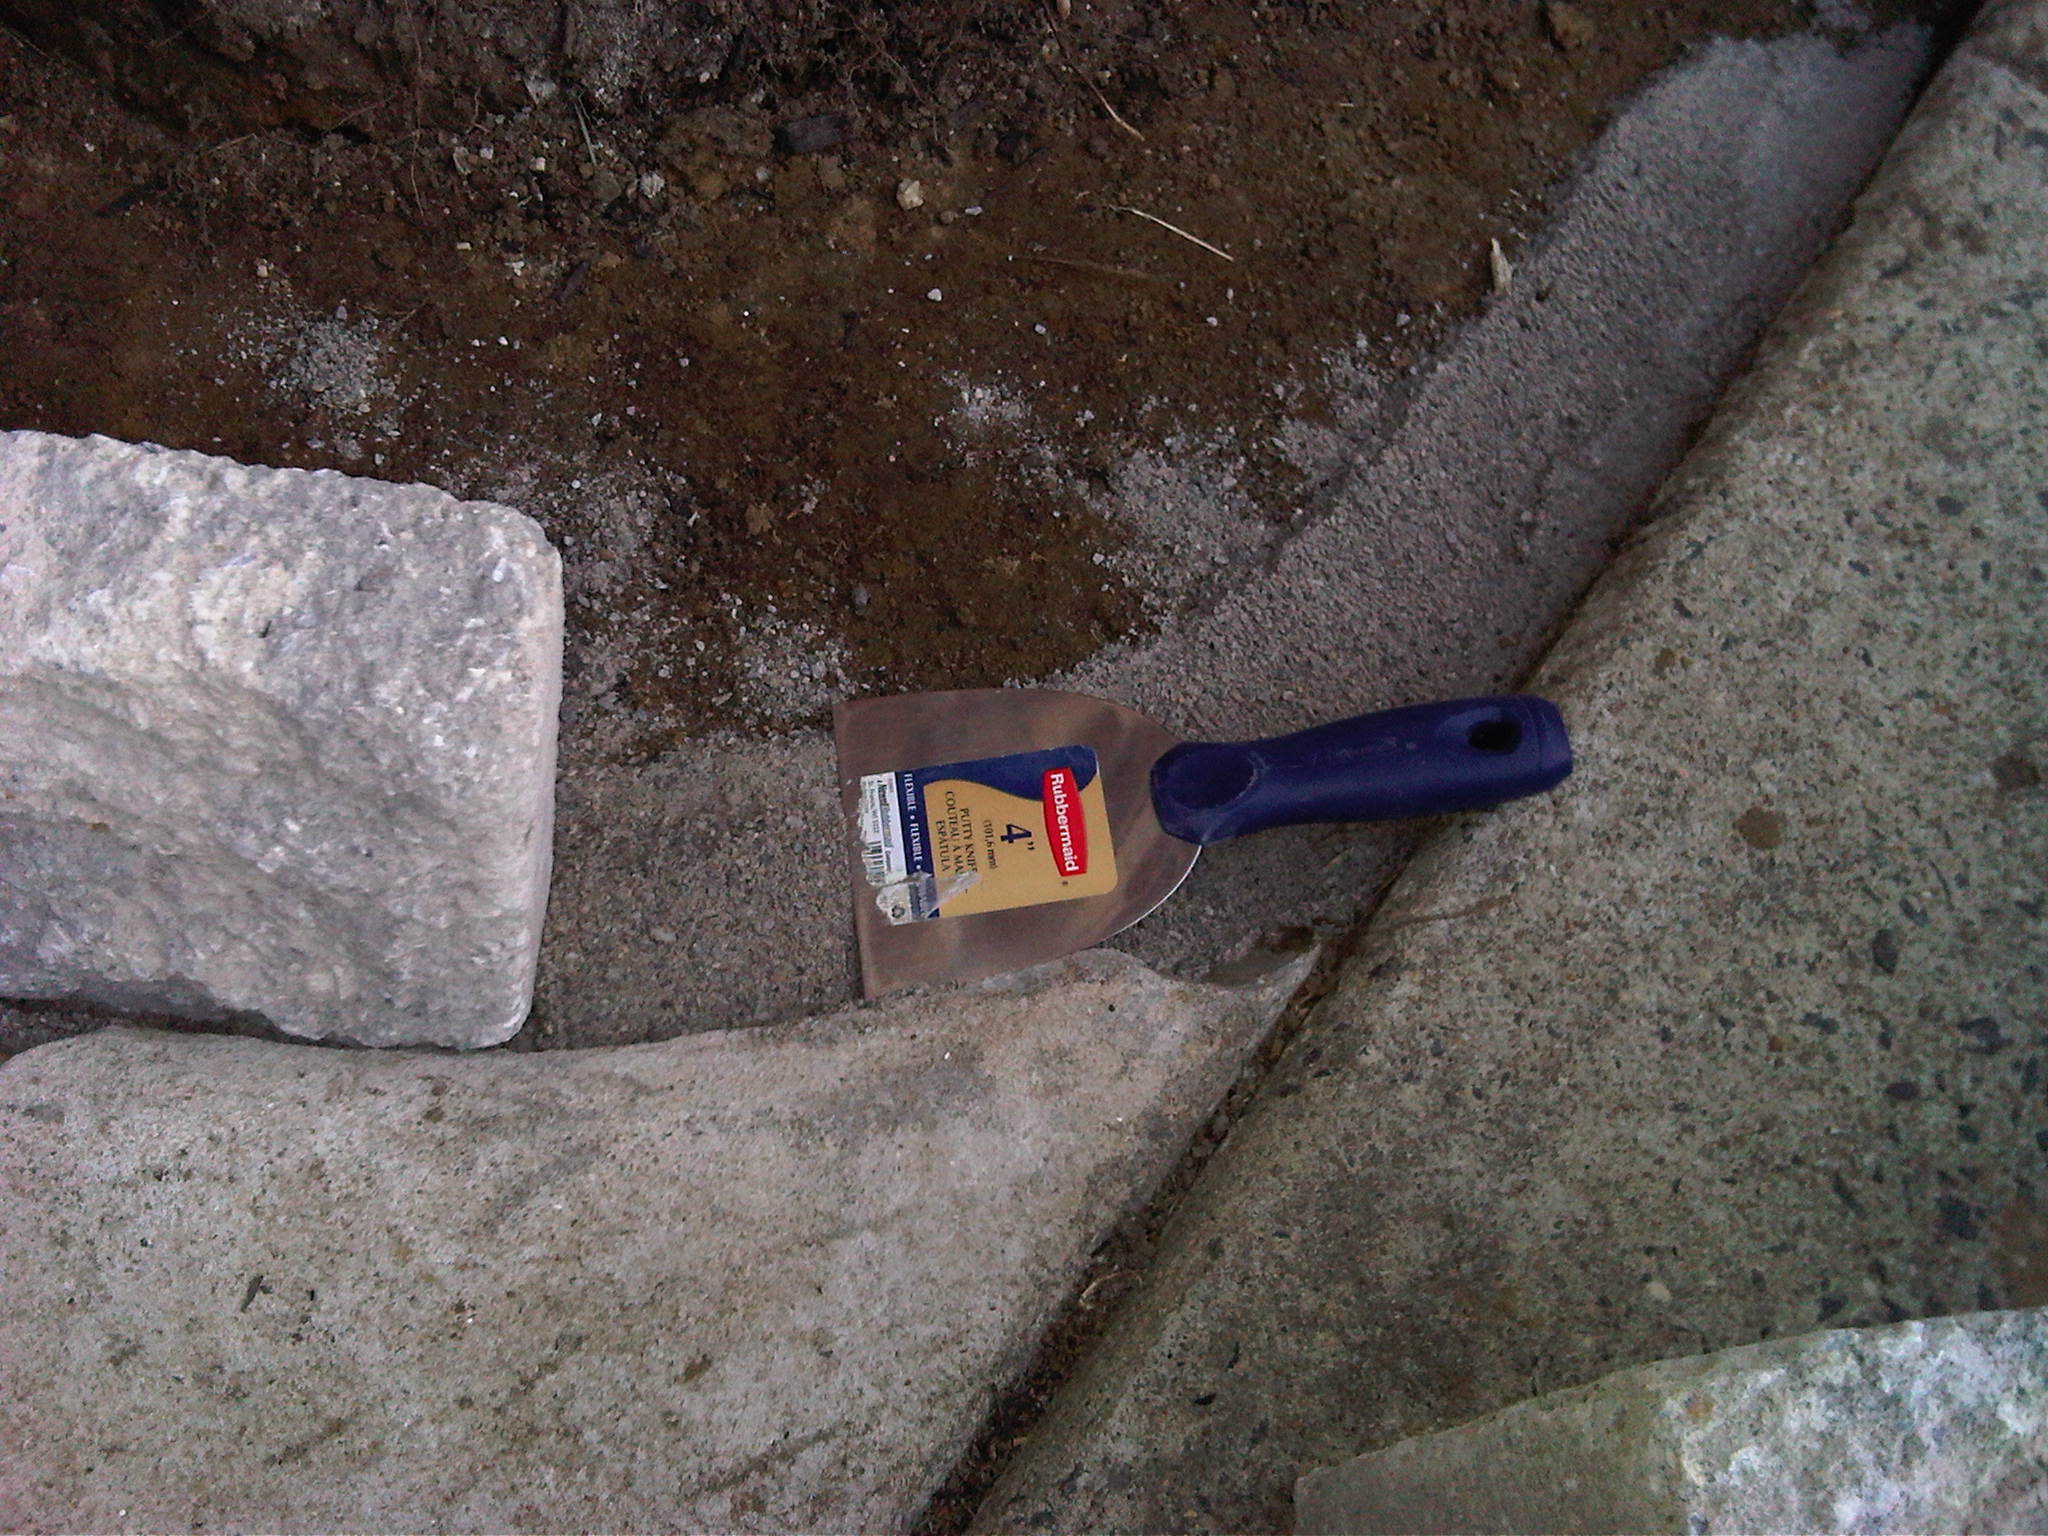
- Using a 4 in putty knife to level sand.
-
- Using end of 2 x 4 to tamp down sand.
-
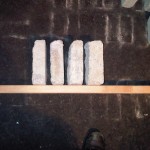
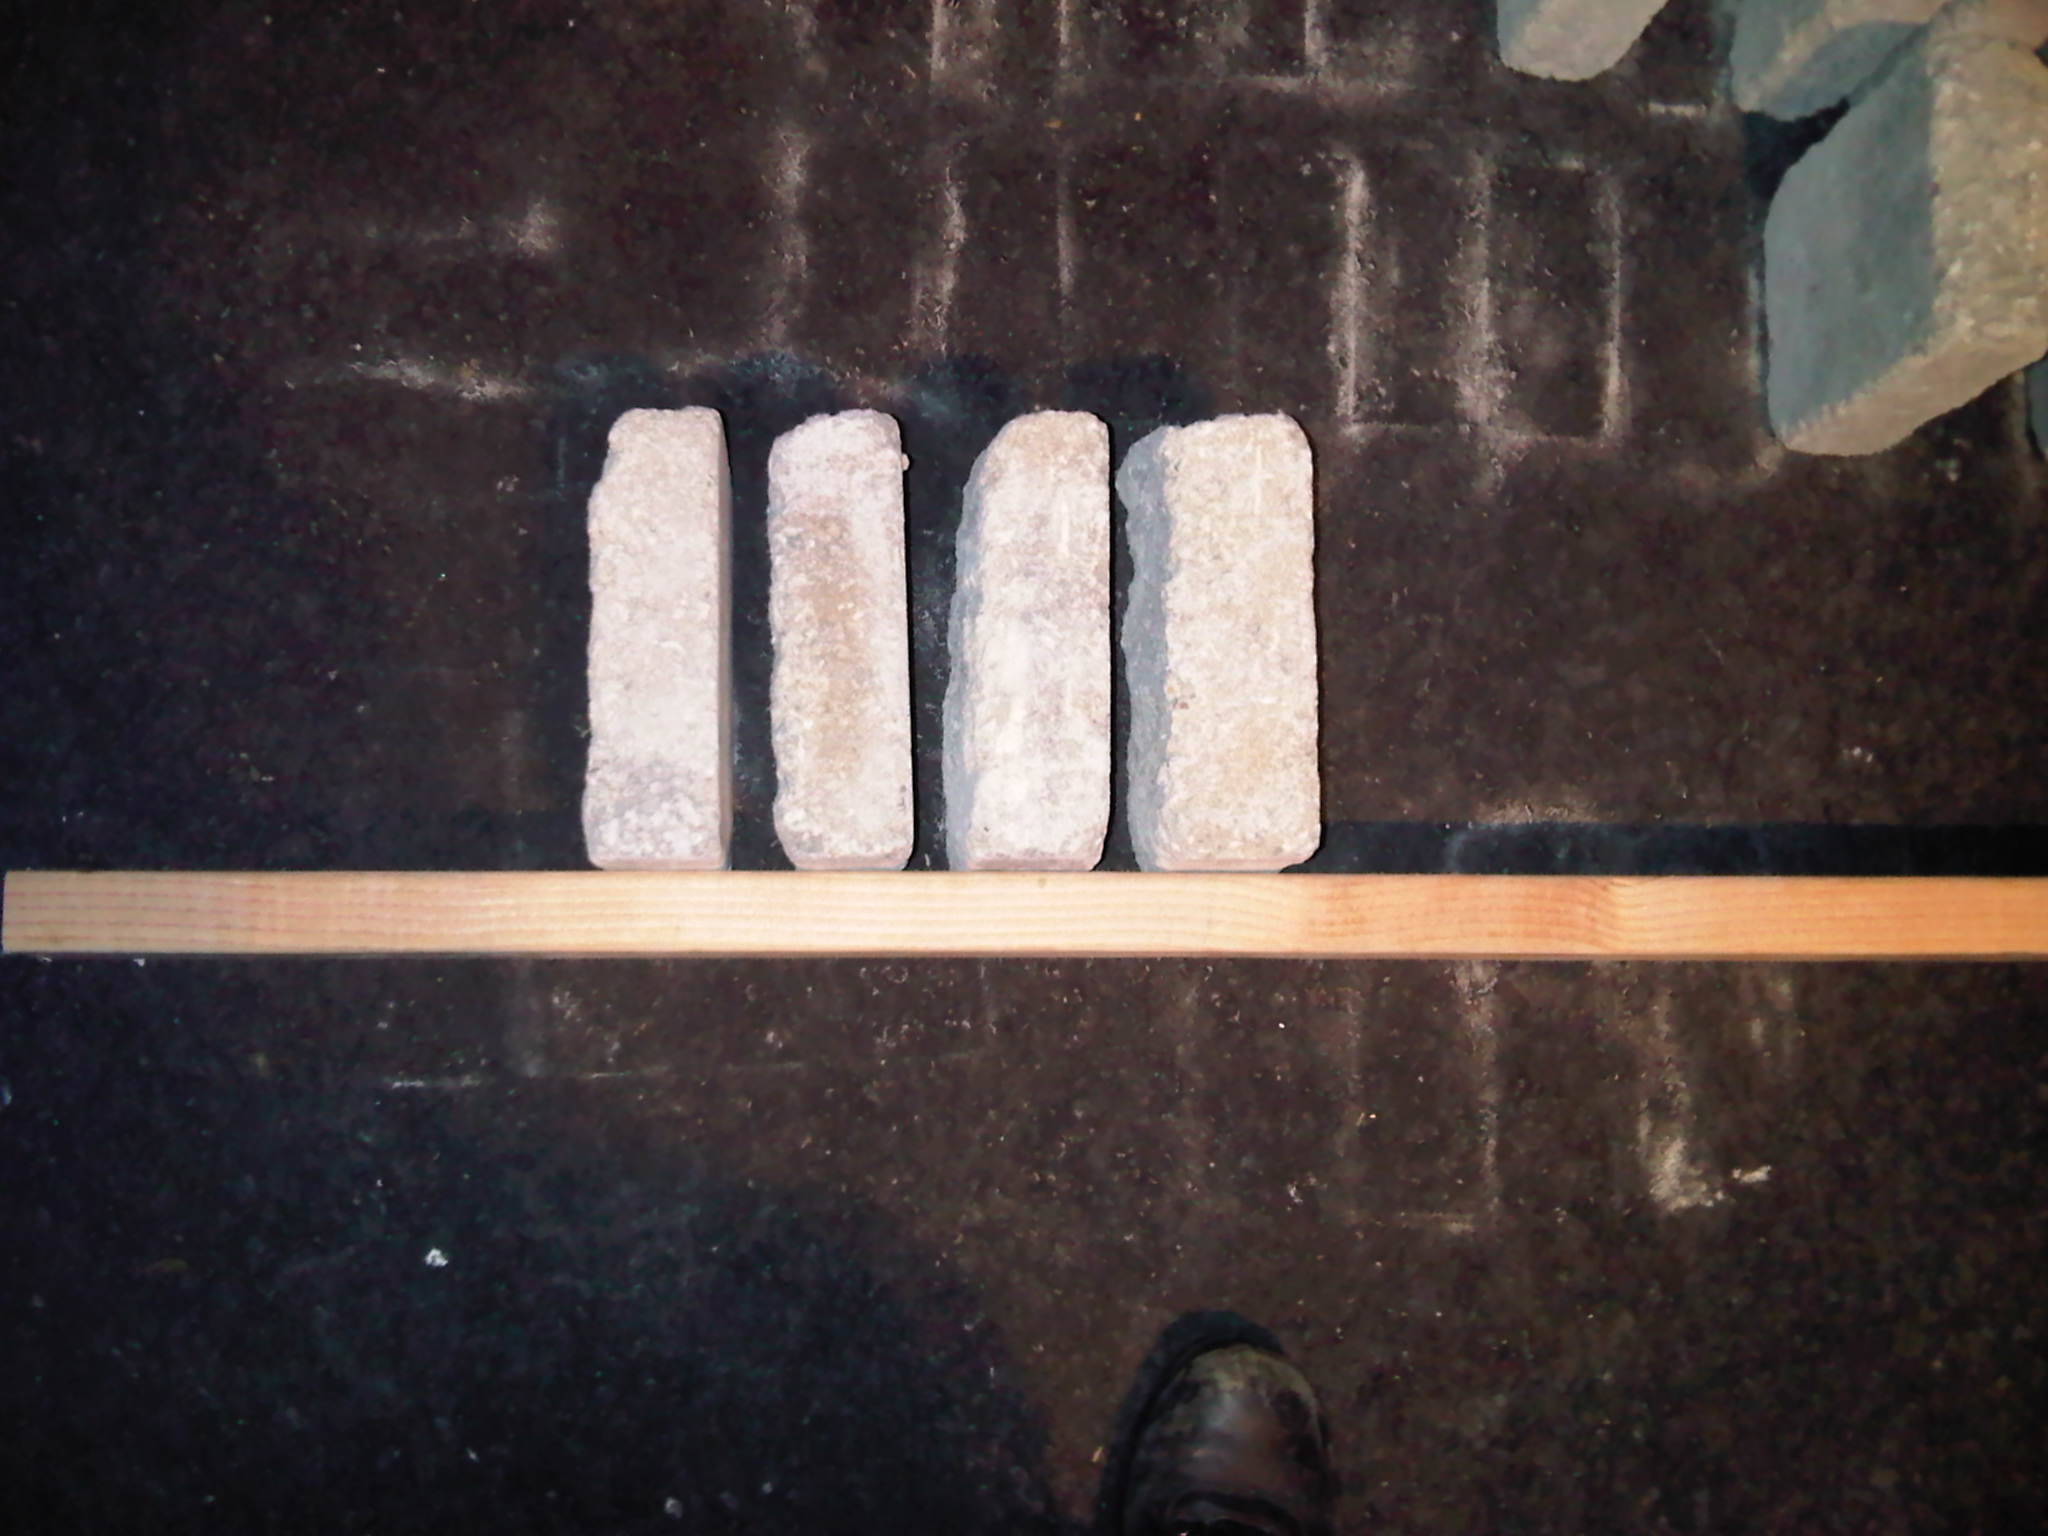
- Sizing up which blocks to use next to each other. They aren’t all identical in size.
-
- Using hand trowel to smooth out sand.
-
- More roots to dig out, adding time to project.
-
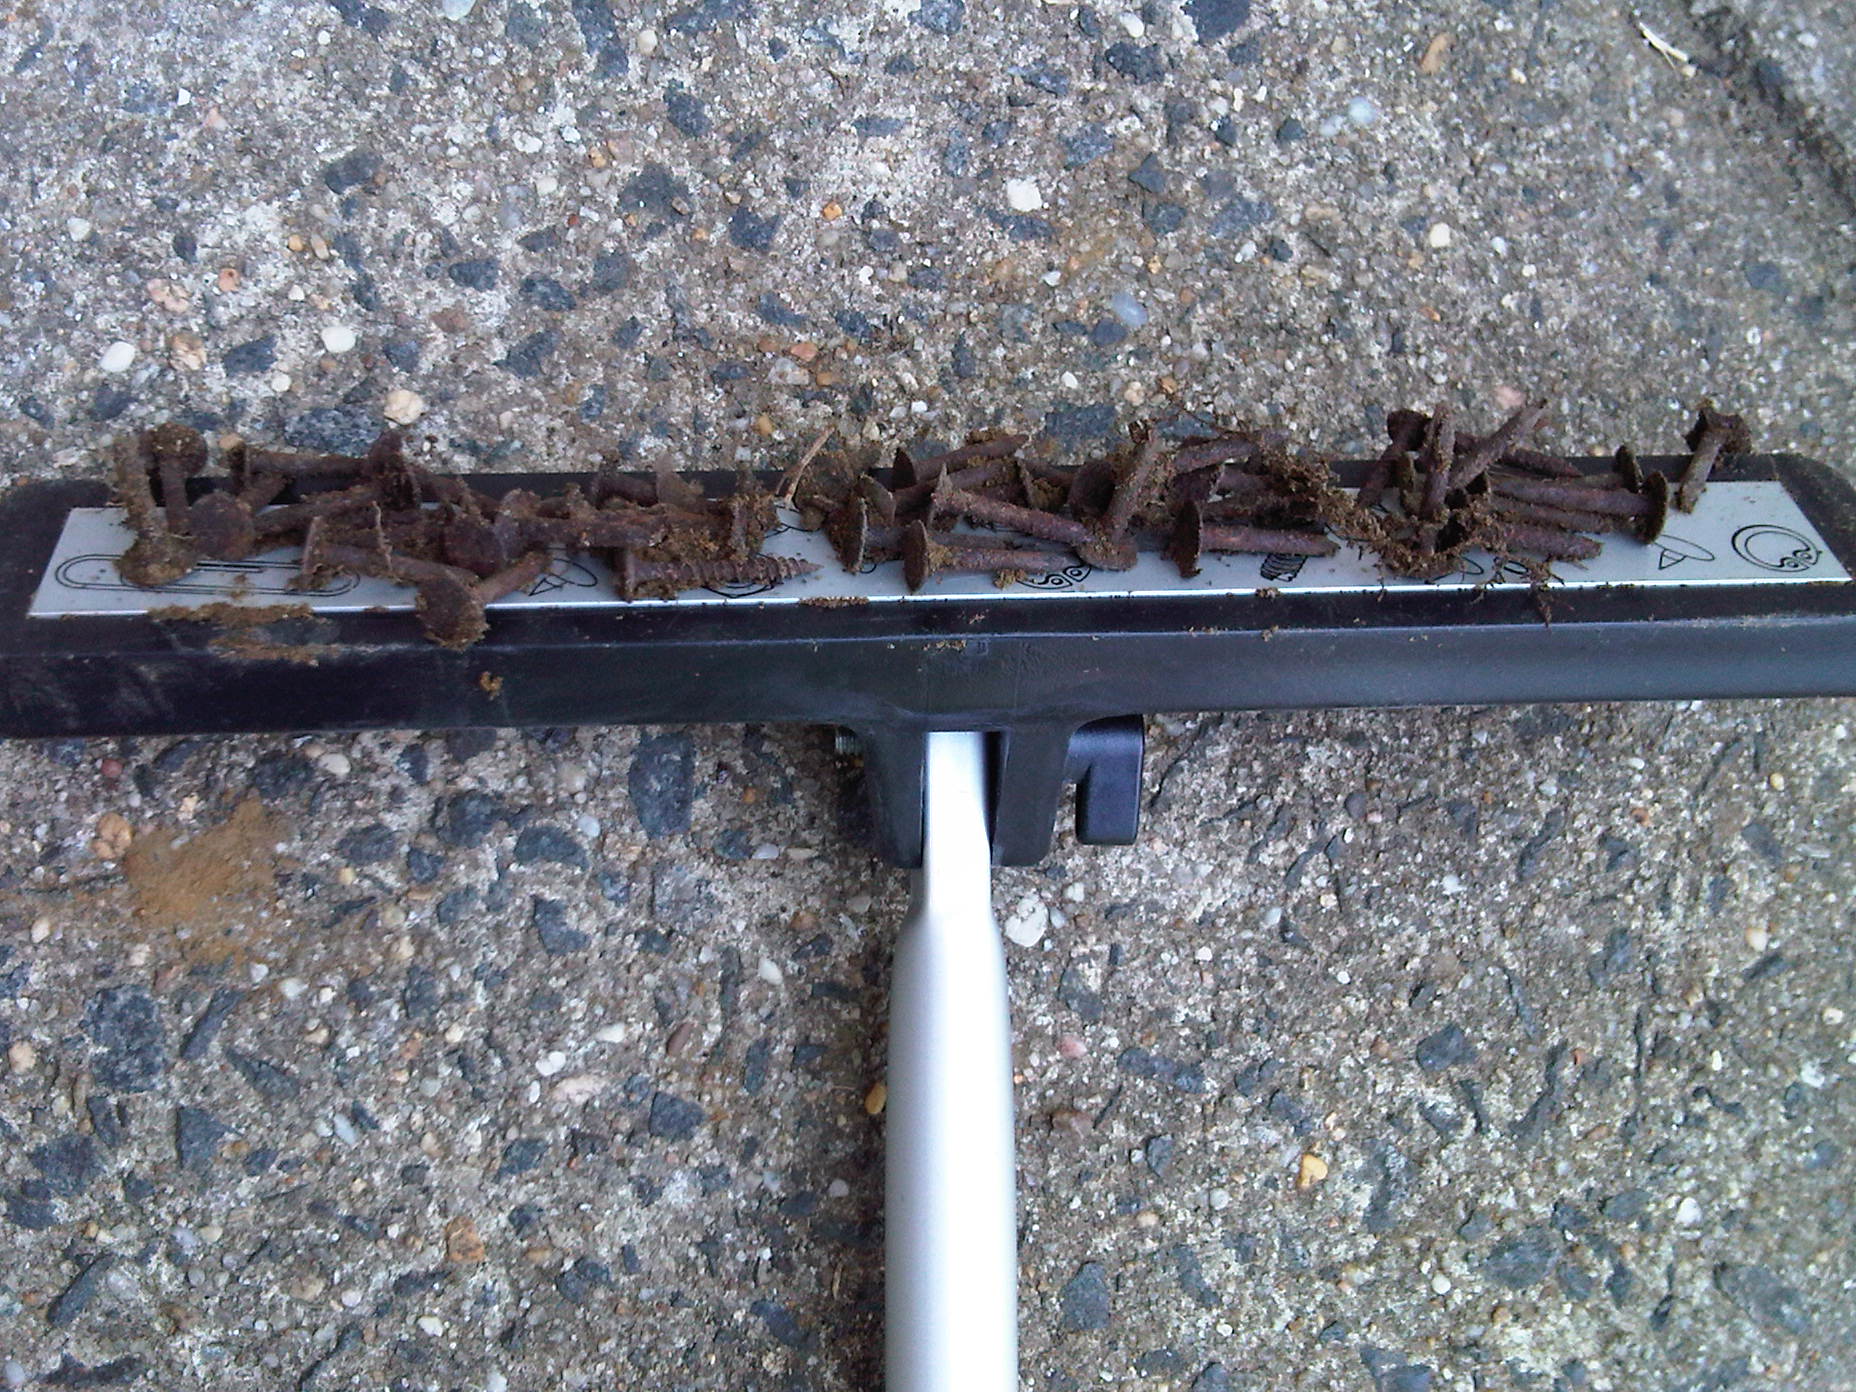
- I can’t believe how many nails and screws there were. One of MANY loadfulls.
-
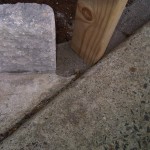
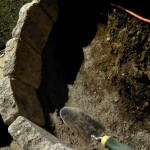
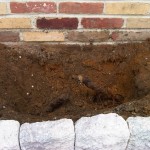
- This is what happens when you rush.
-
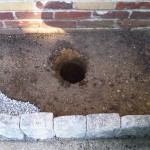
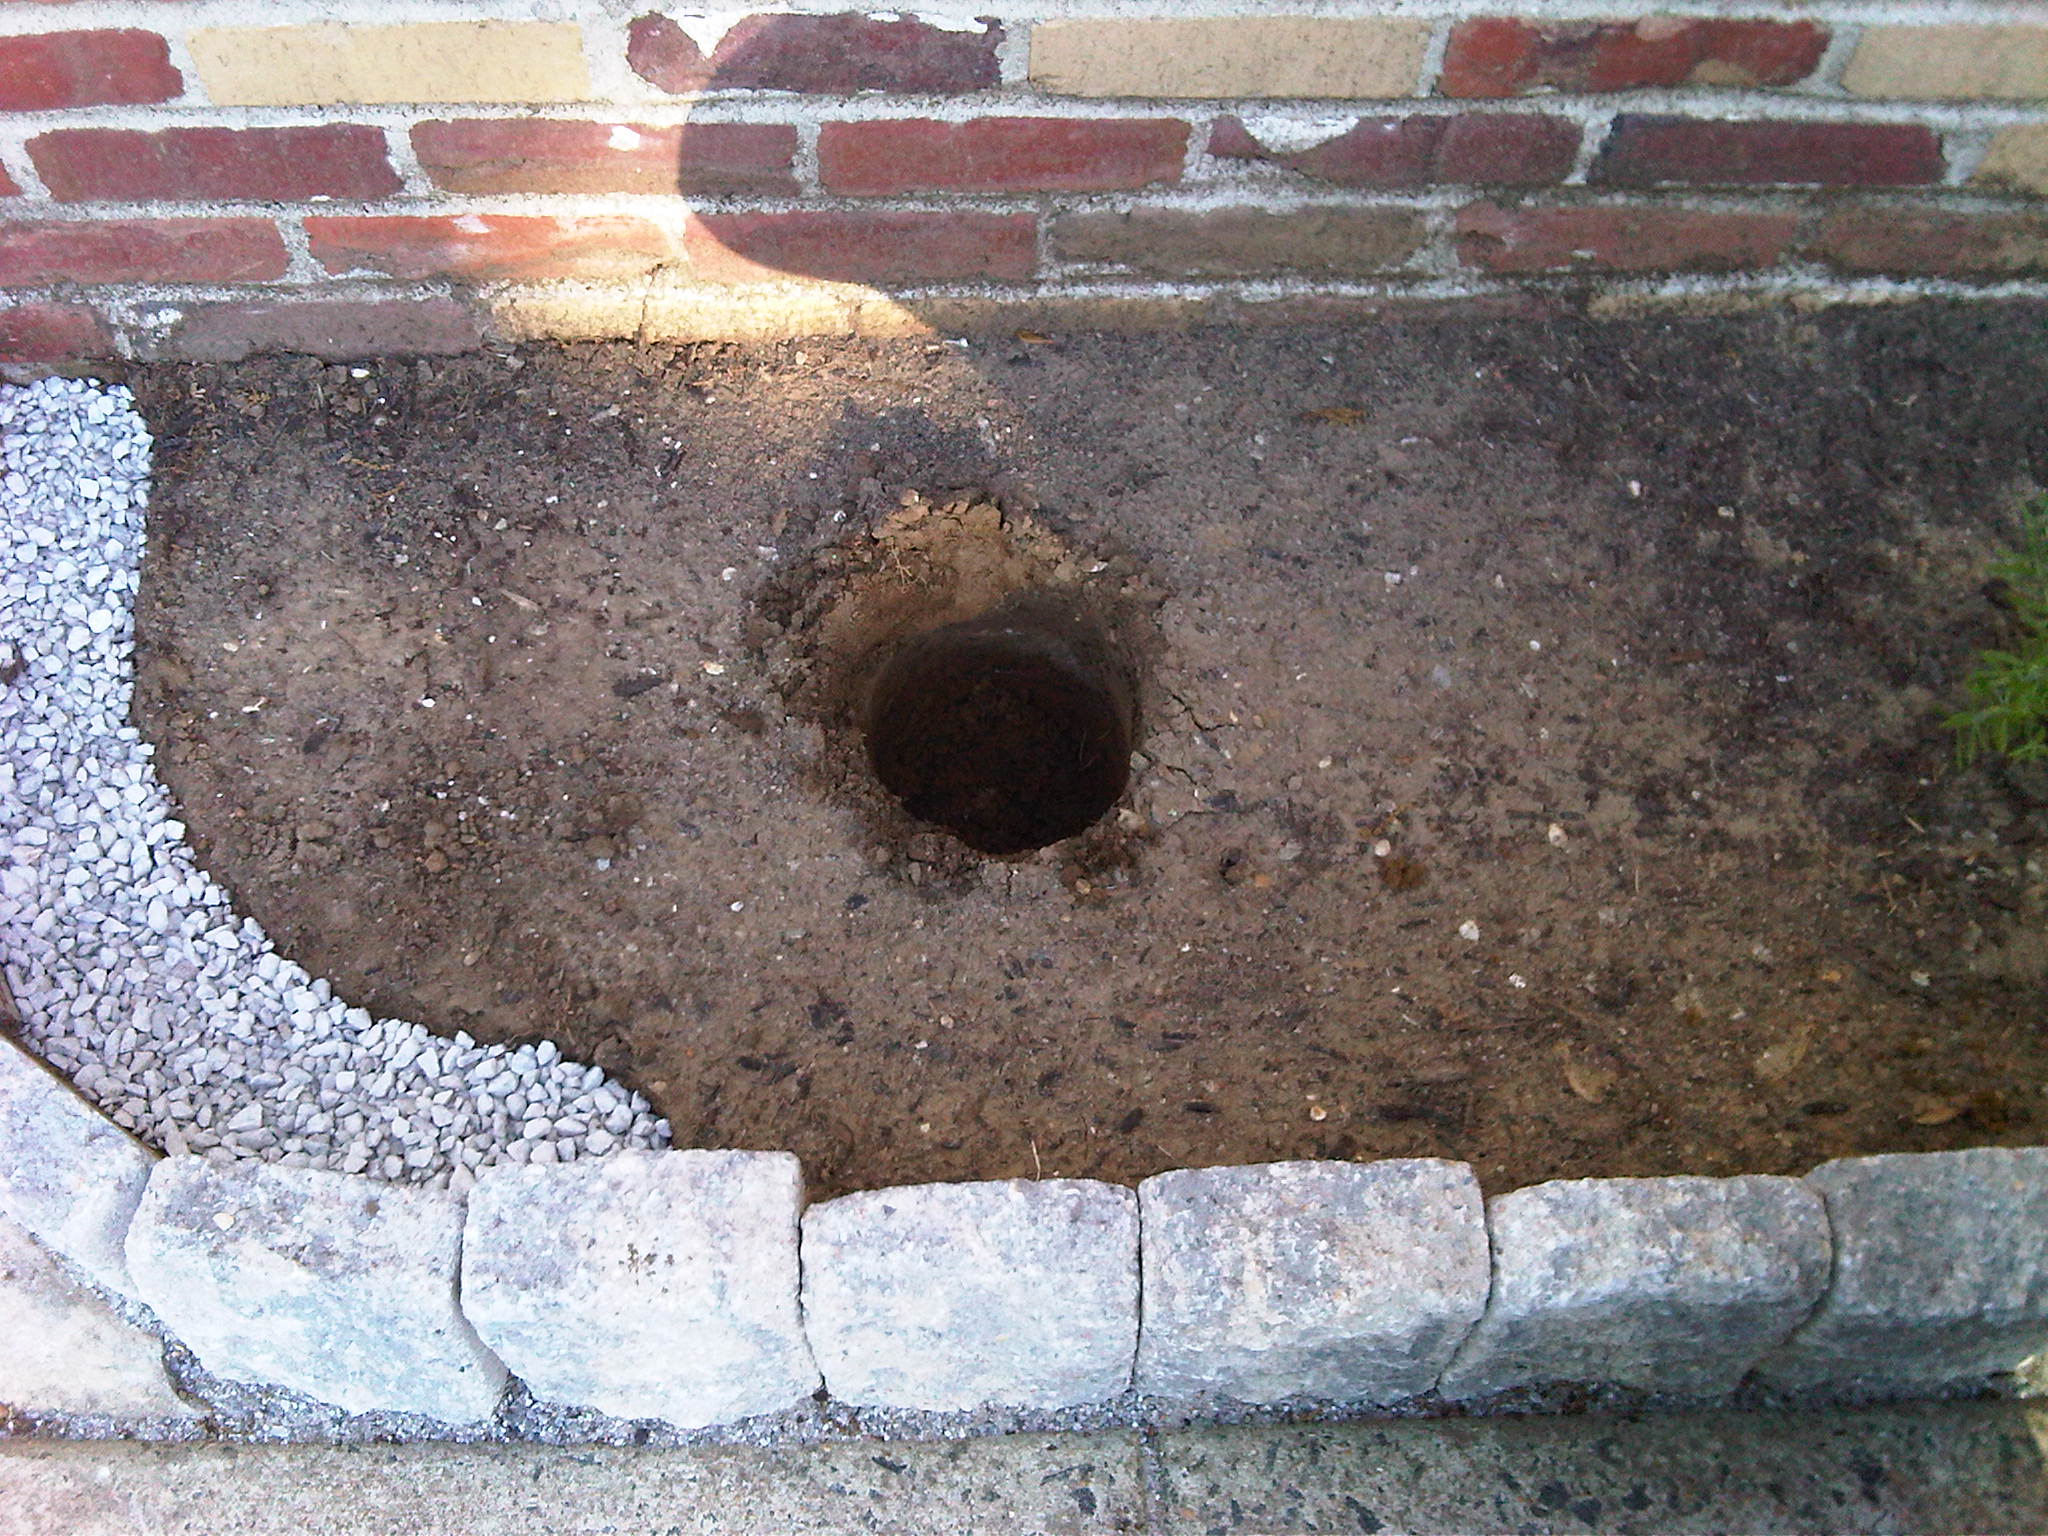
- Lining up where to dig the holes.
-
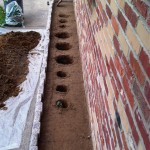
- 9 holes dug using hand trowel. Not fun!
-
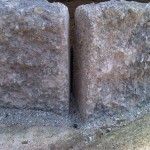
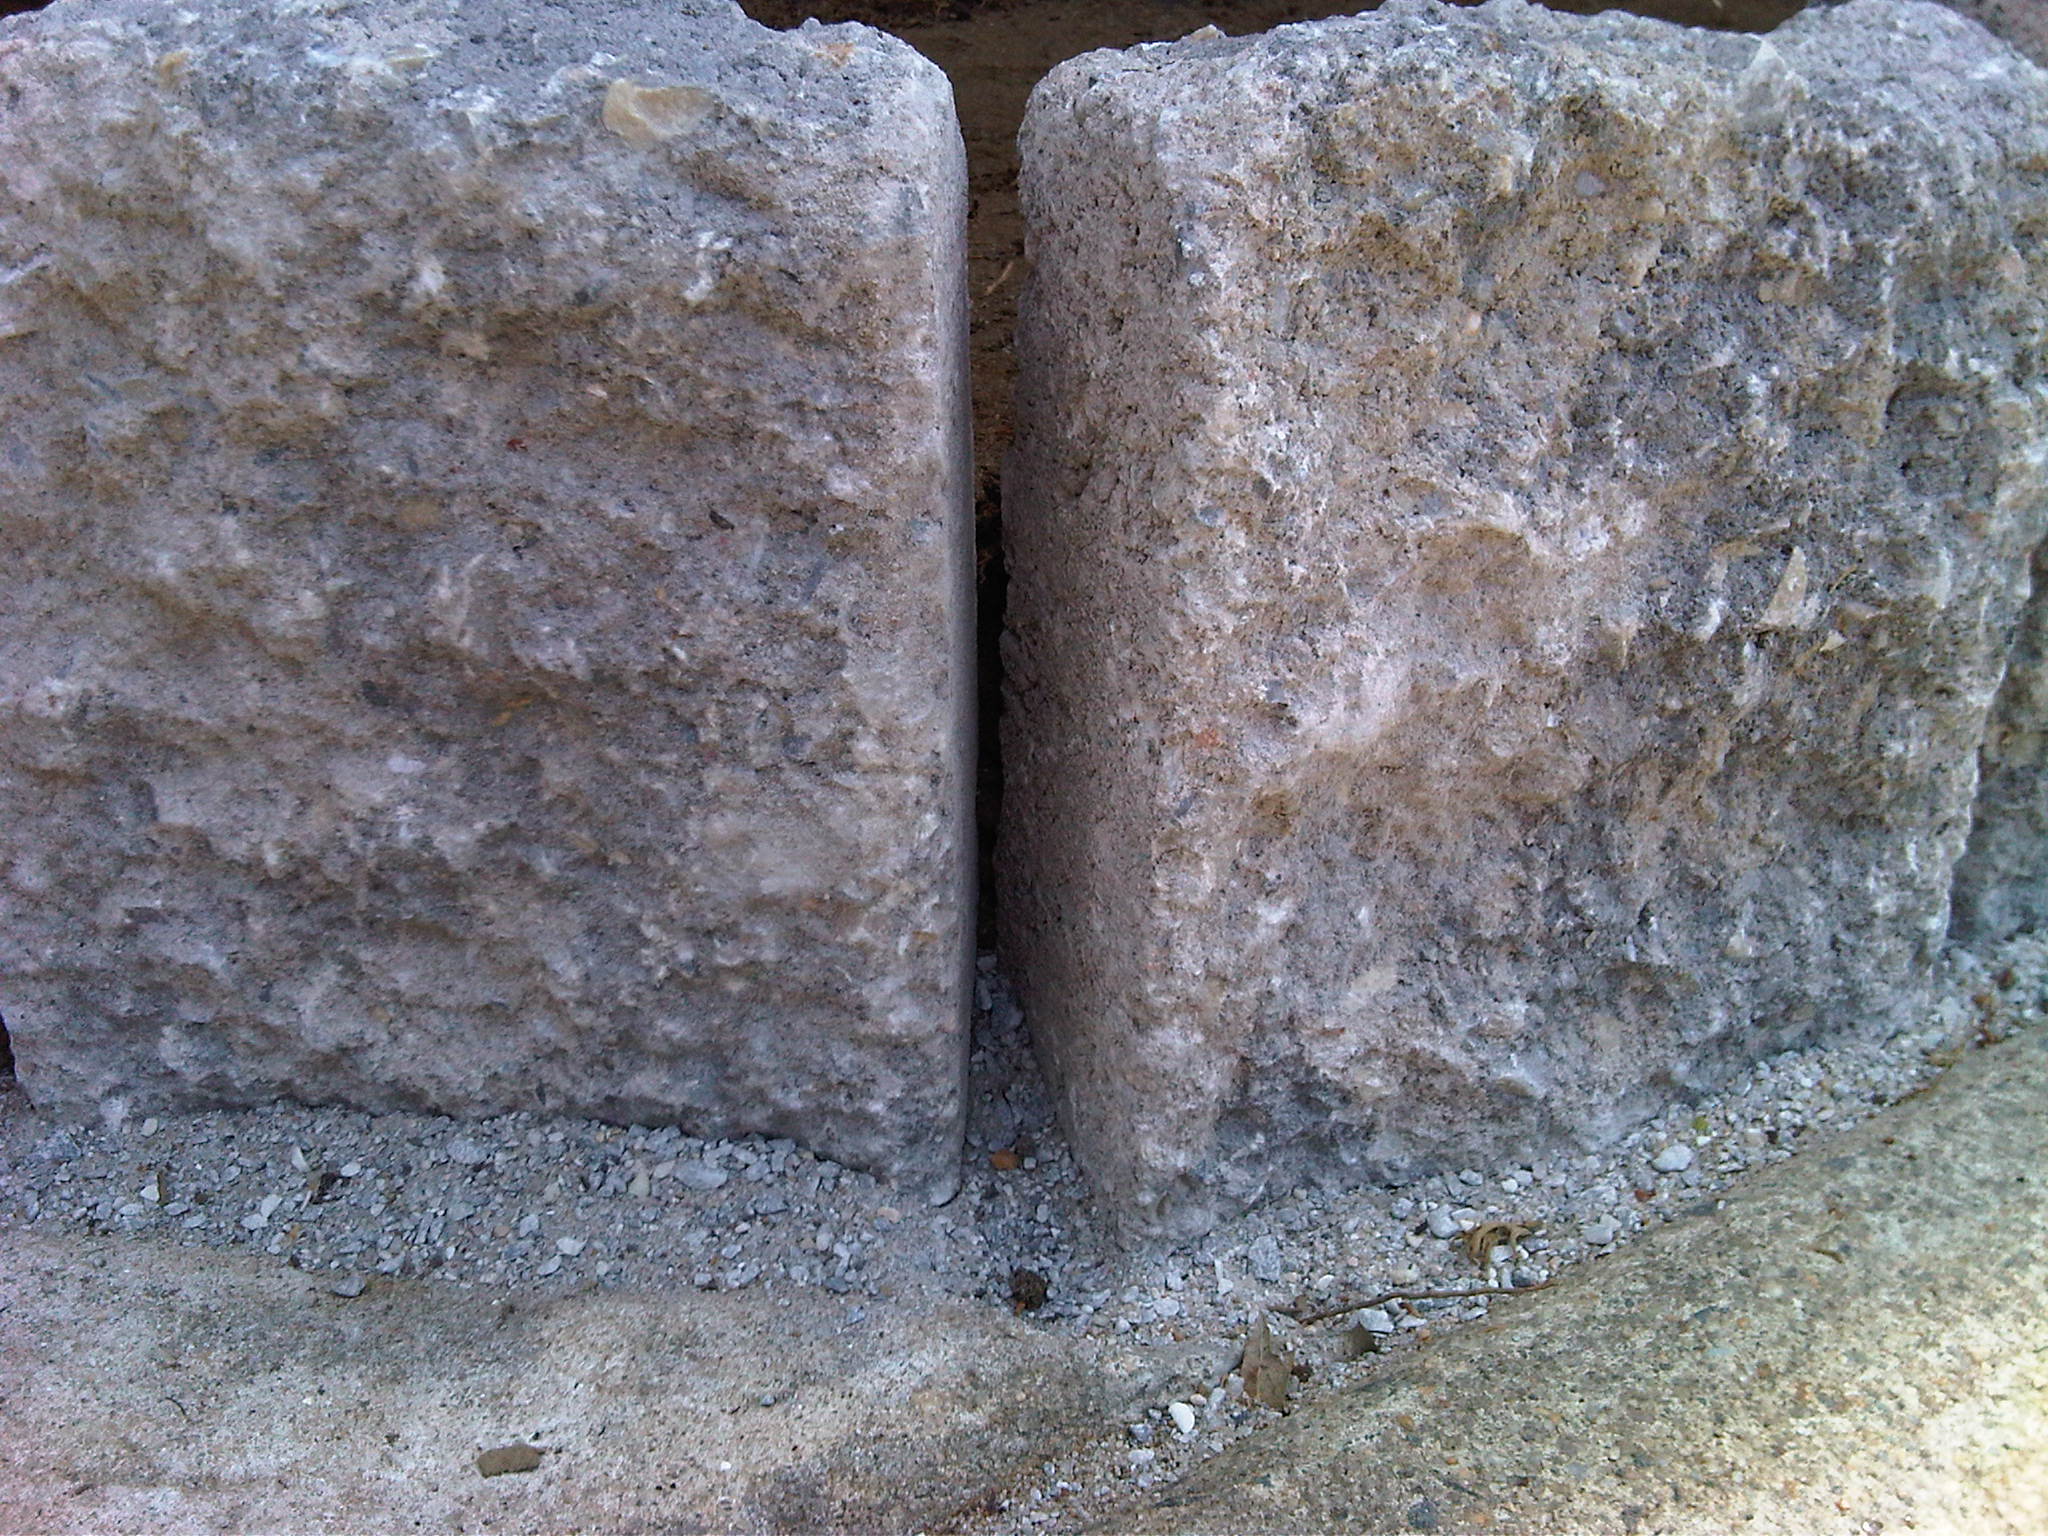
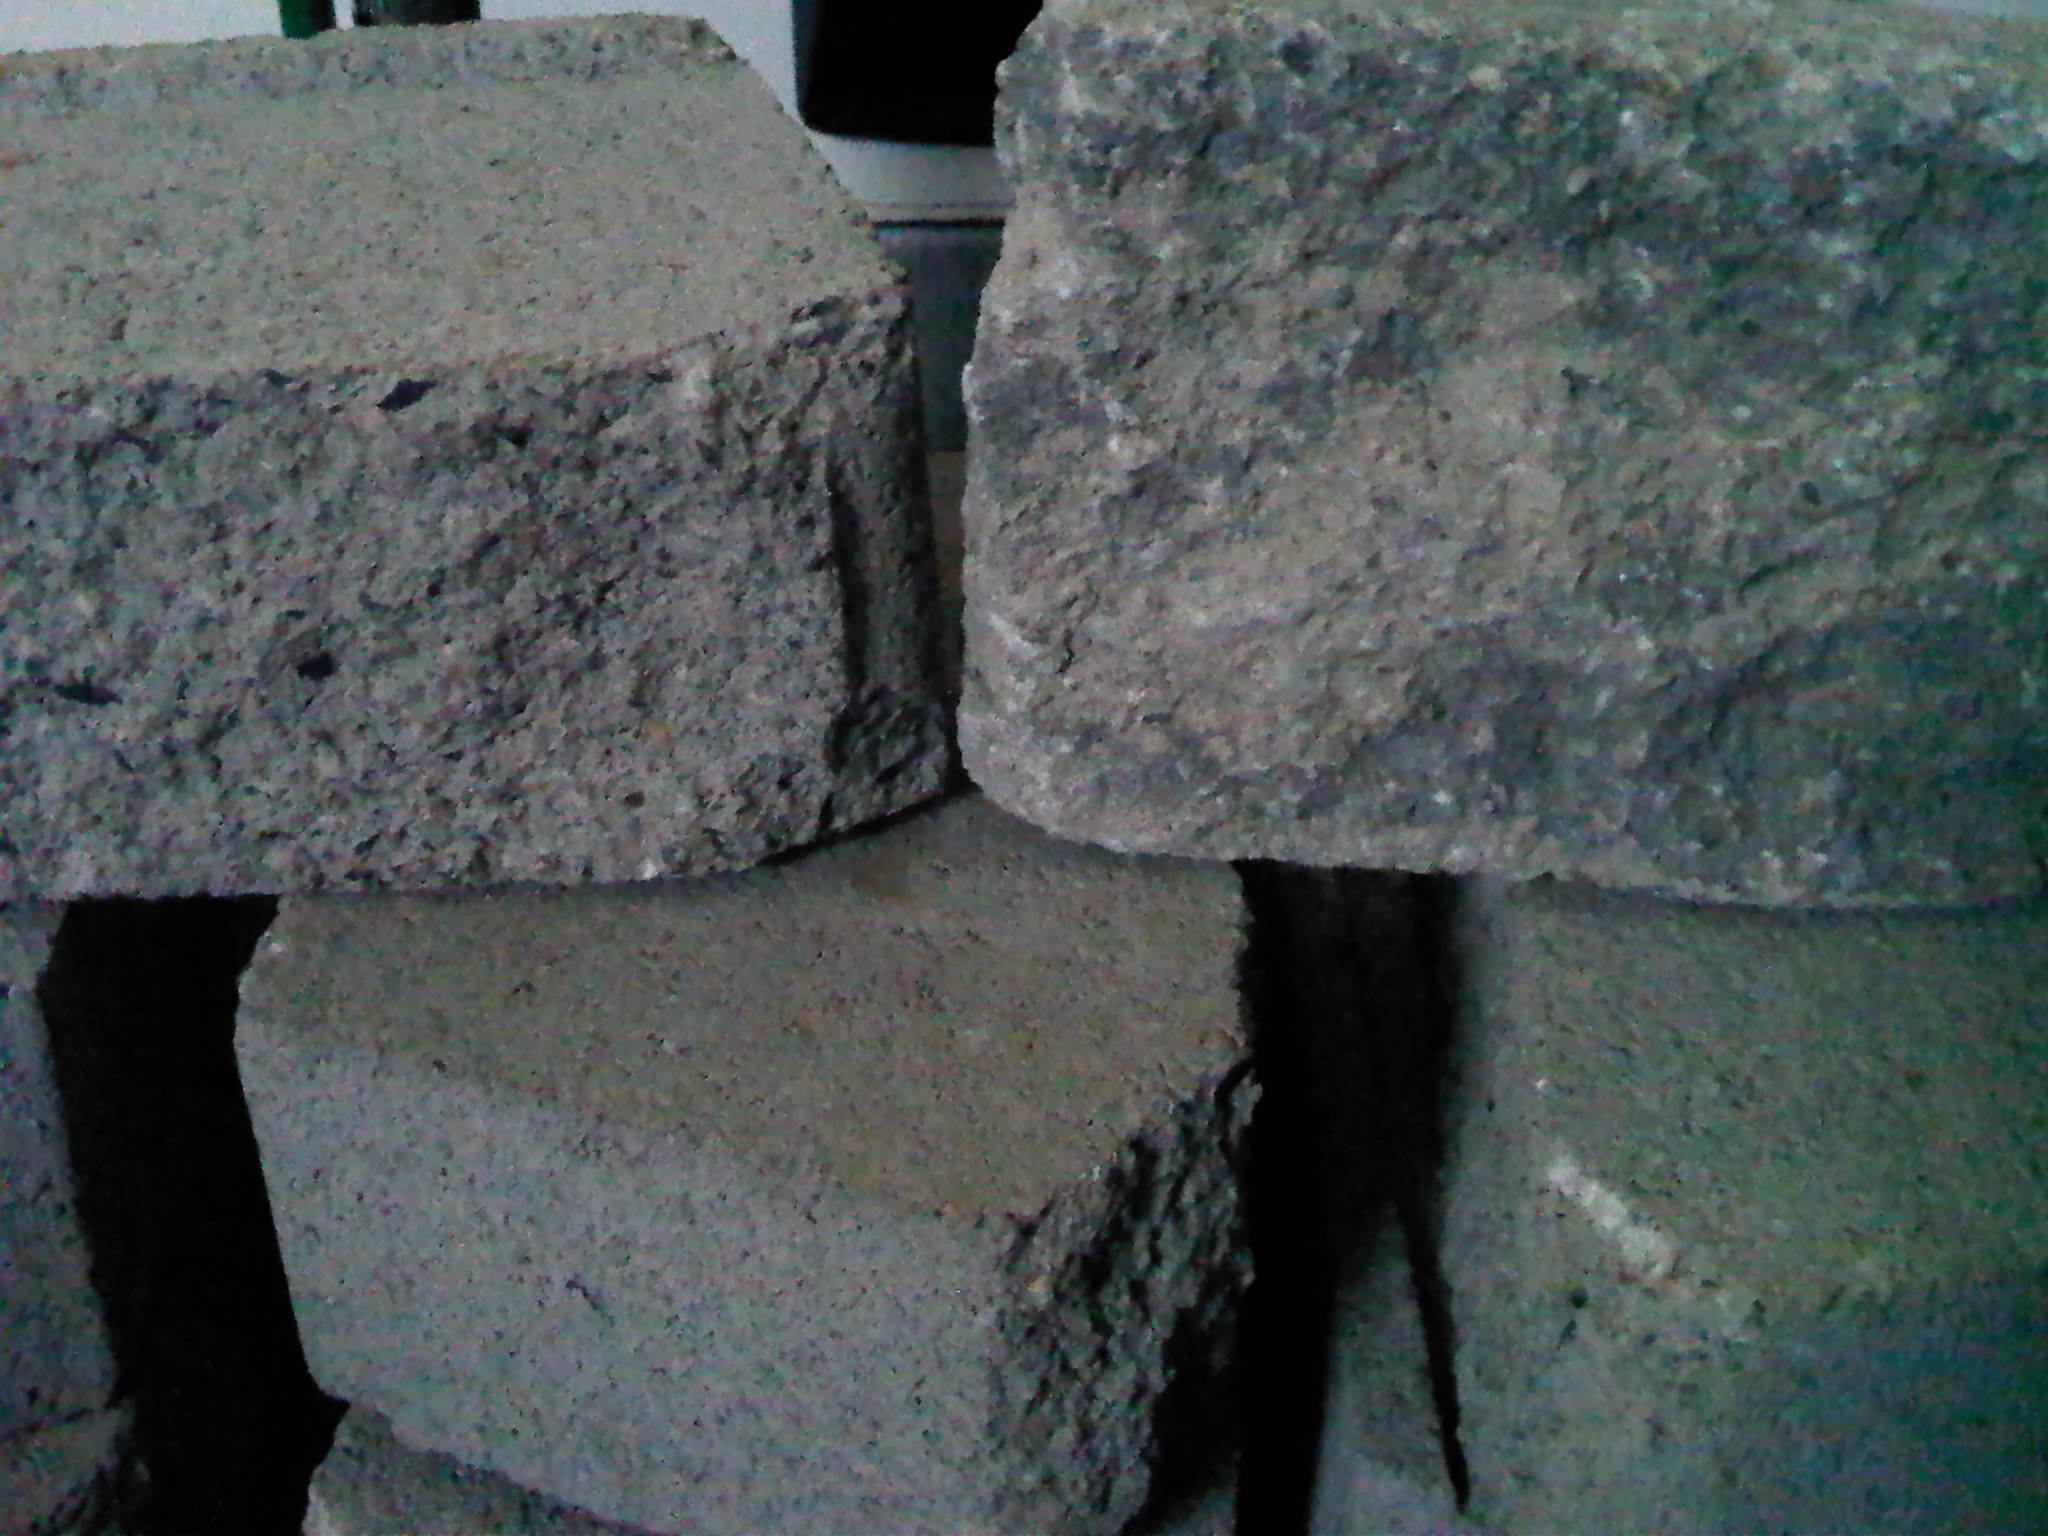
- Edgestone (R) color matches my retaining wall blocks (L).
-
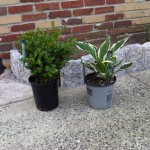
- 9 plants weren’t enough, so I got 2 more–boxwood and hosta.
-
- Trying to fix my mistake without redoing everything.
-
- I wish I had used this starting with the first hole.
-
- A nice round hole, courtesy of post hole digger.
-
- I didn’t think it’d take over 2 hours to lay the fabric!
-
- Almost done. . .
-
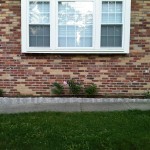
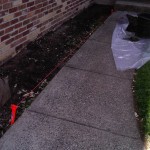
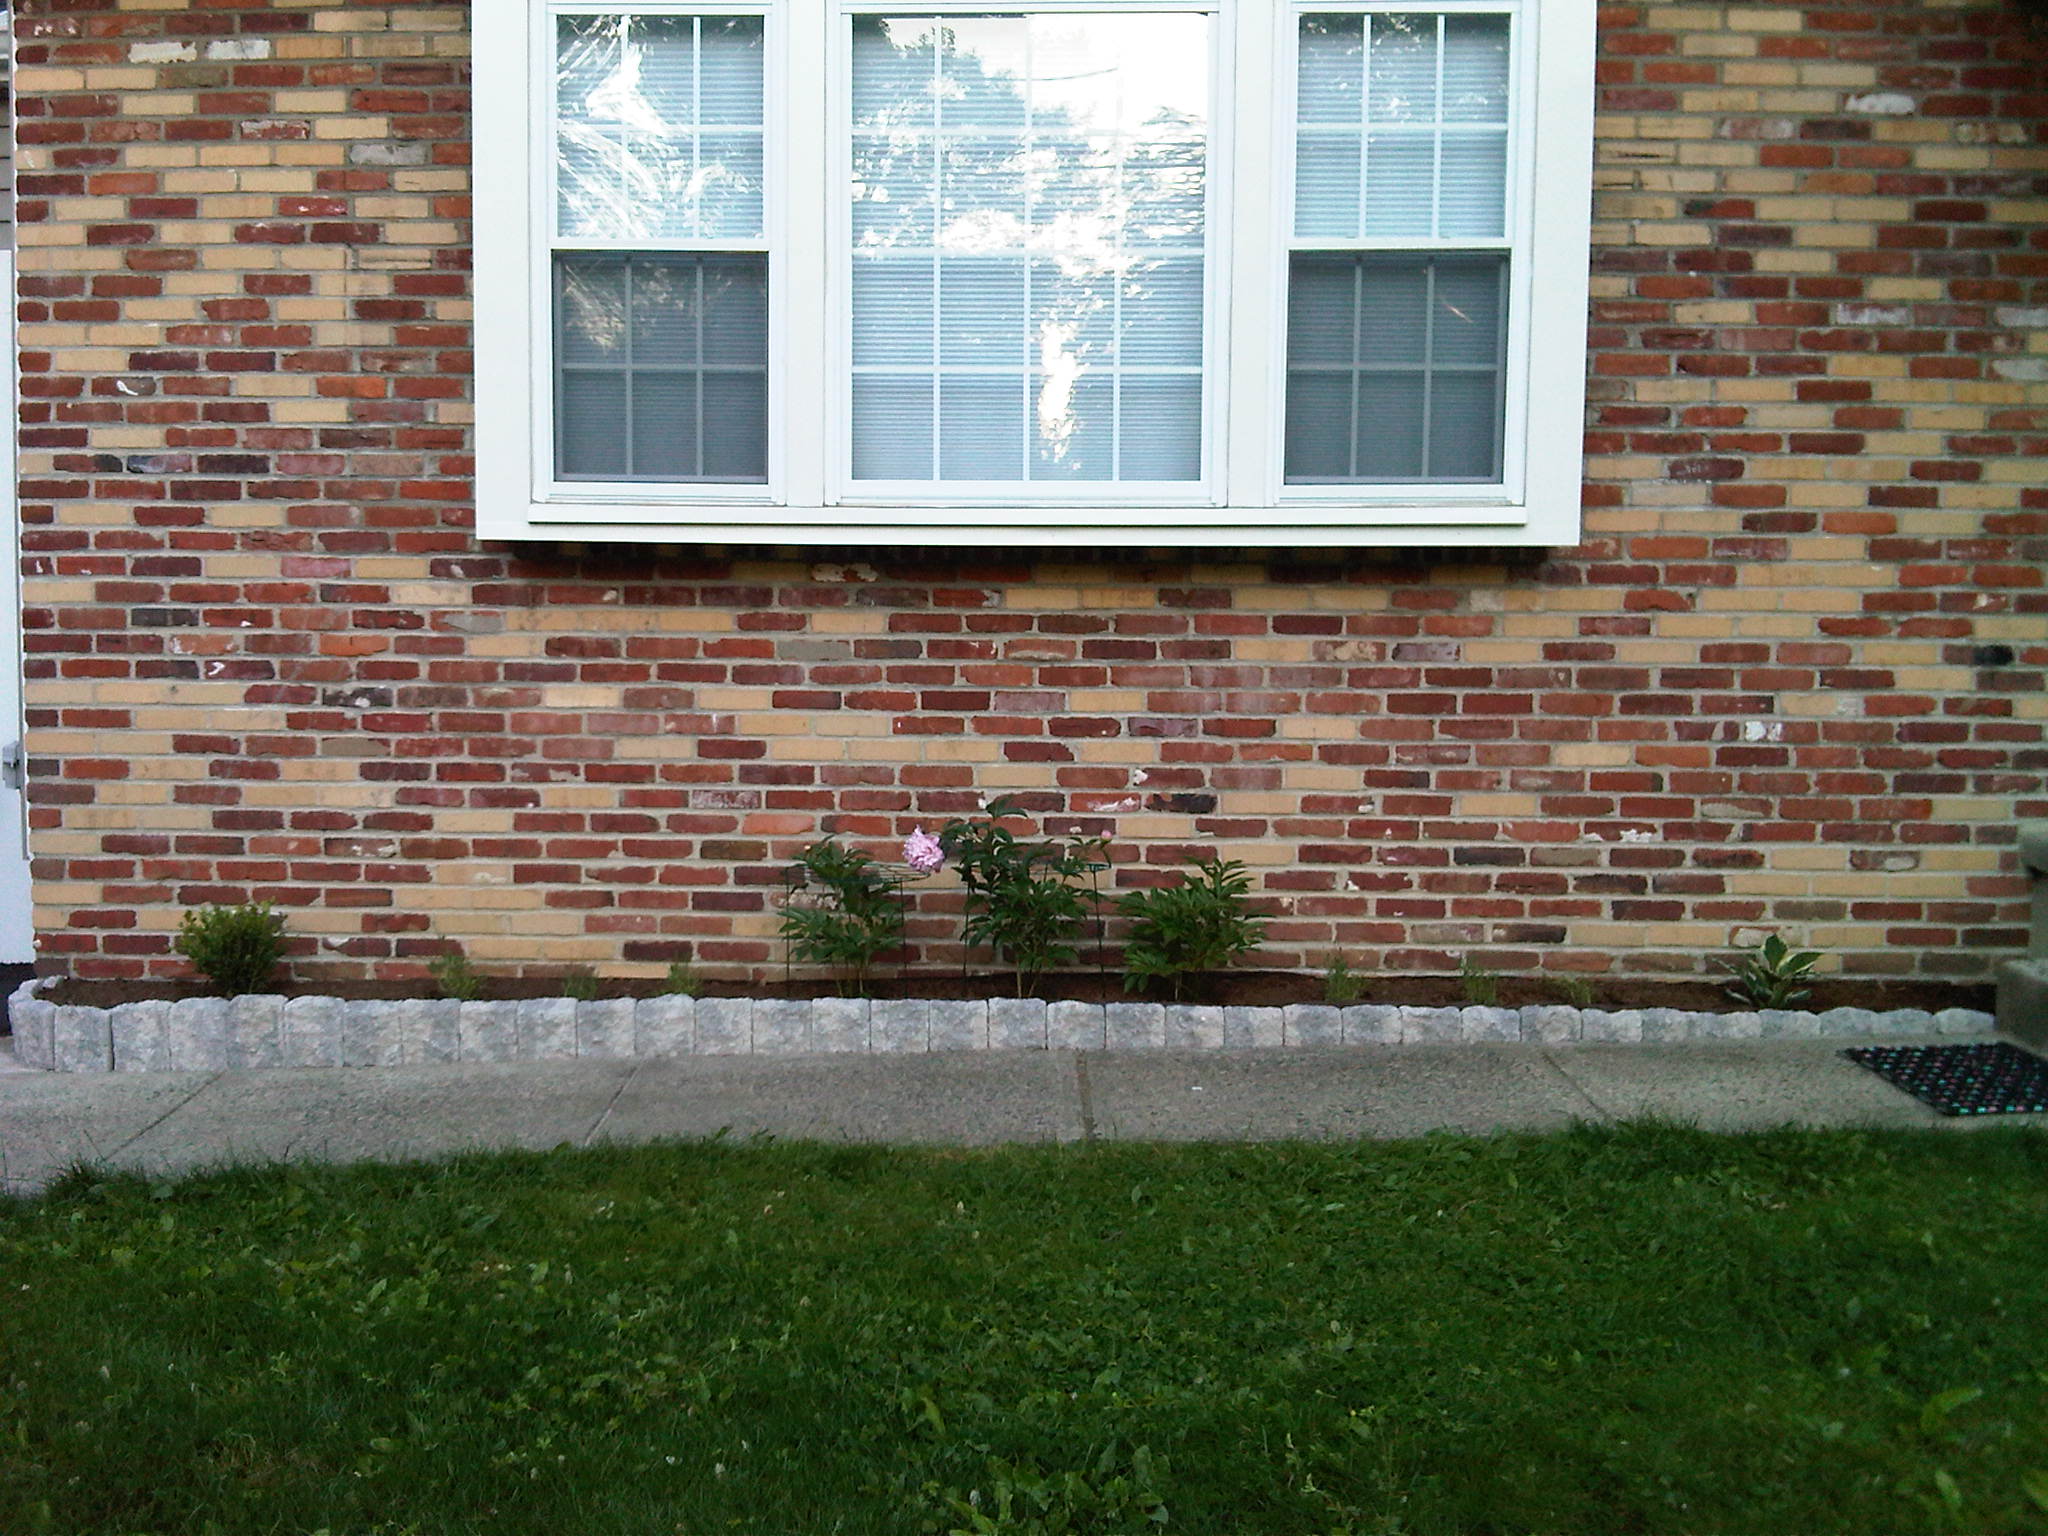
- Done! Now I have something nice to look at when I walk to the door.
EP Henry Coventry Edgestone in pewter blend (gray): 8 in H x 6 in W x 2 ½ in D (approx size since these are made to look like natural stone they aren’t all exactly the same size).
I'll need 22 ft for the front area (20 ft + 2 ft for spares). Since each piece is 6 in wide, I'll need 44 pieces.
1 in deep of sand x 20 ft @ ~3 in block depth = 20 ft / 4 = 5 sq ft of area for sand. I divide by 4 because the 3 in bock depth = 1/4 ft and I want to find sq ft. So this means that 4 lin ft = 1 sq ft. And since I have 20 lin ft, I have 5 sq ft. One .5 cu ft bag of sand can cover 6 sq ft @ 1 in so I'll need only 1 bag of sand.
Tags: DIY, do it yourself, hardscape, how to, install, landscape
